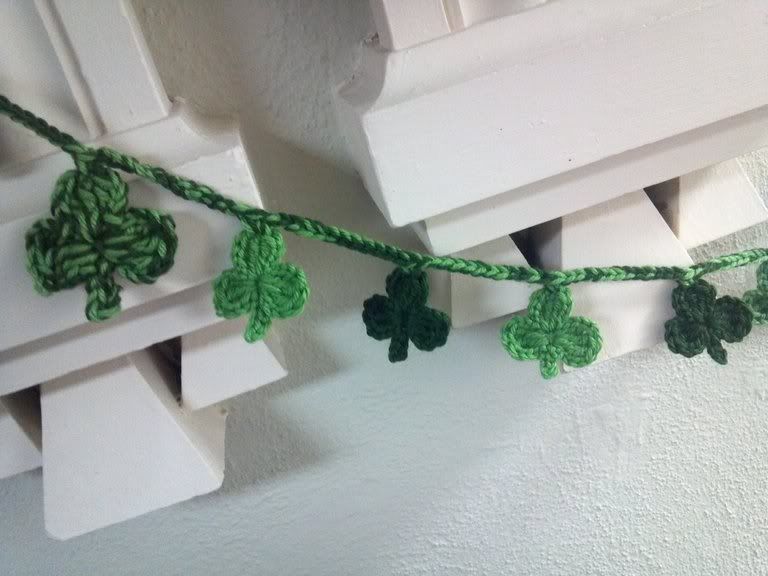
I love Crocheting Garlands. For St. Patrick's Day, I crocheted my Garland from a pattern I found on Crochet-Mania and modified it by Crocheting two Medium Shamrocks using two stands of yarn held together and crocheting the stems right on the Shamrock.
Materials:
- Size H Crochet Hook
- Size J Crochet Hook
- Worsted Weight Yarn in two Shades of Green
Instructions:
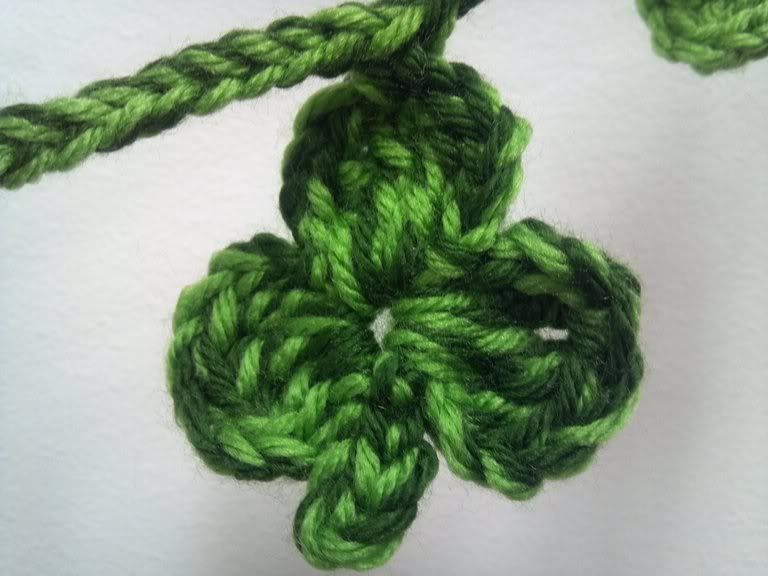
Small Shamrock:
- Start with the small Crochet Hook and a Magic Ring or Chain 4 and join with a slip stitch to 1st chain to form a loop.
- * Chain 3. Make 3 Triple Crochet, Chain 3, slip stitch into Loop **.
- Repeat from * to ** 2 more times to make 3 leaves.
- For Stem; Chain 5, slip stitch in 2nd chain from hook and into next 3 chains. Slip stitch into center of ring. Fasten off. Weave in ends.
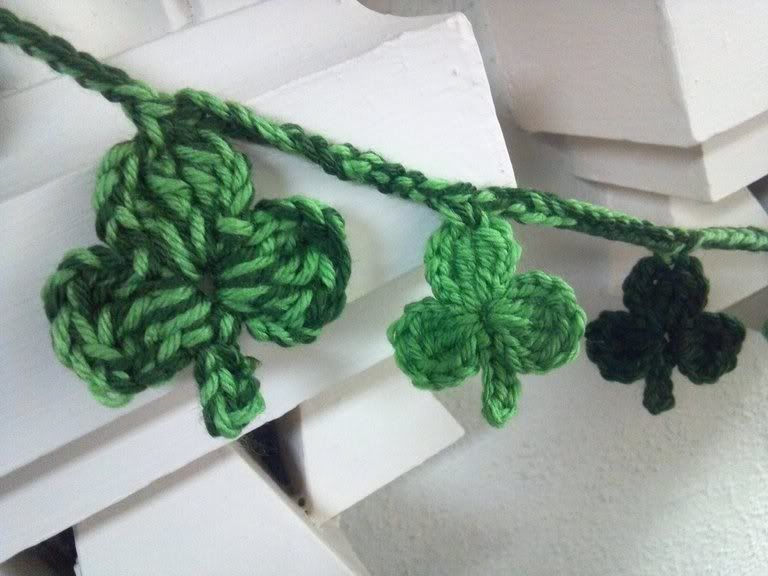
- With Larger Hook, Crochet Medium Shamrock using two strands of yarn (one of each color) held together.
Garland:
- With large crochet hook and 2 strands of yarns held together, Chain 8. Slip stitch in first chain to make first hanging loop.
- * Chain 12. Make a single crochet on top of the Middle Leaf of the Shamrock. Continue from * across to attach all the Shamrocks. For my Garland, I alternated between light and dark green with the two-tone Shamrocks in between.
- For the second hanging loop; Chain 20. Slip stitch into the 8th chain.
- Fasten Off. Weave in ends.
Happy St. Patrick's Day...