Showing posts with label Felt. Show all posts

Thursday, July 3, 2014

3
Patriotic Washi Tape Coasters


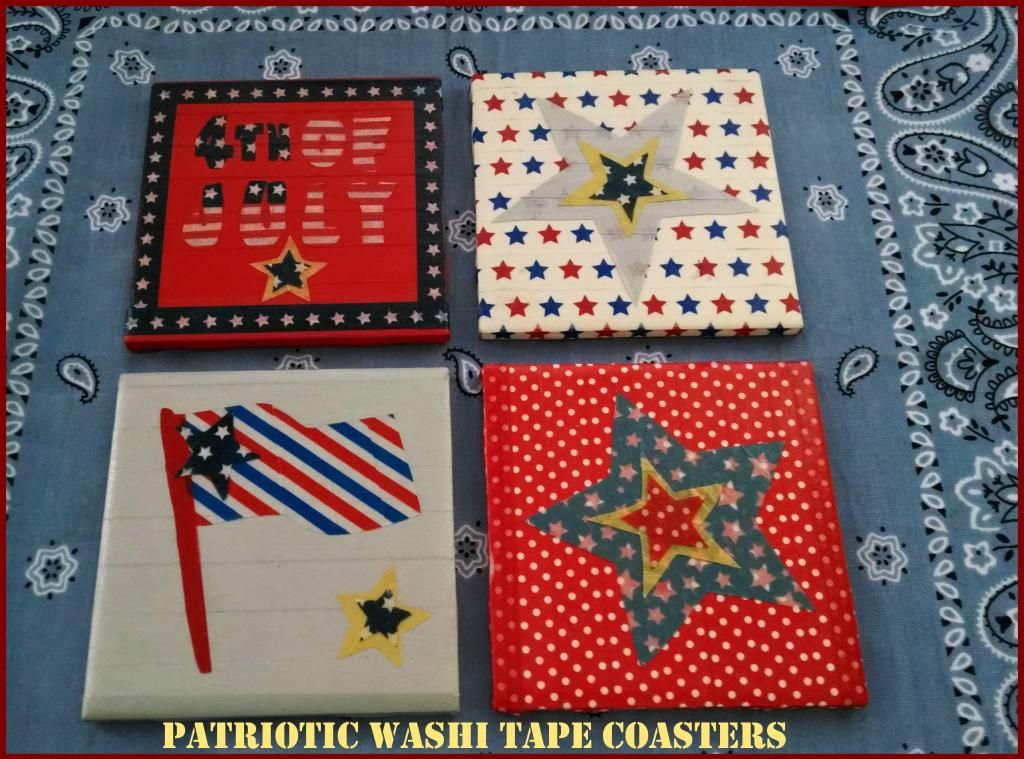
4th of July is my favorite Summer Holiday. I love to decorate my home with Sparkles, Stars and Stripes. I wanted to create Red, White and Blue coasters to bring some Patriotic Spirit to the outdoors.

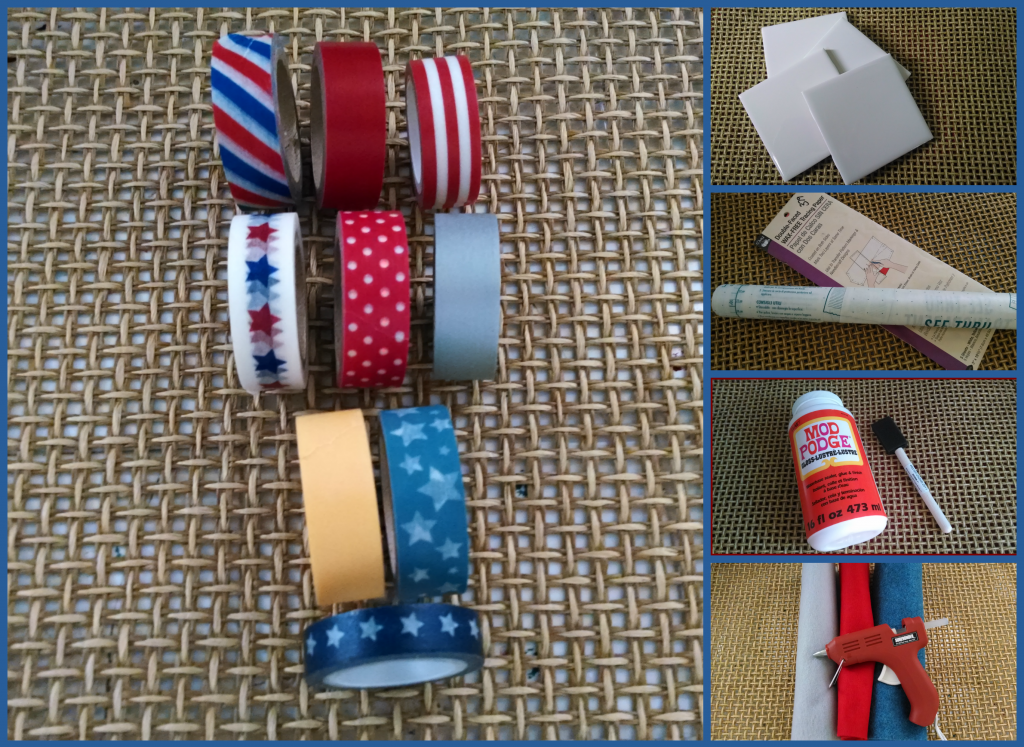
One of my favorite Craft Supply is Washi Tape. On a trip to my favorite discount store; I stumbled upon a Patriotic Themed Washi Tape package. Along with my current Washi Tape stash, I decided to create two sets of Patriotic Washi Tape Coasters.

Here is what you will need to make your own coasters.

Materials:
  • 4 - 4" Square Ceramic Tiles; purchased at Home Depot for 16 cents each.
  • Patriotic Washi Tape
  • Patriotic Graphics or Clip Art
  • Contact Paper
  • Tracing Paper
  • Mod Podge/Foam Brush
  • Pair of Tweezers
  • Felt sheets
  • Pinking Shears
  • Hot Glue Gun
  • Polyurethane - I used Minwax Clear Satin
  • Small Paint Brush

Instructions:
1. Clean your tiles with bathroom cleaner to get rid of any dust. Let the tiles dry completely.
2. Begin adding your choice of Washi Tape across the tiles; slightly overlapping the stripes.
3. Select the Graphics you wish to trace and use as your tile's foreground. I found mine online.

If you wish to use my images, click on the right arrow to download and print the file.


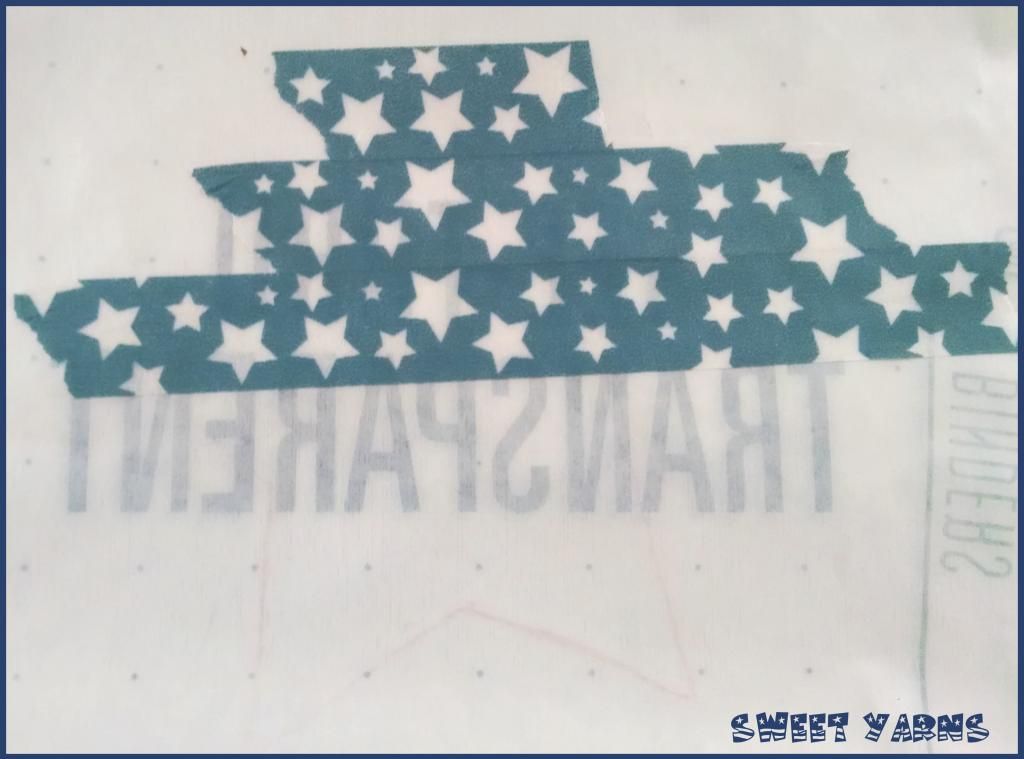
4. Trace your Graphics using the Tracing and Contact papers by creating layers. Lay the contact paper with backing facing up; add tracing paper and finally your graphics.


5. Flip Contact paper over. Apply Washi tape to cover your traced graphics. I found it helpful to insert a blank sheet of printer paper under your contact paper to make it easier to see your traced lines.

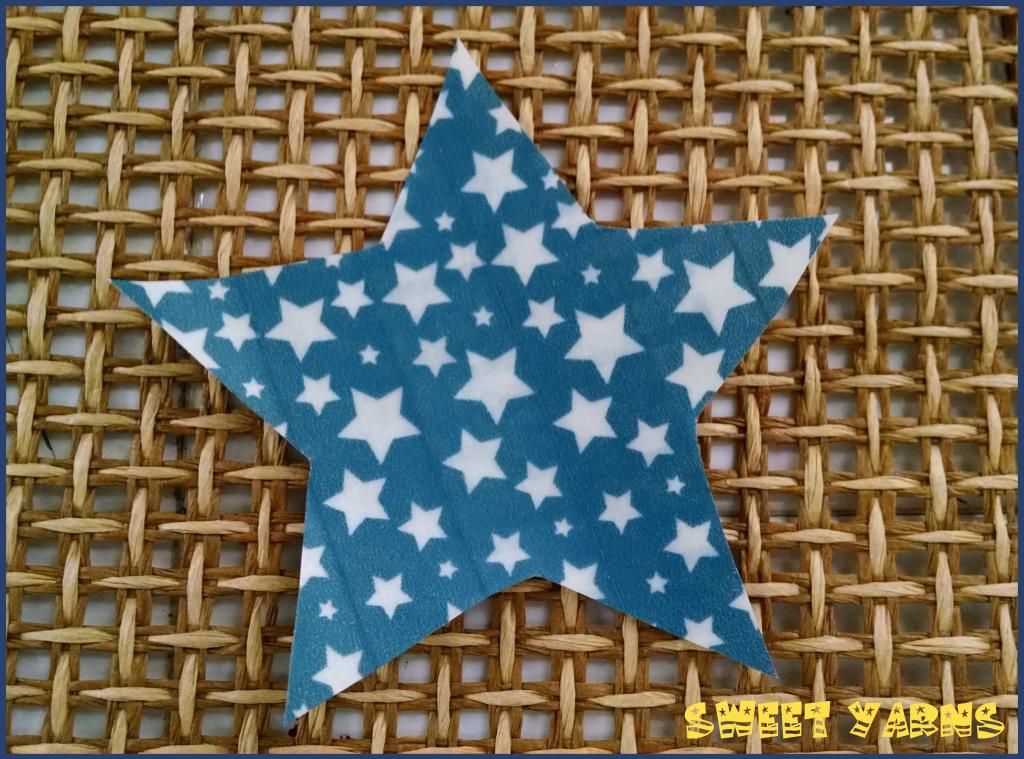
6. Cut your graphics around the traced lines. I used the tweezers to separate your traced images from the contact paper.

7. Begin adding your contact paper images to your tiles.
8. For extra durability, apply 2-3 coats of Polyurethane all over the tiles. Let dry between coats.
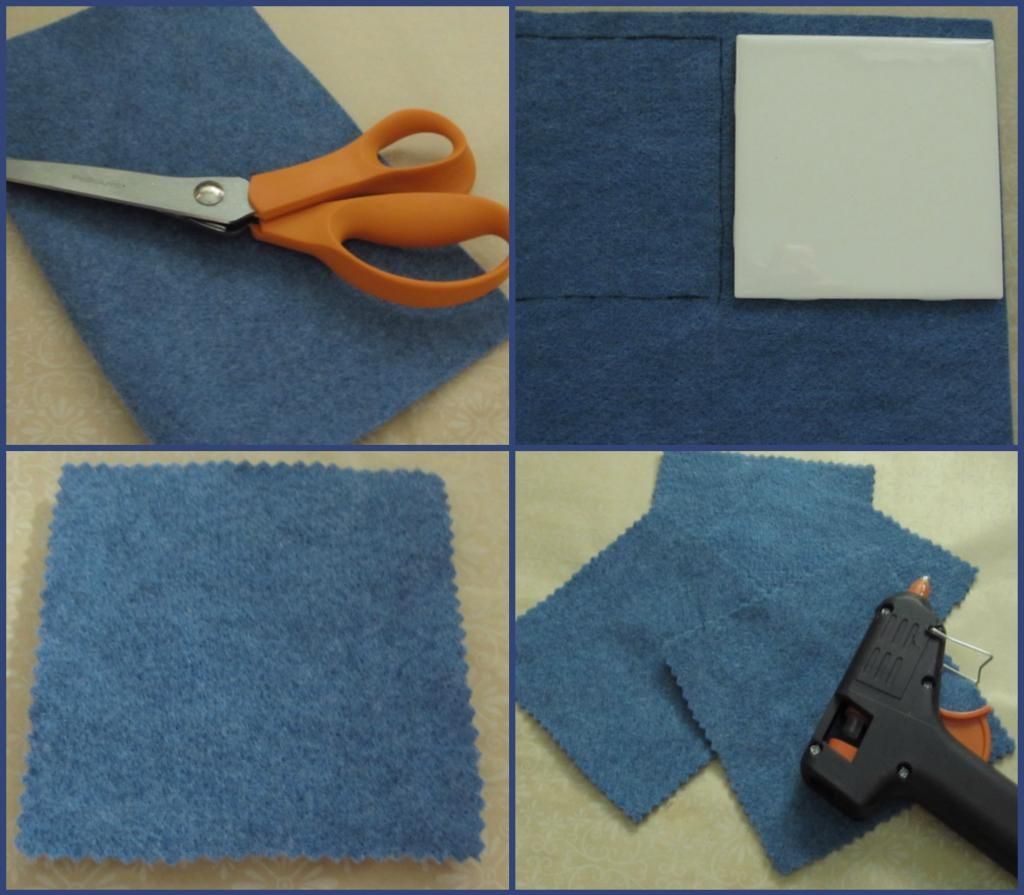
9. I glued felt squares to my tiles to protect my furniture from the tile's harsh bottom. Using a tile as a guide trace and cut felt squares to fit each tile.


I love how my Patriotic Coasters turned out. My favorite one is the Firecracker one.  What's yours??? I hope you find some inspiration from this project and give this tutorial a try.

Happy 4th of July...


Linking to:

Craft Frenzy Friday Feature Today's Creative Blog
Photobucket
See Vanessa Craft
Poofy Cheeks
52 Mantels By Stephanie Lynn
ItsOverflowingLife on Lakeshore Drive
The DIY'ersCornerstone Confessions
Say G'Day Saturday

Friday, March 7, 2014

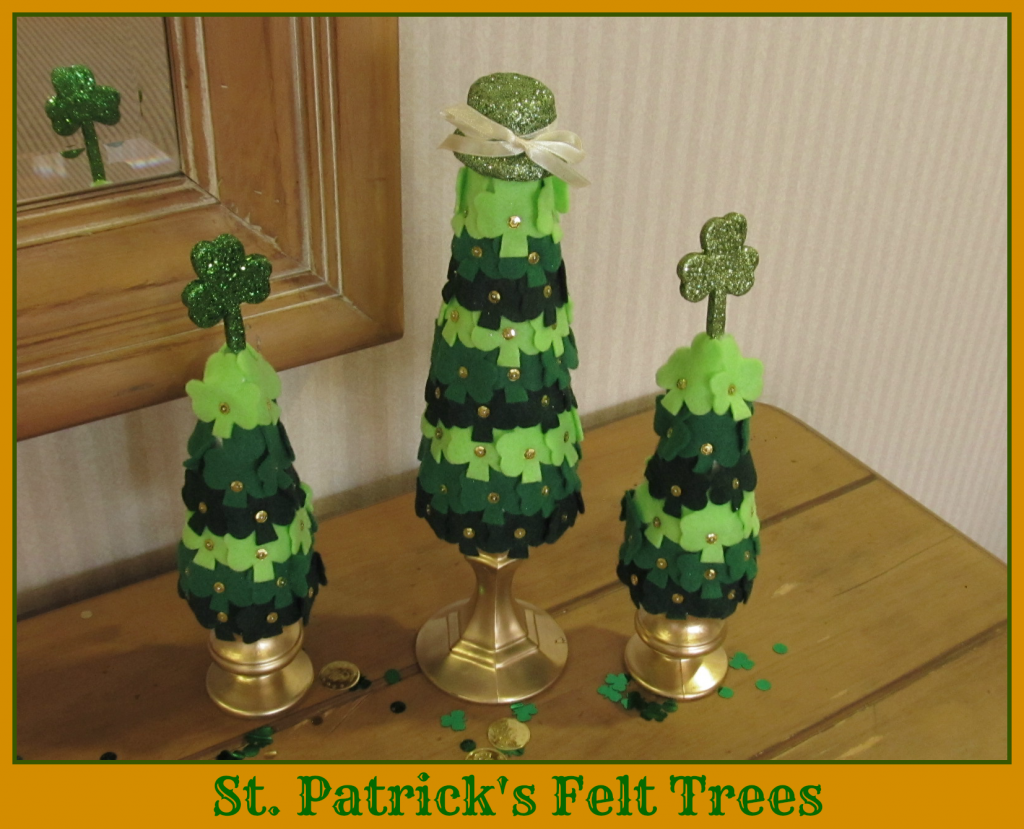
3 St. Patrick's Felt Trees


I enjoyed so much creating my Ombre Valentine's Trees; I knew I wanted to make Shamrock trees for St. Patrick's Day!!!
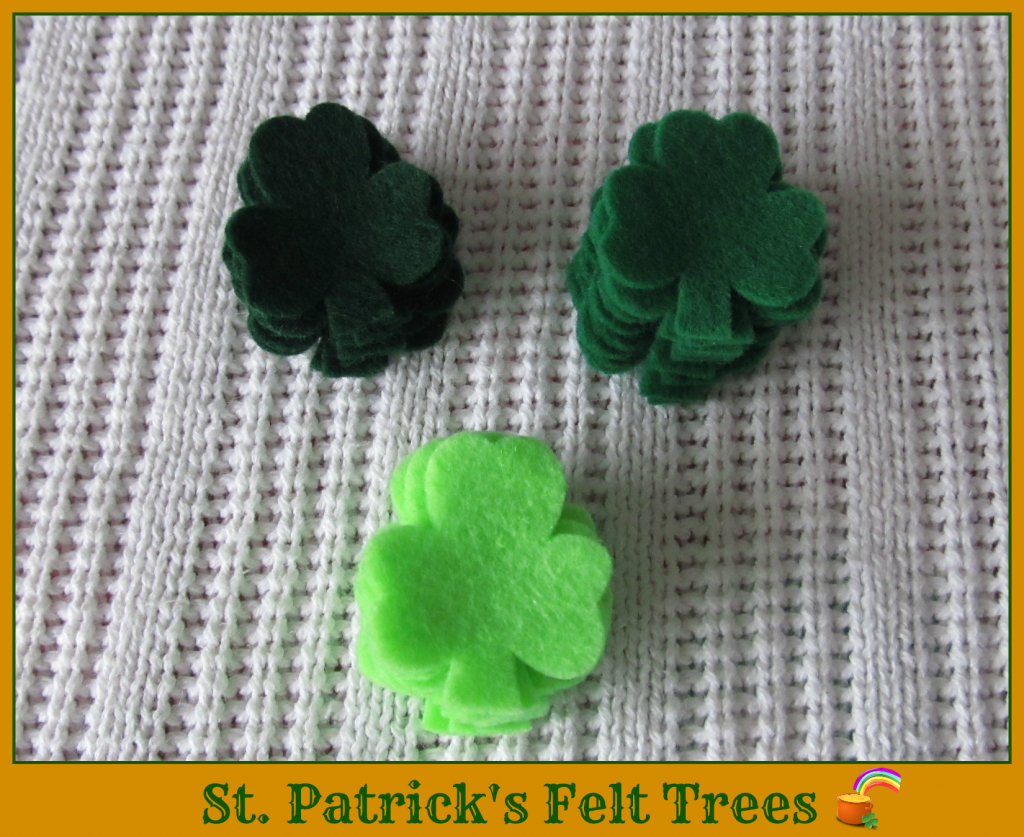
I used my favorite craft supply; Freezer Paper to cut, cut and then cut some more shamrocks out of felt. This sounds time consuming to cut so many leaf clovers, but with my very sharp scissors I was determined to make this a fun chore.

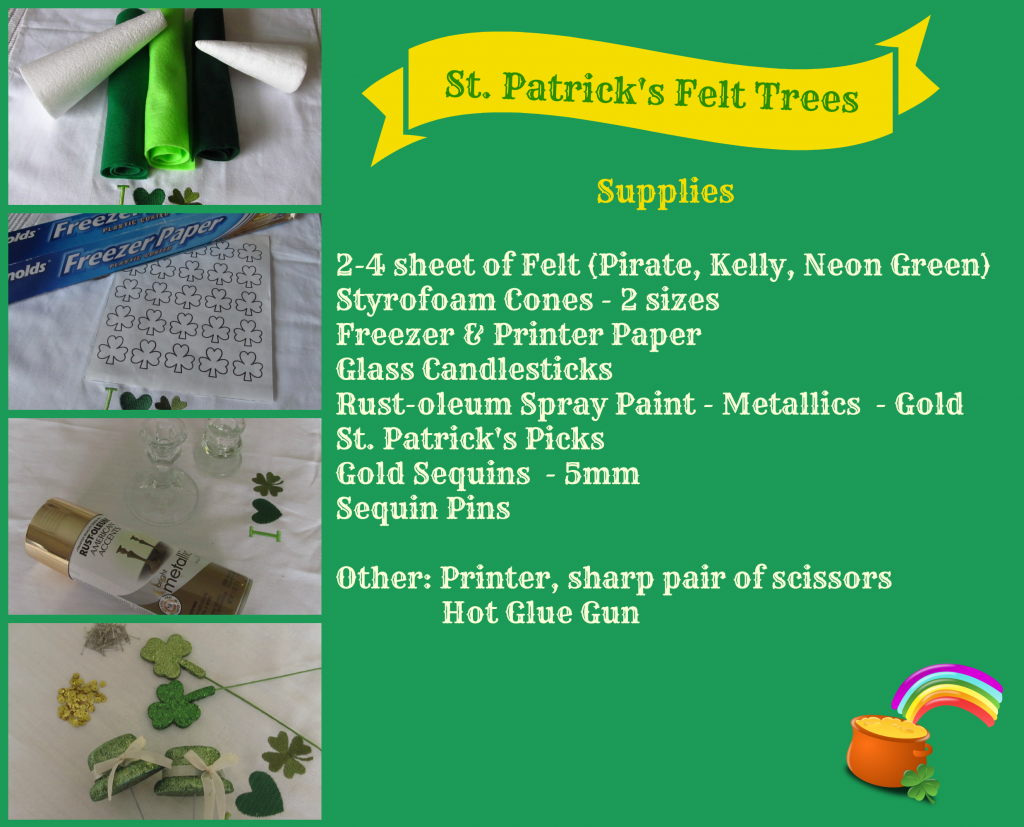
To make your own felt trees you will need the following supplies....


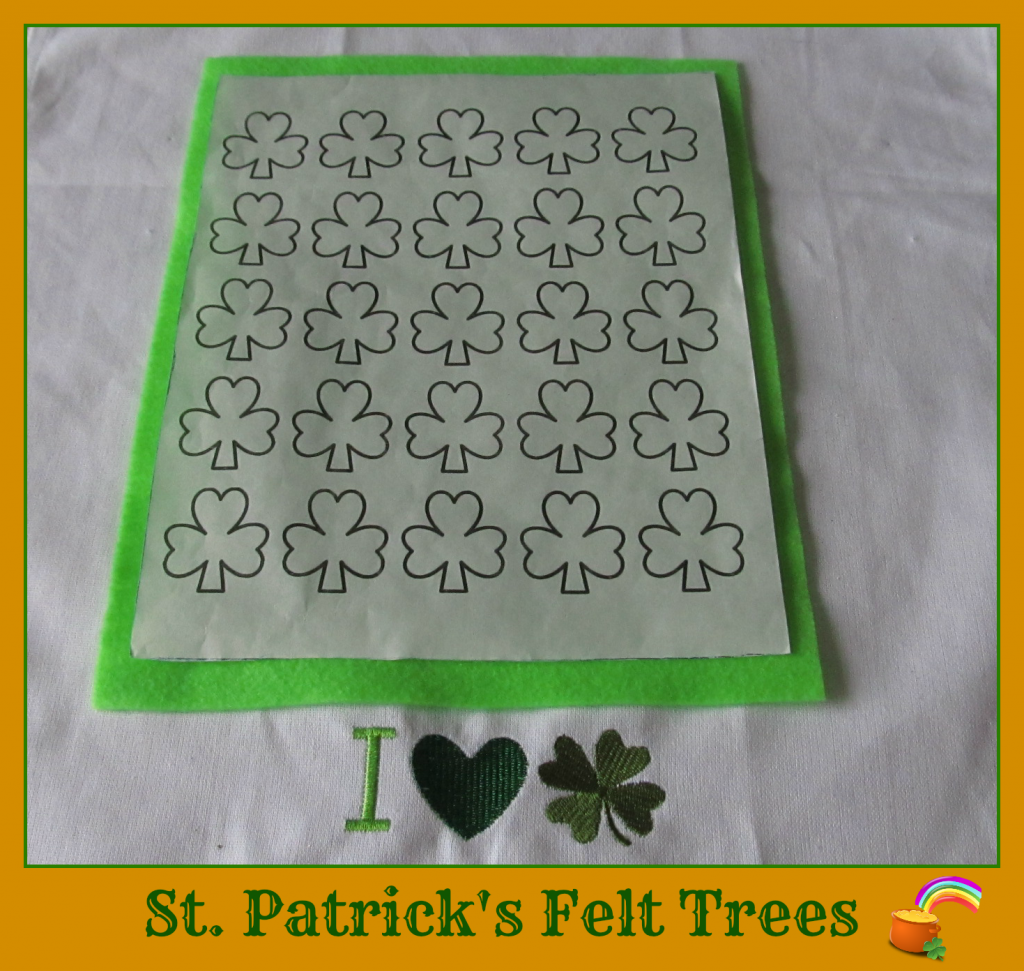
To make it easier to cut small clovers from Felt, I used Freezer Paper and my printer. Cut sheets of Freezer Paper that is just slightly smaller than your printer paper. Tape the freezer paper, shiny side down onto your printer paper sheets at each corner using masking tape.
Load your freezer paper into the printer paper tray. I loaded mine facing down. You might want to check your printer loading directions. Print your template.
For my trees, I printed 6 sheets, 2 for each felt color. Press the Freezer Paper sheets shiny side down onto the sheets of felt using a warm iron-no steam.


If you wish to use my Shamrock Template to make your very own Felt Tree, click on the right arrow to download and print the file.


PLEASE NOTE: this file is for Personal use only. Please do not claim or sell it as your own!!!

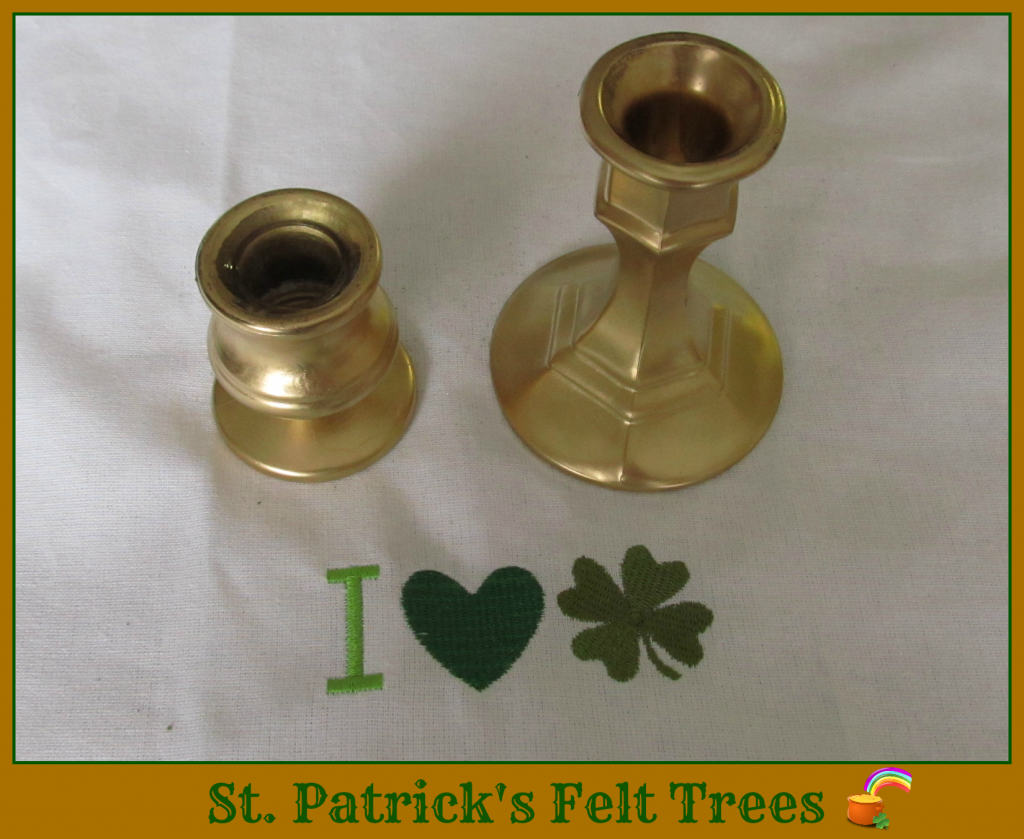
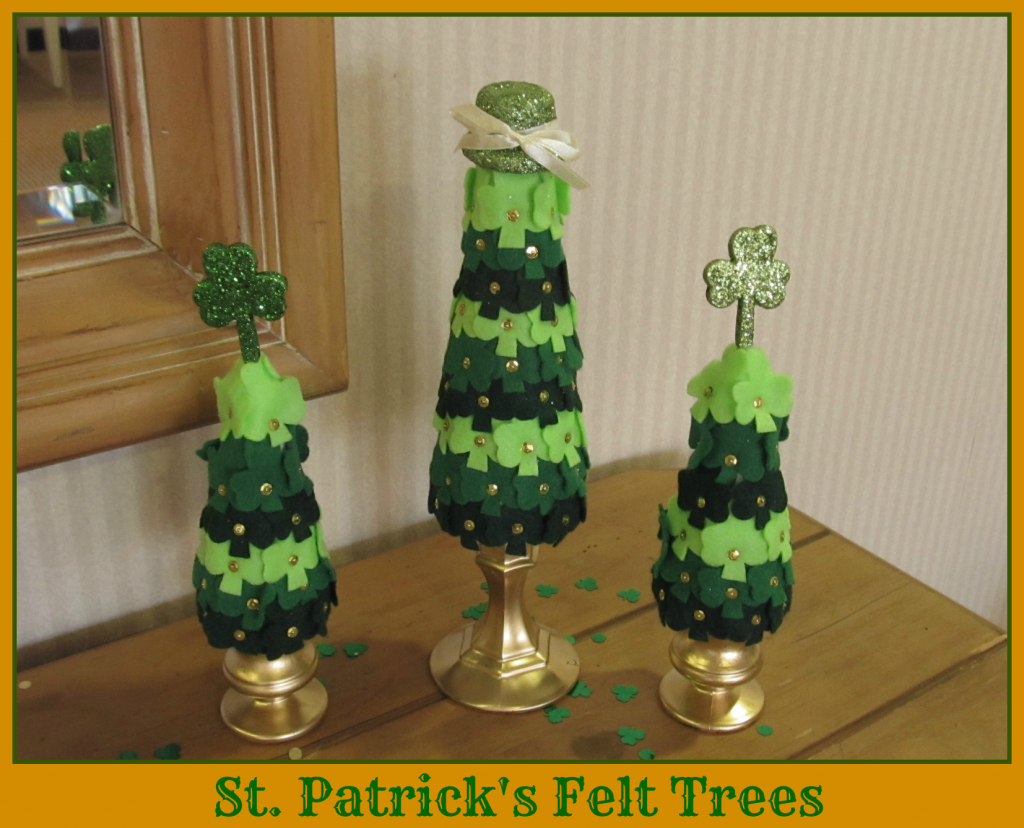
Spray paint your glass candlestick. I gave mine two coats. Let dry completely.


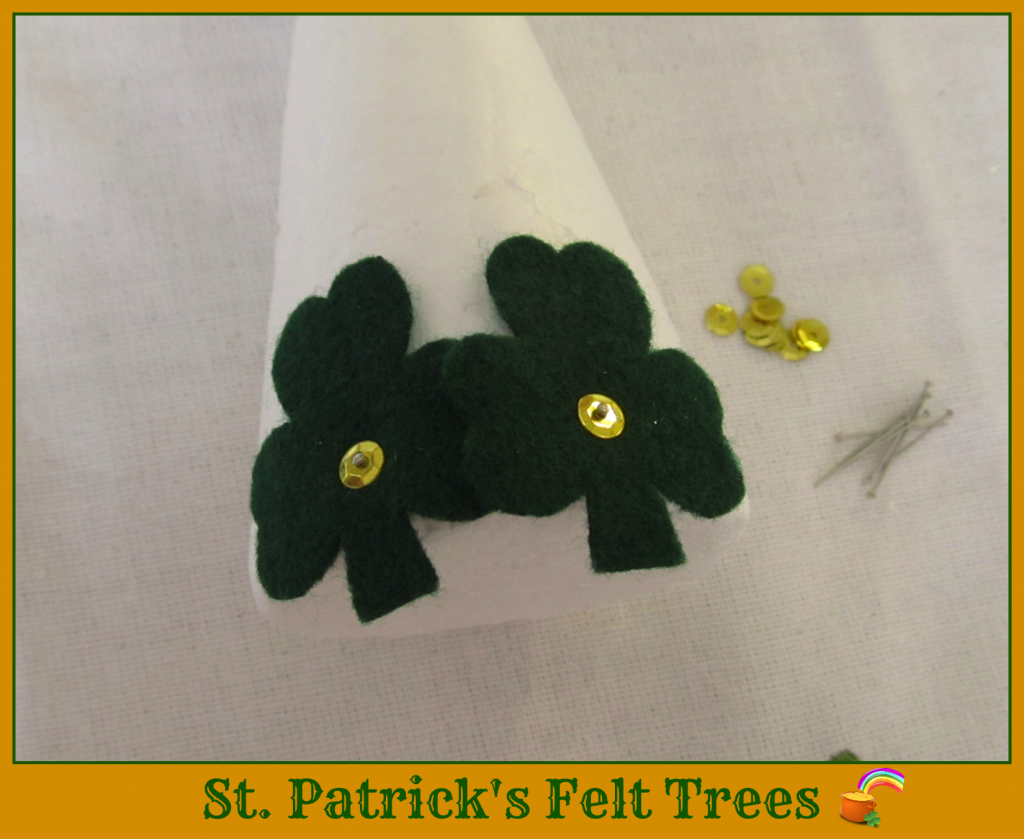
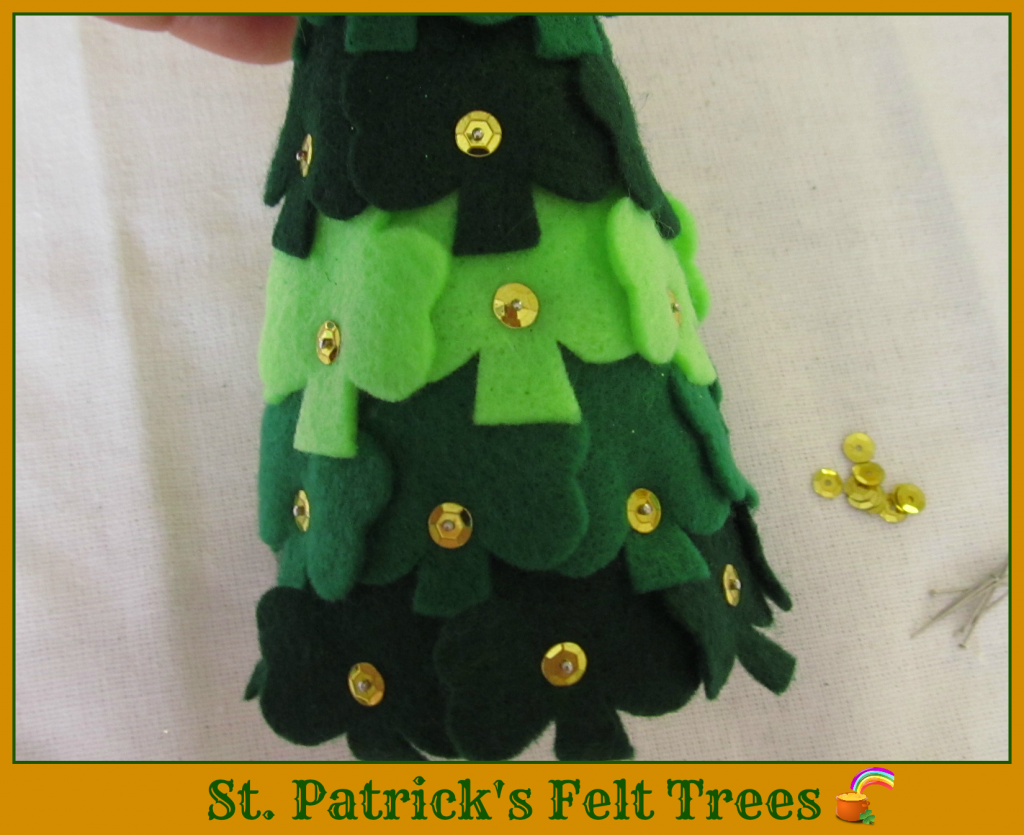
Cut your felt clovers. Starting from the bottom of the cone, begin pinning your clovers using the sequins and pins, overlapping the clovers as you go. Continue pinning your clovers working in rows.


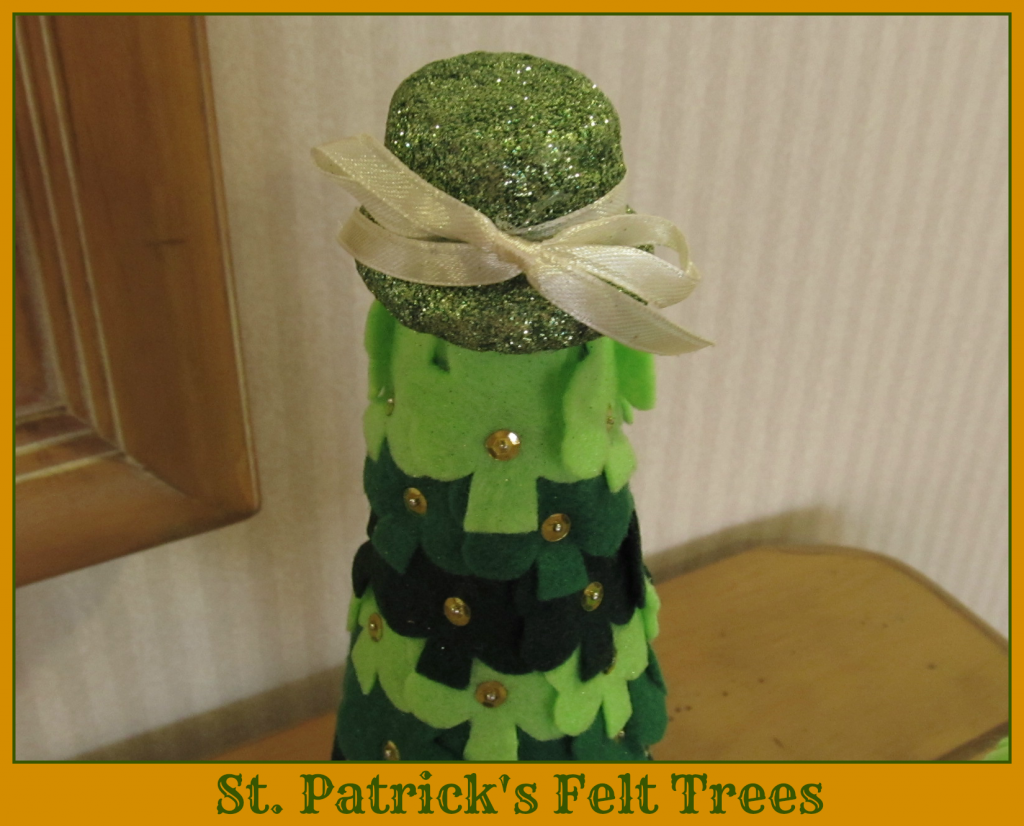
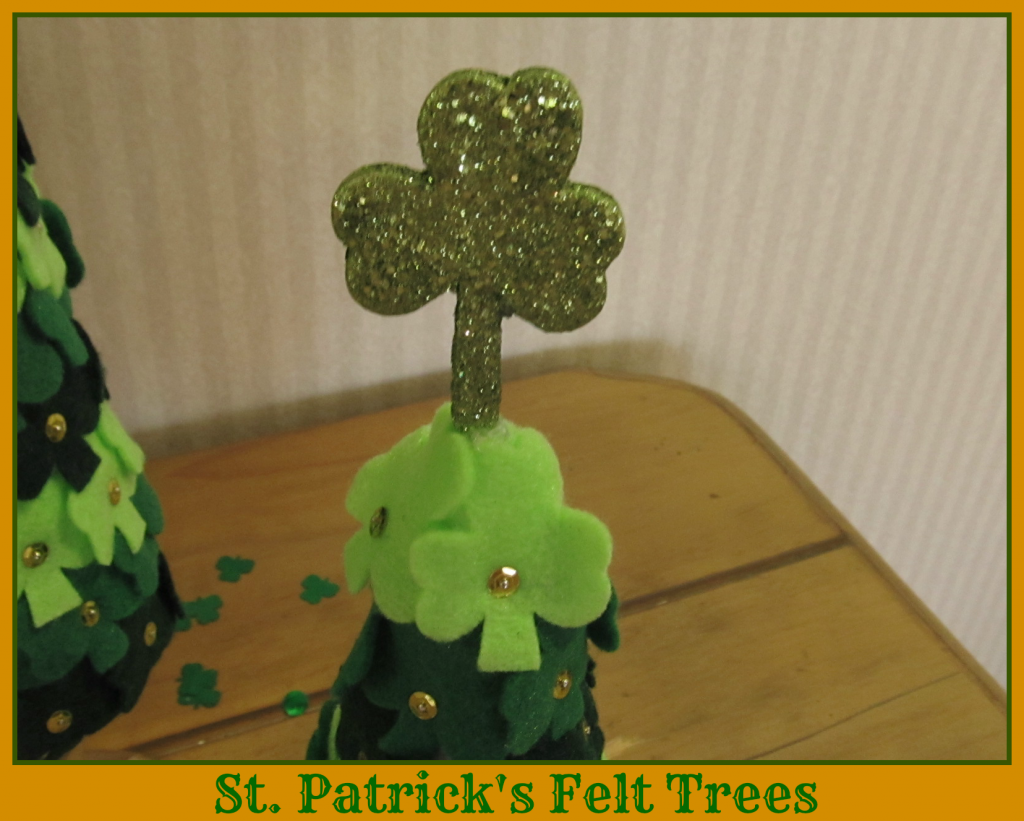
I cut down the St. Patrick's pick wires to about 2 inches. After your cone is completely cover with the felt clovers; hot glue the pick onto the cone's top. Let dry completely. Finally, glue the candlestick to the bottom of the cone.


I love how my St. Patrick's Felt Trees turned out. The Gold candlesticks complement the Gold sequins beautifully...


Happy St. Patrick's Day!!!


Featured on:


Linking to:

Visit thecsiproject.com Today's Creative Blog
Photobucket
See Vanessa Craft
Poofy Cheeks
52 Mantels By Stephanie Lynn
ItsOverflowingLife on Lakeshore Drive
The DIY'ersCornerstone Confessions
Craft Frenzy Friday Feature


Pin It button on image hover