Halloween is fast approaching and a great time for the family to join together and have fun carving the all mighty Pumpkin. I love Halloween decorations, especially Decorative Pumpkins.
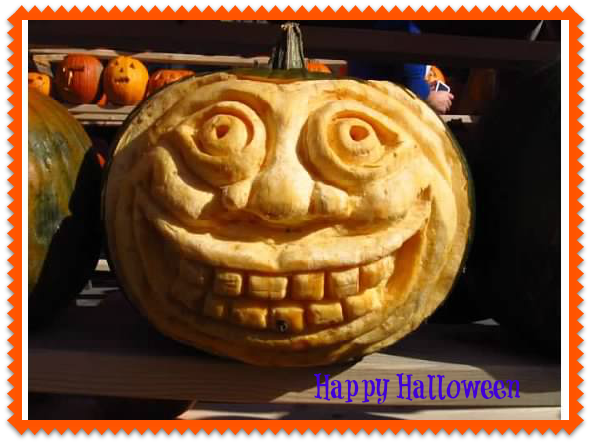
I must confess, I am not a fan of carving pumpkins; a sometimes labor intense task. Do not get me wrong; some carving inspirations found on the web are just awesome. Last Saturday, I attended the Pumpkin Festival in Keene, N.H., the carvings were just amazing. Go
HERE to take a look at some of the pictures I took at the Festival.
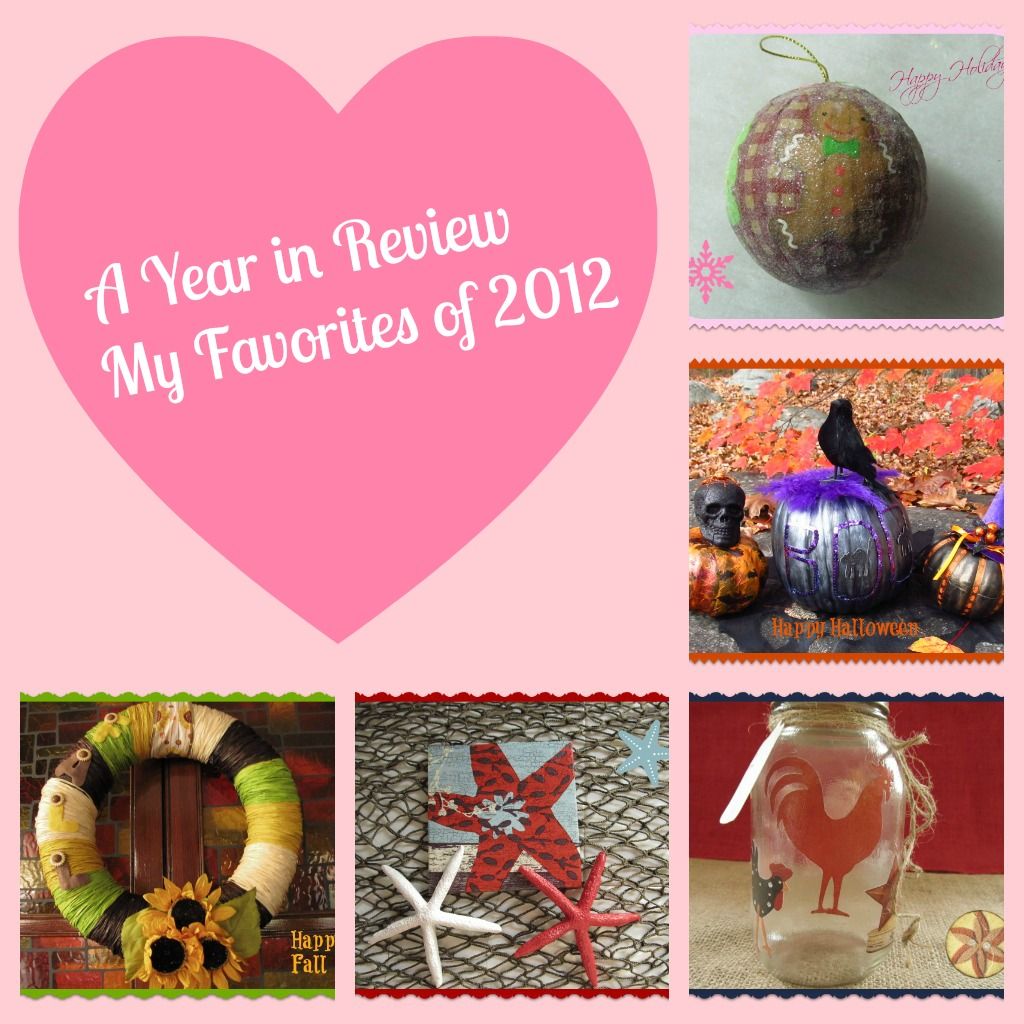
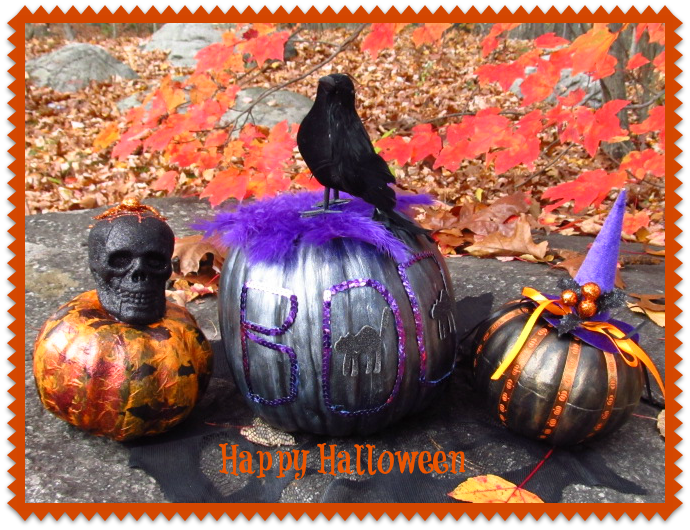
This year, I decided to decorate Craft Pumpkins and I just love how cute these pumpkins turned out.
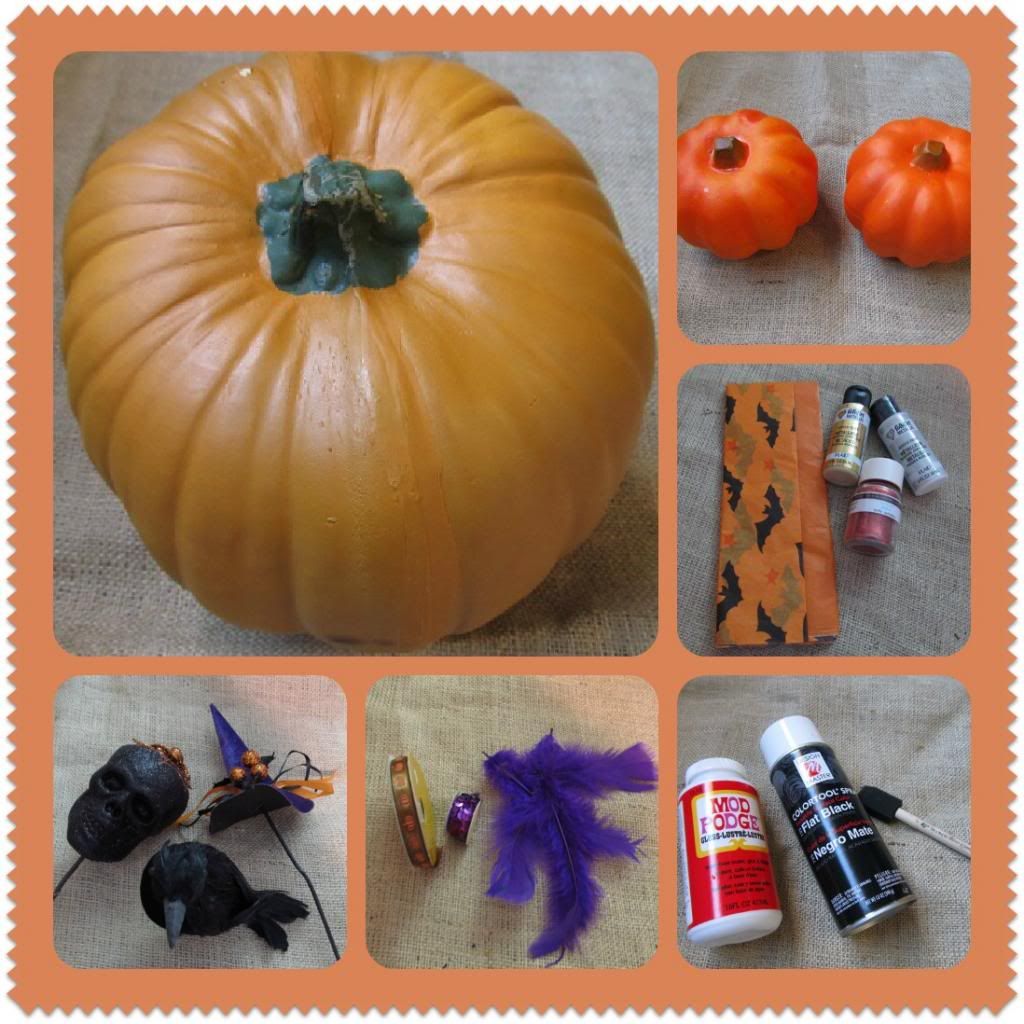
To begin, I gathered the following materials:
Materials:- 2 small and 1 large Craft Pumpkins. Purchased the small ones at the Dollar Store and the large one at my local Thrift shop
- Halloween Tissue Paper
- Plaid Folk Art Metallic Acrylic Paints. I used Pure Gold and Pearl White
- Fine Glitter - I used Martha Stewart's Carnelian/Red Orange
- Halloween Picks. I choose a Skull, Witch's Hat and a Black Crow
- 3/8" decorative ribbons. I used Pumpkin print and sequins
- Purple Feathers
- Mod Podge
- Spray Paint, I used Design Master Color Tool Spray in Flat Black; purchased at Michaels. When Spray painting foam Pumpkins make sure the Spray Paint is formulated for Styrofoam
- Foam brush
- Black felt
- Hot glue gun & sticks
- Elmer's Craft Bond glue pen
Directions:
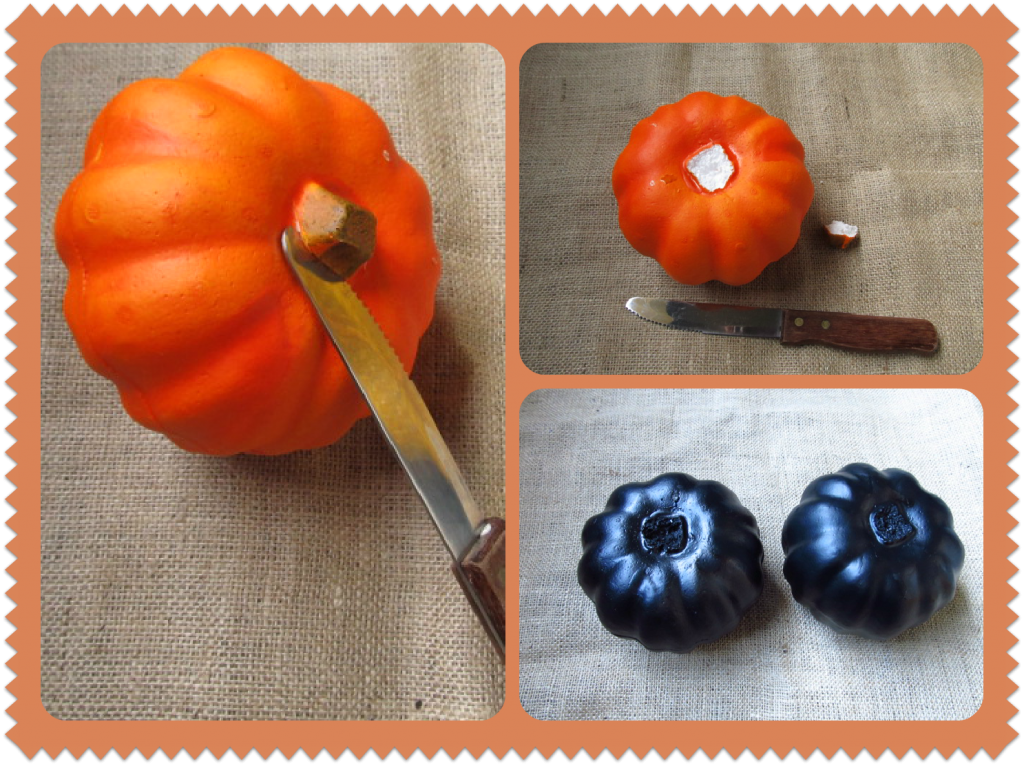
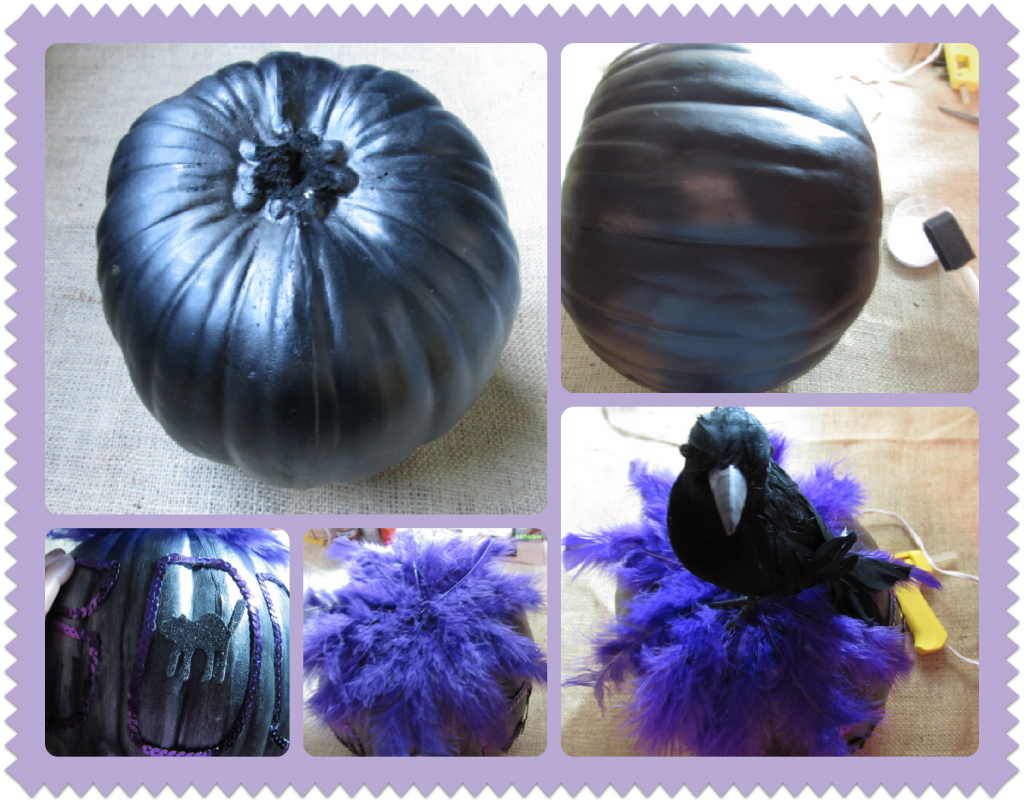
Cut pumpkin's stem with a serrated knife. Spray paint all the pumpkins. I gave mine 3 coats. Let dry completely.
 Skull Pumpkin:
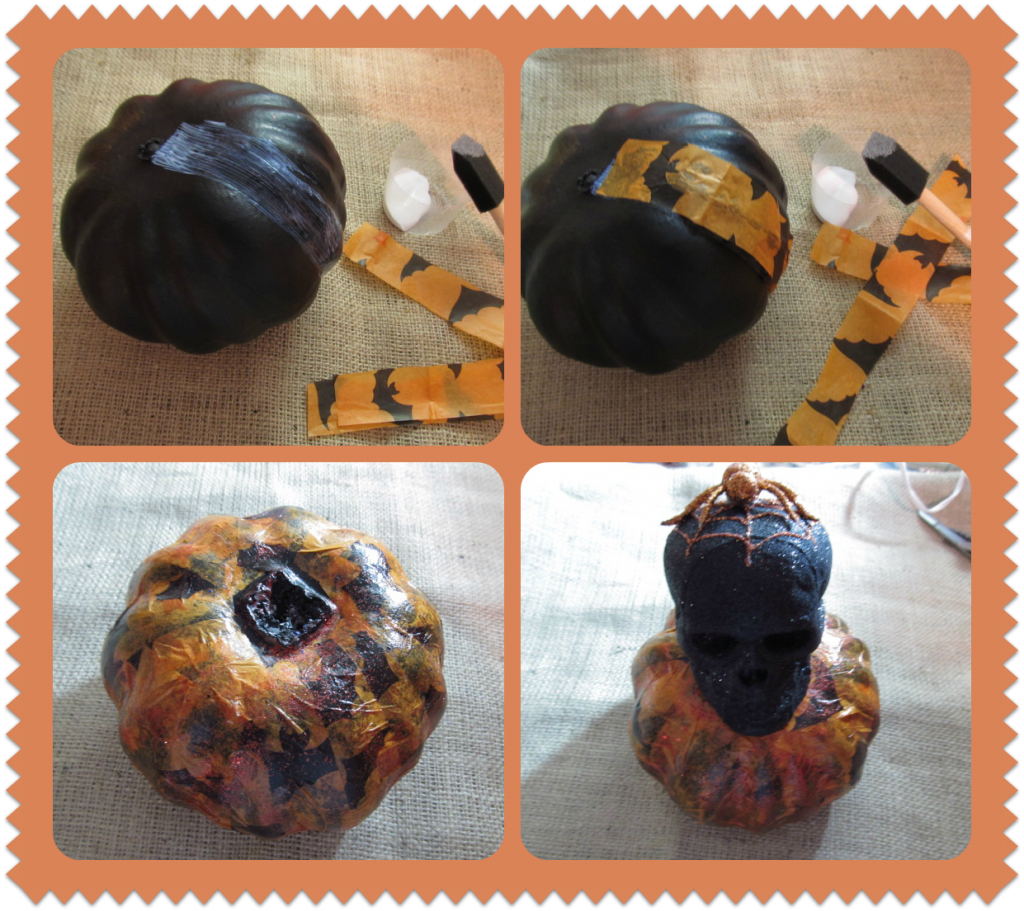
- Tear Tissue paper into small strips.
- Apply one coat of Mod Podge to pumpkin.
- Begin adding the tissue paper strips; smoothing the surface as you go to remove any air bubbles.
- Continue adding Mod Podge and paper strips until pumpkin is covered.
- Let dry 10-15 minutes
- Apply a final coat of Mod Podge all over the pumpkin and sprinkle glitter all over while the pumpkin's surface is still wet.
- Let pumpkin dry completely.
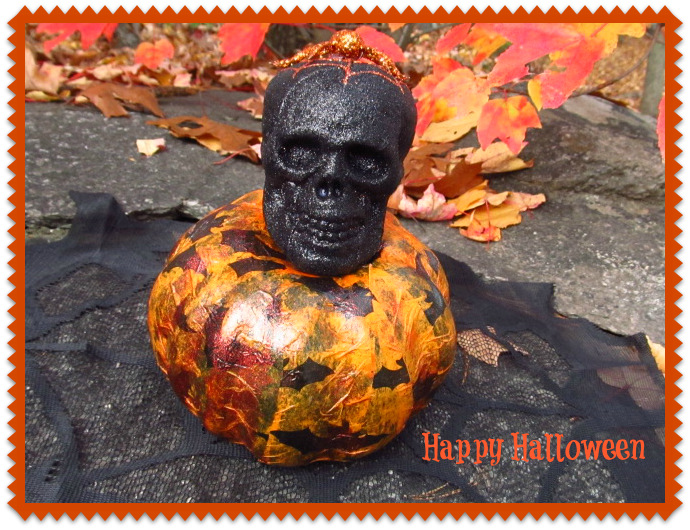
- Remove the stem from the Skull pick. Using hot glue gun, attach to pumpkin's top section.

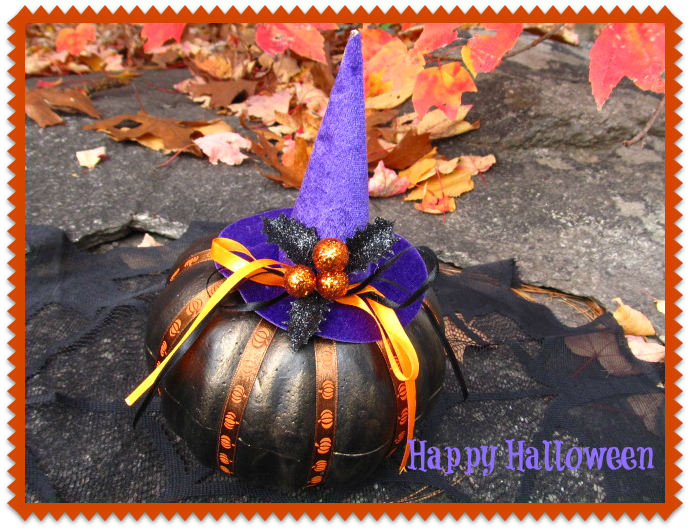
 Witch's Hat Pumpkin:
- Apply a thin coat of the Pure Gold Metallic paint over the entire pumpkin. Let dry completely.
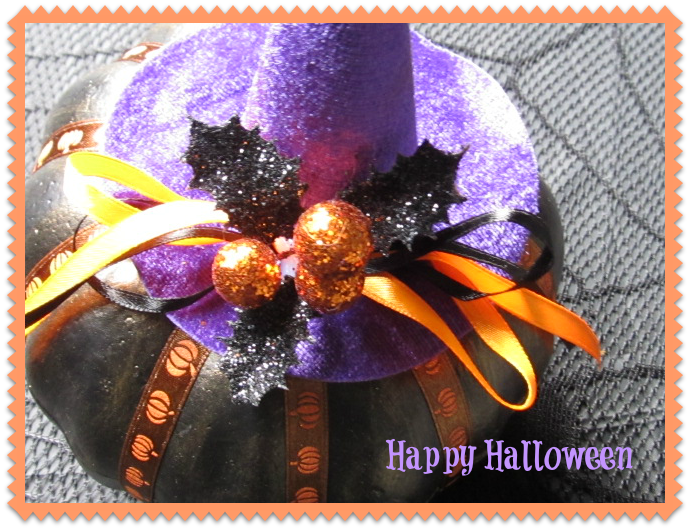
- Begin wrapping ribbon around the pumpkin in a crisscross fashion from side to side; tacking ribbon with Elmer's glue.
- Continue wrapping and gluing ribbon until your pumpkin has ten ribbon strips.
- Trace and cut 2 small circles from black felt. Using hot glue gun, apply the circles to pumpkin's top and bottom centers. The felt circles will prevent the ribbon crossings from slipping.
- Remove the stem from the witch's hat and glue to pumpkin's top section.

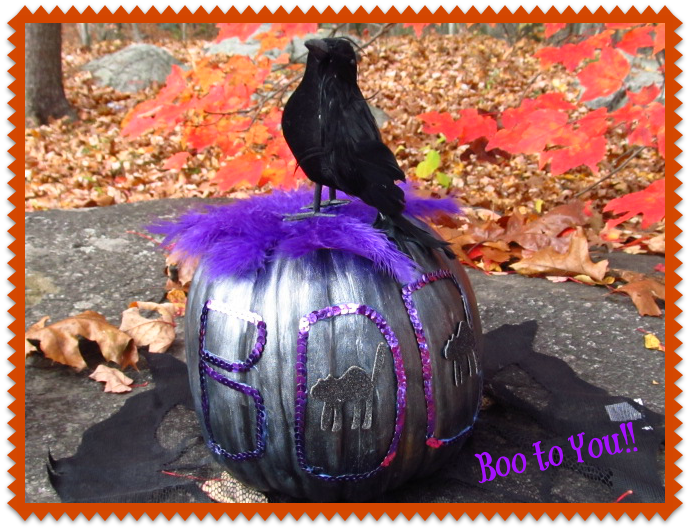
 Purple Feathered Pumpkin:
- Apply a thin coat of Pearl White Metallic paint all over the pumpkin. Let dry completely.
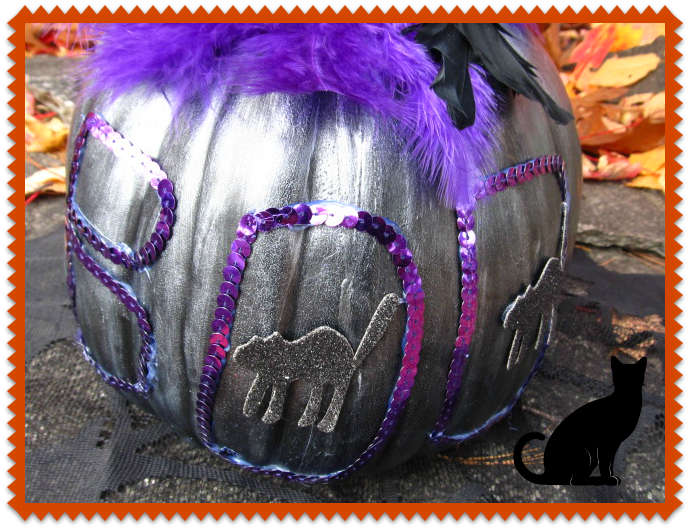
- Using the sequin ribbon, create and glue the word "BOO" onto the pumpkin's front section.
- Apply feathers to pumpkin's top using the hot glue gun. Let dry.
- Glue the black crow onto the feathers. Let dry.
- Finally apply other embellishments inside the letters "O".
I used glittered cat cutouts.
Although Pumpkin carving is a Halloween tradition for most people, there are other ways to decorate a Pumpkin without carving it.
I just love how my Pumpkins turned out. They were easy and fun to decorate, and most of all; I save time and money by using these Craft Pumpkins.
HAPPY HALLOWEEN!!!
Linking to: Today's Creative Blog
debbie-debbiedoos
Every Day is an Occasion