Showing posts with label Washi-Tape. Show all posts

Thursday, July 3, 2014

3
Patriotic Washi Tape Coasters


4th of July is my favorite Summer Holiday. I love to decorate my home with Sparkles, Stars and Stripes. I wanted to create Red, White and Blue coasters to bring some Patriotic Spirit to the outdoors.

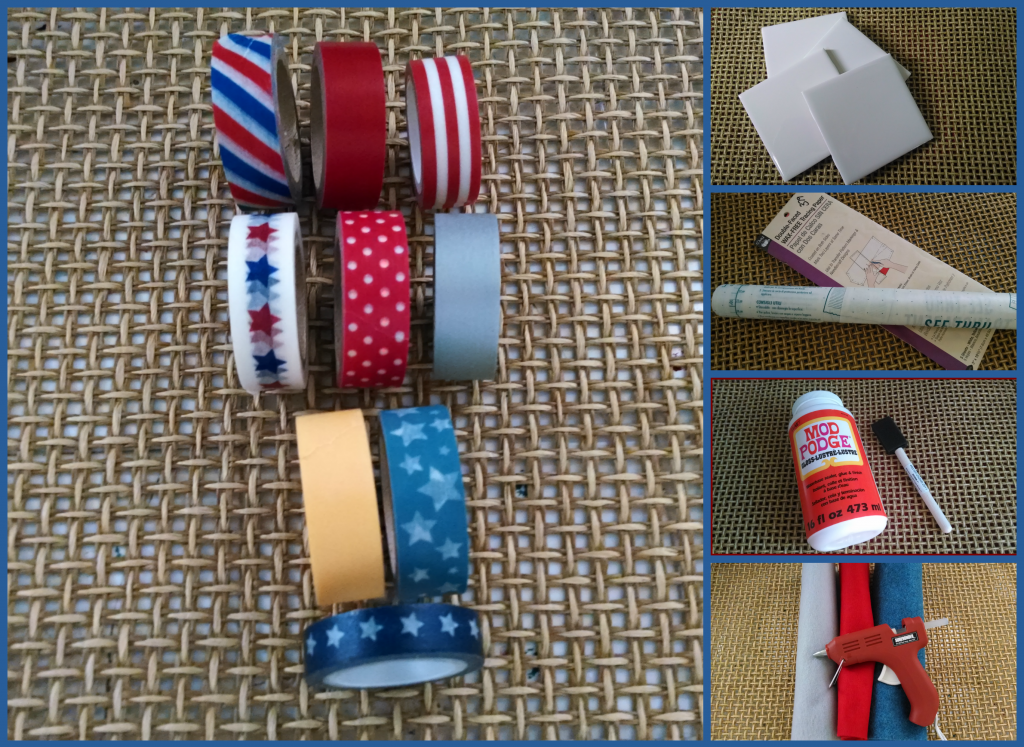
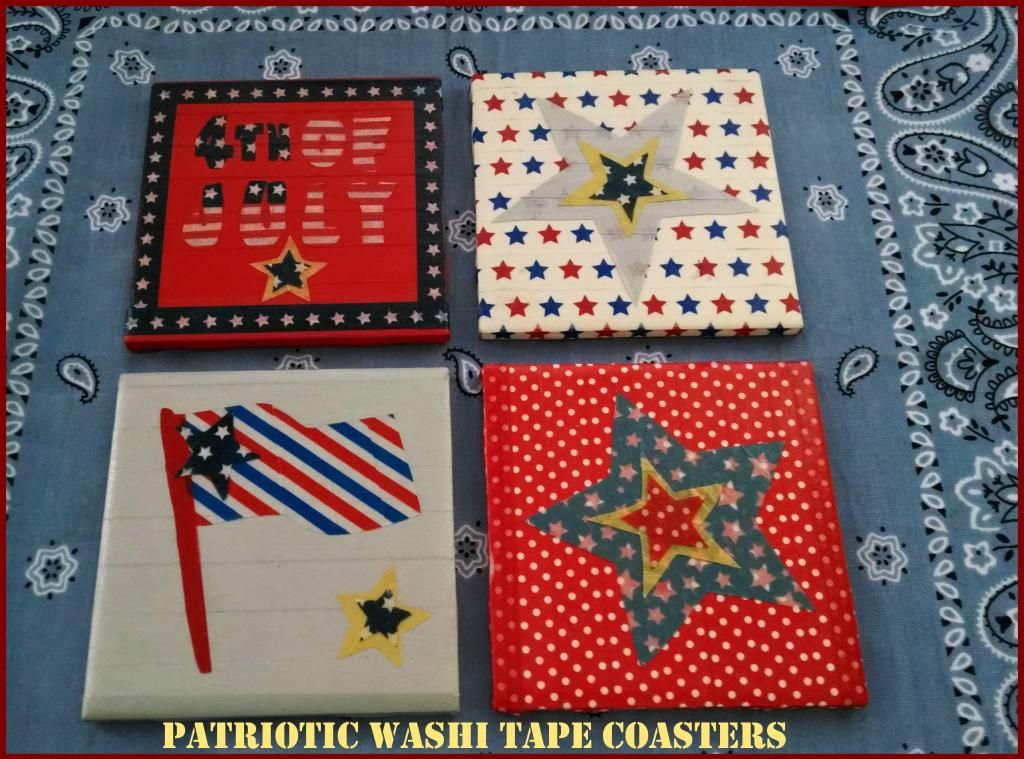
One of my favorite Craft Supply is Washi Tape. On a trip to my favorite discount store; I stumbled upon a Patriotic Themed Washi Tape package. Along with my current Washi Tape stash, I decided to create two sets of Patriotic Washi Tape Coasters.

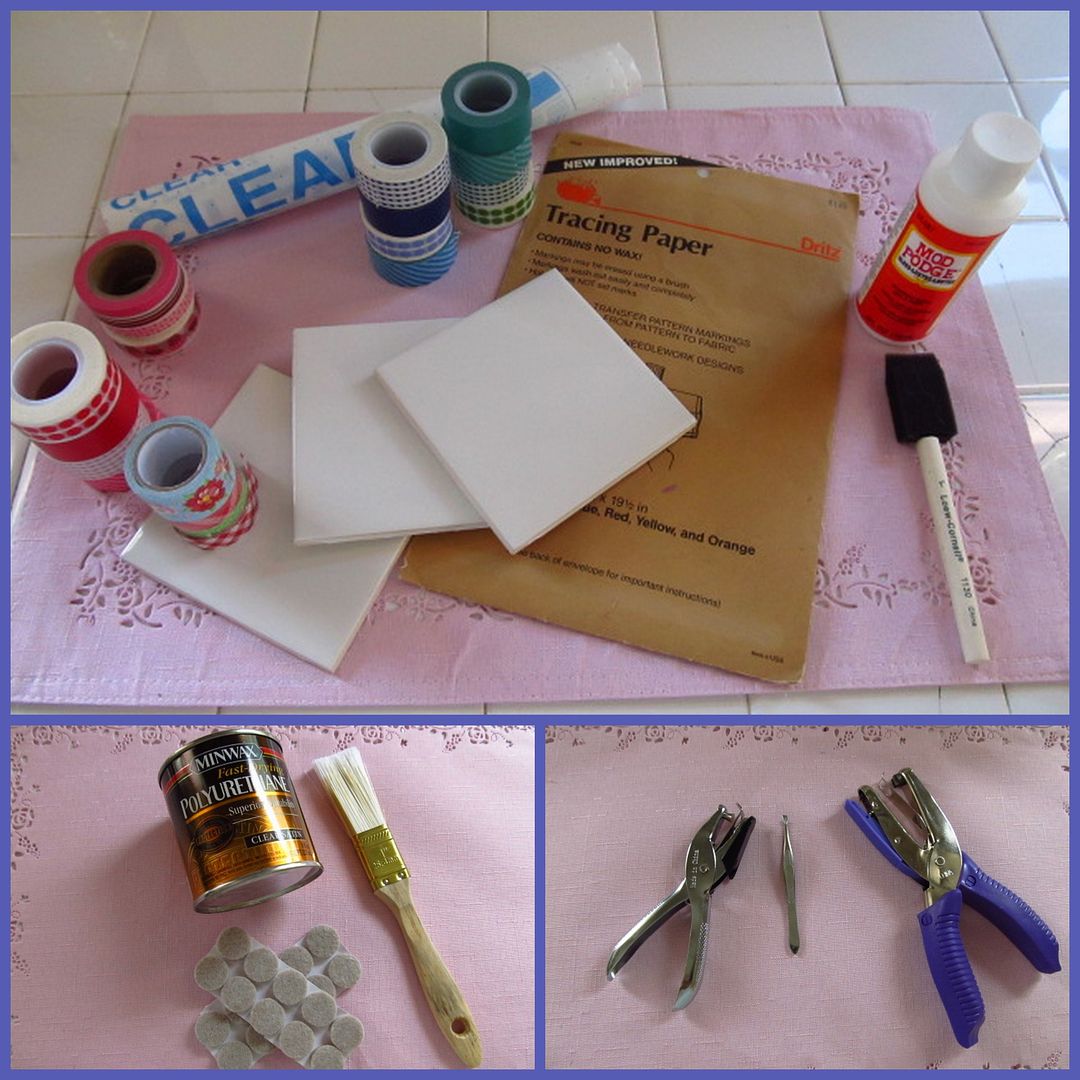
Here is what you will need to make your own coasters.

Materials:
  • 4 - 4" Square Ceramic Tiles; purchased at Home Depot for 16 cents each.
  • Patriotic Washi Tape
  • Patriotic Graphics or Clip Art
  • Contact Paper
  • Tracing Paper
  • Mod Podge/Foam Brush
  • Pair of Tweezers
  • Felt sheets
  • Pinking Shears
  • Hot Glue Gun
  • Polyurethane - I used Minwax Clear Satin
  • Small Paint Brush

Instructions:
1. Clean your tiles with bathroom cleaner to get rid of any dust. Let the tiles dry completely.
2. Begin adding your choice of Washi Tape across the tiles; slightly overlapping the stripes.
3. Select the Graphics you wish to trace and use as your tile's foreground. I found mine online.

If you wish to use my images, click on the right arrow to download and print the file.


4. Trace your Graphics using the Tracing and Contact papers by creating layers. Lay the contact paper with backing facing up; add tracing paper and finally your graphics.
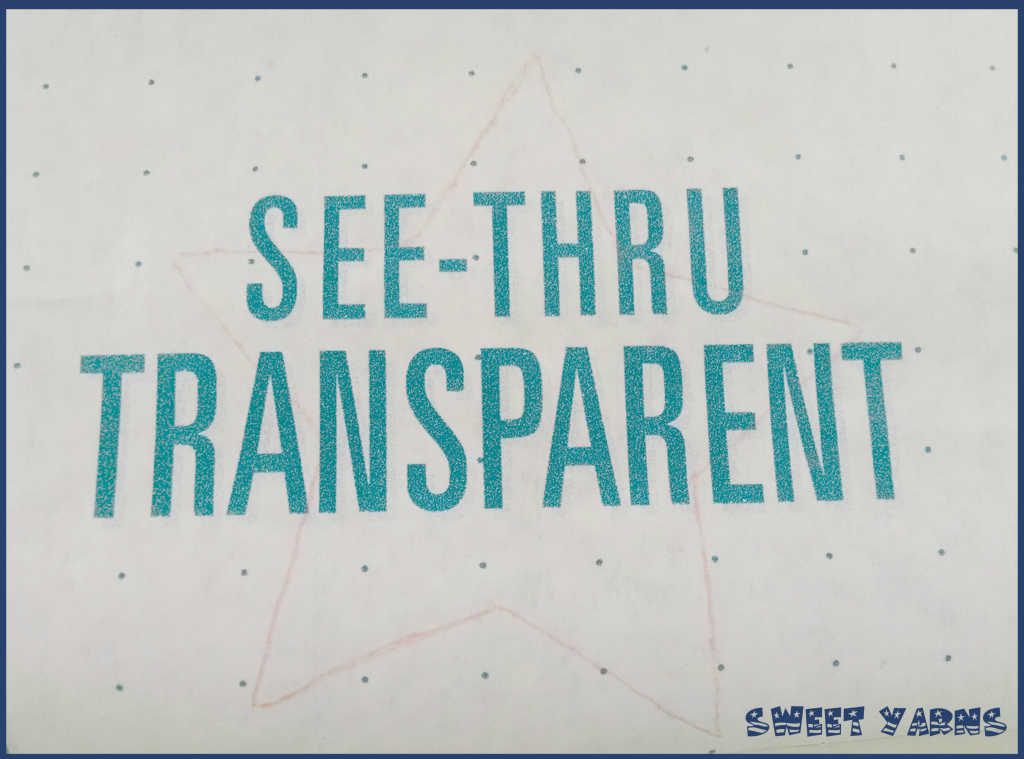

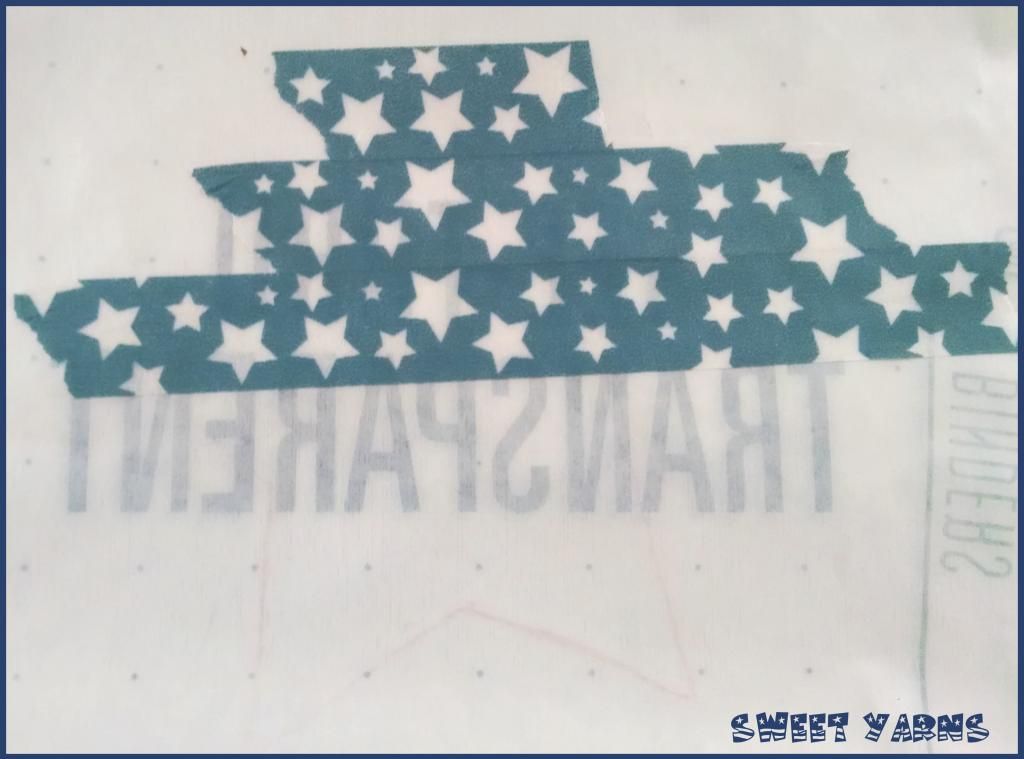
5. Flip Contact paper over. Apply Washi tape to cover your traced graphics. I found it helpful to insert a blank sheet of printer paper under your contact paper to make it easier to see your traced lines.

6. Cut your graphics around the traced lines. I used the tweezers to separate your traced images from the contact paper.
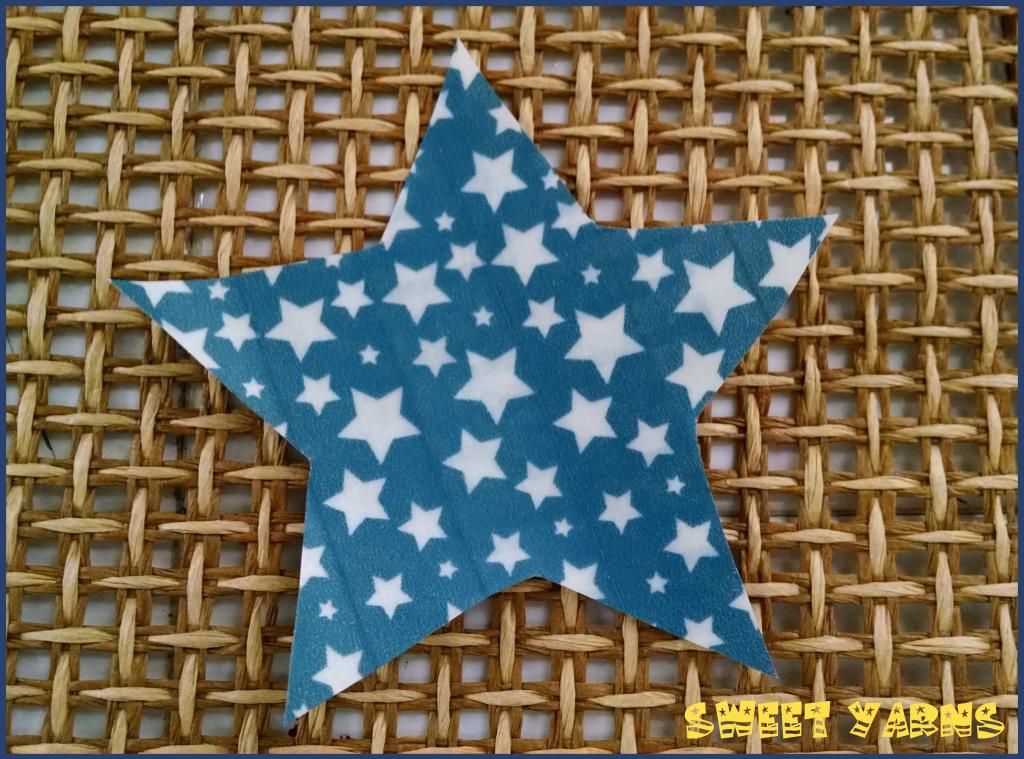

7. Begin adding your contact paper images to your tiles.
8. For extra durability, apply 2-3 coats of Polyurethane all over the tiles. Let dry between coats.
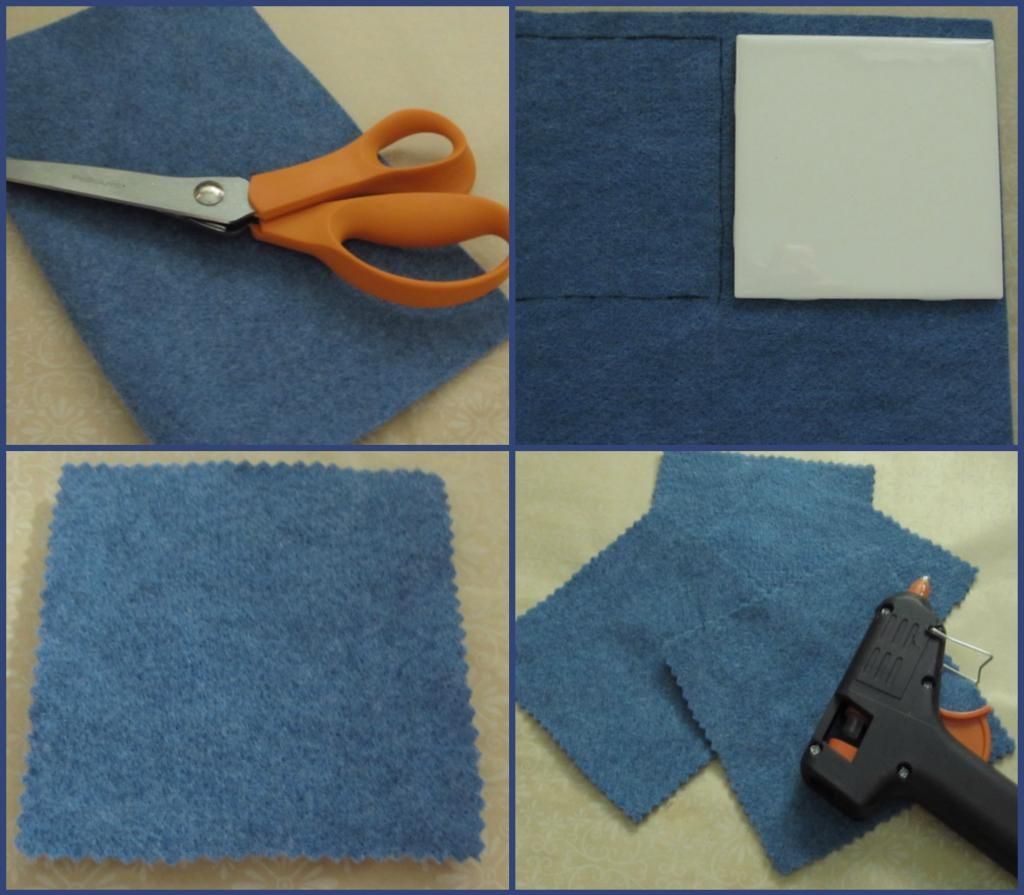
9. I glued felt squares to my tiles to protect my furniture from the tile's harsh bottom. Using a tile as a guide trace and cut felt squares to fit each tile.


I love how my Patriotic Coasters turned out. My favorite one is the Firecracker one.  What's yours??? I hope you find some inspiration from this project and give this tutorial a try.

Happy 4th of July...



Linking to:

Craft Frenzy Friday Feature Today's Creative Blog
Photobucket
See Vanessa Craft
Poofy Cheeks
52 Mantels By Stephanie Lynn
ItsOverflowingLife on Lakeshore Drive
The DIY'ersCornerstone Confessions
Say G'Day Saturday

Tuesday, January 1, 2013

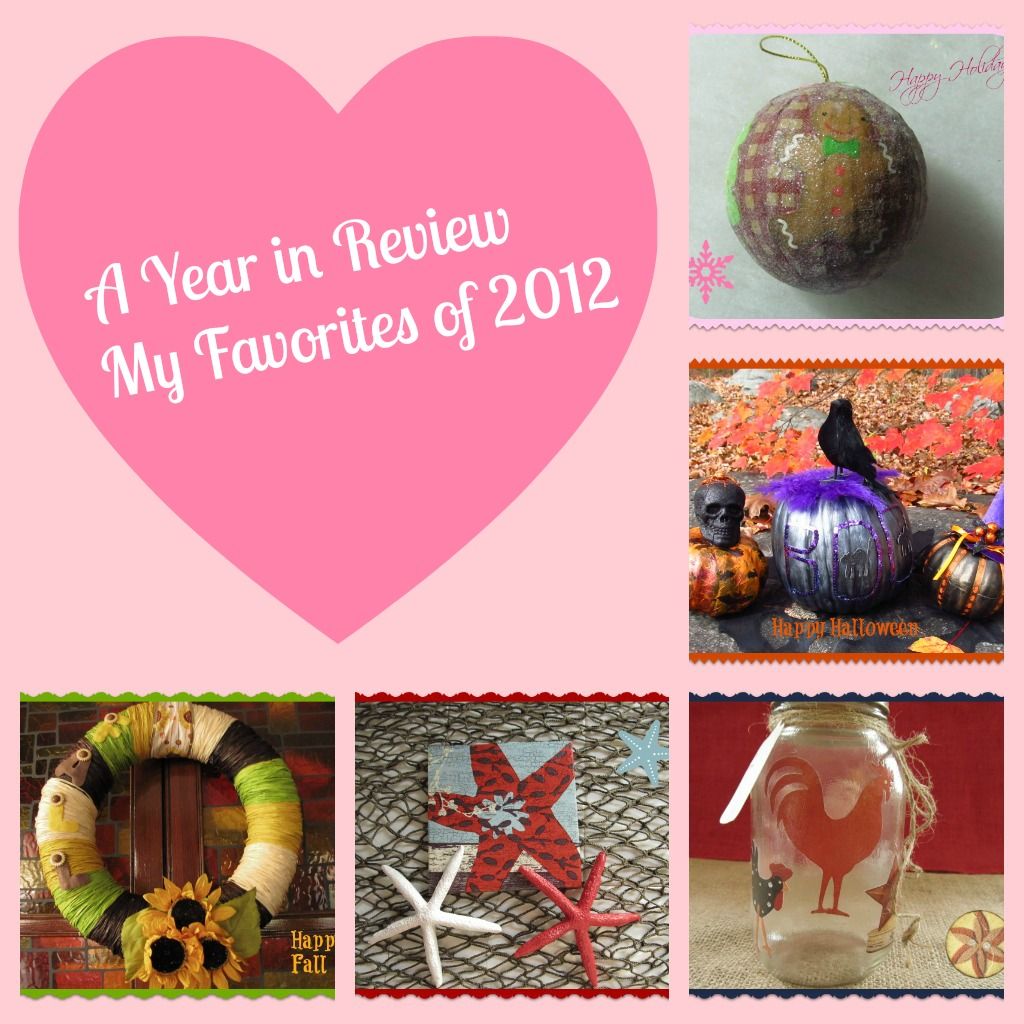
4 A Year in Review - My Favorites of 2012

Happy New Year!!
I wanted to thank all my readers for their comments and features throughout this past year. I enjoyed sharing my Projects and Tutorials with you. I picked twelve of my favorite posts and I hope you can re-visit and get inspired.


Here are my favorite 12 Posts of 2012!!

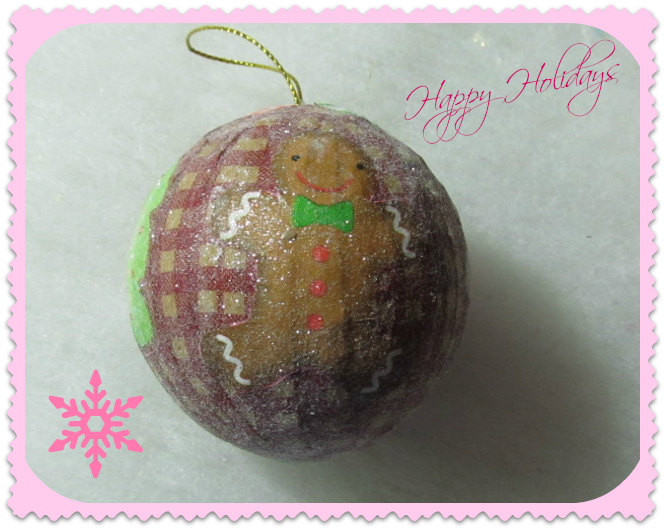
Paper Mache Ornament

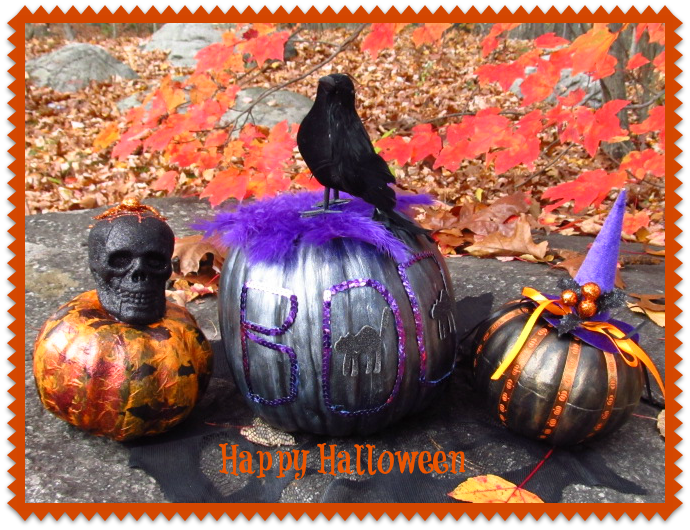
Spooky Halloween Pumpkins

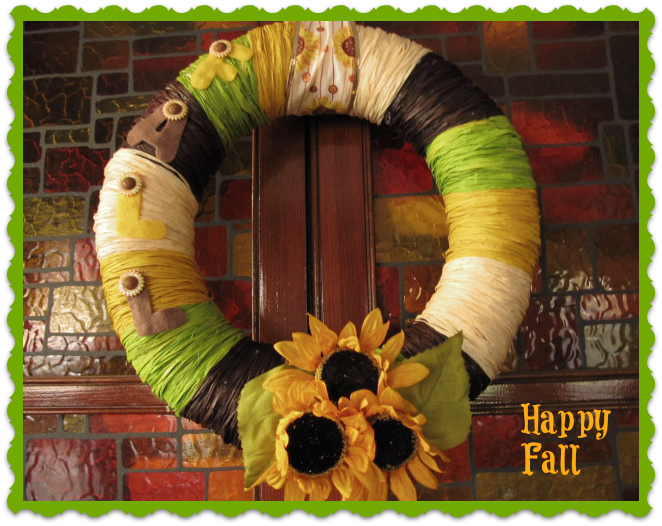
Raffia Sunflower Wreath

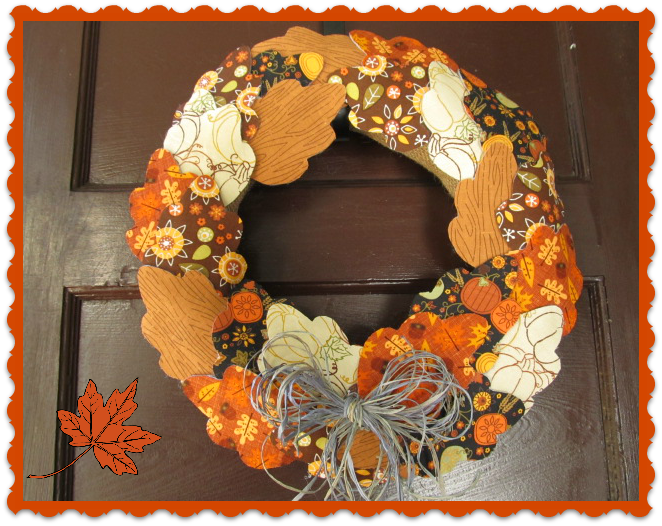
Leaf Wreath

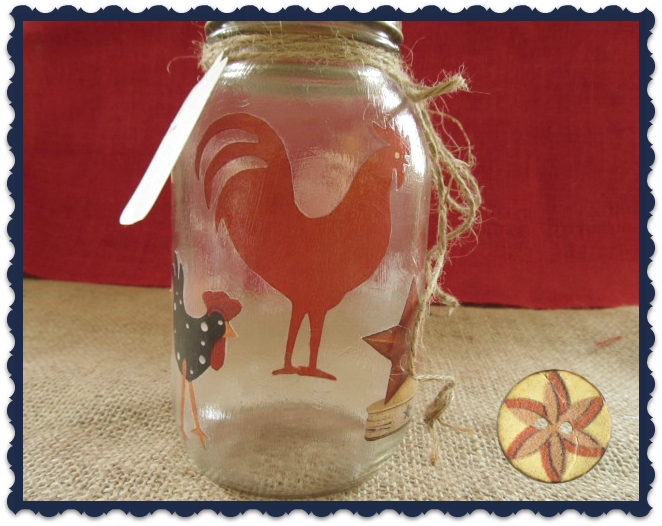
Country Red Rooster

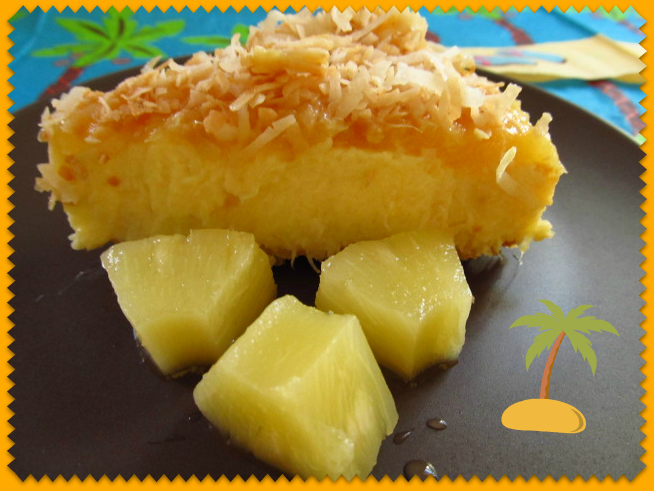
Coconut Pineapple Cheesecake

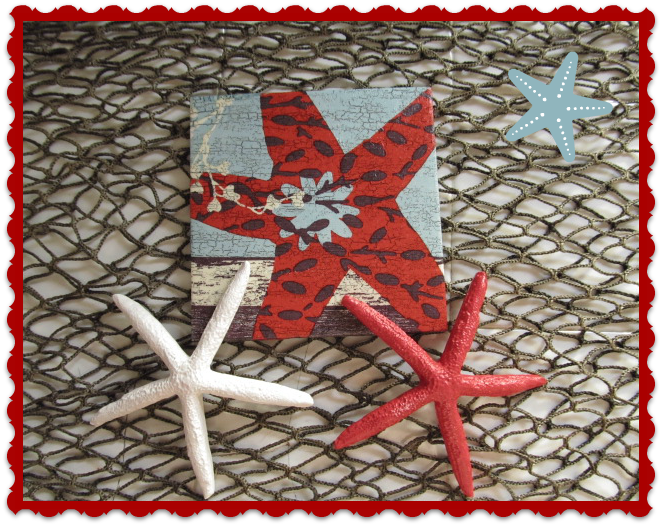
Starfish Coasters

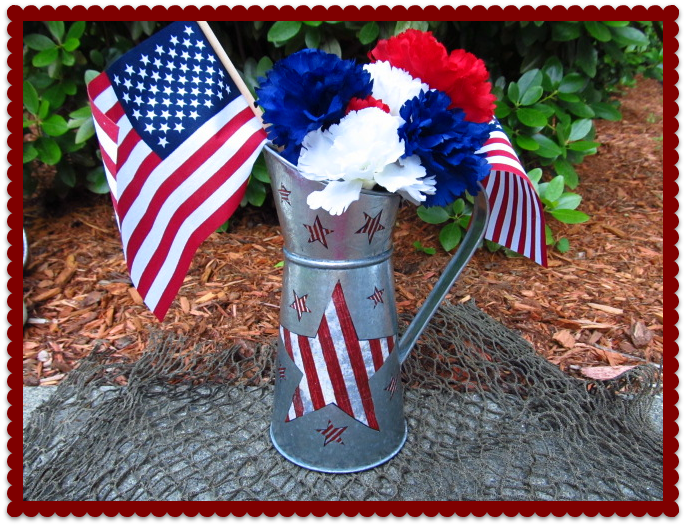
4th of July Pitcher-Buckets

Washi Tape Tile Coasters

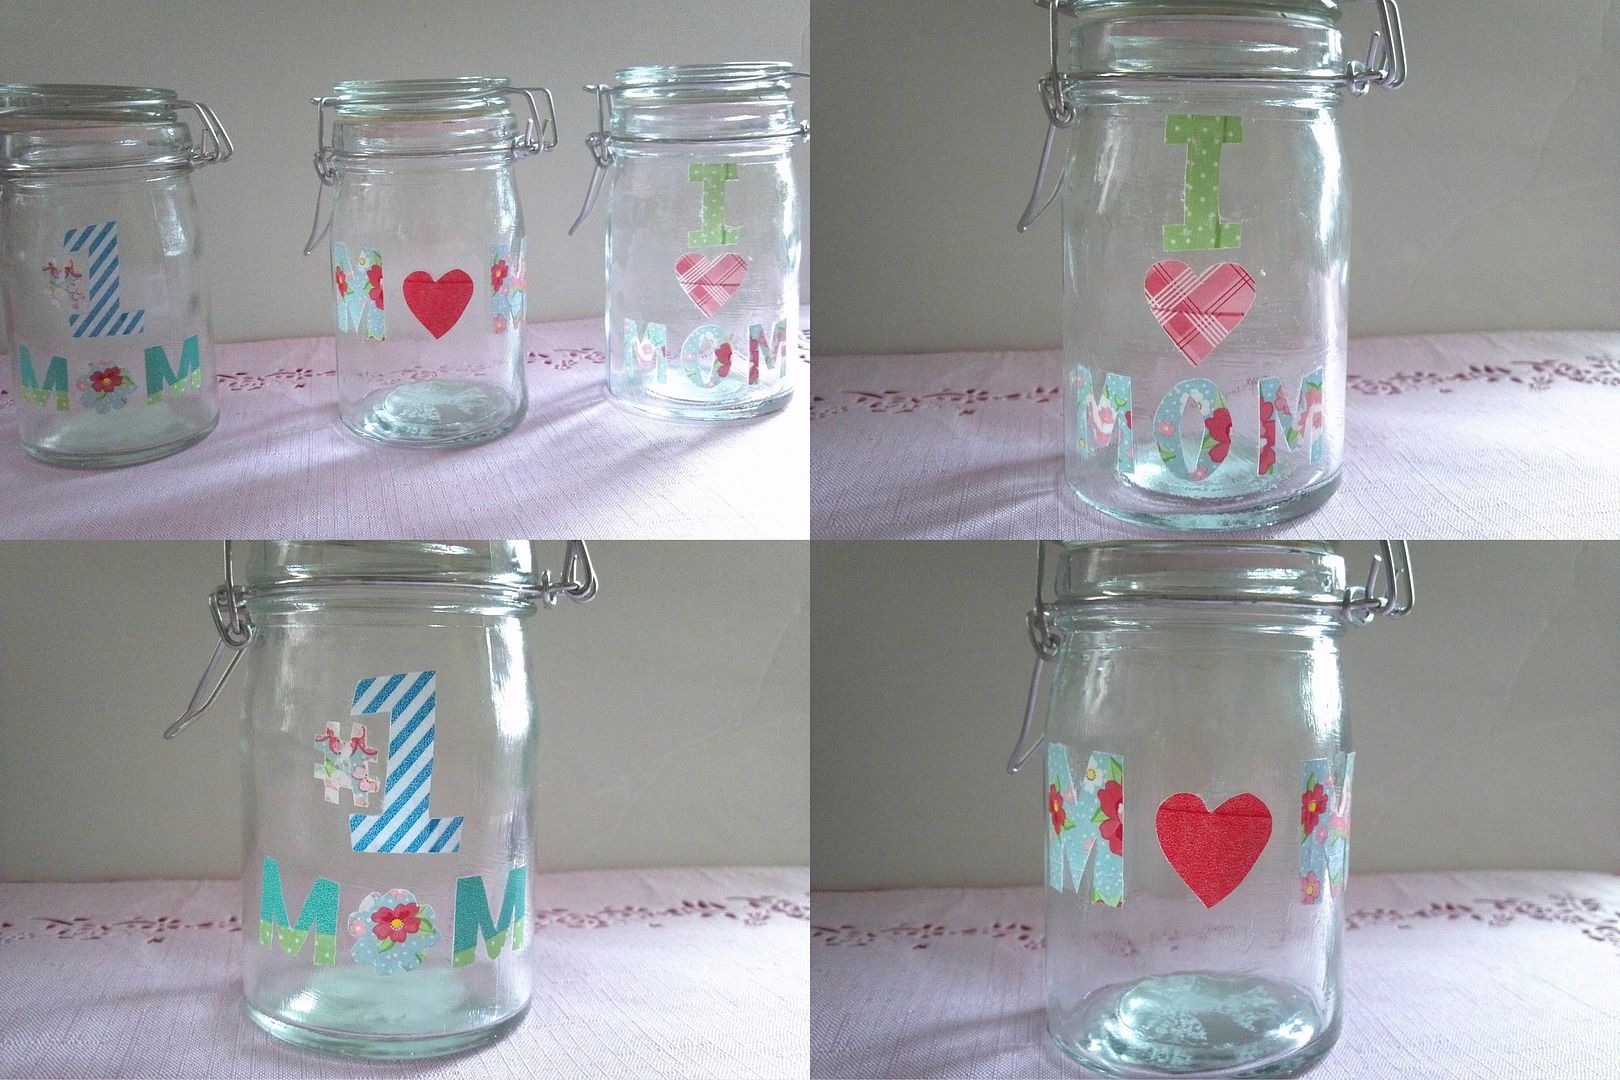
Washi Tape Mother's Day Jars

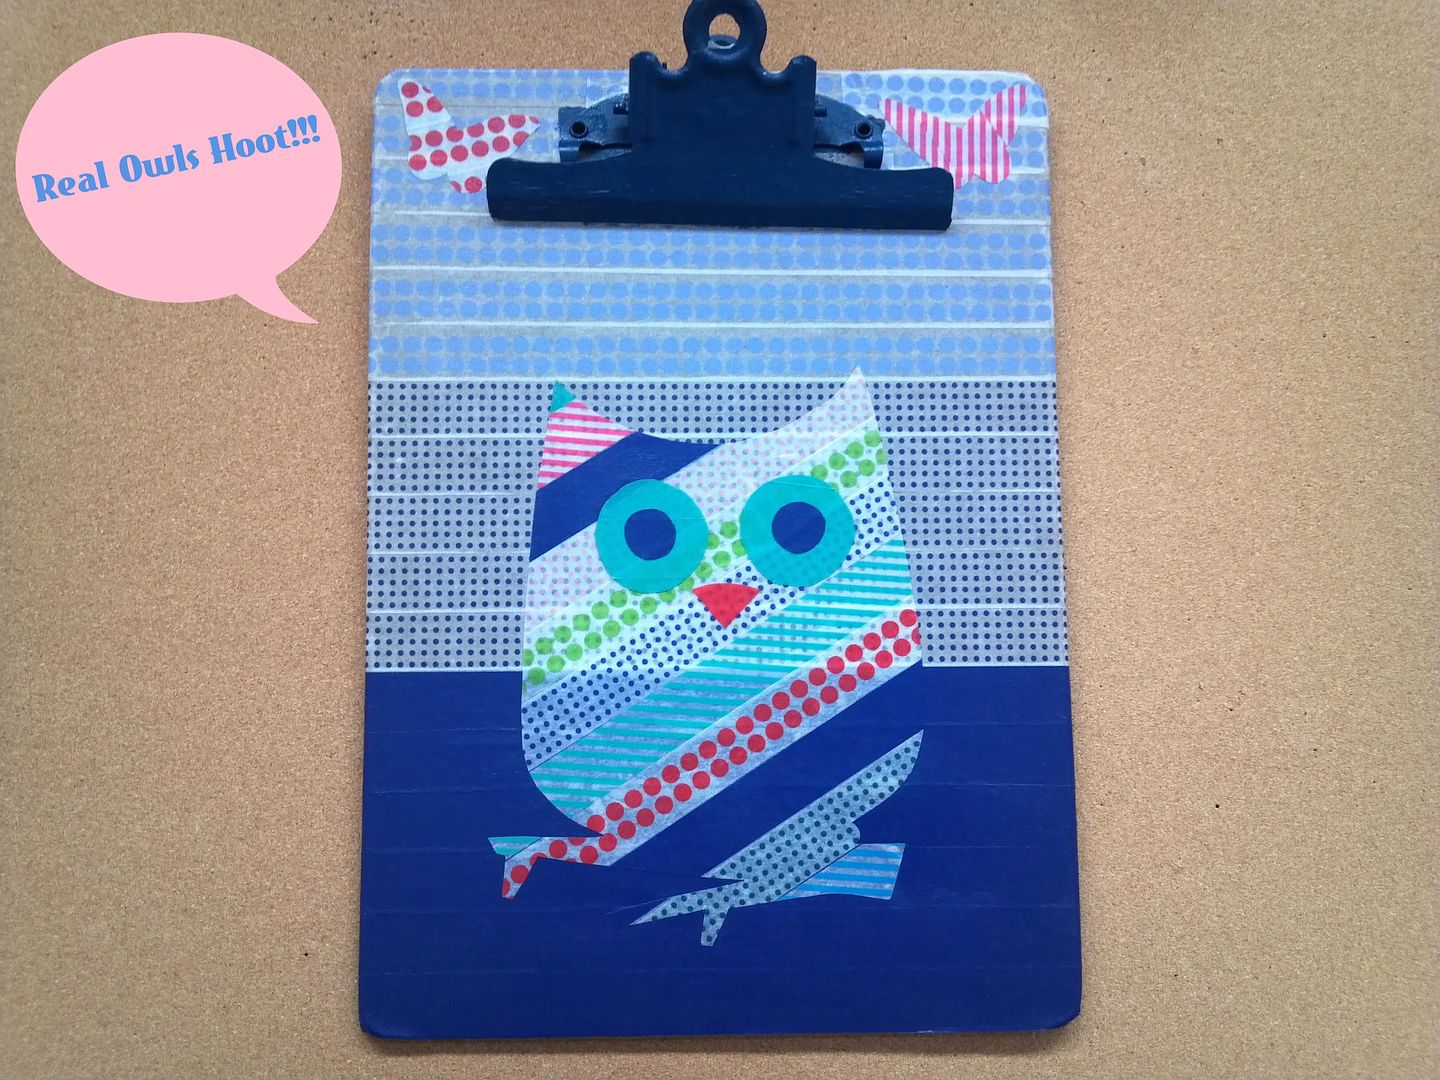
Washi Tape Clipboard

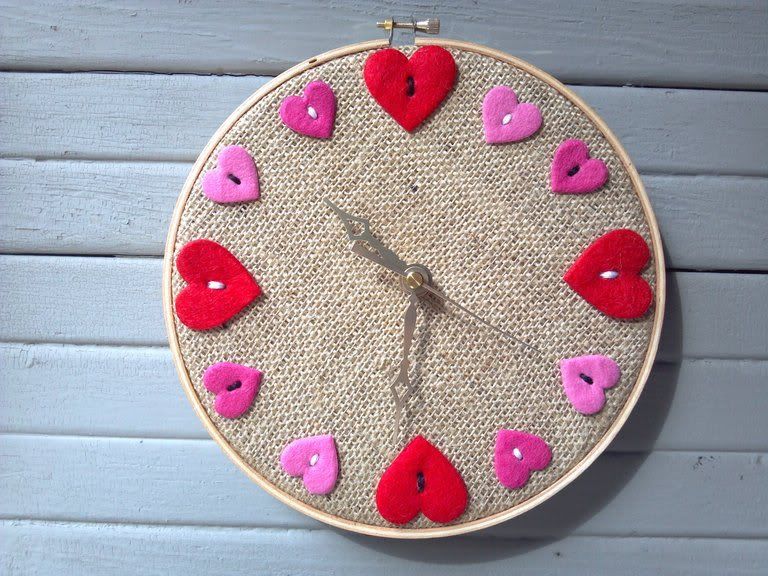
Sweetheart Clock


Tuesday, May 15, 2012

43
Washi-Tape Contest


I am super excited to participate in this Month's Pinspired and Rewired Blog Series contest. This month's Theme is my latest craft passion; Washi Tape.

For this contest, the project must be inspired by a Washi Tape project found in Pinterest. The Linky Party Contest will be held from May 18 -23.


The Hosts are:

Southern Lovely, Family Ever After, Ginger Snap Crafts, and The Gunny Sack.

My project inspiration came from a Washi Tape Tile Coaster project I pinned from DesignsDreamsJapan.com


I modified the project by creating sweet Cupcake and Ice Cream Cone images from Washi Tape which I applied to the center of each tile.
Let's begin.....

Materials:
  1. 4 - 4" Square Ceramic Tiles; purchased at Home Depot for 16 cents each.
  2. Washi Tape
  3. Scrapbook Paper - Photo Burlap (design name).
    I was fortunate to find this paper at Michaels, which resembles an ice cream cone's texture.
  4. Contact Paper
  5. Tracing Paper
  6. Mod Podge/Foam Brush
  7. Single Hole Punch
  8. Ribbon 2" Reach Punch by McGill, purchased at ACMoore.
  9. Pair of Tweezers
  10. Polyurethane - I used Minwax Clear Satin
  11. Small Paint Brush
  12. Self Stick Heavy Duty Felt Circles
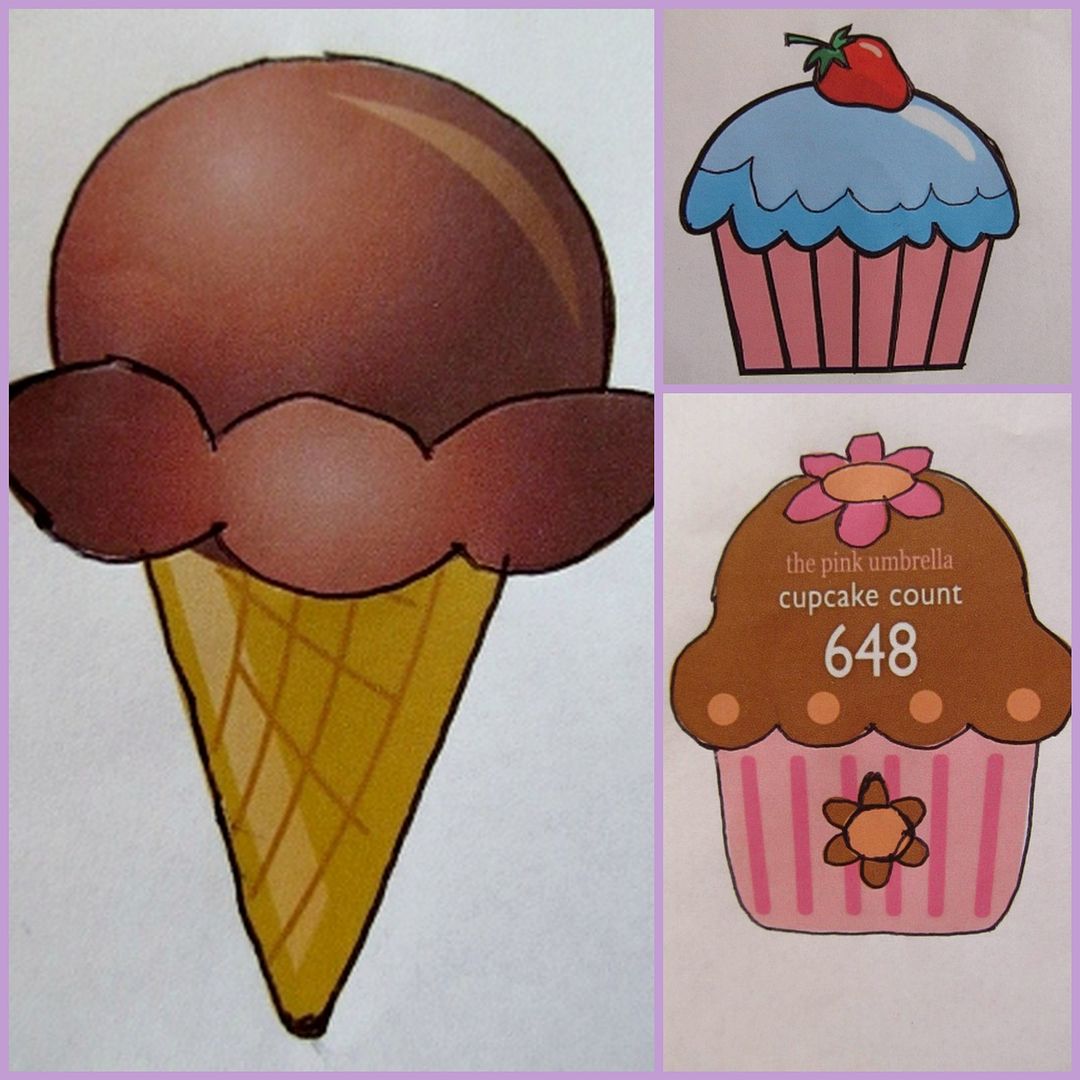
  13. Graphics. I found the Cupcake and Ice Cream Cone images online.
Instructions:
  • Clean your tiles with bathroom cleaner to get rid of any dust. Let the tiles dry completely.
  • Start adding your Washi Tape across the tiles.
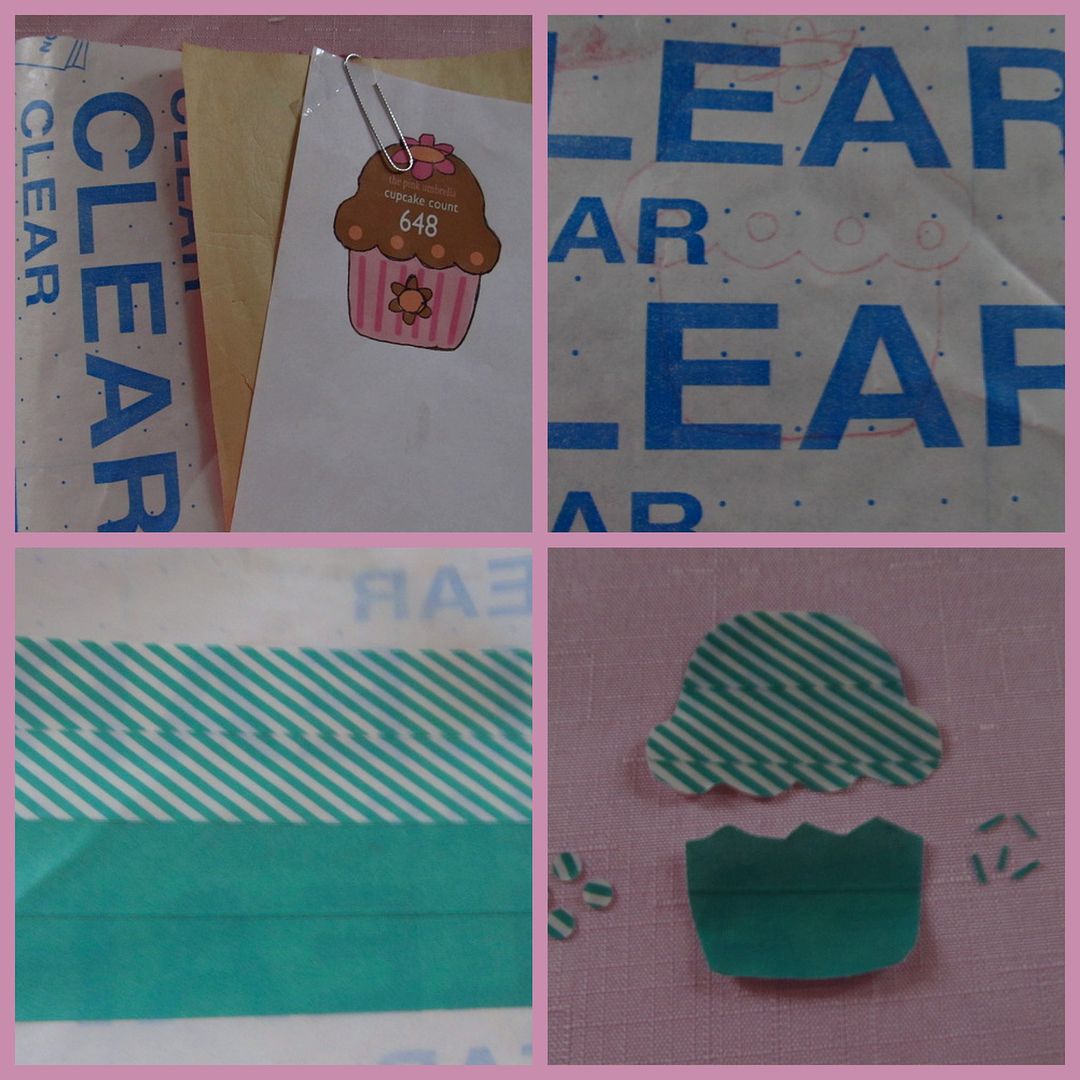
  • Trace your Graphics using the Tracing and Contact papers by creating layers. Lay the contact paper with backing facing up; add tracing paper and finally your graphics.
  • Flip Contact paper over. Apply Washi-tape to cover your traced graphics. For the Cupcakes and Ice Cream Scoops I used Washi Tape. For the Cones, I used the Scrapbook paper since I did not have any brown Washi Tape.
  • Cut your graphics around the traced lines. For the Cupcakes and Ice Cream Cones I cut each section individually separating the scoops from the cones; the frosting from the cupcakes.
  • For the Cupcake Sprinkles and Ice Cream Toppings, I applied Washi Tape to a piece of Contact Paper and punched the pieces using the Single Hole and Ribbon Punches. To separate these small pieces from the contact paper, I used the tweezers.
  • Begin attaching your graphics in sections. The cones were applied using Mod Podge. The Ice Cream Scoops, Cupcakes and Frosting were simply taped to the tiles.
  • Apply the Sprinkles and Toppings randomly over the Scoops and Frostings.
  • For extra durability, apply 2-3 coats of Polyurethane all over the tiles. Let dry between coats.
  • To protect your furniture from the tile's harsh bottom, I applied a felt circle to all four corners.

And here they are...


I now have a cute set of Tile Coasters, perfect for those Summer dinner gatherings. I hope you give this tutorial a try.

Happy Pinning!!!

Linking to:

Visit thecsiproject.com

Pin It button on image hover