Showing posts with label Valentine's Day. Show all posts

Thursday, February 6, 2014

11 Ombre Valentine's Trees


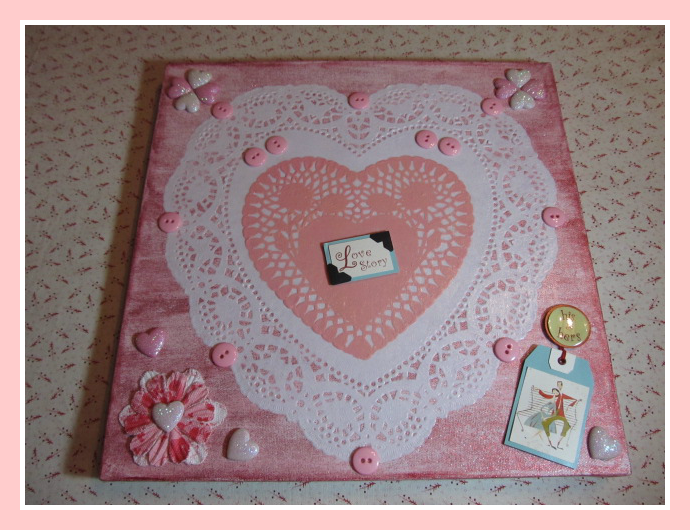
LOVE is in the air everywhere I look around; LOVE is in the air every sight and every sound... I love this song.
 
VALENTINE's Day is almost here. This is a special day to show our LOVE to the people we care about.

Ombre is one of my favorite techniques to mix and match colors. What could be more fun than to create Ombre Felt trees for Valentine's Day?
 
I stumbled upon some cute Valentine's picks at Joanne Fabrics. I thought they would look awesome as tree toppers. I picked felt sheets in three shades of PINK and went to town cutting small hearts. To make your own felt trees you will need the following supplies....


To make it easier to cut small hearts from Felt I used Freezer Paper and my printer. Cut sheets of Freezer Paper that are just slightly smaller than your printer paper. Tape the freezer paper, shiny side down onto your printer paper sheets at each corner using masking tape.
Load your freezer paper into the printer paper tray. I loaded mine facing down. You might want to check your printer loading directions. Print your template.
For my trees, I printed 6 sheets, 2 for each felt color. Press the Freezer Paper sheets shiny side down onto the sheets of felt using a warm iron-no steam.


If you wish to use my Heart Template to make your very own Felt Tree, click on the right arrow to download and print the file.


PLEASE NOTE: this file is for Personal use only. Please do not claim or sell it as your own!!!

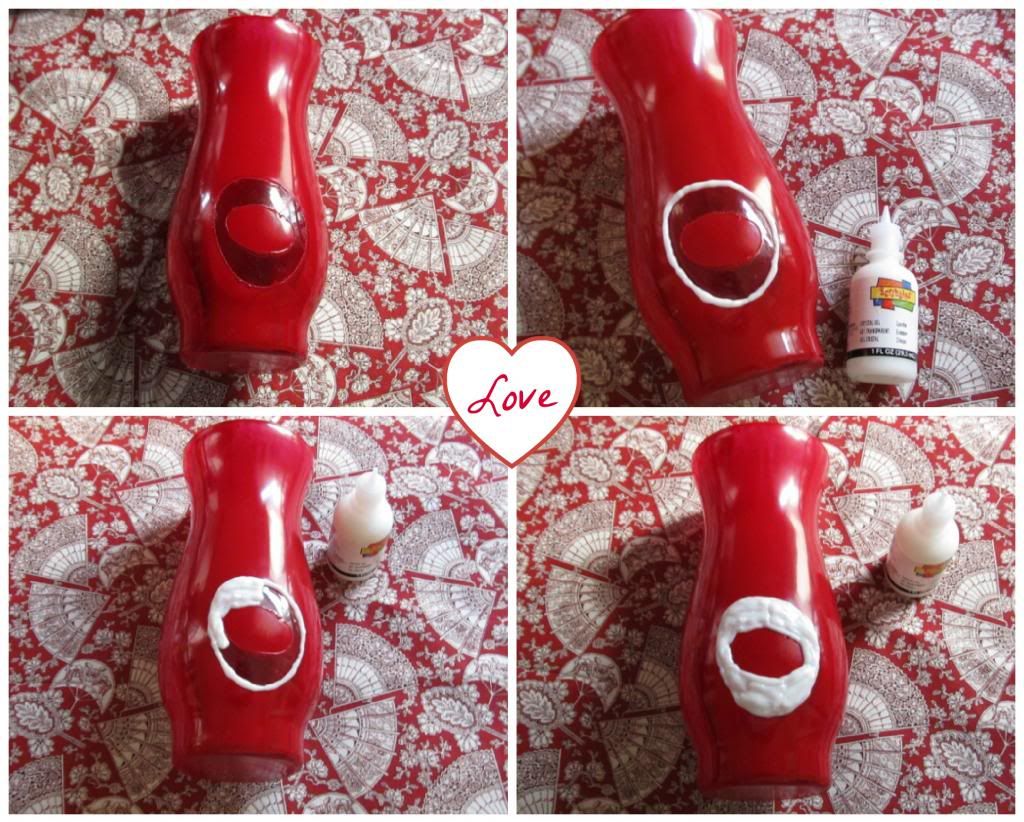
Spray paint your glass candlestick. I gave mine two coats. Let dry completely.


Cut your felt hearts. Starting from the bottom of the cone, begin pinning your hearts using the sequins and pins, overlapping the hearts as you go. Continue pinning your hearts working in rows.


I cut down the Valentine's pick wire to about 2 inches. After your cone is completely cover with the felt hearts; hot glue the pick onto the cone's top. Let dry completely. Finally, glue the candlestick to the bottom of the cone.


I had so much fun making the first tree; I decided to make another one using a different size cone.
And here they are.... I love how they turned out.


Happy Valentine's Day!!!


Featured on:

Diana-Rambles


Linking to:

Visit thecsiproject.com Today's Creative Blog
Photobucket
See Vanessa Craft
Poofy Cheeks
52 Mantels
Foodie Friends Friday By Stephanie Lynn

Thursday, February 14, 2013

3 Love Story Canvas


Happy Valentine's Day!!! I wanted to create something fun for Valentine's Day. I found an opened 12" x 12" canvas at my local Thrift shop for $1.99. What a deal!!!
I thought I create a Mixed Media Collage using Paper Doilies and various types of Embellishments.

Let's begin by gathering the following materials.

Materials:
  • 12" x 12" Stretched Canvas
  • 1 - 10" White Paper Doily
  • 1 - 6" Pink Paper Doily
  • Pink and White Adhesive Glitter Shape Hearts
  • Recollections Floral Embellishments, purchased at Michael's
  • Craft Essentials 3-D Embellishments - Love Story, purchased at Jo-Ann's Fabrics
  • 5/8" Pink Buttons
  • Hot Glue Gun
  • Gesso Canvas Primer
  • Folk Extreme Glitter Acrylic Paint - Red
  • Mod Podge - Gloss Finish
  • Foam Brush
  • 2 3" x 3" canvas - optional

Directions:

Apply one coat of Gesso Canvas Primer all over the canvas, let dry completely. Apply two coats of the Extreme Glitter paint. Let dry between coats.


Apply a light coat of Mod Podge to the canvas center, where the large doily will be placed. Add your 10" white doily, smoothing wrinkles with your fingers. Let it dry for 15-20 minutes. Apply a second coat of Mod Podge all over the doily. Let it dry for about 1/2 hour.

Add another light coat to the center of your 10" white doily Apply your 6" pink doily; again smoothing wrinkles as before. Let it dry for 15-20 minutes. Apply another coat of Mod Podge; let it dry for about 1/2 hour.

Apply 1-2 final coats of Mod Podge all over the entire canvas. Let dry between coats.

Note: Any wrinkles will eventually disappear as more coats of Mod Podge are applied.


Begin adding your embellishments. Most of the embellishments I choose came with an adhesive backing. However, I added a bit of hot glue the back to obtain a permanent bond. I started by adding the pink buttons to the white doily.

I applied one of the 3-D Love Story embellishments and a pink heart to the canvas right lower corner.


I then added 4 hearts; 2 of each color to the canvas left and right top corners.


I attached 2 flower embellishments, overlapping each other to the canvas left lower corner; placing a white heart in the middle and two more hearts on the left and right sides of the flower.


Lastly, I applied one more 3-D Love Story embellishment to the center of the pink doily.


Here is the canvas after all the embellishments were added.


I stumbled upon these cute small canvases while shopping at ACMoore and decided they would complement the large one. I applied two coats of the Extreme Glitter paint and added 3-D and Hearts embellishments.


I enjoyed creating this project as it allowed me to choose and add different components to a plain canvas; resulting in a fun Collage.


Happy Valentine's Day!!!

Linking to:
Today's Creative Blog

debbie-debbiedoos

Visit thecsiproject.com


Monday, February 11, 2013

9 Puffy LOVE Vases


Valentine's day decor will not be complete without one or more vases you can fill with fresh, faux flowers or any other fillers. My Love vases are a low-cost project, created simply from four different glass vases from Dollar Tree and paints I had in my craft stash.

Lets begin by gathering the following materials.

Materials:
  • 4 glass vases. I choose four different shapes.
  • Clear Contact Paper
  • Tracing Paper
  • Krylon Spray Paint - Cherry Red
  • Scribbles Dimensional Fabric Paint - Sparkle
  • Letters - I created mine in Word using Font Name: RAVIE, Font Size: 175, printed on reverse order.
  • Scissors
  • Newspapers
  • Rubbing Alcohol
  • Paper towels
  • X-Acto Knife


Directions:

Using the tracing paper, begin tracing your letters onto the contact paper. Make sure your letters are placed in Reversed Order, prior to tracing.


Wash and dry your vases. Wipe them using rubbing alcohol and paper towels. Let them dry completely.

Cut your letters following the tracing lines. Remove the backing paper and firmly apply letters to each vase.


Using your fingers, rub each letter to make sure the edges are affix to the vase's surface.


Cover your working area with plenty of newspapers or drop cloth. In a well ventilated area; paint your vases using the Krylon Spray paint. I gave my vases two coats. Let each coat dry for at least one hour. Let vases dry overnight before adding your Fabric Paint.

Remove the letters from all the vases. If any spray paint bled under your letters, carefully remove it with a X-Acto knife.

Begin decorating your vases using the Scribbles Fabric Paint. Outline and fill each letter. Make sure the exposed glass area is covered with paint. Let dry at least 4 hours. I gave my letters to coats of fabric paint to double up the Puffiness.


I just love how this fabric Paint dries, giving my project that awesome Puffiness effect. The plain glass vases I started with now have a super dimensional finish.


I hope you enjoy this tutorial and add a few bottles of Fabric Paint to your craft stash; you will not regret it....


Linking to:
Today's Creative Blog
debbie-debbiedoos


Pin It button on image hover