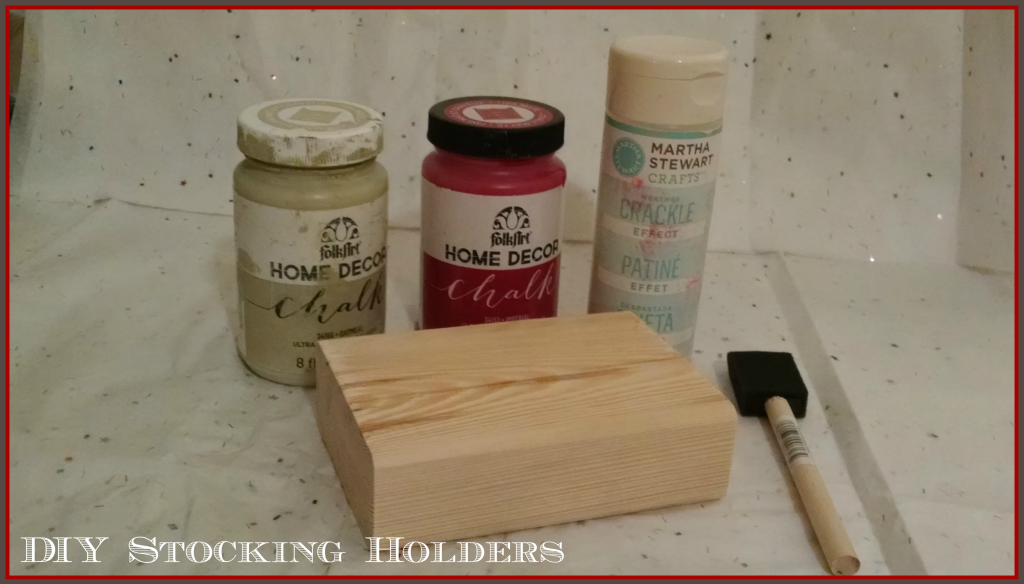
Christmas stocking holders are sometimes hard to find personalized to your liking. This year I decided to make my own holders from raw wood. I created two set of stocking holders; one for home and a second one for the office. A trip to Home Depot led me to purchase a 2 x 4; which it was cut into 5" blocks; with minimal rough edges. To begin gather the following materials:
Materials:
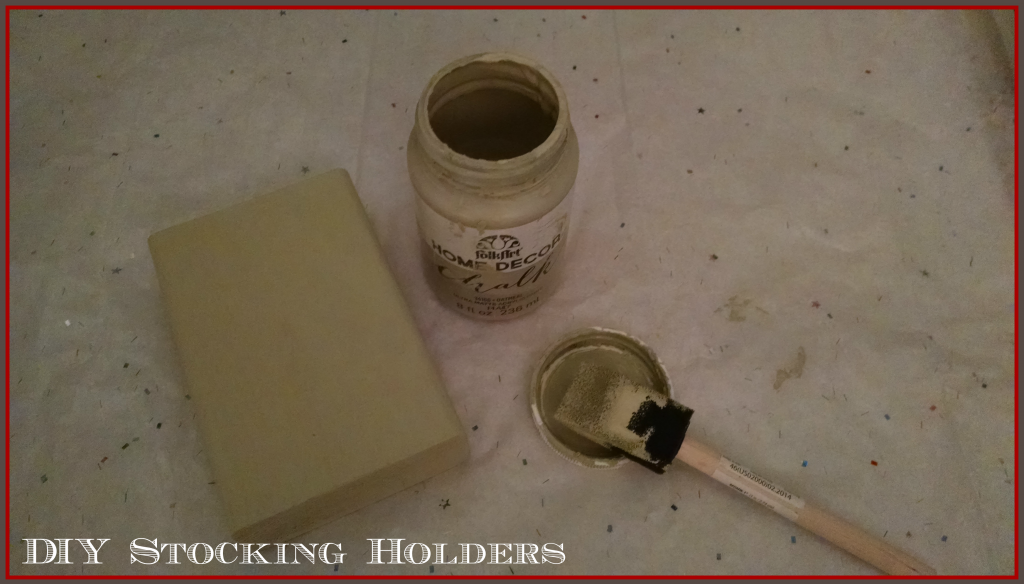
- Folk Art Home Decor Chalk Paint - Oatmeal
- Folk Art Home Decor Chalk Paint - Imperial
- Crackle Medium
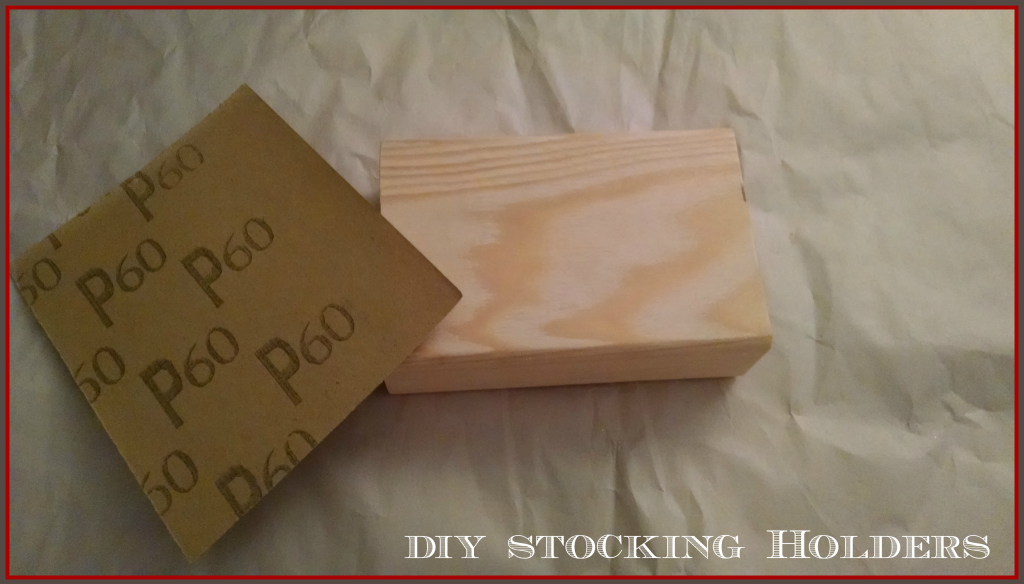
- 2 x 4 (cut into 5" blocks)
- 3 Foam Brushes
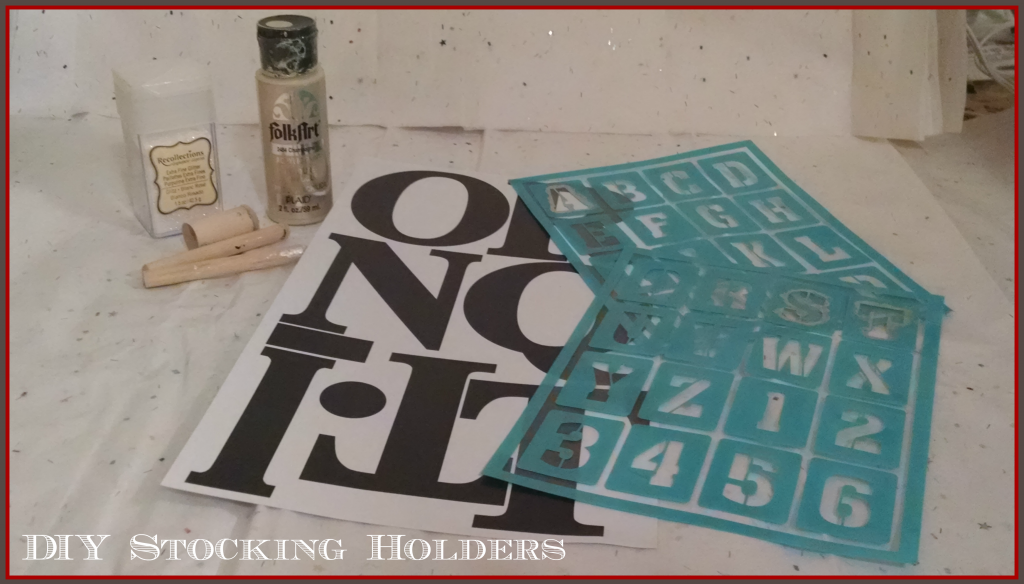
- Folk Art Acrylic Paint - Champagne
- Alphabet Stencils
- Stencil Daubers
- Fine Glitter
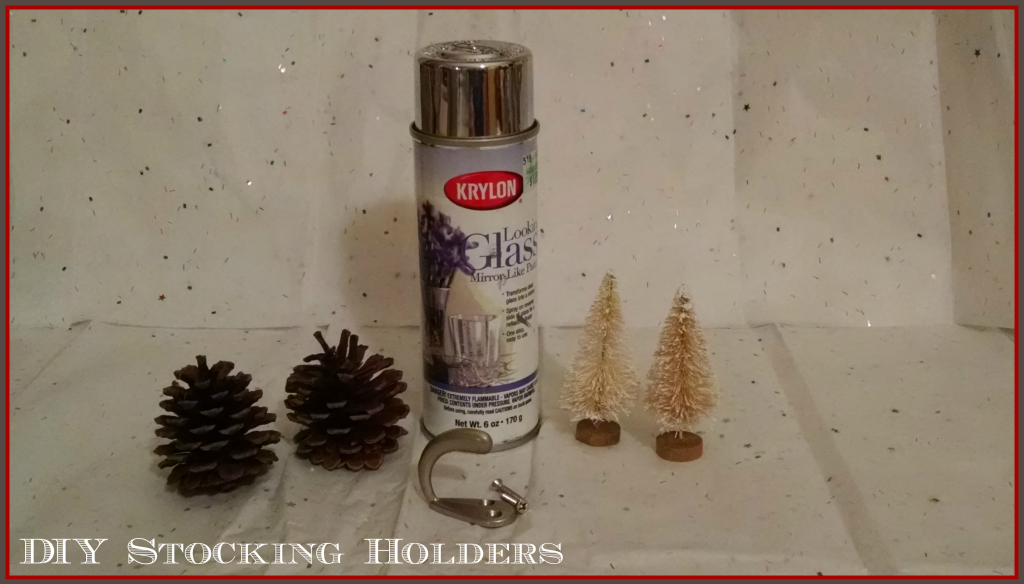
- Pinecones (Medium Size)
- Krylon Looking Glass Spray Paint
- Robe Hooks
- Miniature Sisal Trees
- Other Supplies: Sandpaper, Drill/bits, Painter's gloves, Wood Glue, Hot Glue Gun, Clear Acrylic Sealer
Step 1:
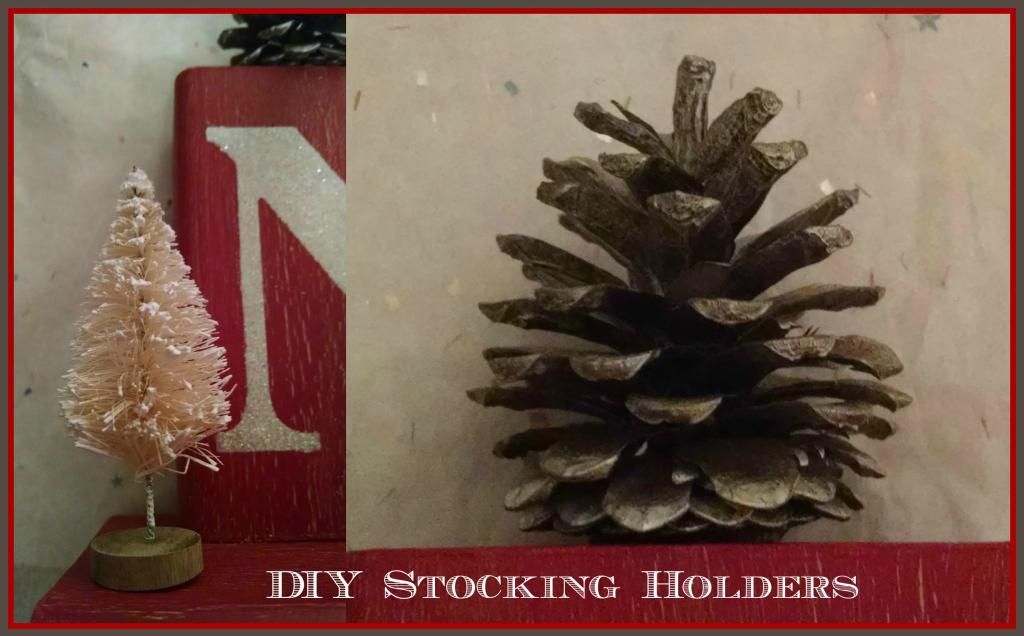
In a well ventilated area, paint the Pinecones using the Krylon Looking Glass Spray Paint. Let dry completely.

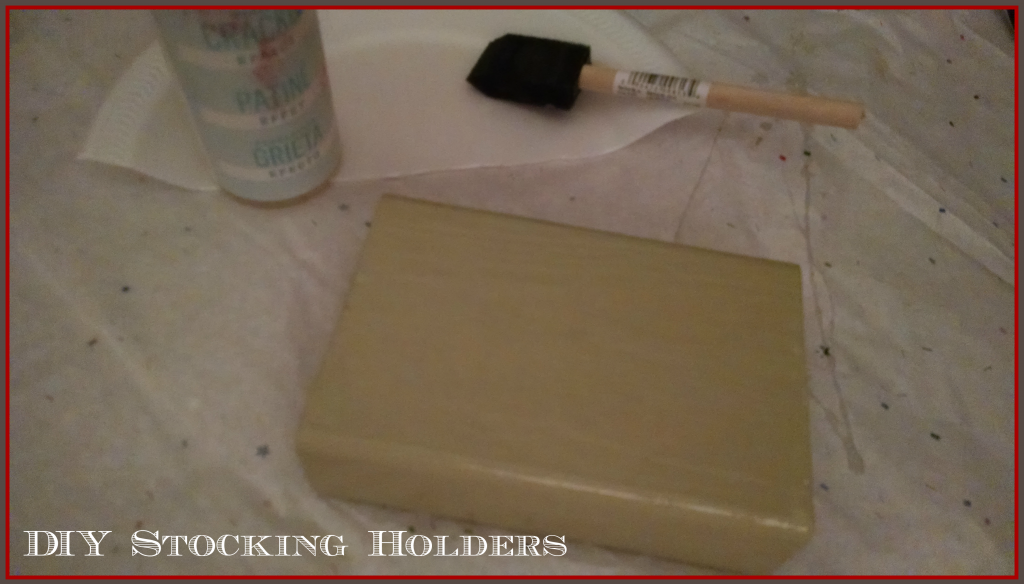
Step 2:
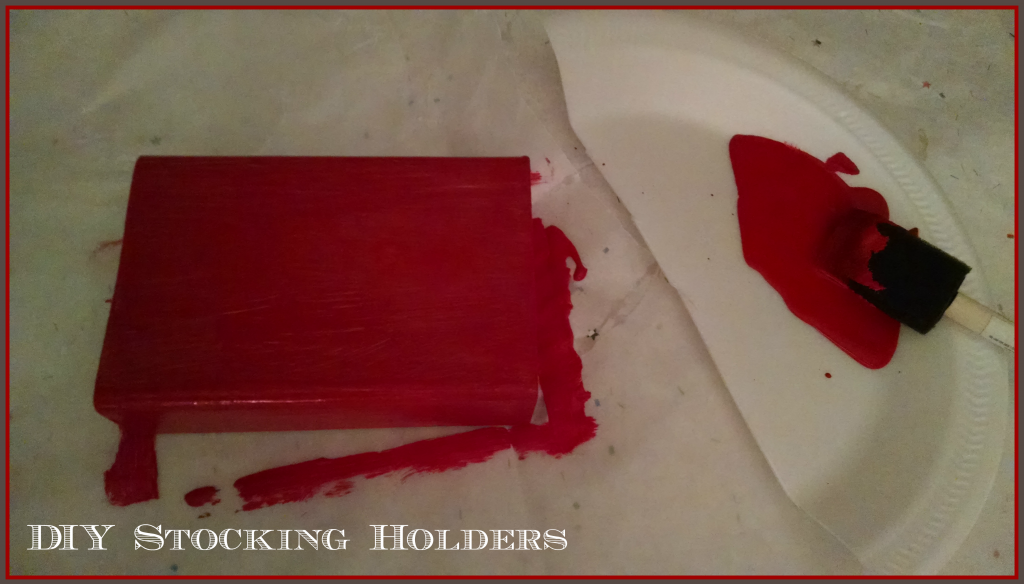
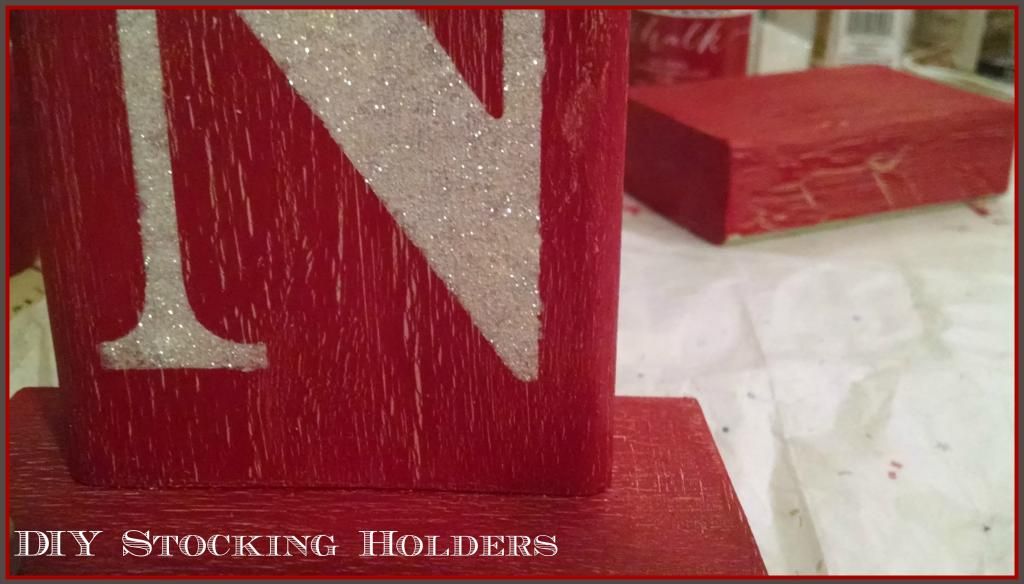
Begin by sanding the wood blocks to remove any rough edges. Use a tack cloth to remove the dust particles. For the crackle paint look, you will need to choose two different paint colors; an undercoat and a top coat color. I choose two chalk paints; Oatmeal as my undercoat and Imperial as my top coat. Paint the wood blocks with the undercoat color; let dry. Following the Crackle medium directions; apply a coat to the wood blocks. Wait until it feels sticky to the touch. Apply the top paint color using long strokes. Do not go over the same area as it will ruin the crackle effect. Let dry completely.
Step 3:
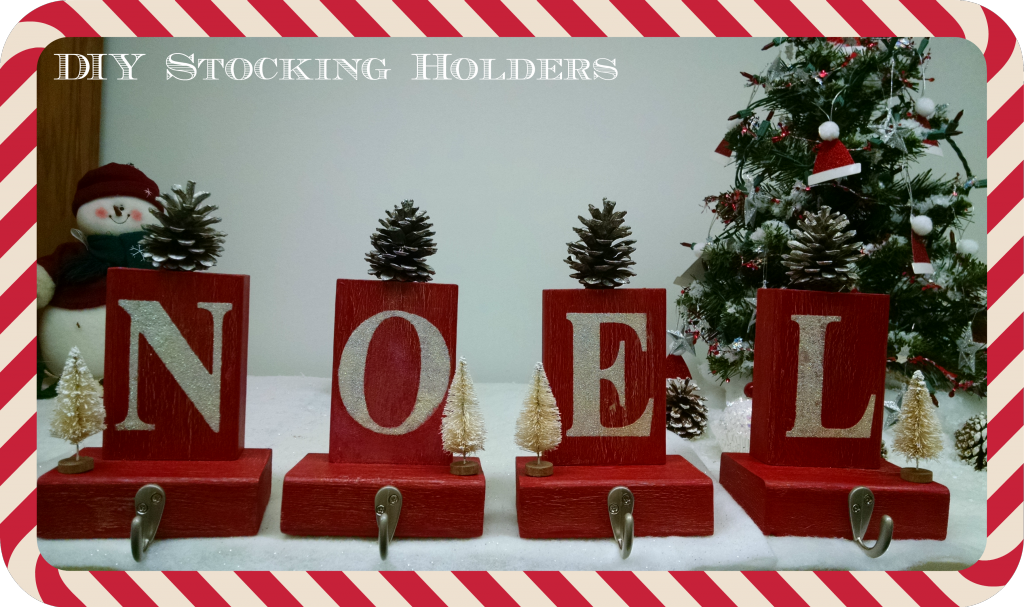
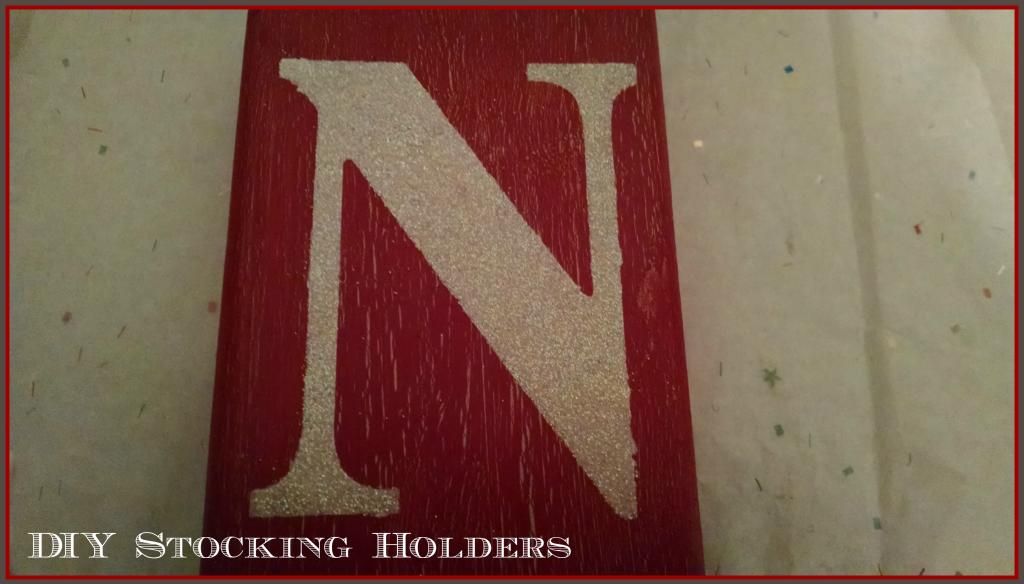
Using the larger alphabet stencils, I painted the letters using the acrylic paint. For my first stockings set, I spelled the word NOEL. Before the paint dried, I sprinkled the fine glitter over my letters and immediately removed the stencils from the wood blocks. Let dry completely.
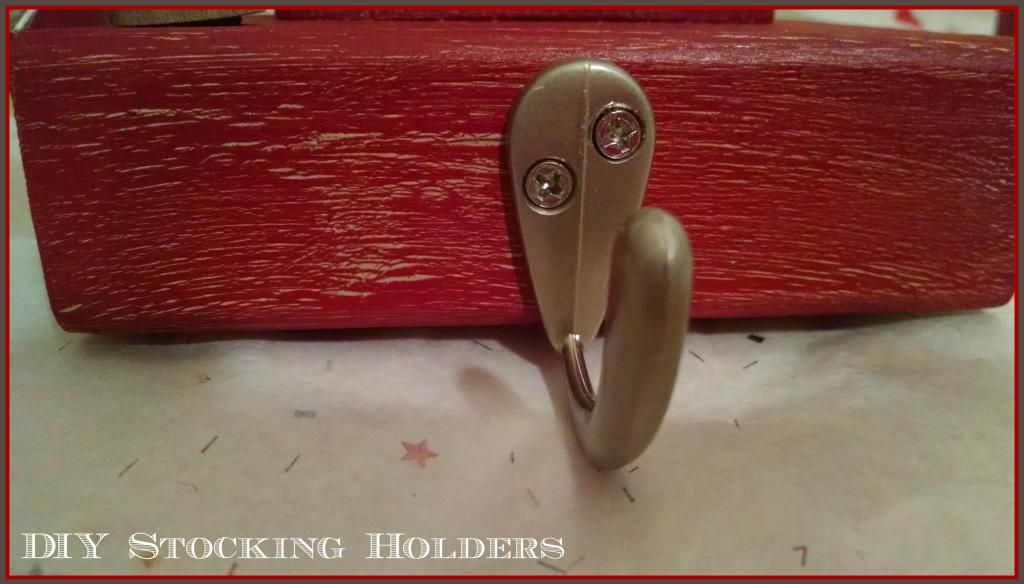
Step 4:
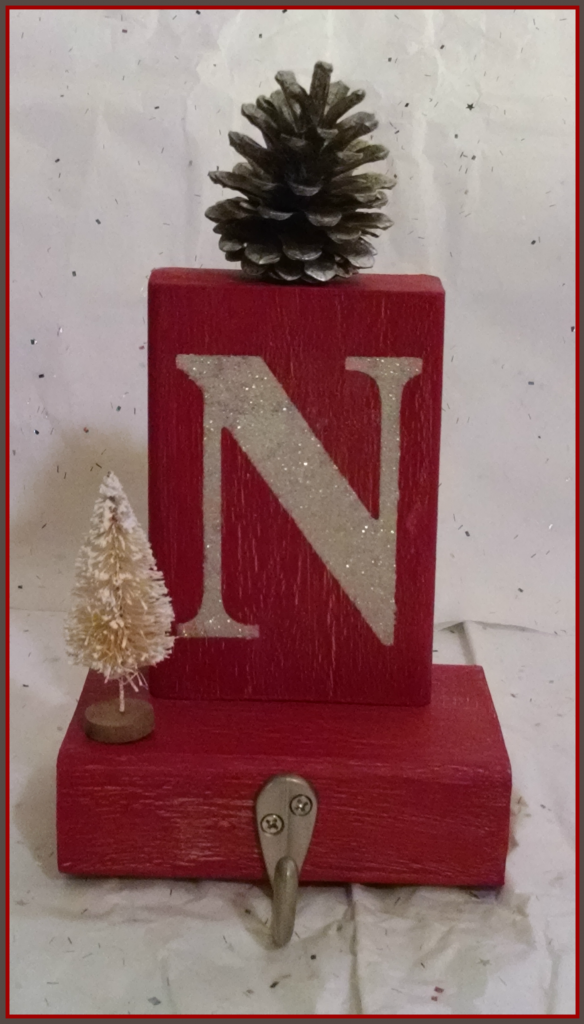
Using the robe hooks as guide, mark and pre-drill holes into four wood blocks. These will be the stocking bases. Screw the hooks in place. Attach the stenciled wood block to the stocking base using the wood glue. Let dry completely. For extra protection, apply a light coat of Acrylic Sealer to the holders.
Step 5:
Finally, I added the embellishments to my stockings. I glued a pine cone on top of each letter and a sisal miniature tree on the stocking base.
Here is the finished holder.
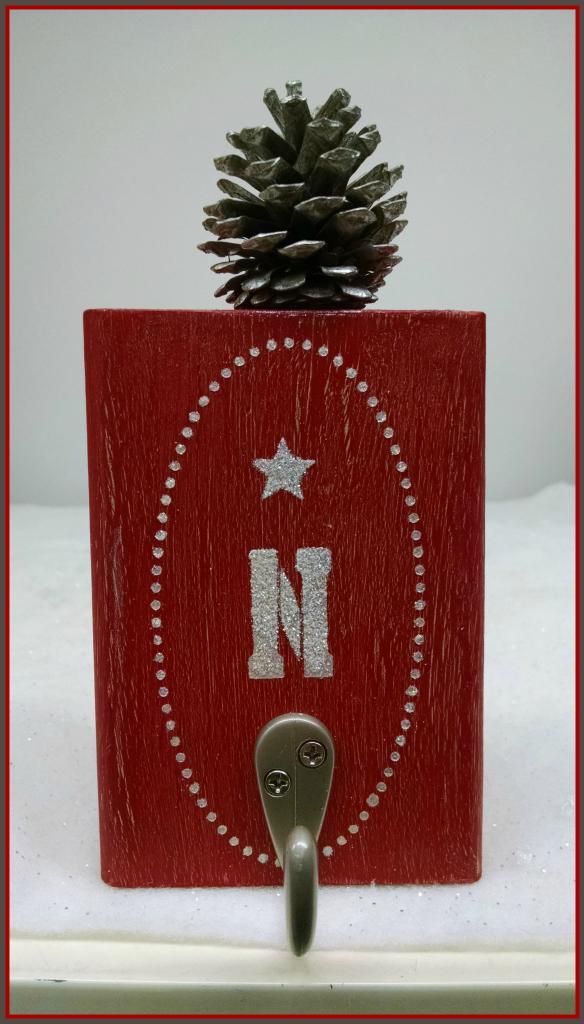
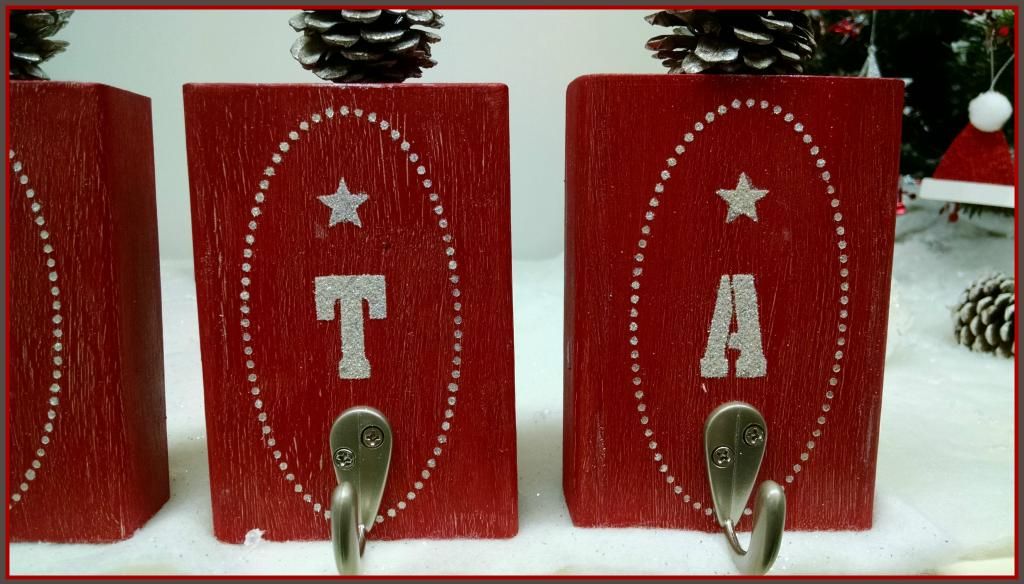
For my second set, I followed the same painting steps, but did not add a base. I used the smaller stencil letters to spell the word SANTA and added stenciled frames and stars. For the embellishment, I used pinecones.
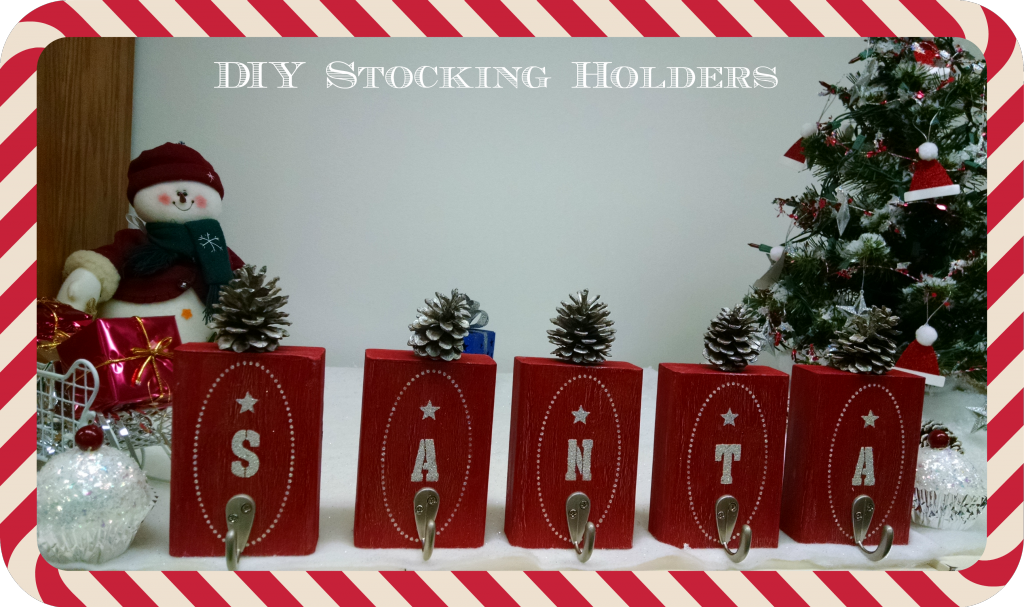
I love how these Stocking holders turned out. The top coat paint I choose is a lovely Red hue. My co-workers were so happy our stockings now have their personalized holders. I hope you give this tutorial a try... I tell my friends and co-workers I became an overnight Carpenter!!!! At first the idea of using a drill was a bit intimidated, but I found out it was easy as pie. I am glad I decided to make my own DIY Stocking Holders.
Have a wonderful Christmas...

 |  |
 |  |
 |  |
 |  |
 |  |
 |  |
 |  |
 |  |
 |  |
 |