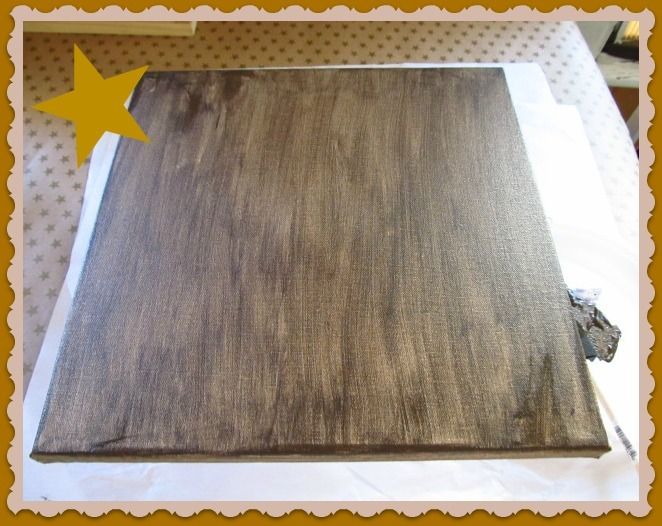
Happy Valentine's Day!!! I wanted to create something fun for Valentine's Day. I found an opened 12" x 12" canvas at my local Thrift shop for $1.99. What a deal!!!
I thought I create a Mixed Media Collage using Paper Doilies and various types of Embellishments.
I thought I create a Mixed Media Collage using Paper Doilies and various types of Embellishments.
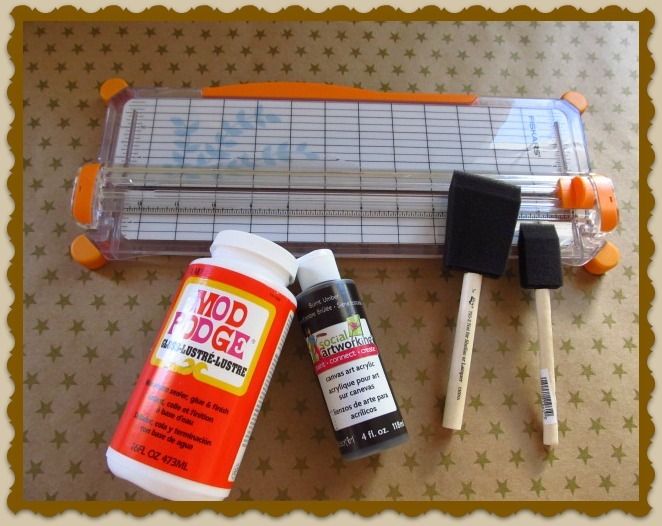
Let's begin by gathering the following materials.
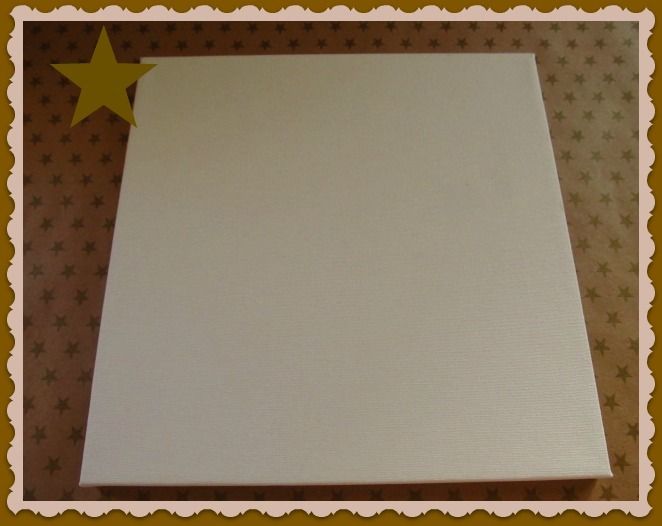
- 12" x 12" Stretched Canvas
- 1 - 10" White Paper Doily
- 1 - 6" Pink Paper Doily
- Pink and White Adhesive Glitter Shape Hearts
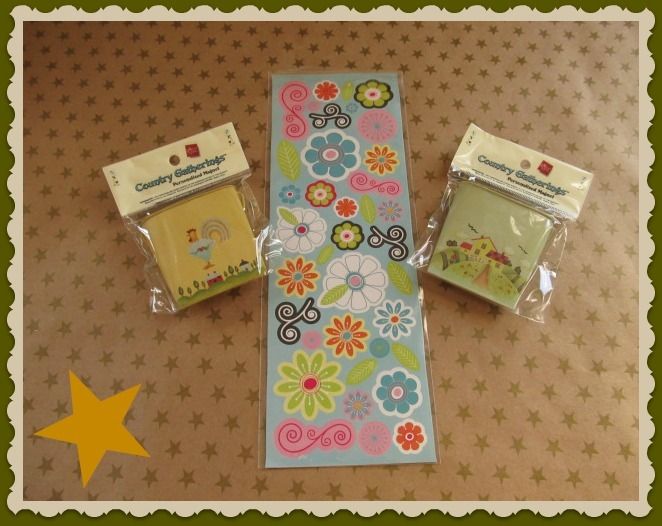
- Recollections Floral Embellishments, purchased at Michael's
- Craft Essentials 3-D Embellishments - Love Story, purchased at Jo-Ann's Fabrics
- 5/8" Pink Buttons
- Hot Glue Gun


- Gesso Canvas Primer
- Folk Extreme Glitter Acrylic Paint - Red
- Mod Podge - Gloss Finish
- Foam Brush
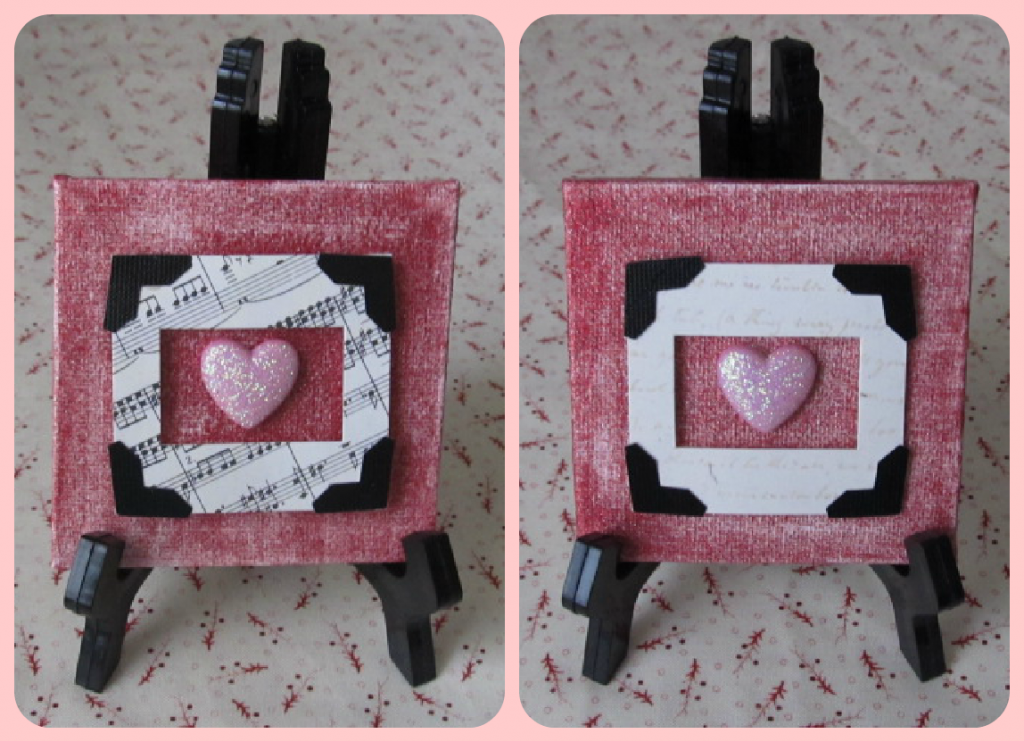
- 2 3" x 3" canvas - optional

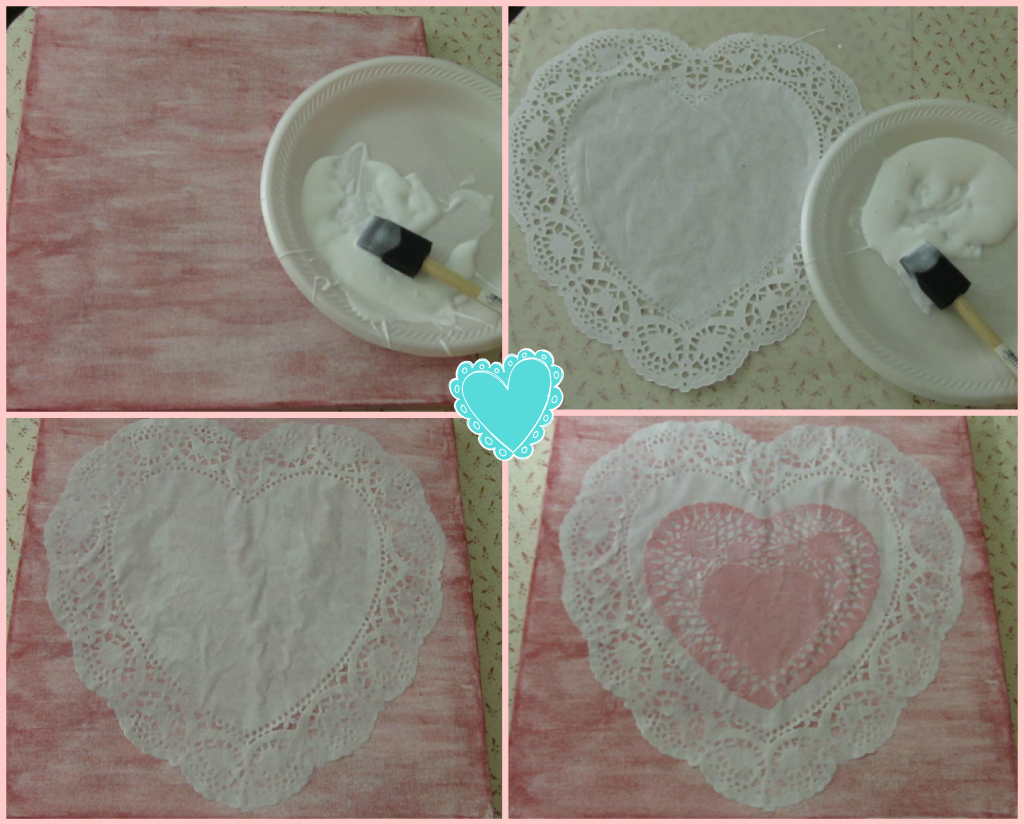
Apply one coat of Gesso Canvas Primer all over the canvas, let dry completely. Apply two coats of the Extreme Glitter paint. Let dry between coats.

Apply a light coat of Mod Podge to the canvas center, where the large doily will be placed. Add your 10" white doily, smoothing wrinkles with your fingers. Let it dry for 15-20 minutes. Apply a second coat of Mod Podge all over the doily. Let it dry for about 1/2 hour.
Add another light coat to the center of your 10" white doily Apply your 6" pink doily; again smoothing wrinkles as before. Let it dry for 15-20 minutes. Apply another coat of Mod Podge; let it dry for about 1/2 hour.
Apply 1-2 final coats of Mod Podge all over the entire canvas. Let dry between coats.
Note: Any wrinkles will eventually disappear as more coats of Mod Podge are applied.
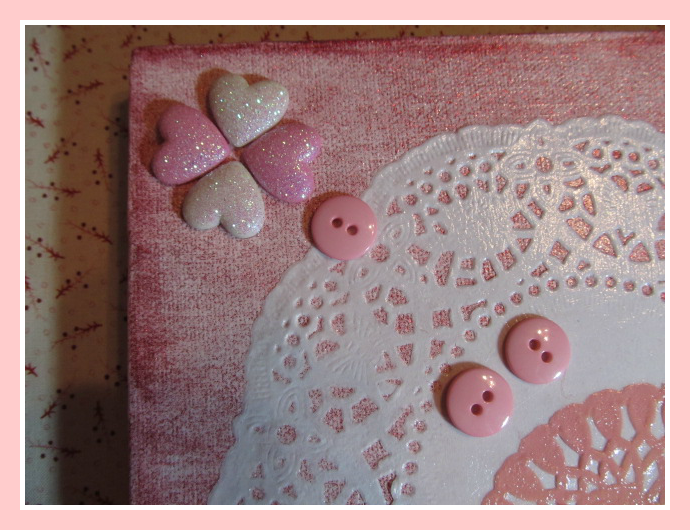
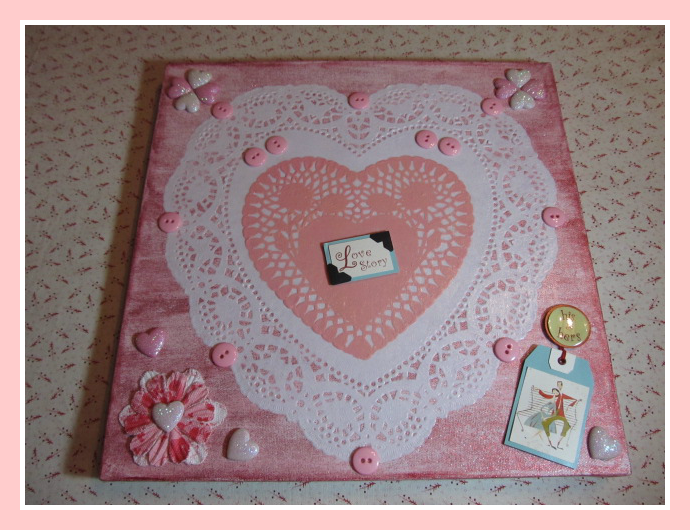
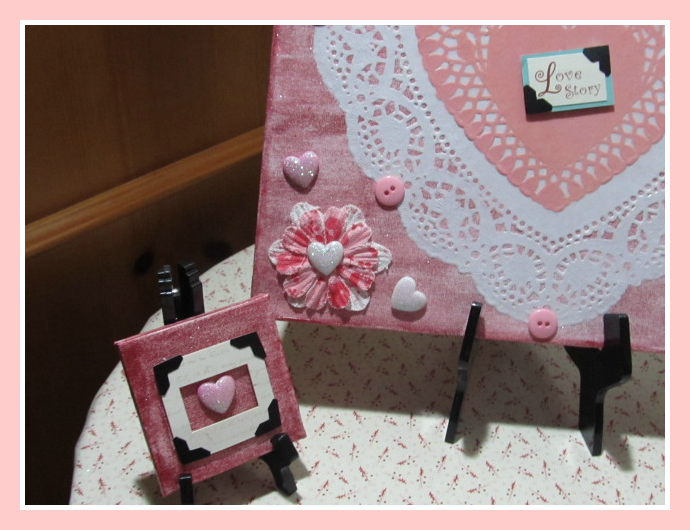
Begin adding your embellishments. Most of the embellishments I choose came with an adhesive backing. However, I added a bit of hot glue the back to obtain a permanent bond. I started by adding the pink buttons to the white doily.
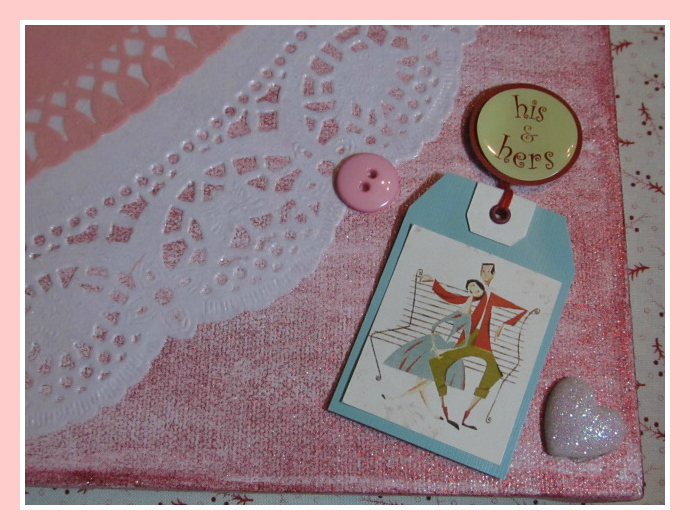
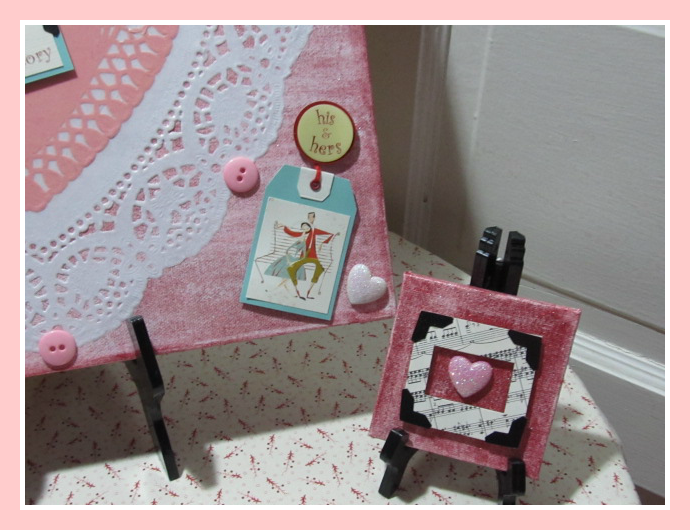
I applied one of the 3-D Love Story embellishments and a pink heart to the canvas right lower corner.
I then added 4 hearts; 2 of each color to the canvas left and right top corners.
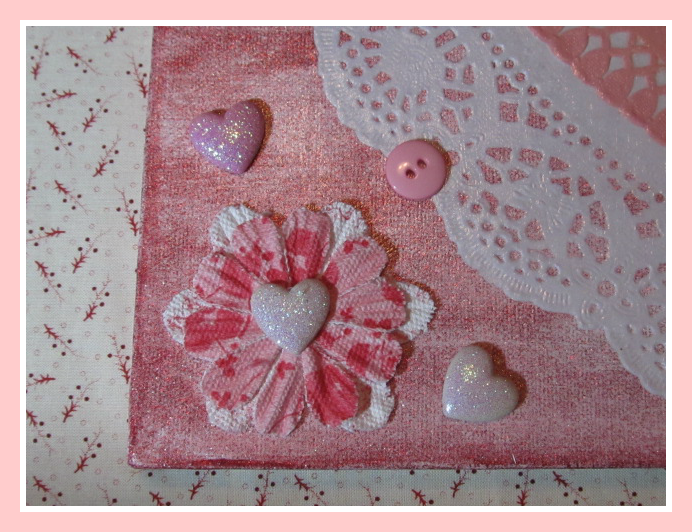
I attached 2 flower embellishments, overlapping each other to the canvas left lower corner; placing a white heart in the middle and two more hearts on the left and right sides of the flower.
Lastly, I applied one more 3-D Love Story embellishment to the center of the pink doily.

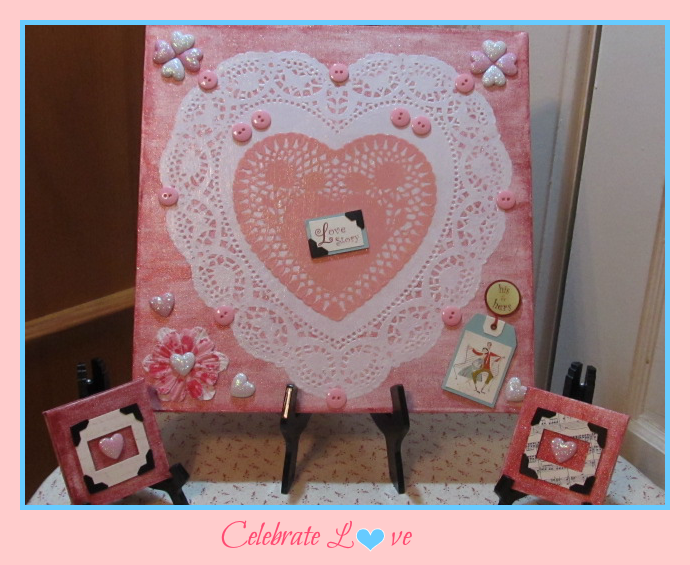
Here is the canvas after all the embellishments were added.
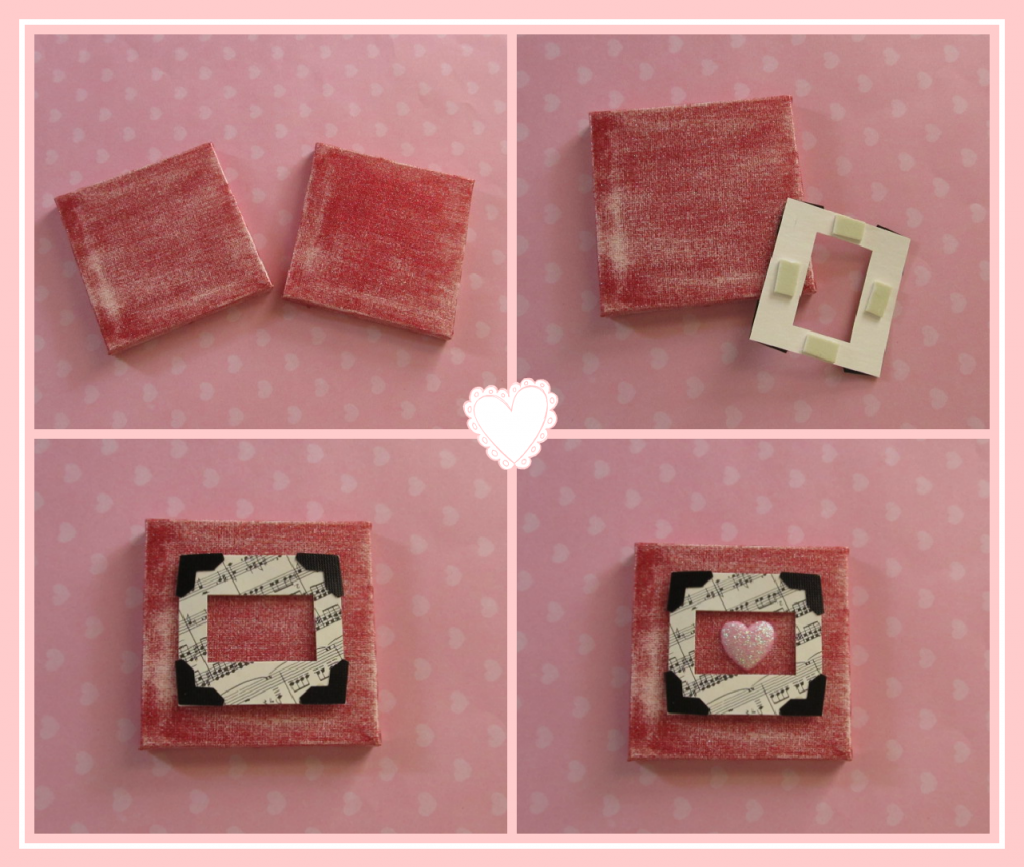
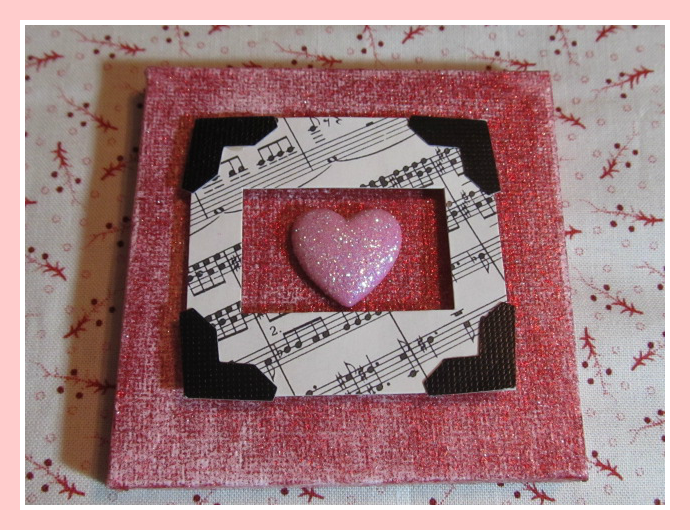
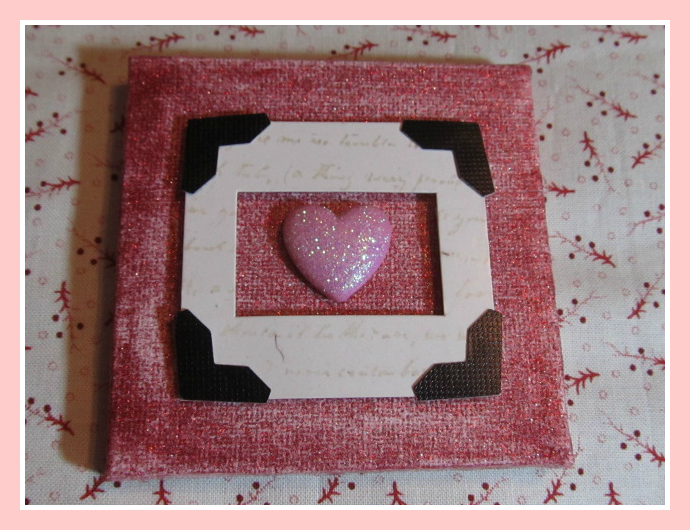
I stumbled upon these cute small canvases while shopping at ACMoore and decided they would complement the large one. I applied two coats of the Extreme Glitter paint and added 3-D and Hearts embellishments.
I enjoyed creating this project as it allowed me to choose and add different components to a plain canvas; resulting in a fun Collage.
Happy Valentine's Day!!!
debbie-debbiedoos