Showing posts with label Knitting. Show all posts

Thursday, April 5, 2012

10
The Social Knitwork Scarf

Happy Spring to all you!!!! I am extremely excited to participate in the Conceptual Knitting Series, #2,
"The Social Knitwork Scarf", hosted by Leafcutter Designs. The Social Knitwork Scarf is a fun way to bring together my Love for Knitting and my Social Networks. The fun begins when my Friends, Family and Acquaintances help me design a Scarf which will be knitted in stripes of four colors; designated to the most popular social media: Facebook; Twitter; Pinterest/Gmail and Blogger. The Colors they will be choosing from are: Cherry, Silver Blue, Pumpkin and Colonial Blue.
I will knit rows as the comments arrive with the colors they have chosen, until the Scarf reaches the length I desired.

Materials:
  • Worsted Weight Yarn in four colors
  • Knitting Needles - Size 8
Instructions:
  1. Cast on 32 stitches in the color each person chose and knit every row in Garter Stitch.
  2. Continue knitting rows in Garter Stitch in the color choices as they arrive for desired length.


Please pick a color and tell me why??
Leave me a comment with your color choice. Thank you for participating in this Fun Social Network project.


My Social KnitWork Scarf will in some way be part of all of you and I will cherish it forever. Happy Easter!!!

Thursday, February 16, 2012

22
I-Cord Valentine's Day Wreath

I enjoy Knitting I-Cords. Making an I-Cord could be a bit intimidating as it requires knitting using two Double-Pointed Needles. An I-Cord is quick and very easy to make. To learn how to Knit an I-Cord, visit The Purl Bee, one of my favorite Blogs. Here you can find a wonderful Tutorial on how to Knit an I-Cord.

I love knitting with Clover Takumi Bamboo Knitting Needles, available at most Craft stores like Michaels and ACMoore. An I-Cord is a Knitted Tube and can be as long as you like. It can be made using any yarn, just make sure you choose the correct Knitting Needle size for the specific choosen yarn. I-Cords are fun to make and can be use in all sorts of things; from a Bag Strap to Making Spiral Flowers.

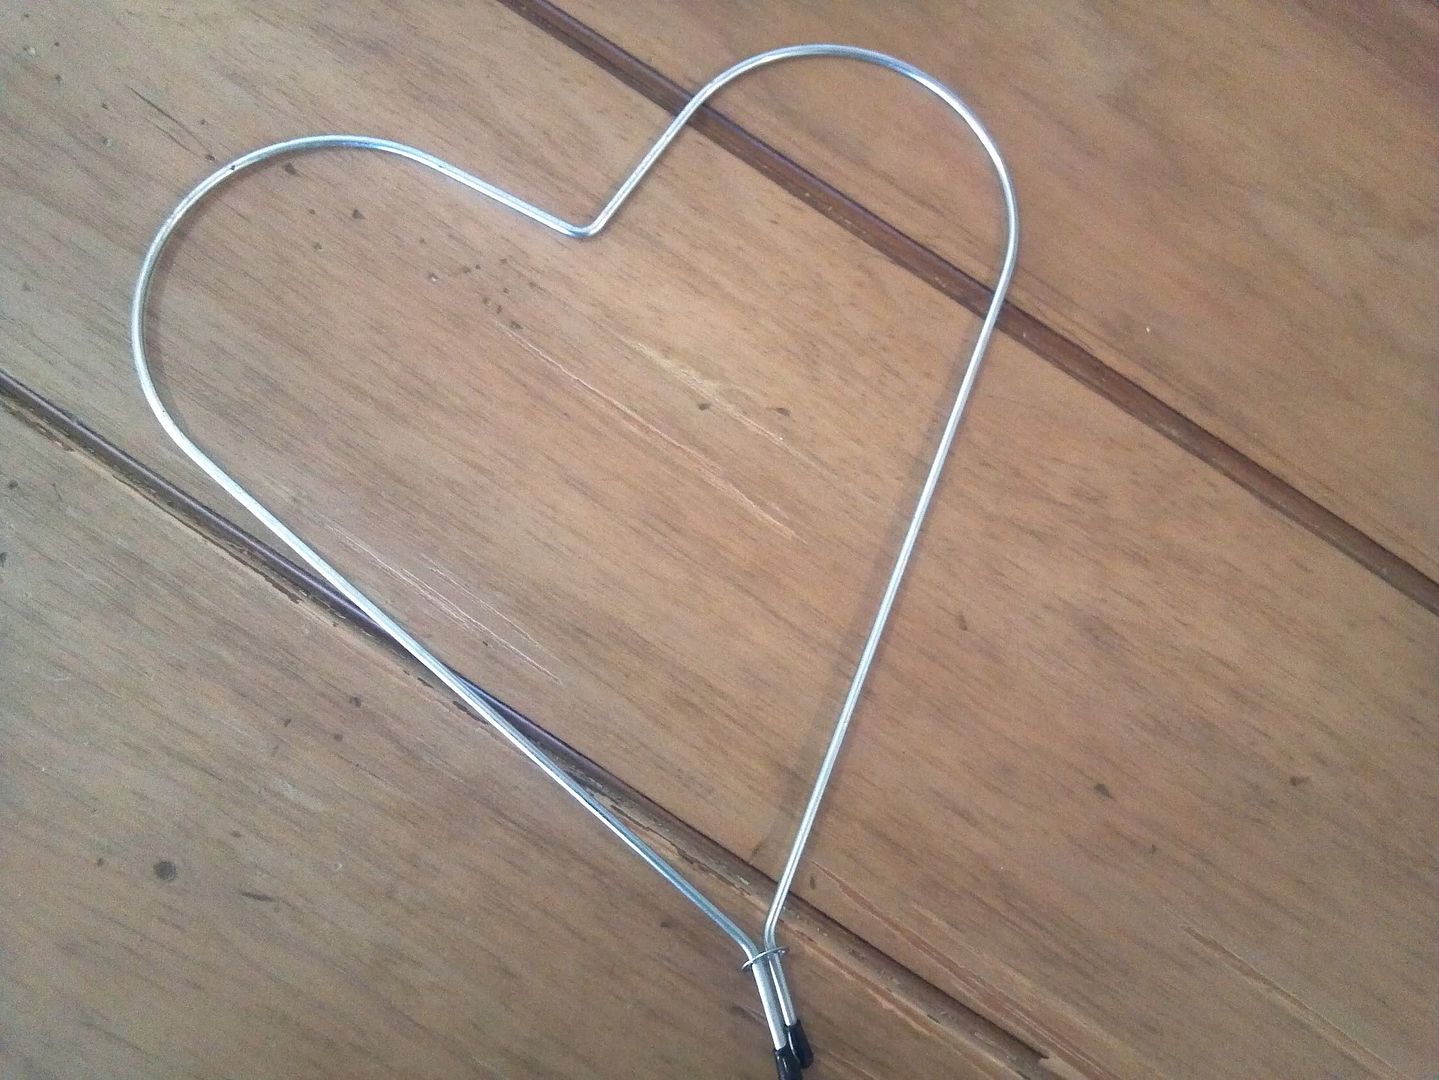
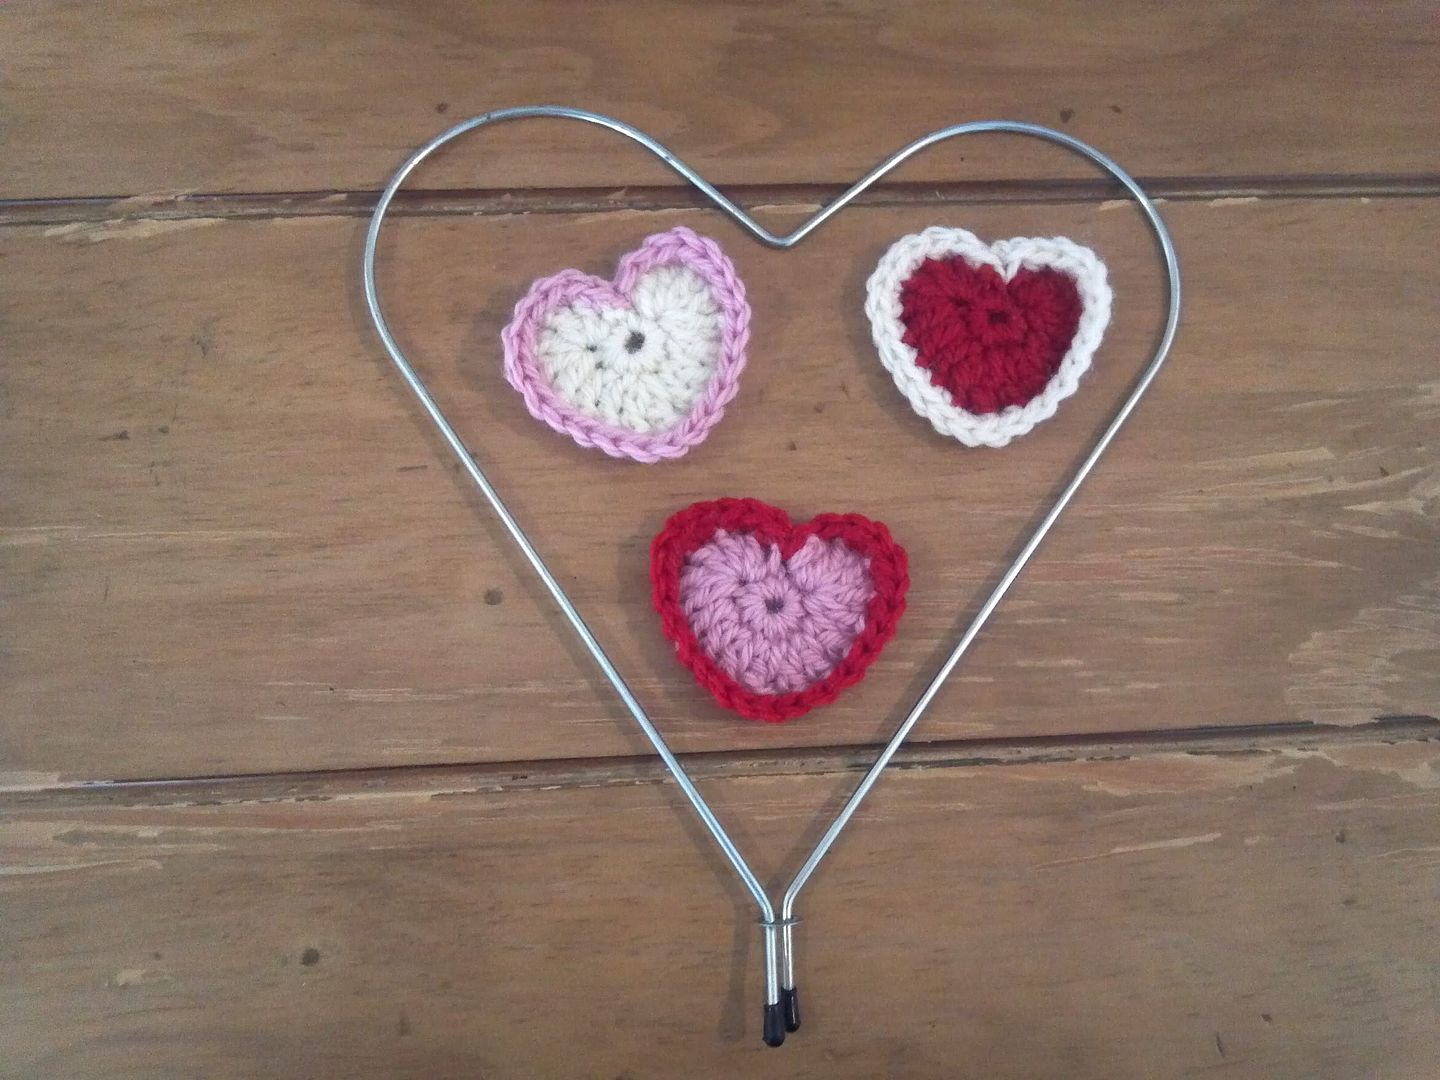
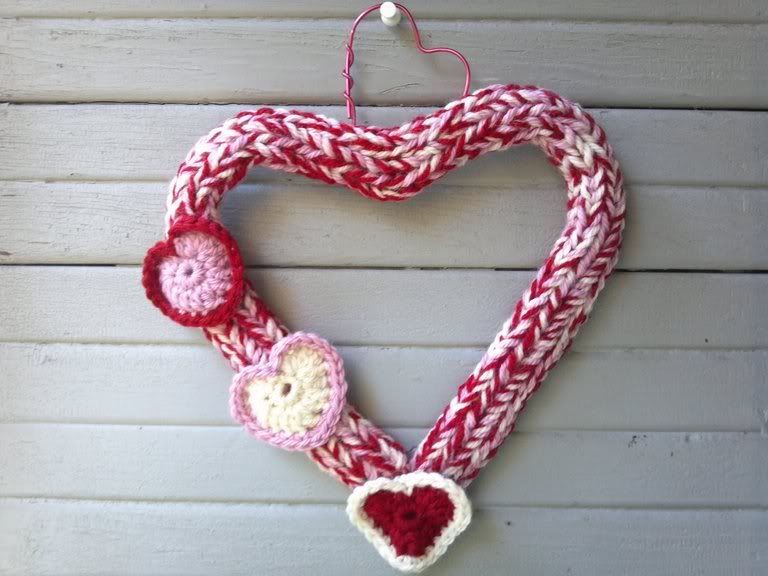
I found a Heart Shape Wire Form in my stash which I purchased years ago. I figure why not use it to make a Valentine's Day Wreath. I also decorated the wreath with tiny Crochet Hearts using the wonderful tutorial from Julia Crossland's Teeny Tiny Heart Bunting.

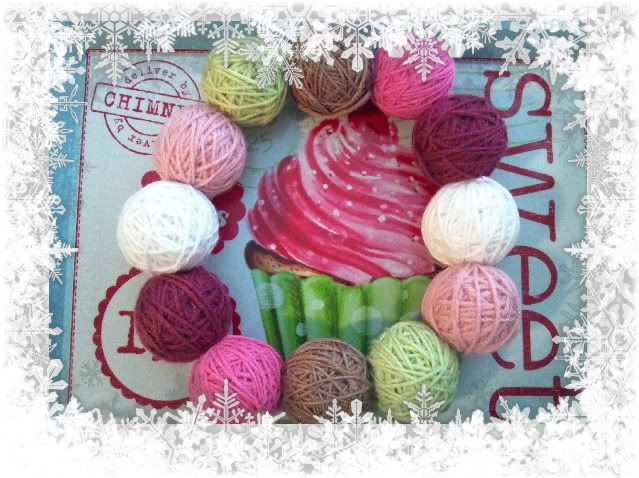
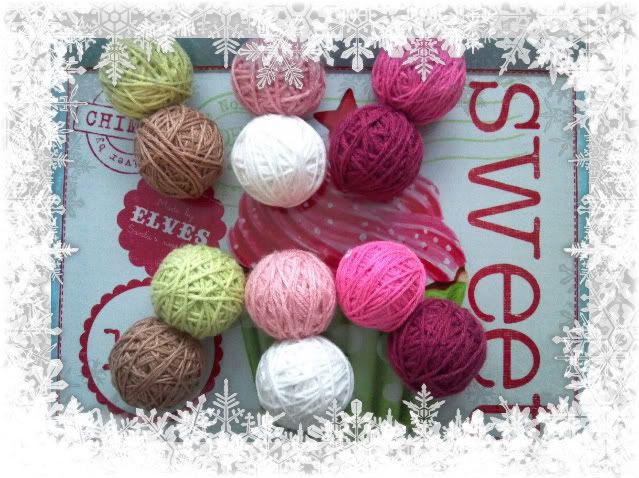
My I-Cord was made using Three strands of yarn held together, which resulted in a more dense tube. If you can't find this type of Wire Form, you can make your own Heart Shape using a piece of Garden Wire. Go HERE to find the tutorial.
Let's get going!!!
Supplies:
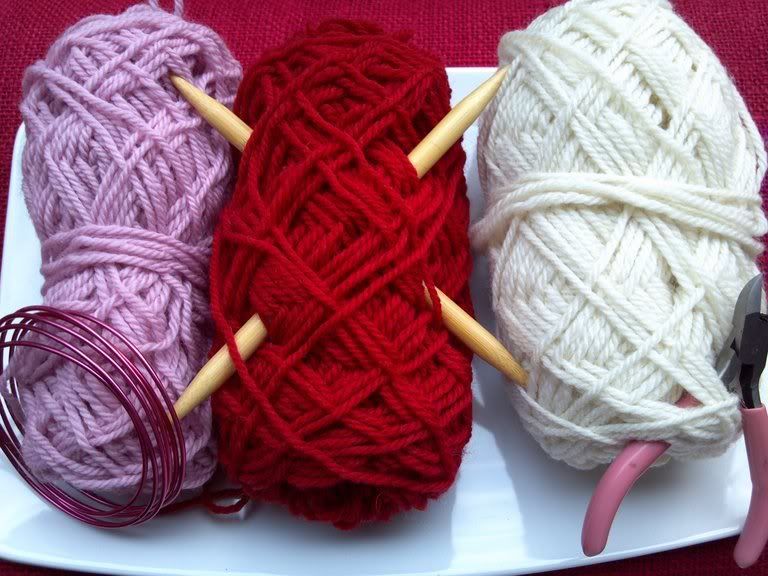
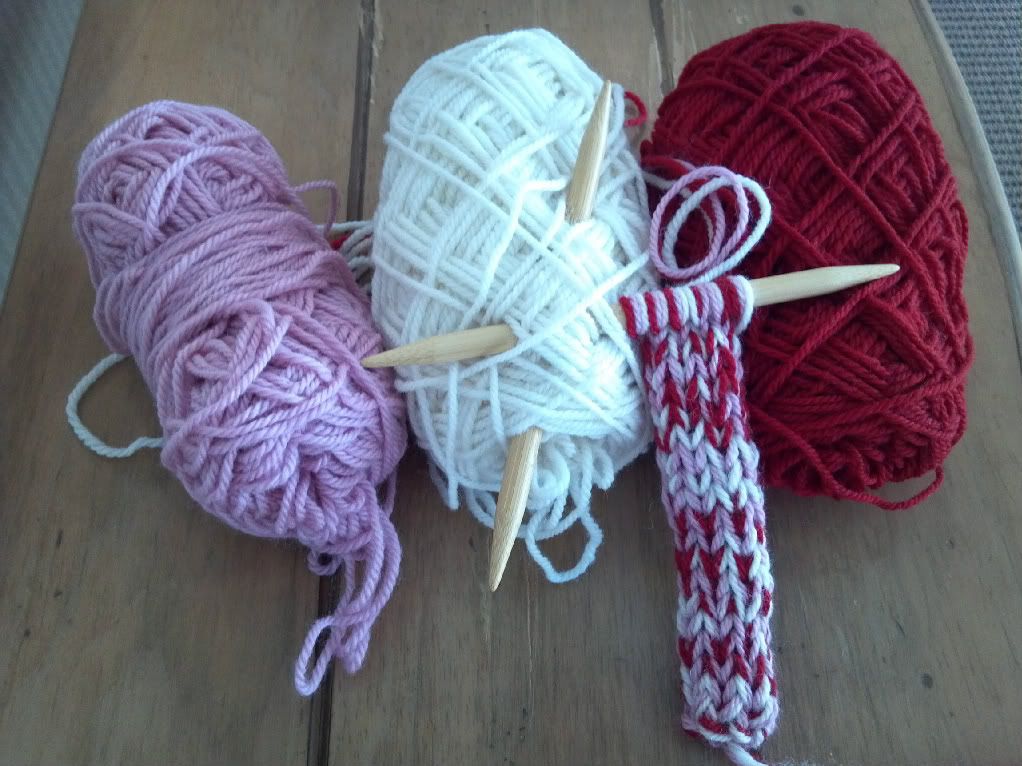
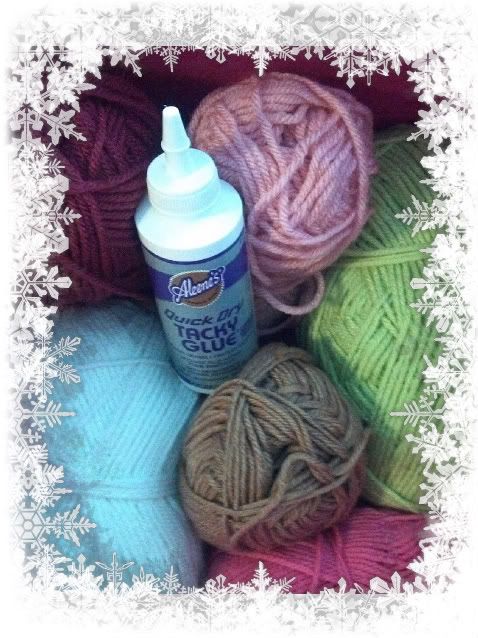
  • Worsted Weight Yarn in 3 colors of your choice. For this project I used Patons-Classic Wool in Aran, Petal Pink and Bright Red.
  • Double-Pointed Knitting Needles - Size 13(9.0mm)
  • Heart Shape Wire form
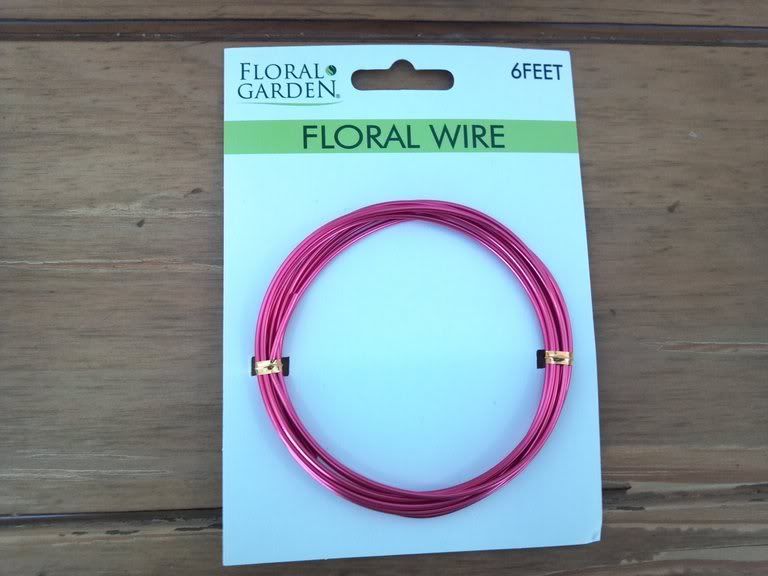
  • Flexible Floral Wire, available at the Dollar Store - $1.00
  • Crochet Hook - Size H/8 (5.0mm)
  • Small/Medium Heart form
  • Pair of Pliers
  • Yarn Needle

Instructions:
  1. Holding 3 strands together, Cast on 6 stitches.
  2. Knit across all stitches
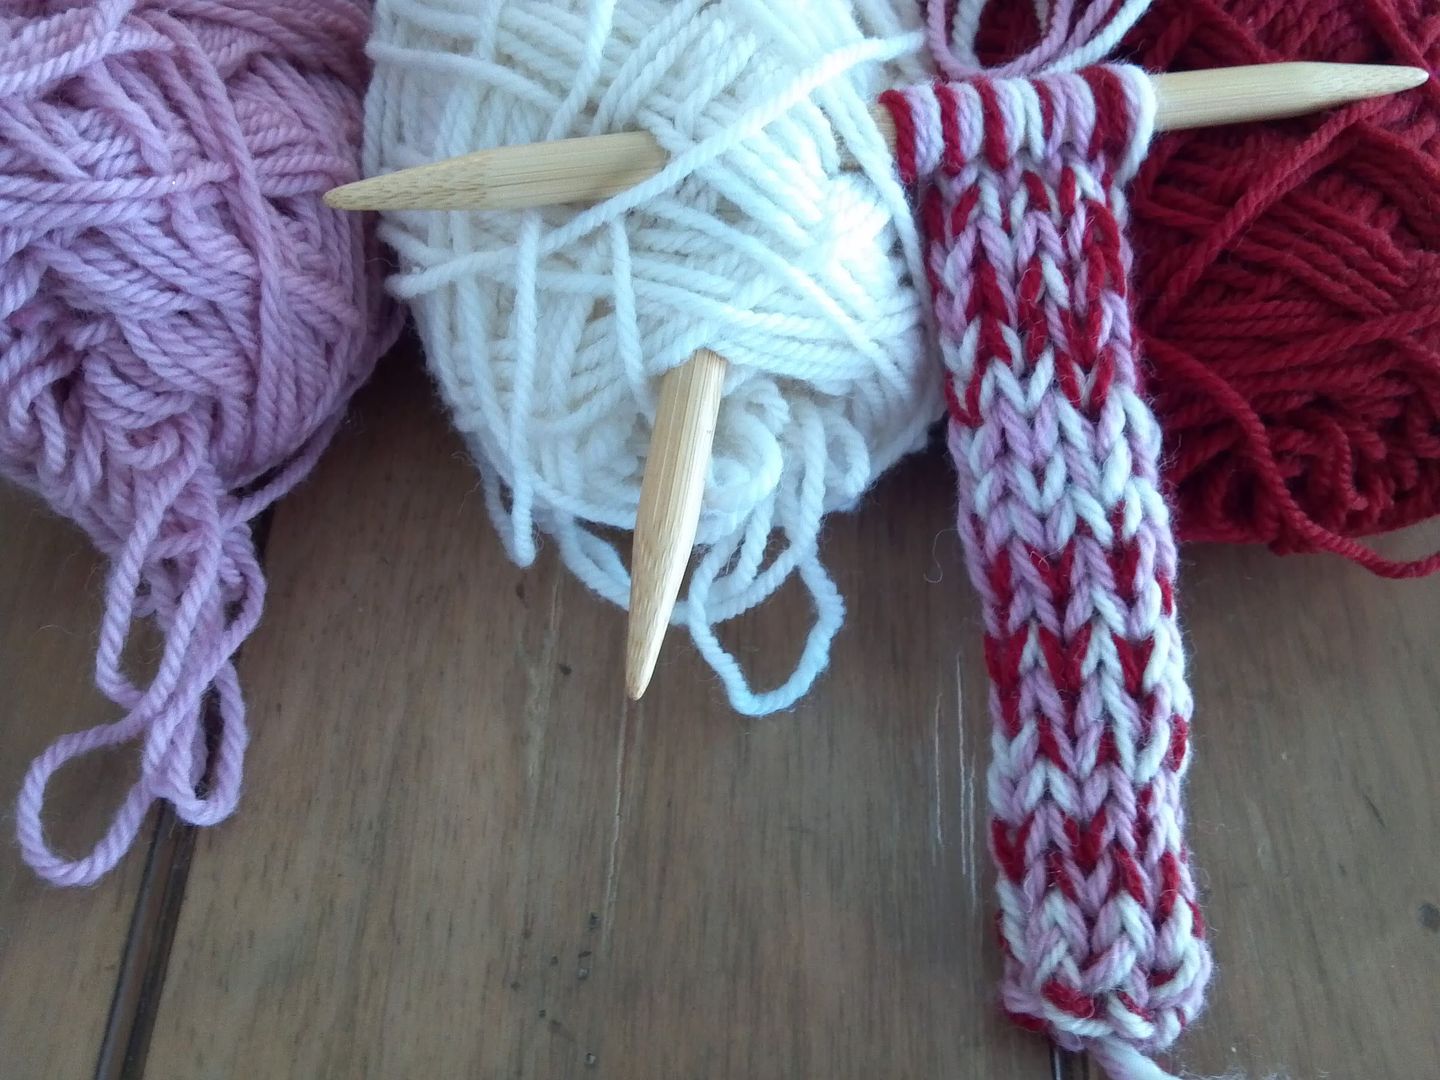
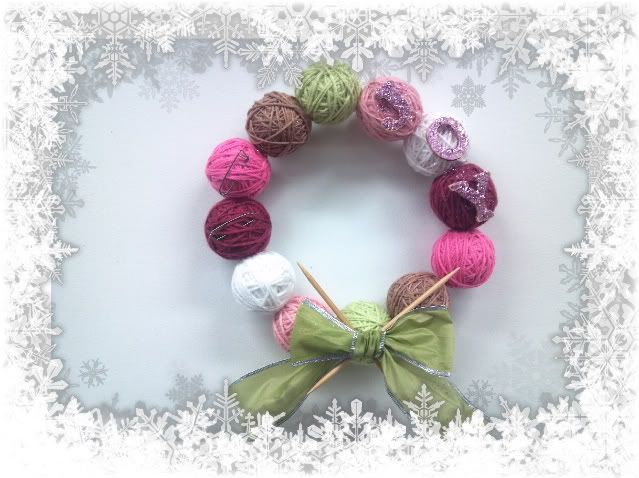
  3. Following the I-Cord Tutorial, continue knitting rounds, until you reach the length needed to go around the Heart Wire Form. Your I-Cord will be similar to the ones shown below.


  4. Once you reach the required length, bind-off your stitches. Set the I-Cord aside for now to assemble later.

  5. To decorate the I-Cord, I crocheted three tiny hearts. I used the wonderful tutorial from Julia Crossland, alternating the yarn colors to crochet the middle and sides of the Tiny Hearts.

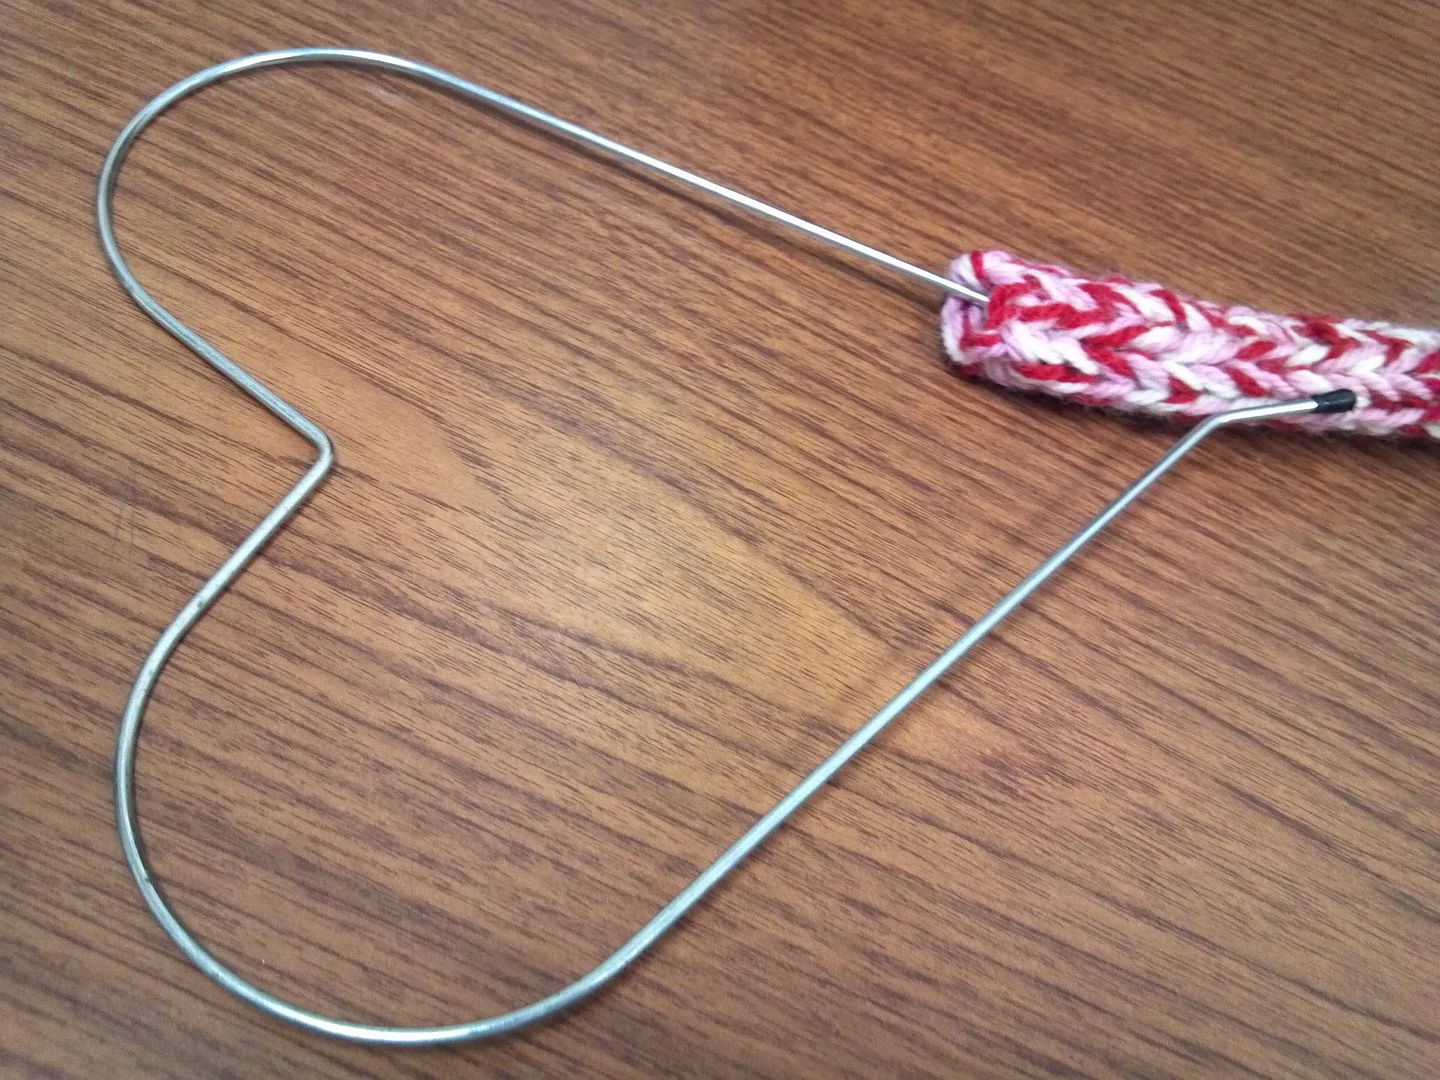
  6. To assemble the wreath, the Heart Wire Form was inserted inside the I-Cord tube as shown below. Sew the hearts ends together, covering any exposed wire.

  7. Sew the Tiny Hearts around the wreath as you like.
  8. I was debating what to use to hang the wreath. Another trip to the Dollar Store lead me to purchase a package of flexible Floral Wire, the perfect item to make my own Hanger.
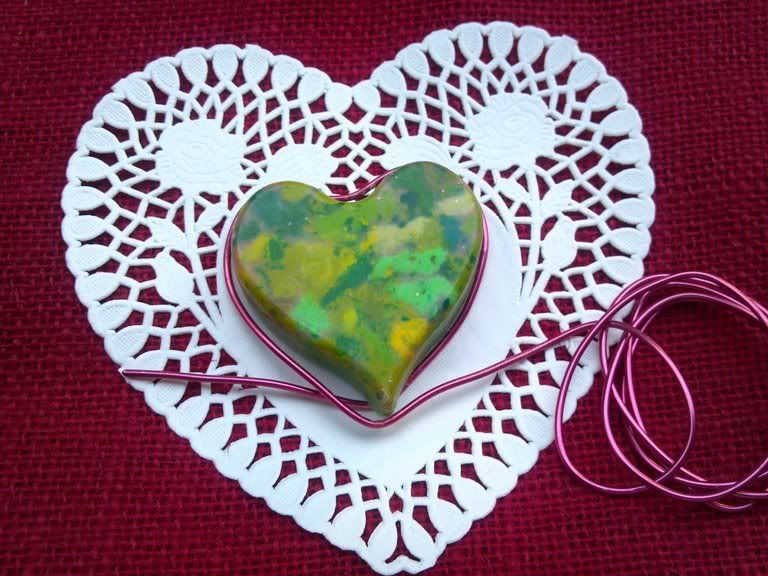
  9. Begin with your small Heart form. It could be a cardboard heart shape, a cookie cutter. I used a Crayon Heart shape I had from my project Pinterest Challenge.
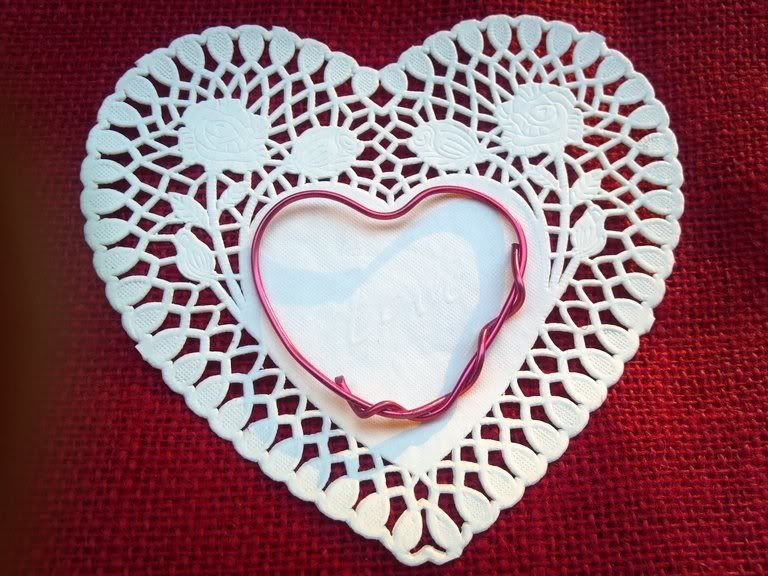
  10. Take a piece of wire and wrap it around your small heart form. Cut ends with pliers and wrap around to hold in place


  11. Sew hanger onto the Wreath.
  12. You are done!!!


I hope you enjoy give this tutorial and perhaps give it a try!!!

Happy Valentine's Day!!!

Sunday, December 25, 2011

0 Merry Christmas!!!!

I am thrill to have been featured on Christmas Day's Craftys Newsletter Holiday greetings from Craftsy founder and CEO John Levisay. Merry Christmas to Me!!!!

Thursday, December 15, 2011

0 Felted Knitted Trees

I love Knitting and Crocheting Felted projects, especially for the Holidays. These Christmas trees were inspired by the wonderful tutorial from the blog, THE PURL BEE.
I enjoyed making the Embroidery French Knots which created the tree ornaments. You might find this video helpful on how to make FRENCH KNOTS. I used a Circular and Double Point Knitting Needles #10. Fortunately, I had a stash of Felting Yarns. Any Felting Yarn will do. You might need a different Needle Size according to the specific yarn you choose. Felting Yarns can be found at your local Yarn Store or by visiting REYNOLDS LITE LOPI YARNS and VALLEY YARNS BERKSHIRE both available at WEBS or PATONS YARNS are available at AcMoore and Joanne's Fabrics. The Purl Bee's tutorial also includes the Felting Method which suggested adding Soap but I prefer adding 2 tablespoons of Baking Soda for a small wash load. After one cycle, check for size. My trees took 3 wash cycle repeats, before I ran the rinse and spin cycle. I hope you give this Tutorial a try.... Happy Holidays....
CONTENT © SWEET YARNS   

Wednesday, December 14, 2011

6 Gingerbread Yarn Wreath

Christmas is my favorite Holiday. Christmas decorations make my Heart Happy!!! My favorite Christmas decoration theme is Gingerbread. Over the years I have collected Dolls; Ornaments; anything Gingerbread. This year I wanted to make a Christmas Wreath made of foam covered Yarns. While shopping for decorative napkins, I found this wonderful Napkin
featuring this awesome Gingerbread Wonderland design. This is all I needed to get me inspired. I decided to create a Yarn Wreath based on this awesome Color Scheme. My Yarn Wreath measured approximately 10 inches. With much luck, I found the yarns to help me obtain this Color Scheme.
Supplies & Tools:
  • Aleene's Quick Dry Tacky Glue (available at ACMoore, Michaels, Walmart)
  • Elmers Craft Bond - Spray Adhesive
  • 12 Styrofoam Brand 2" foam Balls
  • Bamboo Double Point Knitting Needles, Small Stitch Holders
  • Yarn, 1 skein of 6 different colors. I used the following:
  • 1. Caron Simply Soft Heather; Truffle
  • 2. Michael's Loops & Threads Impeccable; White & Soft Fern
  • 3. Red Heart Designer Sport; Blush Rose
  • 4. Vanna White; Rich Deep Purple-Pink & Light Pink
  • 2.5" Wide Ribbon for Bow
  • 3 11/2" Wooden Letters; J O Y
  • Pink Glitter
  • Toothpicks
Instructions:
  • Wrap foam balls with yarns, adding small amounts of Aleene's glue as you go to hold yarn in place. Cover foam balls completely before cutting off yarn. Add glue to end of yarn and tuck under to secure. Allow to dry. Continue wrapping foam balls for a total of 12 balls
  • Once all foam balls are covered with yarn, arrange in a circle
  • If pleased with the arrangement, apply a small dot of glue to one ball and insert about 1/4 of one toothpick in center. Add glue to second ball and insert other end of toothpick to form a two-ball section
  • Continue forming two-balls sections to complete six sections
  • To form the wreath, glue sections together, let dry
  • Spray Adhesive over the Wooden Letters and apply Glitter; let dry
  • Crisscross Knitting Needles through a yarn ball on the bottom of the wreath
  • Make bow with the Ribbon and attach on top of Knitting Needles
  • Glue Glittered Letters on either side of wreath
  • Pin stitch holders on yarn balls as desired
  • Your Wreath is ready to be part of your Winter Wonderland. Happy Holidays!!!!
    CONTENT © SWEET YARNS   

    Monday, November 7, 2011

    2 2011 Fiber Festival of New England

    Click to play this Smilebox slideshow
    Create your own slideshow - Powered by Smilebox
    This free photo slideshow personalized with Smilebox
    CONTENT © SWEET YARNS   

    Friday, May 20, 2011

    0 Knitting an I-Cord

    I-Cord is an essential Knitting Technique. I-Cord is basically a Knitted Tube used as Handles for Bags, as a Decorative Embellishment, to name a few... This technique is very easy and fast. Enjoy it. Keep on Knitting!!!!
    Pin It button on image hover