Showing posts with label Swap. Show all posts

Sunday, April 7, 2013

1 Favorite Things Party {Crafty Style}

I joined the First Annual Favorite Things Party {Crafty Style} - Swap; to exchange FIVE of my Favorite Things with another Crafty Person.


The party is hosted by Carrie from My Favorite Finds.
My Favorite Finds

My swap partner is Tarah Hoover who blogs at Real {Cheap} Housewives of Texas.

Real {Cheap} Housewives of Texas

Tarah enjoys paper crafts, painting, wreath making and other crafts projects.
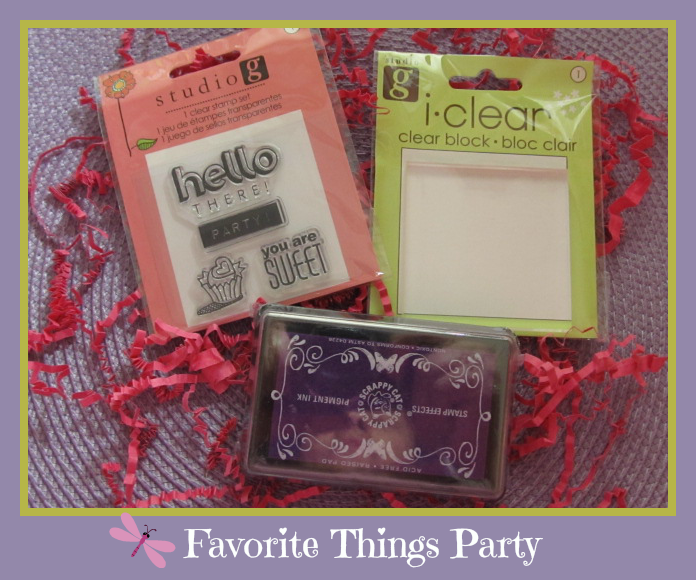
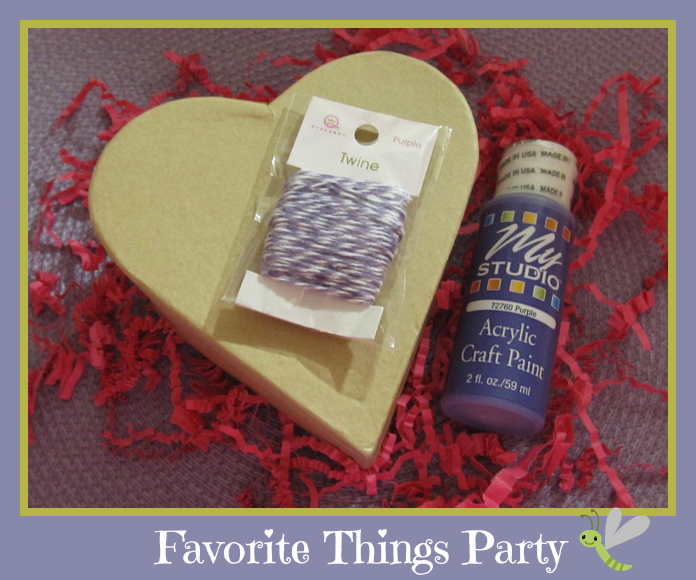
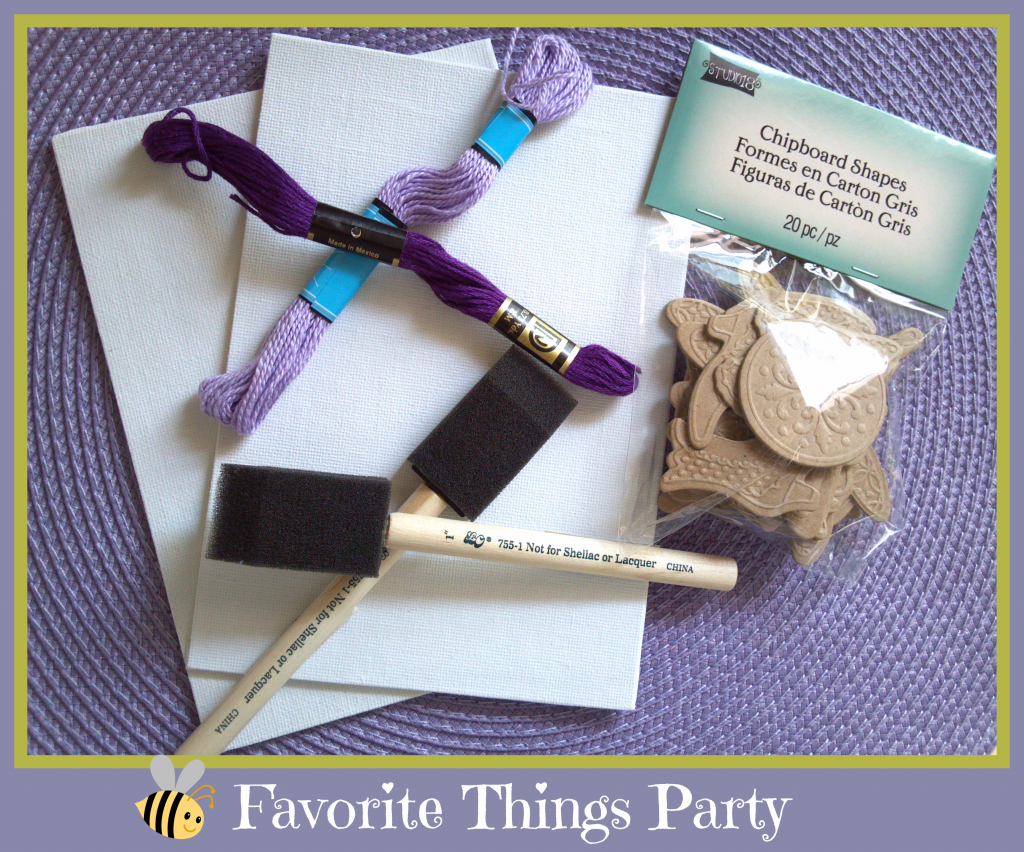
I read Tarah's about information where she indicated her favorite color is Purple. I gathered ten of my Favorite Things I thought Tarah would like to received.

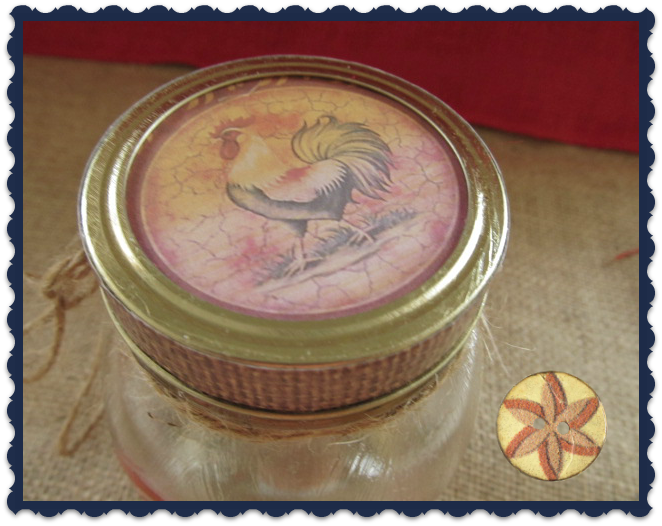
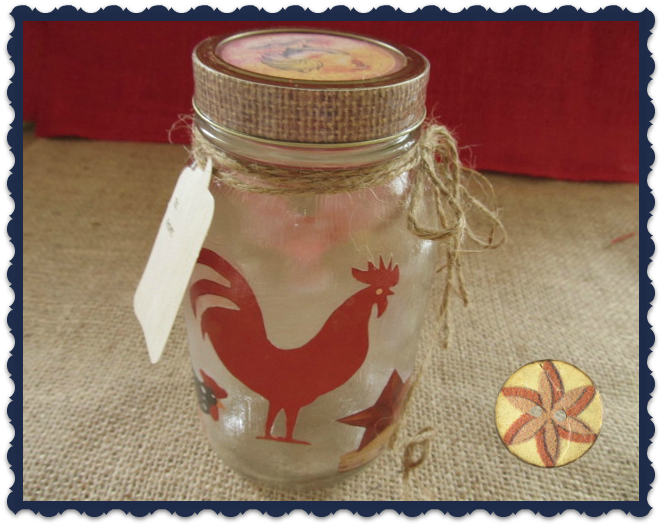
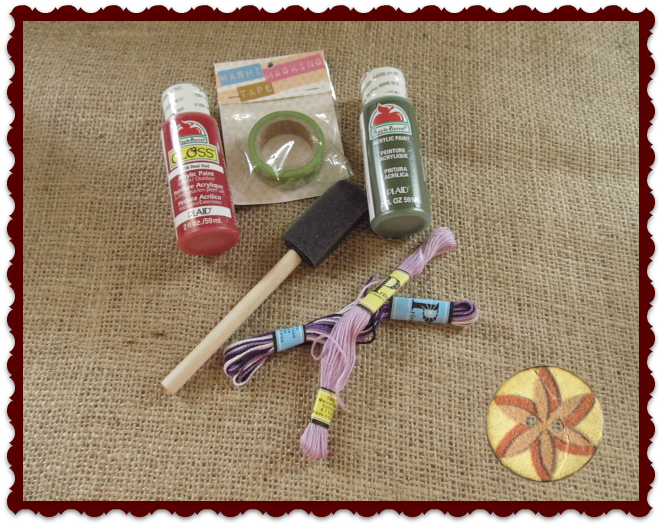
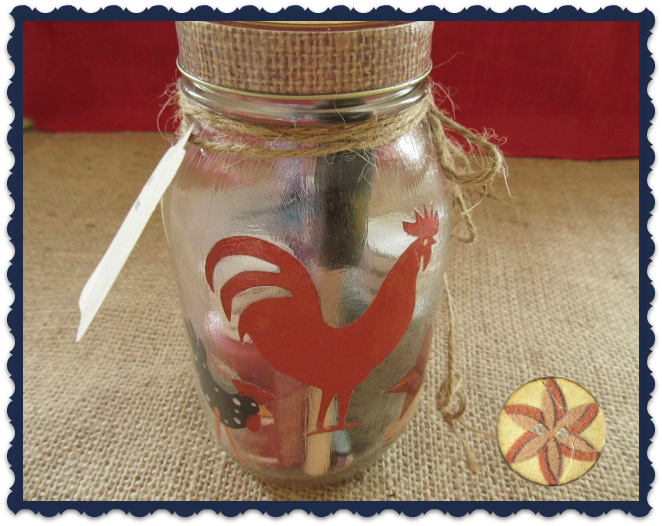
Her package included a clear stamp block, stamp set, purple stamp ink, purple acrylic paint, purple twine, a paper mache heart box, canvas panels, embroidery floss, foam brushes and a package of chipboard shapes.

I hope Tarah likes the Goodies I sent and find some creative ways to use them.


I received a wonderful package from Heather Warren who also blogs at Real {Cheap} Housewives of Texas.

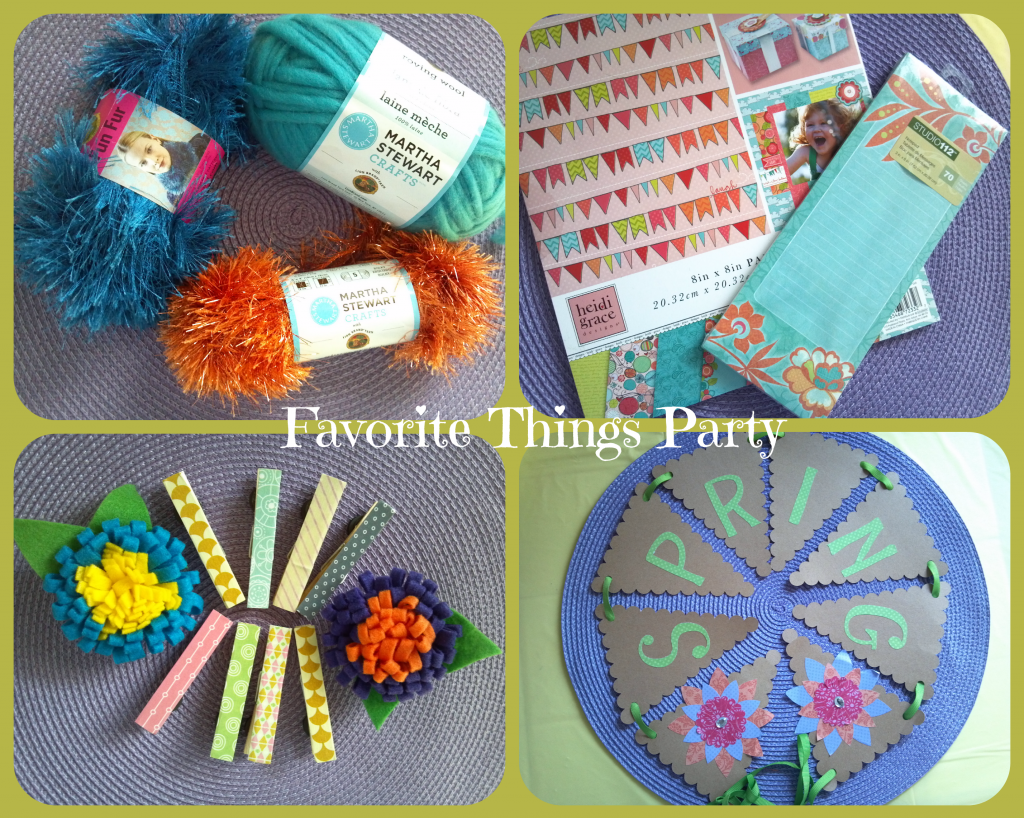
I love the Color Scheme she chose when selecting her favorite things; from the beautiful Turquoise to the bright Burnt Orange. Heather's package included lots of cool and fun goodies.

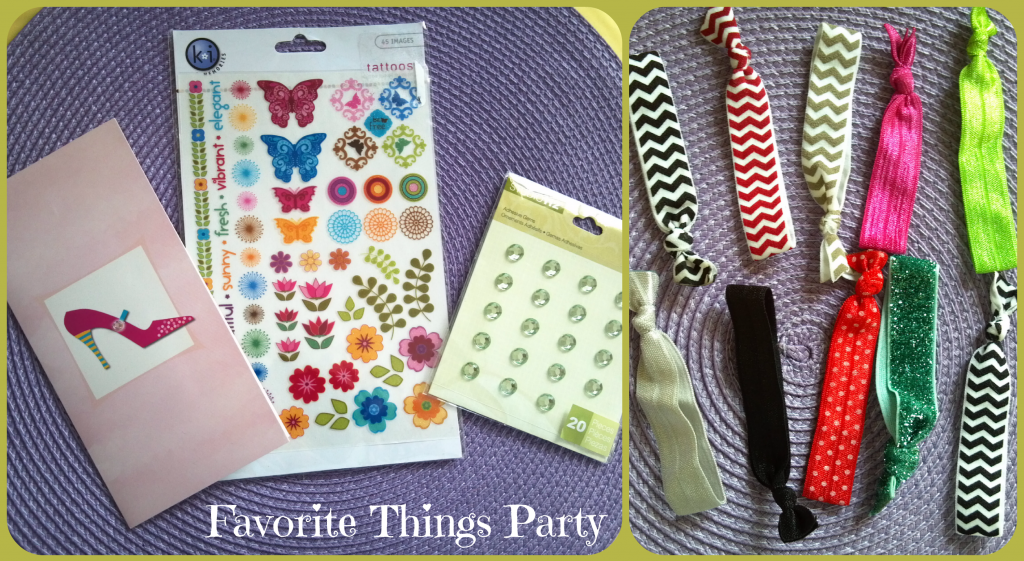
The yarn, the 8" x 8" paper and note pads color scheme complement each other so well. I would be able to create new projects using all three. Heather also created two cute felt pins which are adorable. The washi-tape covered clothespins made my day. I love anything created with Washi-Tape. The scalloped edge Spring Banner is my favorite. Last but not least; her package also include adhesive gems, tattoos rub-ons and elastic ribbon hair ties.

Thanks Heather for all the goodies you sent me. I am looking forward to creating new projects with them; display the beautiful Spring Banner and wear the wonderful felted pins.


Friday, December 14, 2012

28 Paper Mache Ornament


HAPPY HOLIDAYS!! Christmas Ornaments make great gifts. Paper Mache Ornaments are easy and fun to make. You can use any type of paper to Decoupage Paper Mache. I used a cute wrapping Christmas paper I stumbled upon while shopping at Target and Kraft Paper from the Dollar Store.

This Holiday, I decided to participate in One Artsy Mama's first Ornament Exchange.


I was paired up with Melanie from BearRabbitBear. Decoupage is one of my favorite craft. I decided to create a Paper Mache Ornament for Melanie.

To begin, I gathered the following materials:

Materials:
  • 4" Paper Mache Round Ornament
  • Wrapping Paper
  • Kraft Paper

  • Mod Podge
  • Foam Brush
  • Fine Glitter
  • Toothpick
  • Hot Glue & Sticks

Directions:
  1. Cut out your designs from the wrapping paper. I cut two gingerbread men, one tree and one cookie, plus a few peppermint candies.
  2. Cut 20-25 1/2" x 4" strips of Kraft paper.
  3. Insert a toothpick inside the ornament's top section and tie the hanger to it to prevent gluing it to the surface. Having the toothpick inside the ornament will help you hold the ornament as you add your strips.
  4. Working in sections, begin adding the paper strips to the ornament. Apply a thin layer of Mod Podge to the ornament's surface and to the back of each paper strip. Apply strip to the ornament, smoothing with brush or your fingers.
  5. Continue adding and overlapping the paper strips until ornament is covered. Add another coat of Mod Podge over entire ornament. Let dry completely.
  6. Apply Mod Podge to your design cut-outs and apply them around the ornament. I applied my cut-outs using this sequence: gingerbread men, tree, gingerbread men and a cookie. I added the peppermint candies to the ornament's top section and one to the bottom.
  7. Apply another thin coat of Mod Podge over the entire ornament to seal the design. Let dry completely.
  8. Add a final Mod Podge coat and sprinkle glitter while the surface is wet. Let dry completely
  9. Remove the toothpick. If the hanger detaches from the ornament, use some hot glue to re-attach.

Here is another view of the Ornament. I love how this ornament turned out.
I hope Melanie likes it.


Merry Christmas!!!!

Linking to:
Today's Creative Blog
debbie-debbiedoos

Cherished Bliss


Featured on:


Sunday, December 2, 2012

12 Candy Cane Ornament


HAPPY HOLIDAYS!! Christmas is a wonderful time to share a joyful spirit with those around us. I love to create Christmas gifts for my loved ones. Nothing compares to the pleasure of giving handmade gifts to special people.

This Holiday, I decided to participate in my first Ornament Swap, hosted by Tutus and Tea Parties and Robyn's View.

TutusandTeaParties

I was paired up with Liz from Here's to Handy Andy. We exchanged ideas and I decided to create Candy Cane Ornaments using an embroidery hoop. Liz loves candy cane anything for Christmas.

To begin, I gathered the following materials:

Materials:
  • 3" Embroidery Hoop
  • Black felt
  • White Felt
  • Red Embroidery Floss
  • Embroidery Needle
  • 1/8" Red Ribbon
  • Glitter - optional
  • Fabric or craft glue
  • Foam Brush
  • Freezer Paper
  • Metallic Glaze - I used Martha Stewart's Metallic Glaze in Black Coffee

Directions:
  1. Trace a 3" and 4" circles onto the dull side of the Freezer Paper. This is the first time I use Freezer Paper. I love this product as it adds more stability to the felt, which makes cutting a breeze. To trace the 3" circle, I used the outer hoop section. The 4" circle was traced using a plastic ice cream cup.
  2. Trace a 1/4" wide X 2" long candy cane - not shown.
  3. Using the foam brush, apply glaze to both hoop sections. Apply glitter while surface is still wet. Let dry completely.
  4. Cut Freezer Paper designs leaving approximately 1/4" around tracing lines.
  5. Arrange designs on felt.
  6. Iron designs onto the front of the felt pieces. Do not use the steam setting.
  7. Cut out the ironed designs using the tracing lines as a guide.
  8. Remove Freezer paper from the designs.
  9. Stretch felt onto the inner embroidery hoop. Attach outer hoop and tight hoop screw.
  10. Using the embroidery floss, make 14-15 long stitches over the candy cane to hold it in place.
  11. Turn hoop over and cut any excess felt. Glue the 3" circle to the back.
  12. For the ornament's hanger, take a piece of ribbon and tie both ends together. Thread ribbon through the hoop's screw.

And here it is.... The Sweet Candy Cane ornament.
I hope Liz likes it.


I received this beautiful ornament from Liz. She wrapped a glass ball with burlap and Christmas fabrics. I love it... Thanks Liz...


Merry Christmas!!!!

Linking to:
Today's Creative Blog
debbie-debbiedoos

Cherished Bliss


Sunday, August 26, 2012

9
Country Red Rooster


For this fun swap, a Mason Jar must be decorated and filled with five of my favorite craft supplies and/or leftovers.

My swap partner is Kim Sminkey from Tiaras & Bowties. I decided on a Country Theme to decorate my Mason Jar. The jar could add a country farm feel to Kim's kitchen.


The Hosts are:

Jen @ Should be Cleaning
Dyanna @ Just Simply Live


Materials:
  • Glass Mason Jar. I purchased a "Ball" Smooth Jar at ACMoore.
  • Mod Podge
  • Foam Brush
  • Scrapbooking Paper
  • Paper Trimmer or Scissors
  • Twine
  • Tag
  • Country Clip Art (Roosters, Stars, etc.)

Directions:
  1. Remove the jar's lid, set aside.
  2. Print and trim your images.
  3. Apply a thin layer of Modge Podge to one side of the Mason Jar.
  4. Carefully, apply your images. Smooth any wrinkles with your fingers.
  5. Repeat on other side. Let dry 10-20 minutes.
  6. Apply 1-2 more coats of Mod Podge all over the jar to seal the design surface. Let dry completely.
  7. Measure around the jar's band; about 11" long x 1/2" wide.
  8. Using these measurements, cut the band strip from the scrapbooking paper.
  9. Glue scrapbooking strip around the jar's band.
  10. Place the jar lid on back side of scrapbooking paper or choosen clip art and trace around lid. Cut out paper circle on traced line.
  11. Place jar lid on jar. Twist on jar band.
  12. Attach the gift tag to the jar using a piece of Twine.
  13. My crafing items included Acrylic Paints, Foam Brush, Washi-Tape, Embroidery Floss.
  14. The Mason Jar is now filled with all the crafting goodies.
I love this Blue rooster.

I hope Kim likes my country theme Mason Jar. I enjoyed this swap and looking forward to others in the near future.

Live Well, Love Much, Laugh Often


Linking to:

Today's Creative Blog
debbie-debbiedoos


Pin It button on image hover