Showing posts with label Yarns. Show all posts

Wednesday, February 27, 2013

10
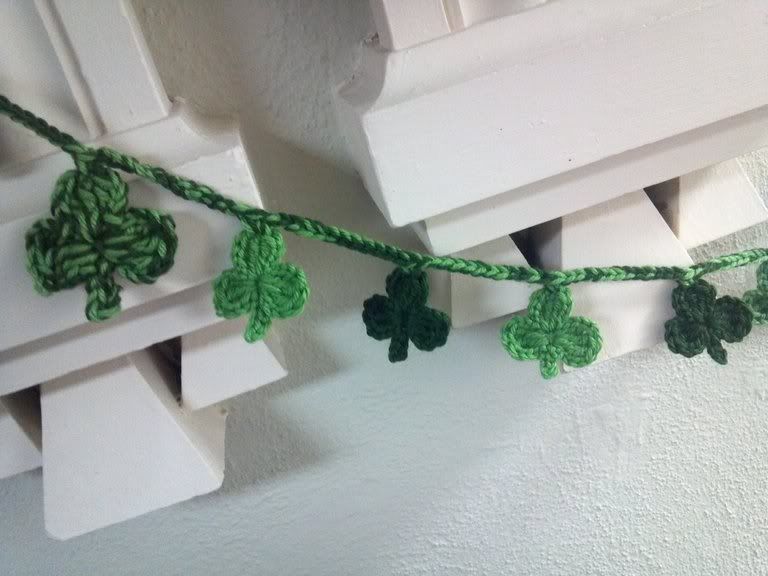
St. Patrick's Day Garland


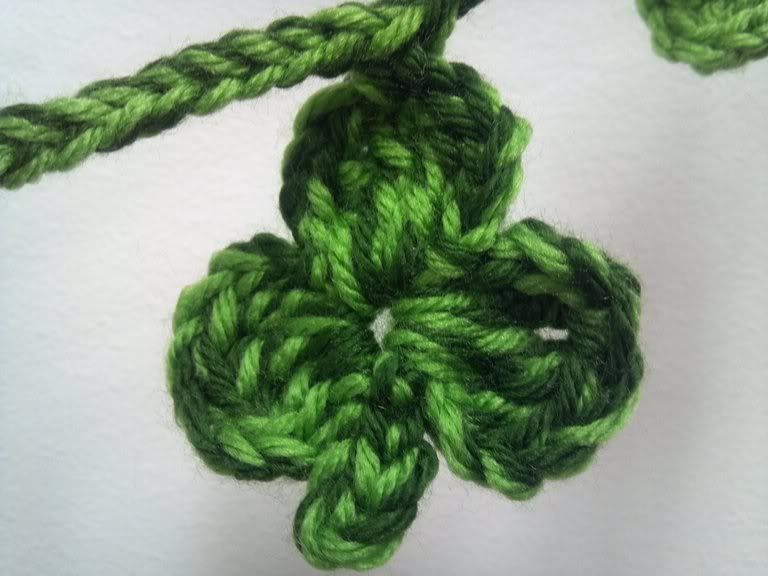
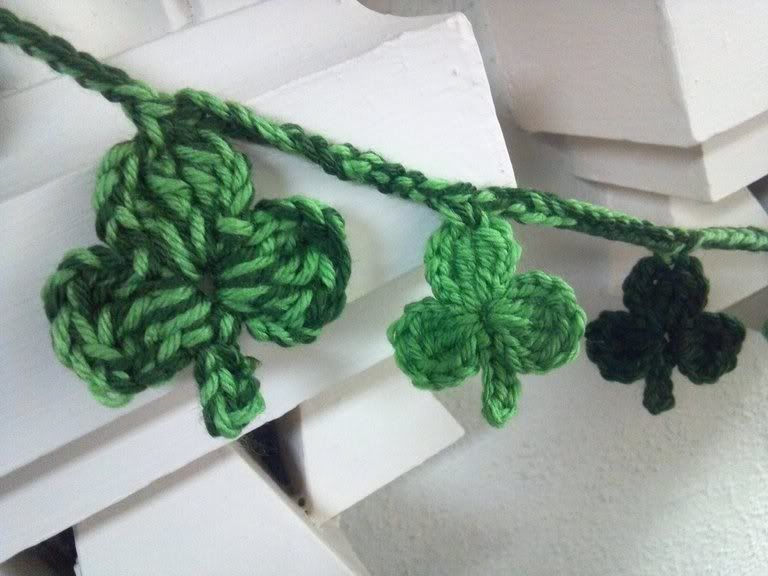
I love Crocheting Garlands. For St. Patrick's Day, I crocheted my Garland from a pattern I found on Crochet-Mania and modified it by Crocheting two Medium Shamrocks using two stands of yarn held together and crocheting the stems right on the Shamrock.

Materials:
  • Size H Crochet Hook
  • Size J Crochet Hook
  • Worsted Weight Yarn in two Shades of Green

Instructions:

Small Shamrock:
  1. Start with the small Crochet Hook and a Magic Ring or Chain 4 and join with a slip stitch to 1st chain to form a loop.
  2. * Chain 3. Make 3 Triple Crochet, Chain 3, slip stitch into Loop **.
  3. Repeat from * to ** 2 more times to make 3 leaves.
  4. For Stem; Chain 5, slip stitch in 2nd chain from hook and into next 3 chains. Slip stitch into center of ring. Fasten off. Weave in ends.
Medium Shamrock:
  1. With Larger Hook, Crochet Medium Shamrock using two strands of yarn (one of each color) held together.


Garland:
  1. With large crochet hook and 2 strands of yarns held together, Chain 8. Slip stitch in first chain to make first hanging loop.
  2. * Chain 12. Make a single crochet on top of the Middle Leaf of the Shamrock. Continue from * across to attach all the Shamrocks. For my Garland, I alternated between light and dark green with the two-tone Shamrocks in between.
  3. For the second hanging loop; Chain 20. Slip stitch into the 8th chain.
  4. Fasten Off. Weave in ends.


Happy St. Patrick's Day...

Linking to:

Visit thecsiproject.com


Thursday, April 5, 2012

10
The Social Knitwork Scarf

Happy Spring to all you!!!! I am extremely excited to participate in the Conceptual Knitting Series, #2,
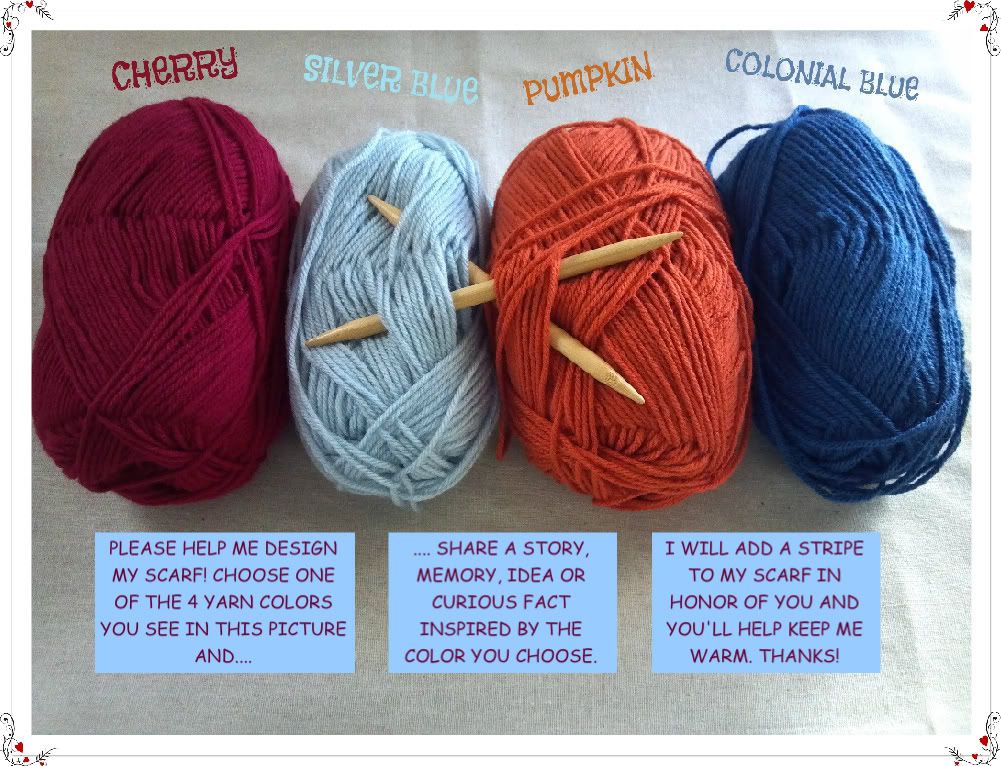
"The Social Knitwork Scarf", hosted by Leafcutter Designs. The Social Knitwork Scarf is a fun way to bring together my Love for Knitting and my Social Networks. The fun begins when my Friends, Family and Acquaintances help me design a Scarf which will be knitted in stripes of four colors; designated to the most popular social media: Facebook; Twitter; Pinterest/Gmail and Blogger. The Colors they will be choosing from are: Cherry, Silver Blue, Pumpkin and Colonial Blue.
I will knit rows as the comments arrive with the colors they have chosen, until the Scarf reaches the length I desired.

Materials:
  • Worsted Weight Yarn in four colors
  • Knitting Needles - Size 8
Instructions:
  1. Cast on 32 stitches in the color each person chose and knit every row in Garter Stitch.
  2. Continue knitting rows in Garter Stitch in the color choices as they arrive for desired length.


Please pick a color and tell me why??
Leave me a comment with your color choice. Thank you for participating in this Fun Social Network project.


My Social KnitWork Scarf will in some way be part of all of you and I will cherish it forever. Happy Easter!!!

Thursday, March 29, 2012

8
Easter Egg Garland

Easter is upon us. The Spring decorations and goodies are simply delightful.


From decorating Eggs, to the delicious Marshmallow Peeps. Visit Peeps where you can find Fun Facts, Recipes and other Fun Activities.


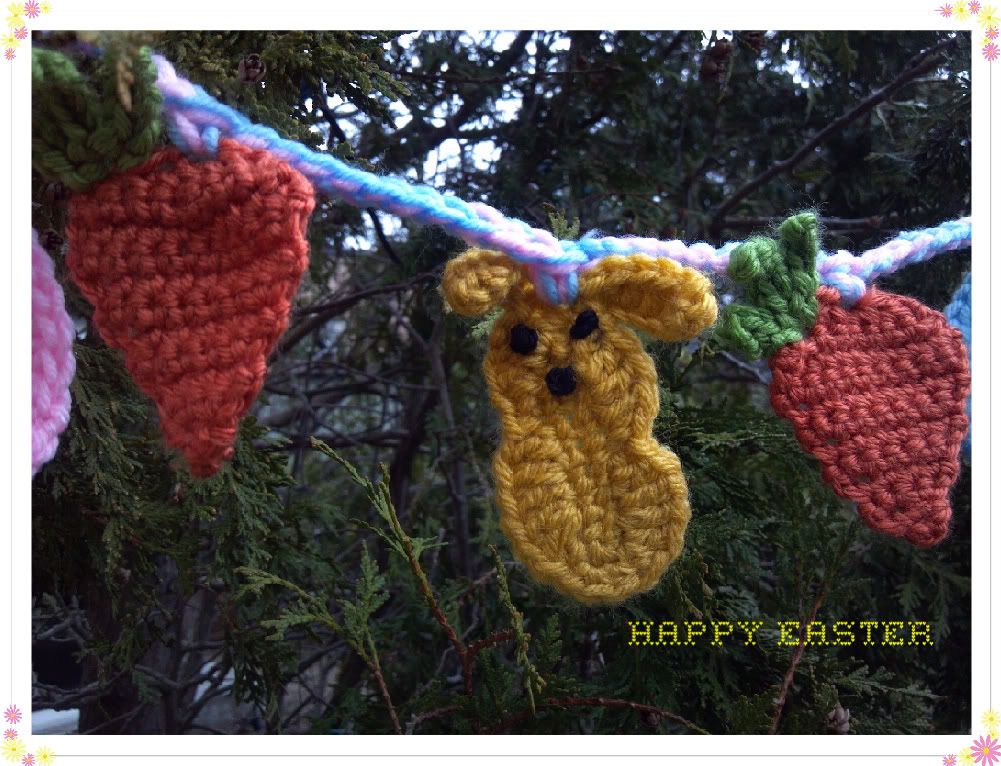
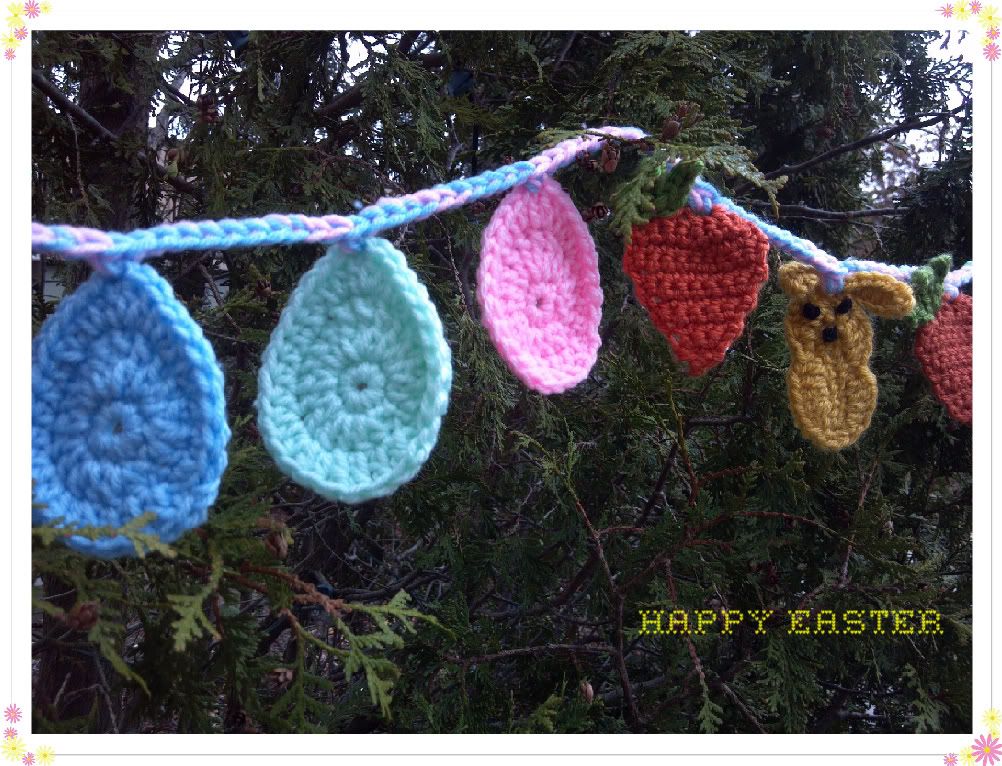
My Easter Egg Garland is made up of Easter Eggs with Marshmallow Peeps and Carrots in between.

Supplies:
  • Worsted Weight Yarn in 3-4 colors for the Eggs, Yellow/Black for the Peeps and Orange/Green for the Carrots
  • Size H Crochet Hook
  • Size J Crochet Hook
  • Yarn Needle

Abbreviations:
ch - chain
sc - Single Crochet
dc - double crochet
hdc - half double crochet
tr - triple crochet
sl st - slip stitch
st - stitch tog - together

Easter Eggs:
  1. With small hook make a Magic Circle or ch 4 and join with a sl st to 1st ch to form a ring.
  2. Make 10 sc in ring, sl st to first sc to join.
  3. Ch 2, Make 1 dc in join. Make 2 dc in next 2 sc, 3 tr in next sc, 2 dc in next 3 sc, (1 dc, 1 hdc) in next 2 sc, sl st to first dc to join.
  4. Ch 2, hdc in next 4 sc, 2 hdc in next 2 sc, 3 dc in next st, 2 hdc in next 2 st, hdc in next 4 st, 2 hdc in next sc, 1 hdc and 1 dc in next sc, dc in next 6 sts, sl st to first dc.
  5. Fasten off and weave ends.

Carrots:
    With small hook, Chain 2.
  1. Row 1: make 1 sc in 2nd ch from hook. Ch 1, turn
  2. Row 2: make 2 sc in first sc. Ch 1, turn
  3. Row 3: make 2 sc in each of next 2 sc. Ch 1, turn
  4. Row 4: sc in each sc across. Ch 1, turn.
  5. Row 5: make 2 sc in first sc, sc in next 2 sc, 2 sc in last sc. Ch 1, turn.
  6. Row 6: sc in each sc across. Ch 1, turn.
  7. Row 7: make 2 sc in next sc, sc in next 4 sc, 2 sc in next sc. Ch 1, turn.
  8. Row 8: sc in each sc across.Ch 1, turn.
  9. Row 9: make 2 sc in next sc, sc in next 6 sc, 2 sc in next sc. Ch 1, turn.
  10. Row 10: sc in next 10 sc. Ch 1, turn.
  11. Row 11: sc next 2 sc tog, sc in next 6 sc, sc next 2 sc tog. Ch 1, turn.
  12. Row 12: sc next 2 sc tog*, repeat * across.
  13. Fasten off and weave ends.
Carrot Leaves (3):
  1. Join the Green yarn on left corner of carrot top with a sl st.
  2. Ch 5, sl st in 2nd ch from hook. Sc in next 2 ch, sl st in last ch, sl st in previous join.
  3. Ch 6, sl st in 2nd ch from hook. Sc in next 3 chs, sl st in last ch, sl st in same join as before.
  4. Ch 4, sl st to 2nd ch from hook and in next 2 ch, sl st in same join as before.
  5. Fasten off and weave ends.

Peeps:
For the Marshmallow Peeps I used a pattern I found on Whiskers & Wool, "Easter Marshmallow Bunnies". I replaced the black beads with black yarn and Embroidery French Knots. Check out this French Knot how-to-video, if you decide to try to make the Embroidery French Knots.


Garland:
  1. With large hook and 2 strands of yarn held together, Chain 8, sl st to first ch to create the first hanging loop.
  2. Ch 10 and sc into the middle-top of first Egg.
  3. Continue adding the Easter Eggs, Peeps and Carrots in this manner, with ch 10 in between. My Garland's arrangement consisted of 3 Easter Eggs, 1 Carrot, 1 Peep, 1 Carrot... ending with 3 Easter Eggs.
  4. To finish the Garland, ch 18, sl st in 8th ch from hook to create the second hanging loop.


Your Easter Garland is ready to be showcase. My Carrots did not turn out thin and long, but we can always benefit from a Healthy looking Carrot.....

Happy Easter

Thursday, February 16, 2012

22
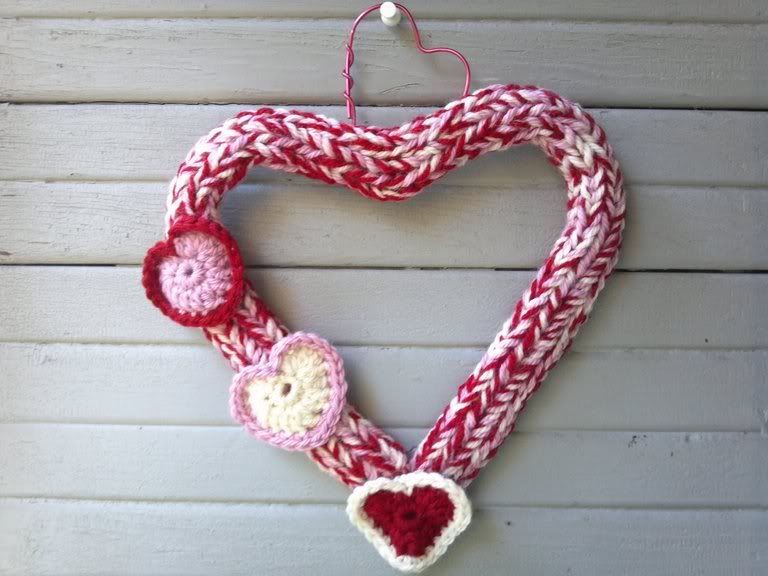
I-Cord Valentine's Day Wreath

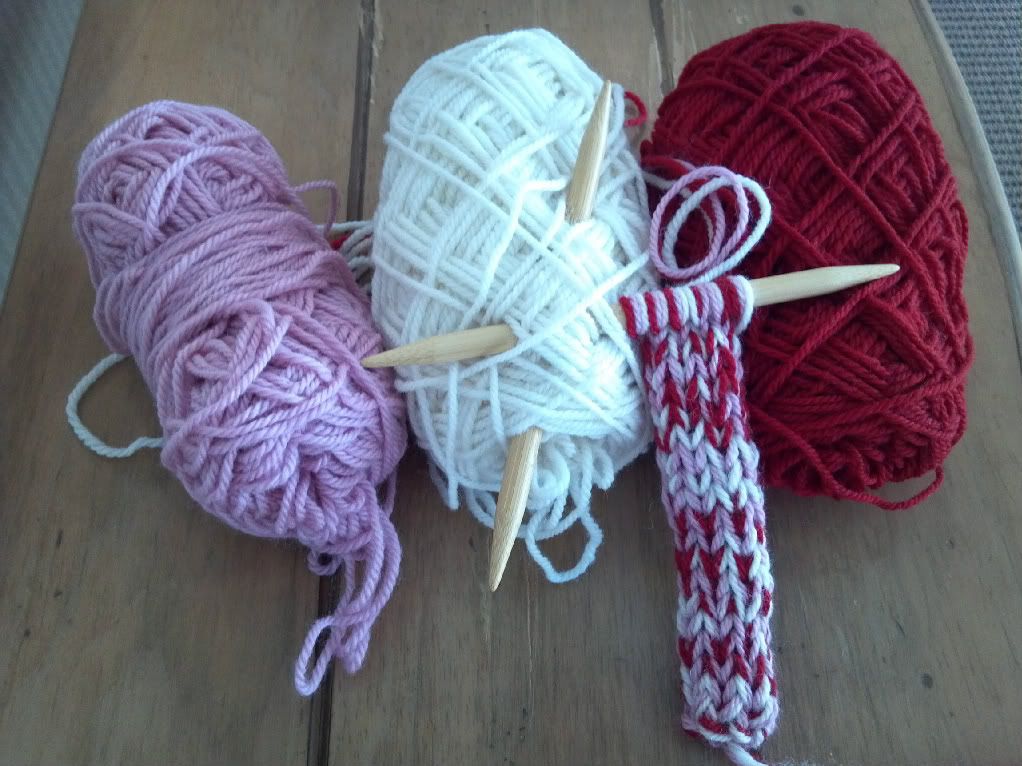
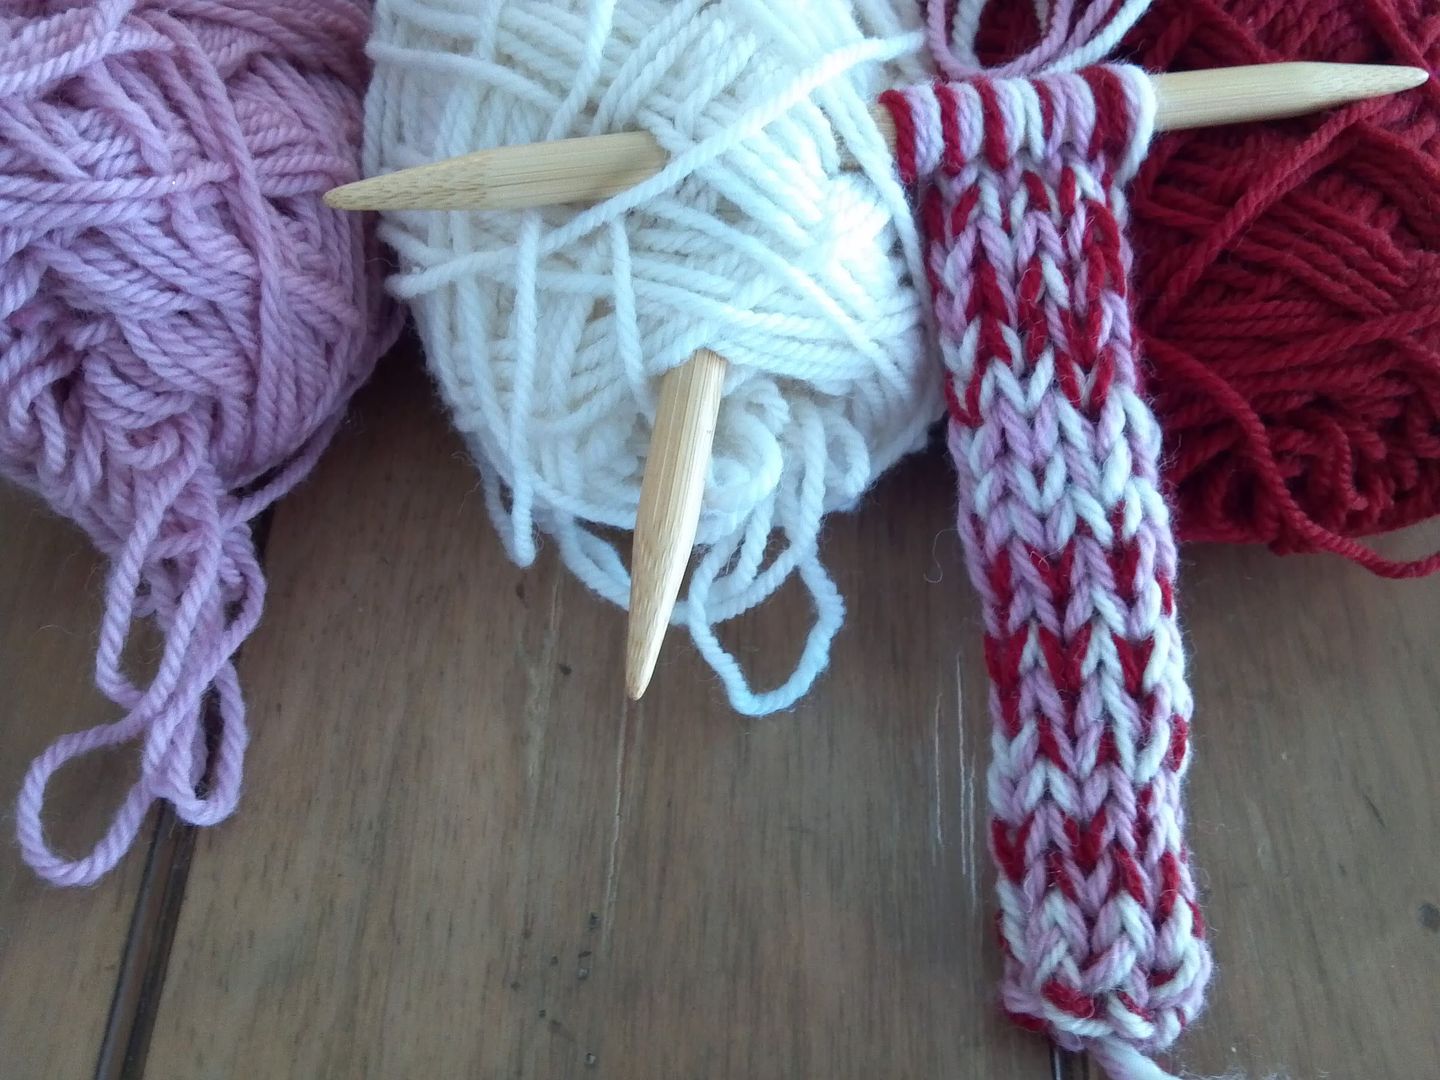
I enjoy Knitting I-Cords. Making an I-Cord could be a bit intimidating as it requires knitting using two Double-Pointed Needles. An I-Cord is quick and very easy to make. To learn how to Knit an I-Cord, visit The Purl Bee, one of my favorite Blogs. Here you can find a wonderful Tutorial on how to Knit an I-Cord.

I love knitting with Clover Takumi Bamboo Knitting Needles, available at most Craft stores like Michaels and ACMoore. An I-Cord is a Knitted Tube and can be as long as you like. It can be made using any yarn, just make sure you choose the correct Knitting Needle size for the specific choosen yarn. I-Cords are fun to make and can be use in all sorts of things; from a Bag Strap to Making Spiral Flowers.

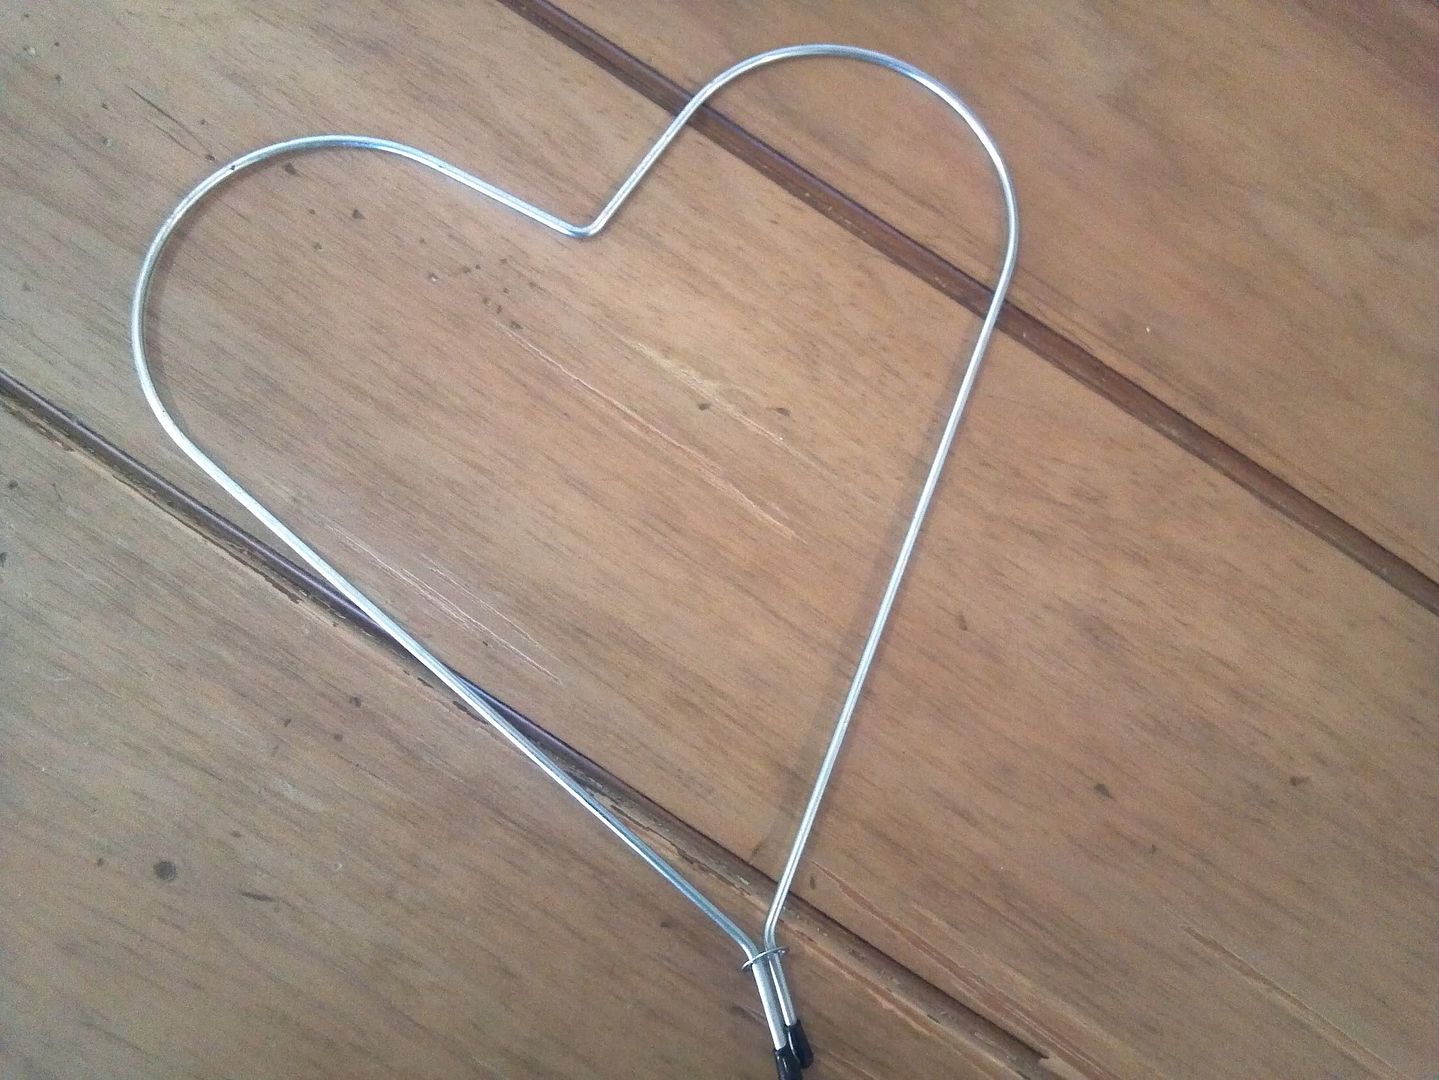
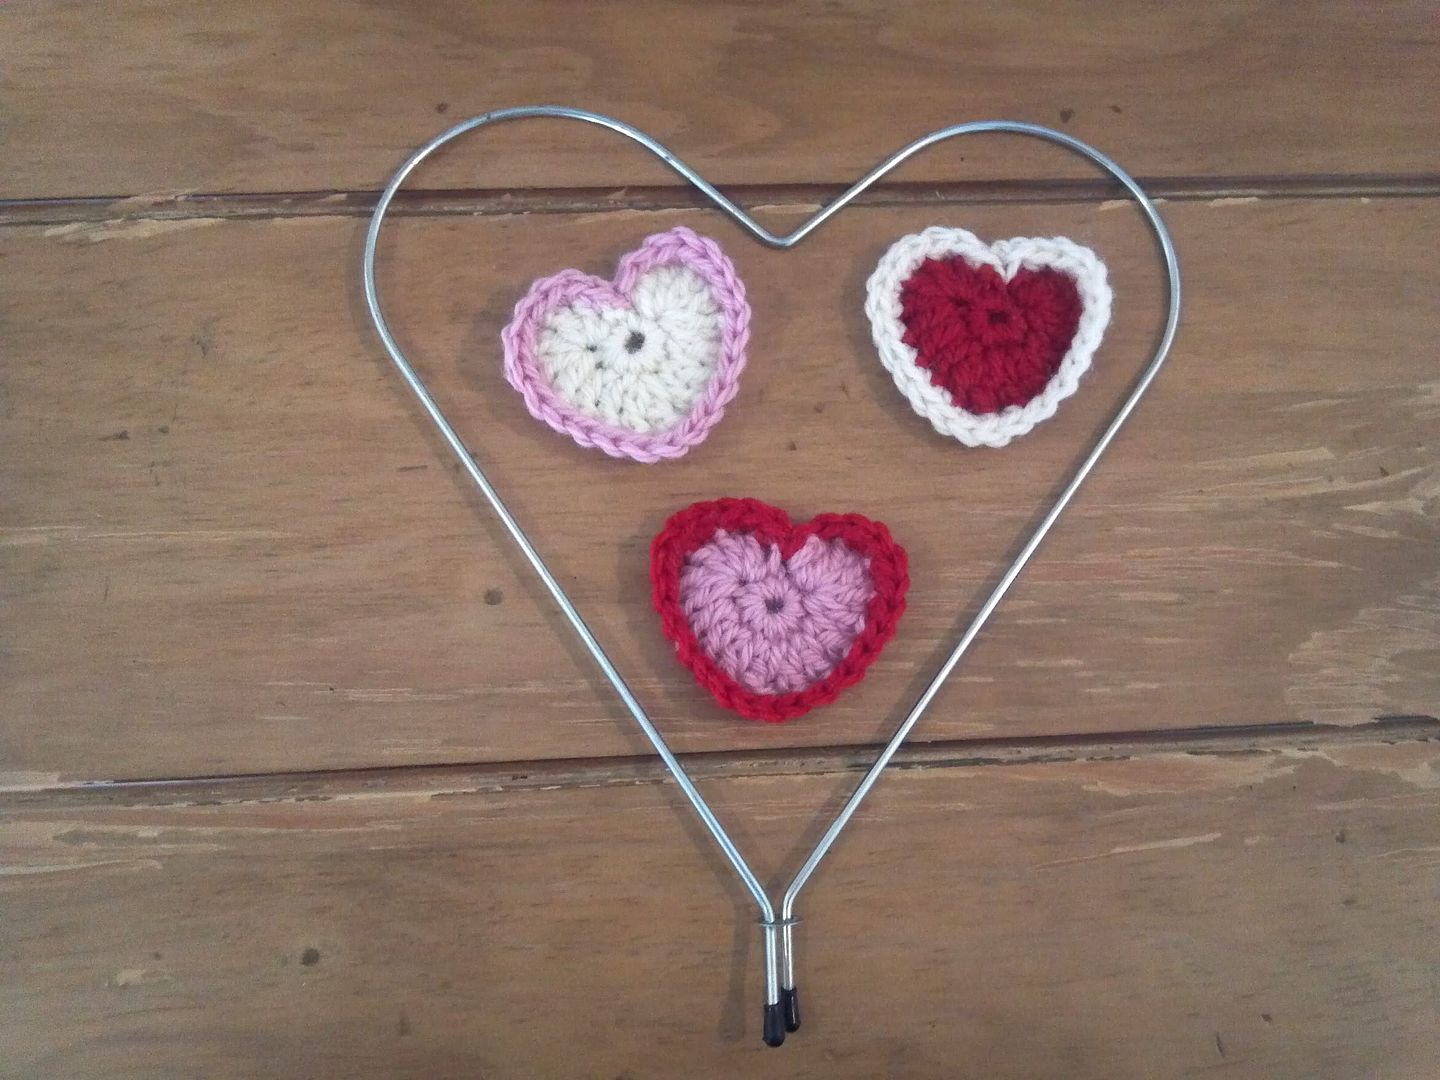
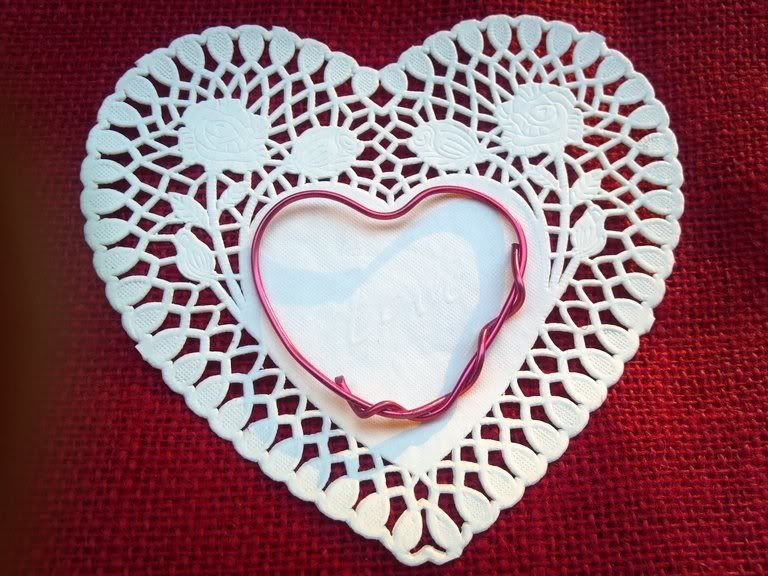
I found a Heart Shape Wire Form in my stash which I purchased years ago. I figure why not use it to make a Valentine's Day Wreath. I also decorated the wreath with tiny Crochet Hearts using the wonderful tutorial from Julia Crossland's Teeny Tiny Heart Bunting.

My I-Cord was made using Three strands of yarn held together, which resulted in a more dense tube. If you can't find this type of Wire Form, you can make your own Heart Shape using a piece of Garden Wire. Go HERE to find the tutorial.
Let's get going!!!
Supplies:
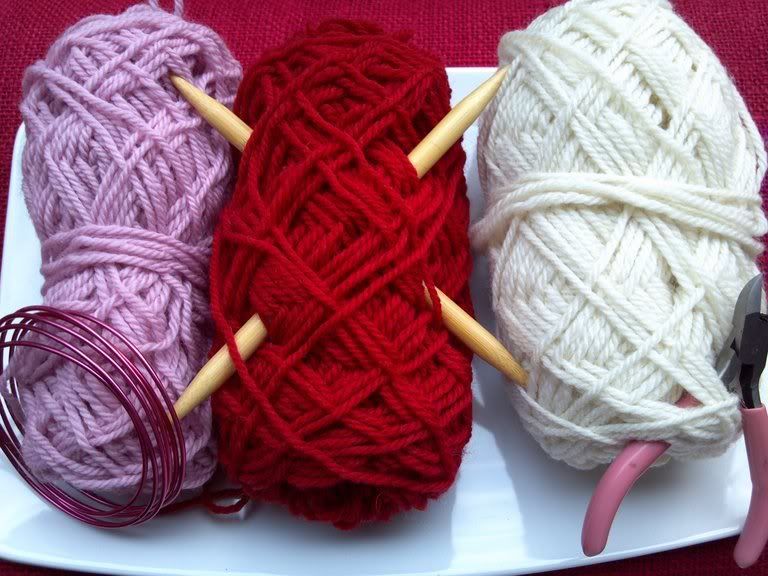
  • Worsted Weight Yarn in 3 colors of your choice. For this project I used Patons-Classic Wool in Aran, Petal Pink and Bright Red.
  • Double-Pointed Knitting Needles - Size 13(9.0mm)
  • Heart Shape Wire form
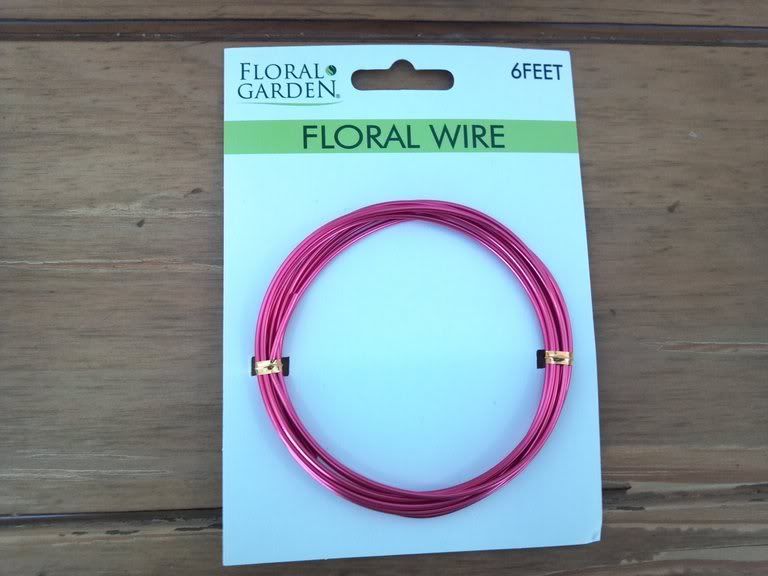
  • Flexible Floral Wire, available at the Dollar Store - $1.00
  • Crochet Hook - Size H/8 (5.0mm)
  • Small/Medium Heart form
  • Pair of Pliers
  • Yarn Needle

Instructions:
  1. Holding 3 strands together, Cast on 6 stitches.
  2. Knit across all stitches
  3. Following the I-Cord Tutorial, continue knitting rounds, until you reach the length needed to go around the Heart Wire Form. Your I-Cord will be similar to the ones shown below.


  4. Once you reach the required length, bind-off your stitches. Set the I-Cord aside for now to assemble later.

  5. To decorate the I-Cord, I crocheted three tiny hearts. I used the wonderful tutorial from Julia Crossland, alternating the yarn colors to crochet the middle and sides of the Tiny Hearts.

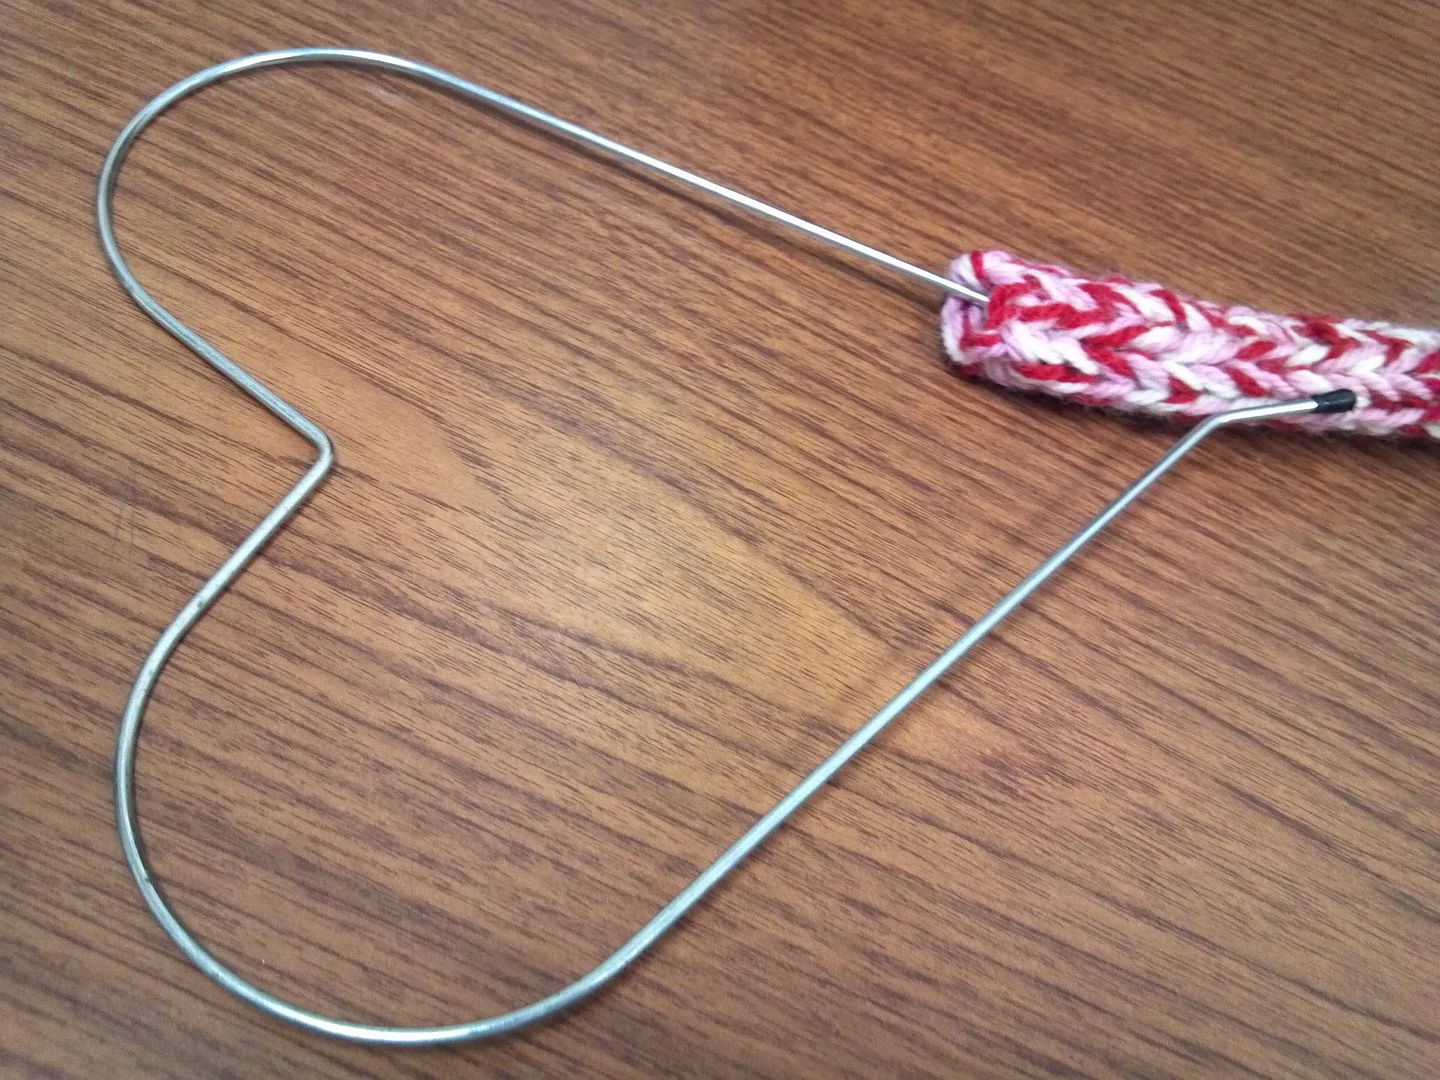
  6. To assemble the wreath, the Heart Wire Form was inserted inside the I-Cord tube as shown below. Sew the hearts ends together, covering any exposed wire.

  7. Sew the Tiny Hearts around the wreath as you like.
  8. I was debating what to use to hang the wreath. Another trip to the Dollar Store lead me to purchase a package of flexible Floral Wire, the perfect item to make my own Hanger.
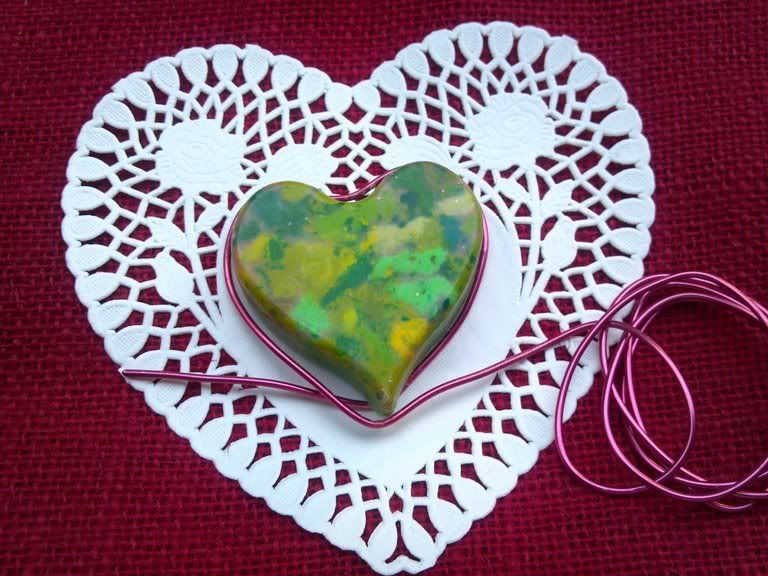
  9. Begin with your small Heart form. It could be a cardboard heart shape, a cookie cutter. I used a Crayon Heart shape I had from my project Pinterest Challenge.
  10. Take a piece of wire and wrap it around your small heart form. Cut ends with pliers and wrap around to hold in place


  11. Sew hanger onto the Wreath.
  12. You are done!!!


I hope you enjoy give this tutorial and perhaps give it a try!!!

Happy Valentine's Day!!!

Saturday, January 21, 2012

2 Mystery Crochet Along

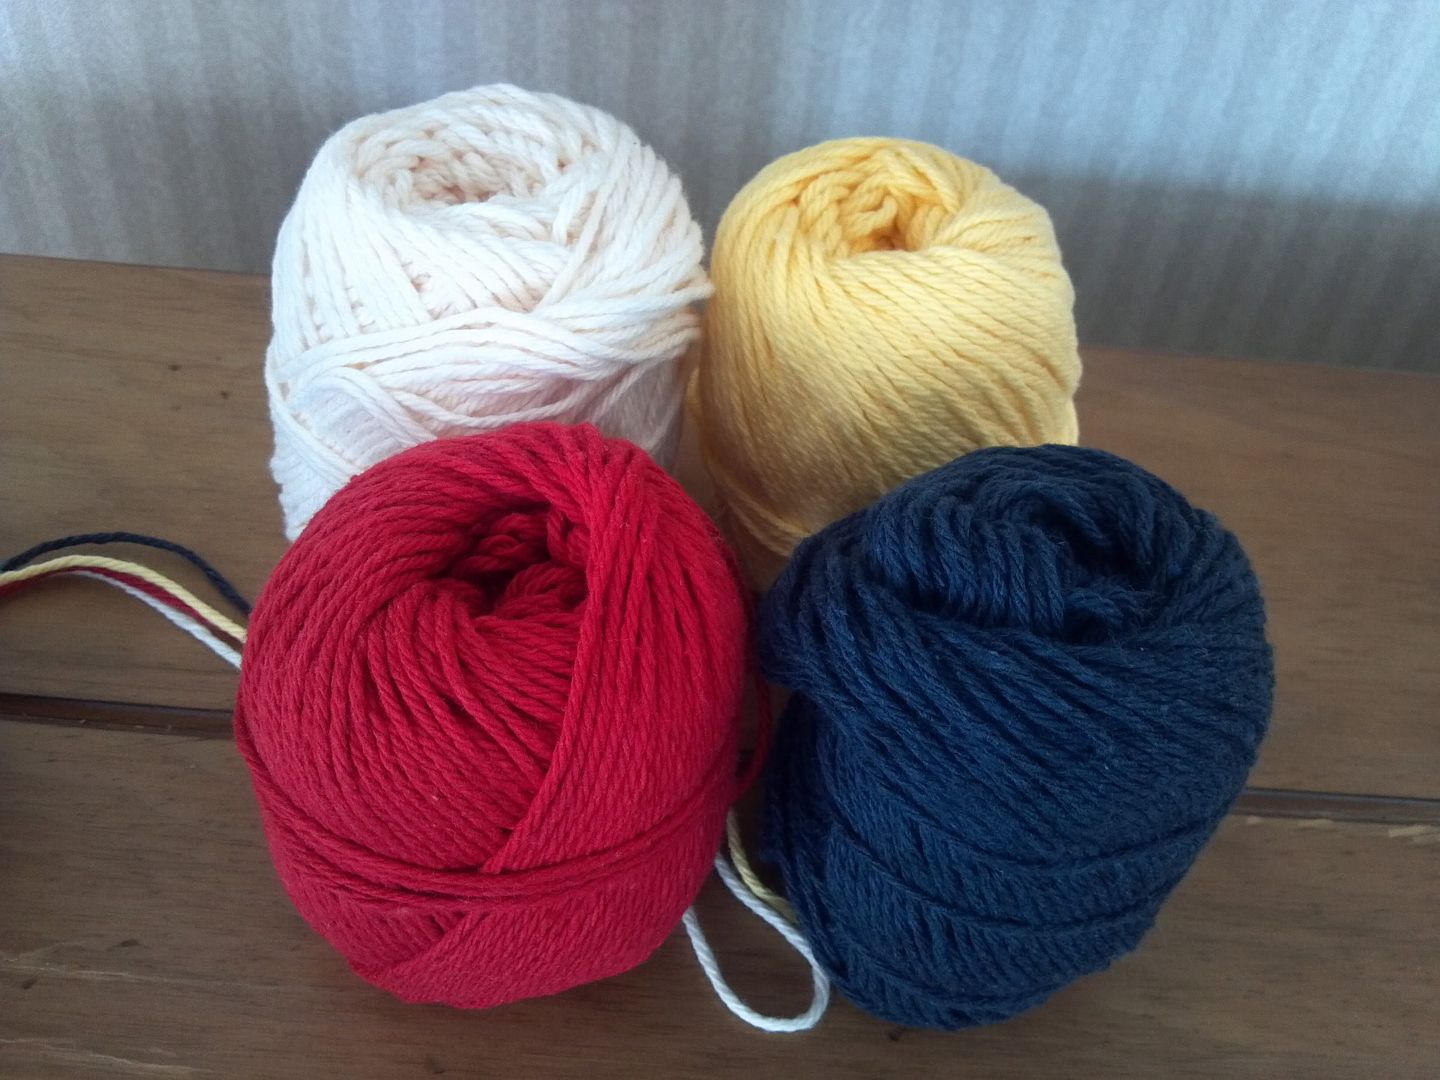
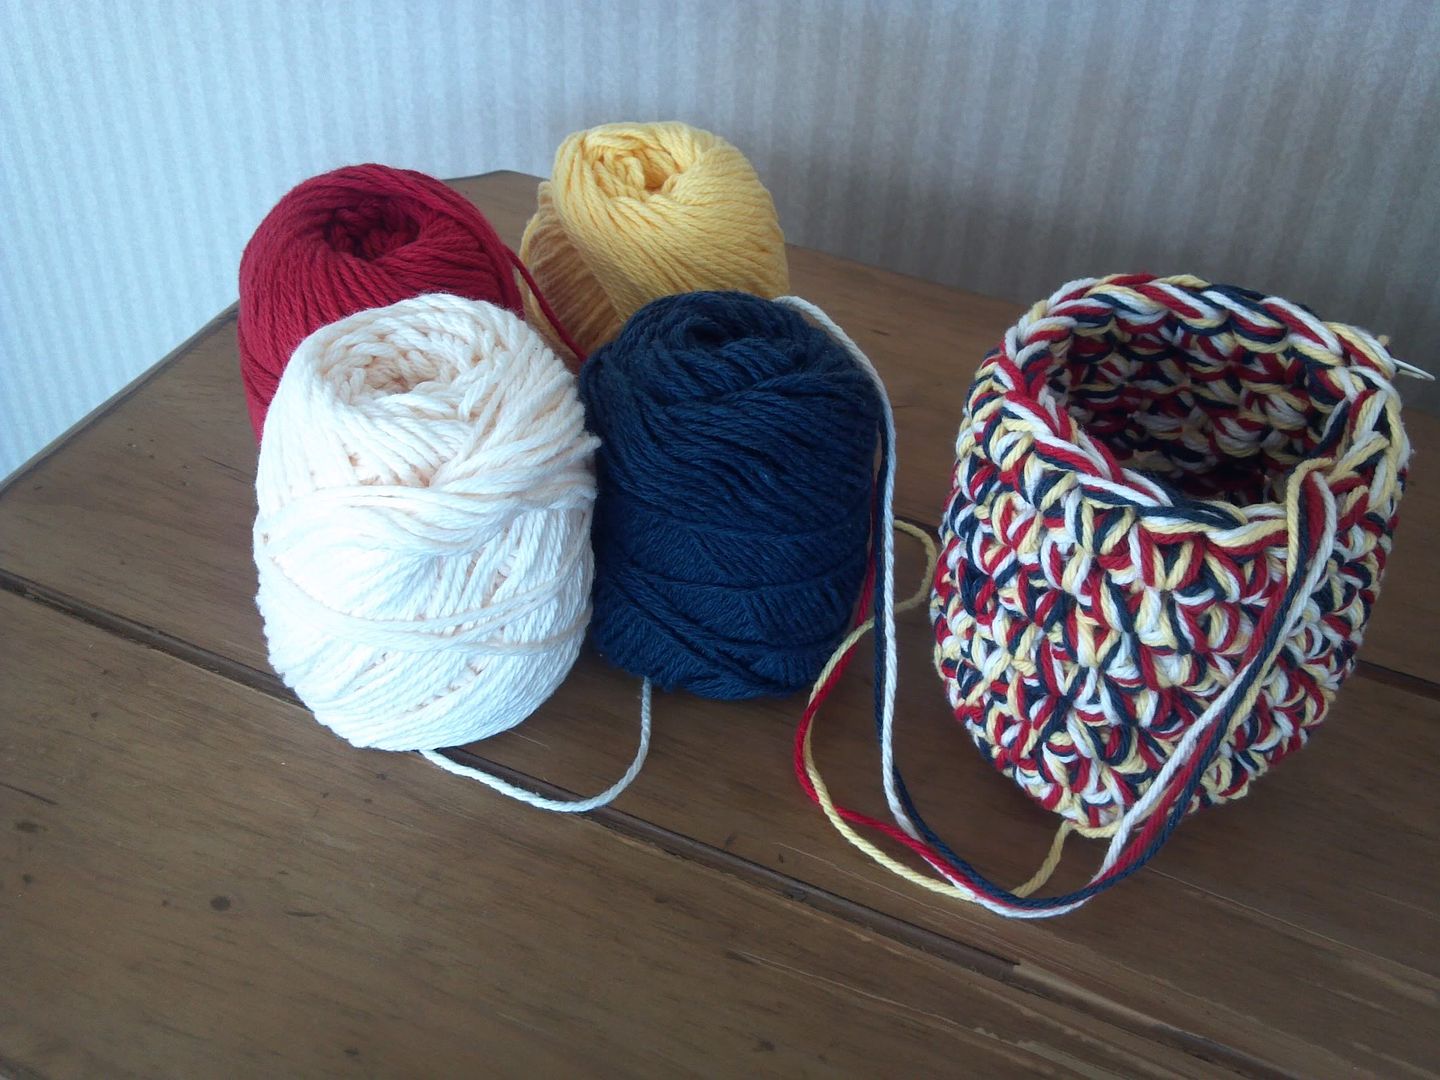
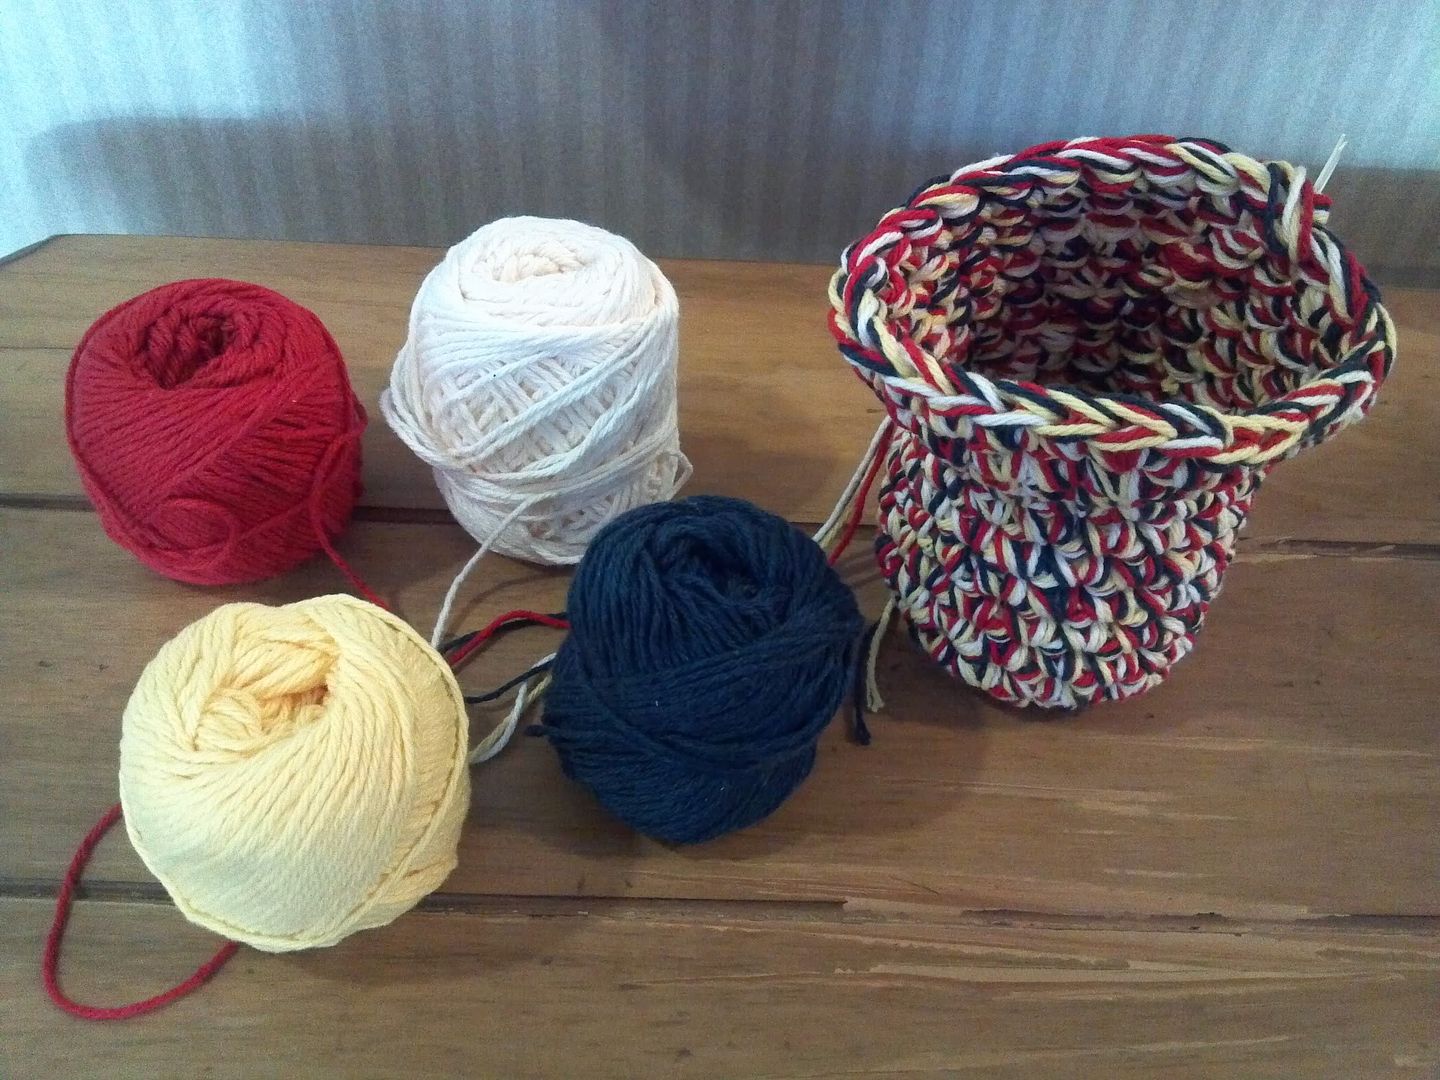
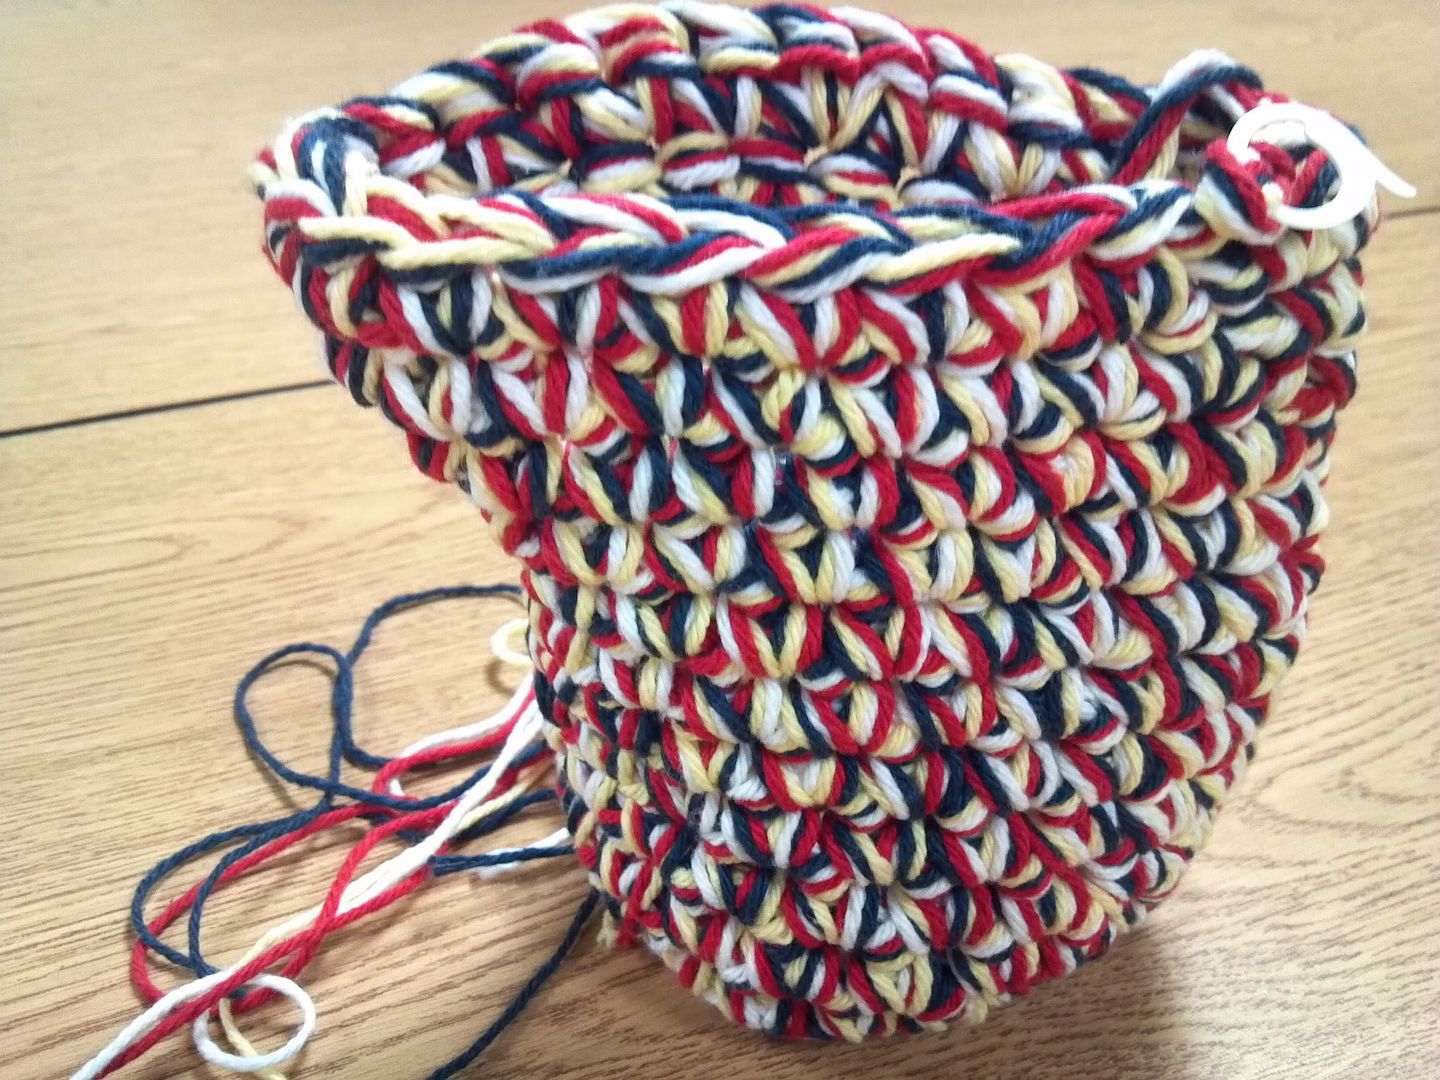
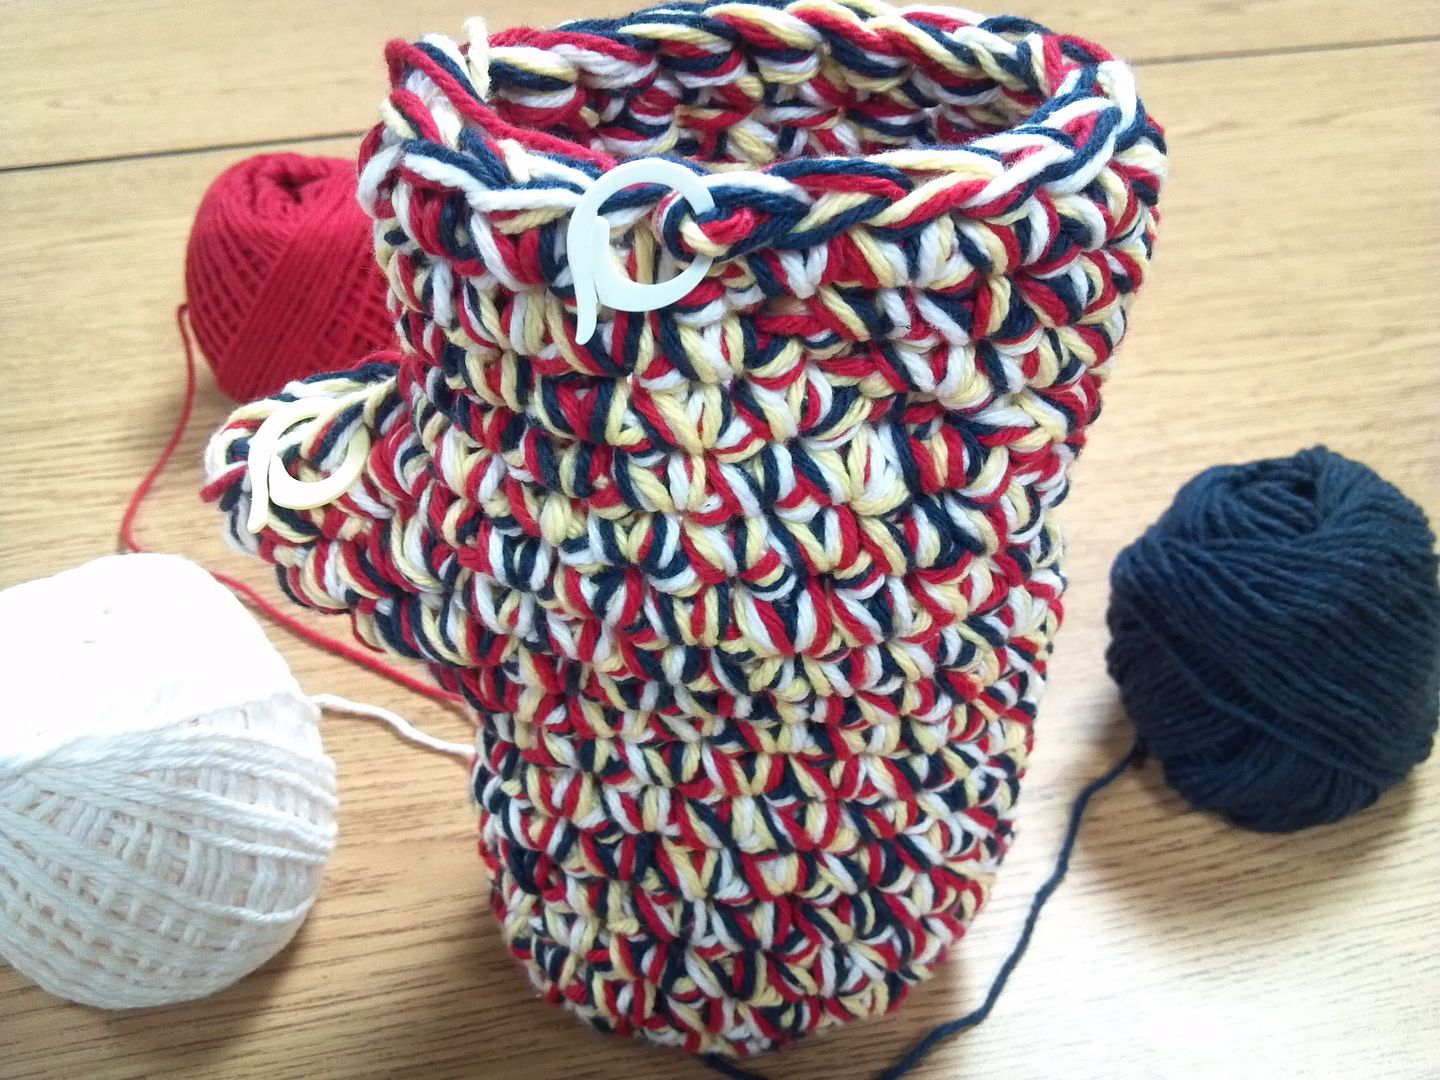
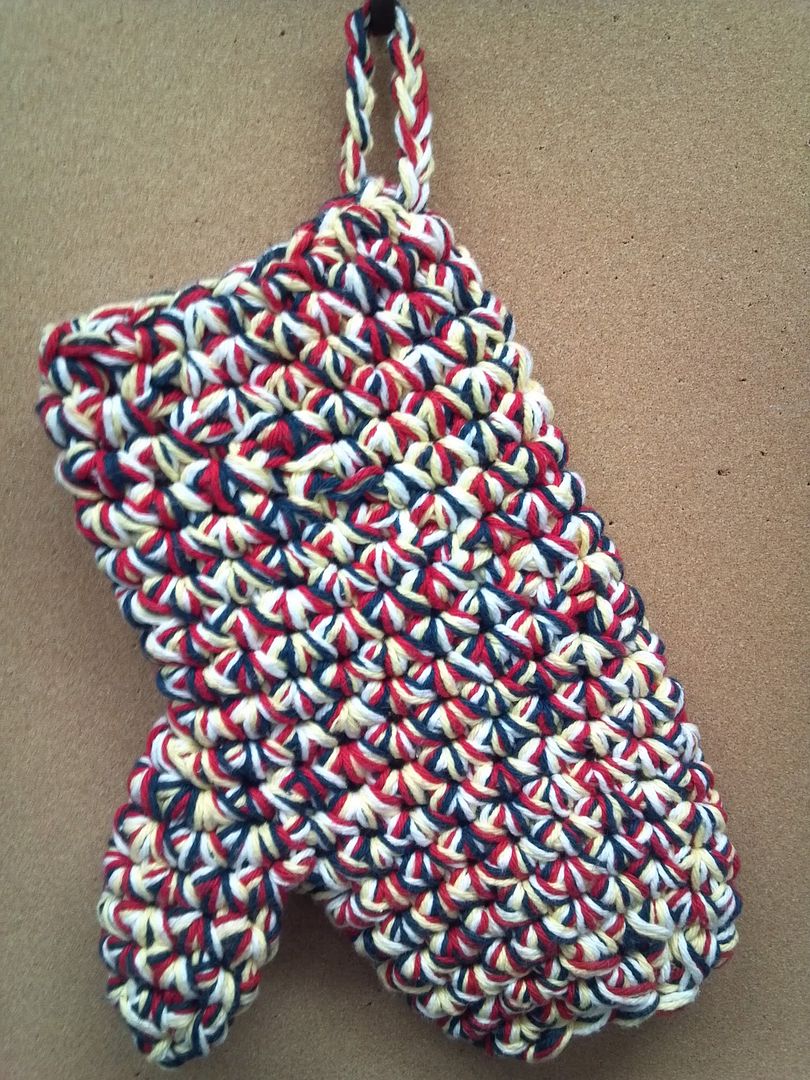
I started my second 2012 Mystery Crochet Along on January 15th, hosted by Ravelry's Mystery Stitchery Group. Visit Ravelry, a Knit and Crochet Community to join other Crochet and Knit Alongs and download an array of Free Patterns. This MCAL required holding four strands of Worsted Weight Cotton or Wool. I choose Lily Sugar'n Cream in Soft Ecru, Yellow, Indigo and Red.
For the Crochet Hook, I used Hook size N-13 (9mm) available at Michael's and other Craft and Yarn Stores. Crocheting with four strands is a bit different, but the project moves quicker than crocheting with the traditional one strand. Here are the images of my project from start to finish...
    DAY 1
    DAY 2
    DAY 3
    DAY 4 and 5
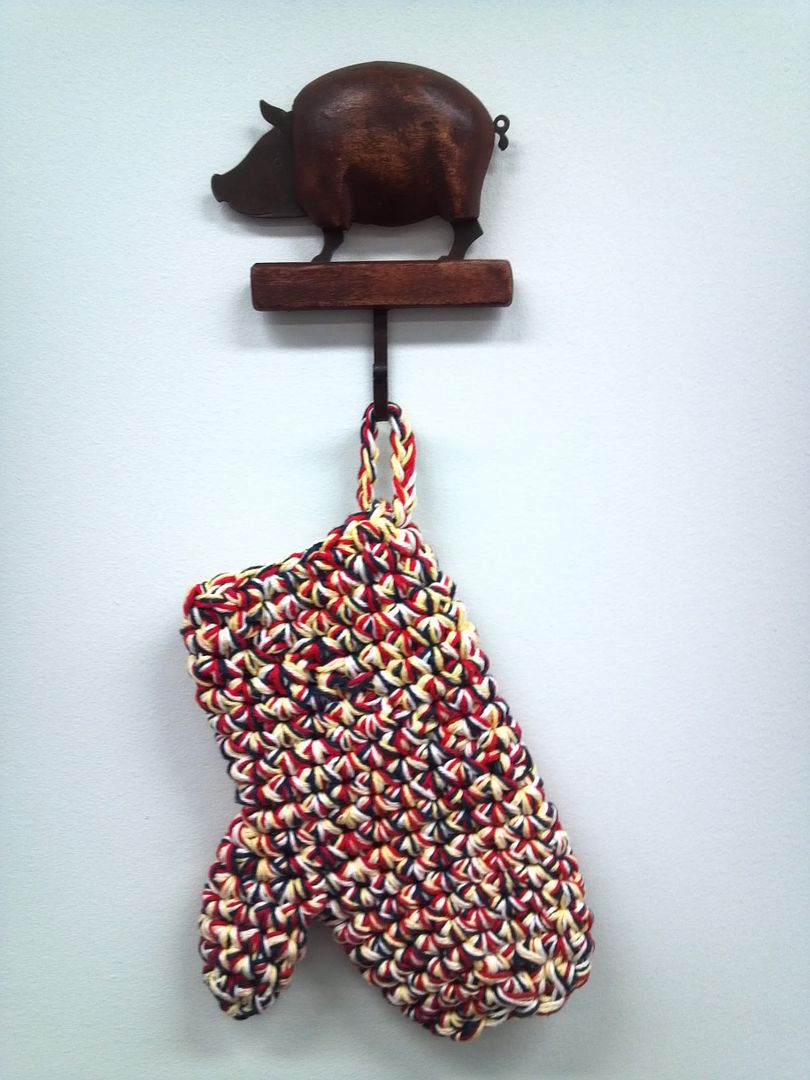
Surprise, Surprise... It is an "Oven Mitten". This is the actual Ravelry Pattern used for this project. I enjoyed participating in this MCAL. This project was fun to make and turned out to be a Functional item. Happy Crafting !!!

Saturday, January 14, 2012

0 Mystery Crochet Along - 2012 Edition

My New Crafty Year started with a Bang. One of my New Year's Resolutions; to finish the many WIP projects is now on its way. So far I finished one project. Oh well... I have the rest of the year to finish them. I love participating in Crochet or Knitting Mystery Alongs. I am excited to start my first 2012 Mystery Crochet along, hosted by Let's Crochet.com
    DAY 1
    DAY 2
    DAY 3
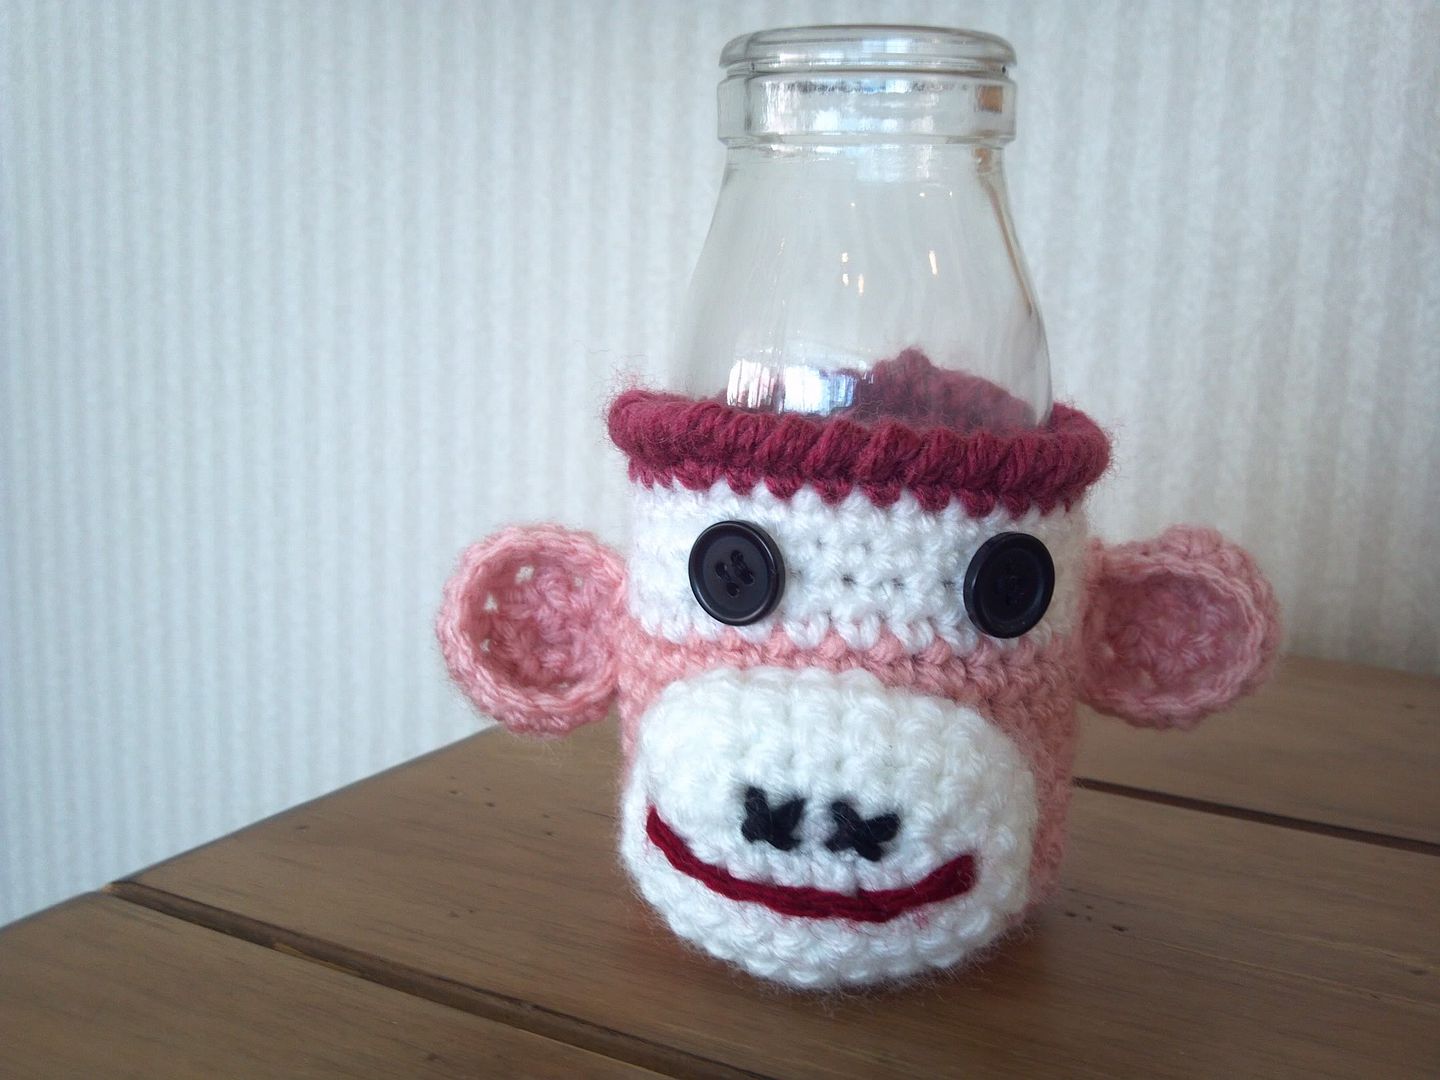
The Final Day of the first 2012 Mystery Crochet Along hosted by Let's Crochet.com was posted and the Mystery has been solved!!! It's a Monkey Cozy !!! I just love the end result of this Crochet Along. It is odd, but the Yarn Colors I picked for this project were inspired by this "Valentine's Beanie Baby" I purchased at a local Supermarket. To my surprise, the Mystery Project was also a Monkey !!!
Here is the Finished Project !!!
    DAY 5 - Monkey Cozy
I truly enjoyed my first 2012 Mystery Crochet Along and looking forward to many more in the upcoming months... Happy Crafting !!!

0 Mystery Crochet Along - 2012 Edition

The Final Day of the first 2012 Mystery Crochet Along hosted by Let's Crochet.com was posted and the Mystery has been solved!!! It's a Monkey Cozy !!! I just love the end result of this Crochet Along. It is odd, but the Yarn Colors I picked for this project were inspired by this "Valentine's Beanie Baby" I purchased at a local Supermarket. To my surprise, the Mystery Project was also a Monkey !!!
Here is the Finished Project !!!
    DAY 5 - Monkey Cozy
I truly enjoyed my first 2012 Mystery Crochet Along and looking forward to many more in the upcoming months... Happy Crafting !!!

Thursday, December 15, 2011

0 Felted Knitted Trees

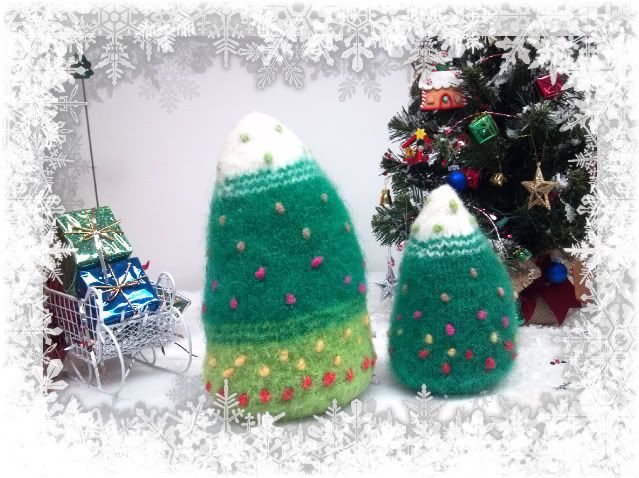
I love Knitting and Crocheting Felted projects, especially for the Holidays. These Christmas trees were inspired by the wonderful tutorial from the blog, THE PURL BEE.
I enjoyed making the Embroidery French Knots which created the tree ornaments. You might find this video helpful on how to make FRENCH KNOTS. I used a Circular and Double Point Knitting Needles #10. Fortunately, I had a stash of Felting Yarns. Any Felting Yarn will do. You might need a different Needle Size according to the specific yarn you choose. Felting Yarns can be found at your local Yarn Store or by visiting REYNOLDS LITE LOPI YARNS and VALLEY YARNS BERKSHIRE both available at WEBS or PATONS YARNS are available at AcMoore and Joanne's Fabrics. The Purl Bee's tutorial also includes the Felting Method which suggested adding Soap but I prefer adding 2 tablespoons of Baking Soda for a small wash load. After one cycle, check for size. My trees took 3 wash cycle repeats, before I ran the rinse and spin cycle. I hope you give this Tutorial a try.... Happy Holidays....
CONTENT © SWEET YARNS   

Monday, November 7, 2011
2 2011 Fiber Festival of New England
Click to play this Smilebox slideshow
Create your own slideshow - Powered by Smilebox
This free photo slideshow personalized with Smilebox
CONTENT © SWEET YARNS   
Pin It button on image hover