Oh AUTUMN!!! The Fall leaves are turning into beautiful hues of Orange, Red and the crisp Chartreuse.
I stumbled upon a few Raffia hanks in my craft stash. To my surprise they were the perfect color scheme to create a Country Fall Wreath.
Raffia is an inexpensive and versatile product with many decorative uses; from embellishments to covering a simple straw wreath.
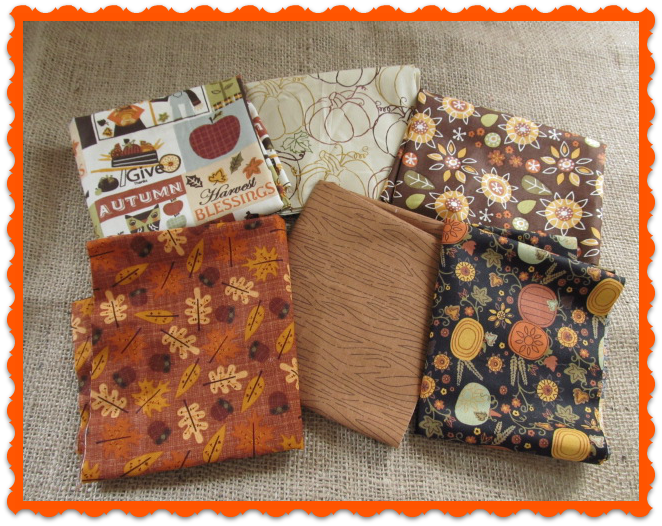
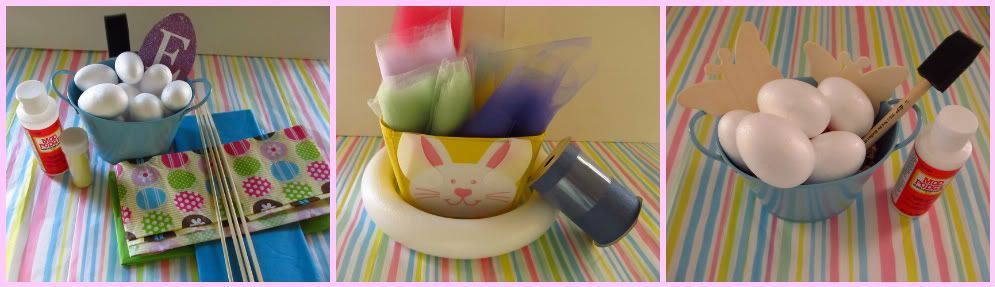
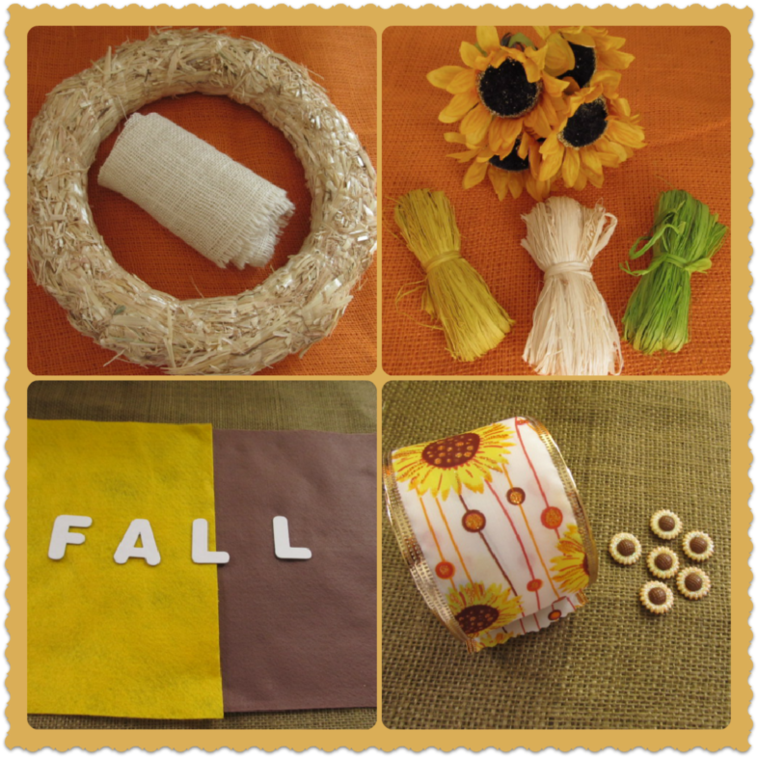
To begin, I gathered the following materials:
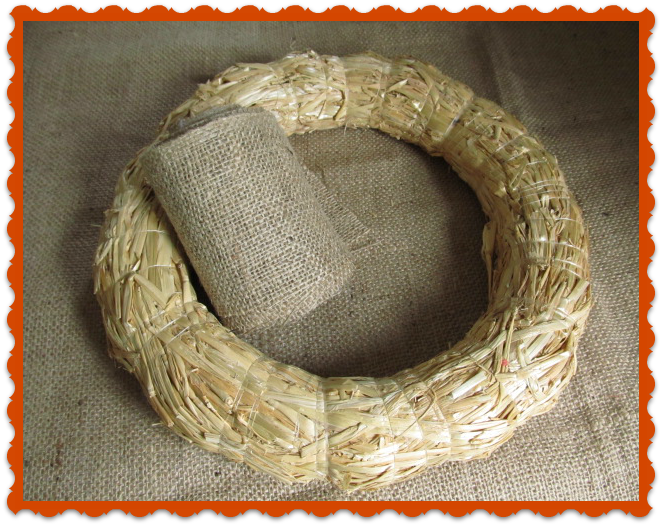
- 14" diameter Straw Wreath
- Burlap - Natural Shade
- Raffia Hanks - 2 or more colors
- Fall Sunflower Stems
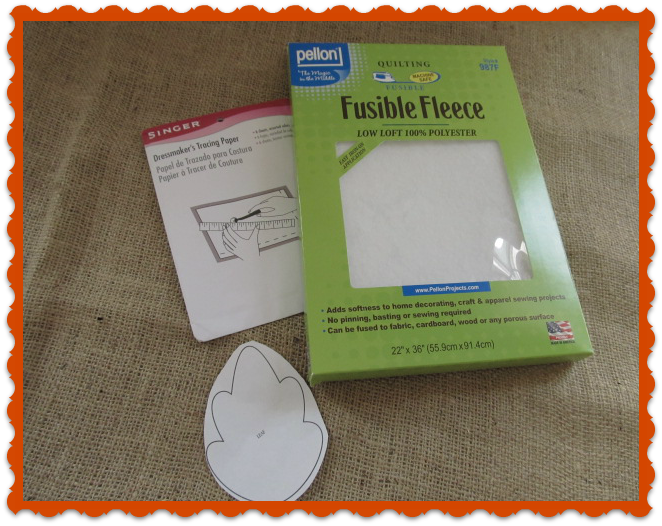
- Felt
- Chipboard Letters
- Sunflower Adhesive Glitter Shapes
- Ribbon - 2 1/2" wide
- Hot Glue Gun and Glue Sticks
- Sharp pair of Scissors
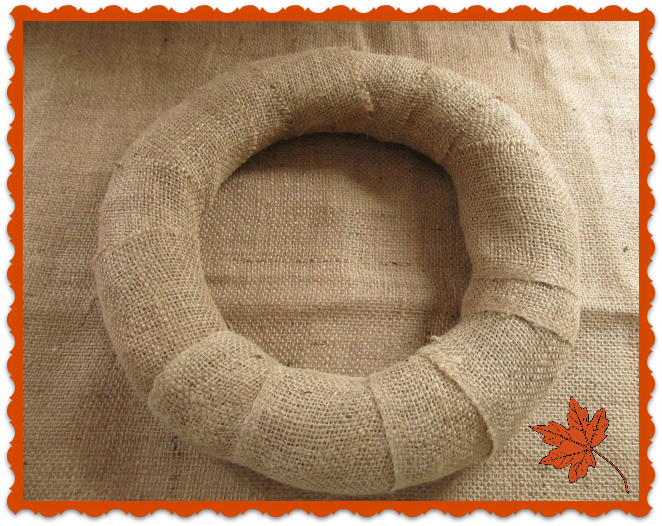
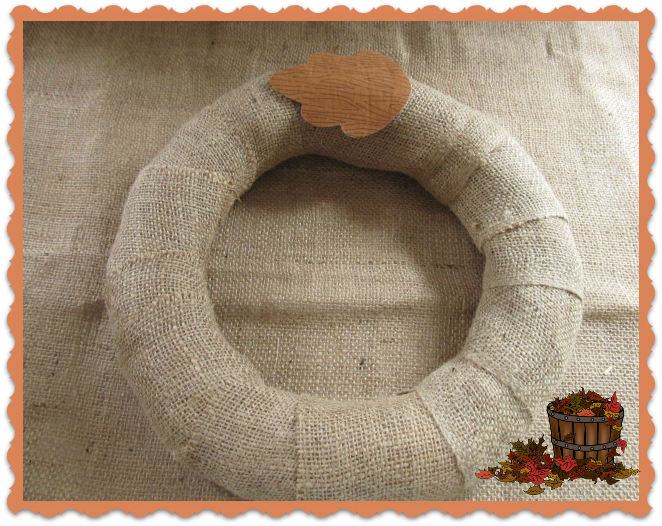
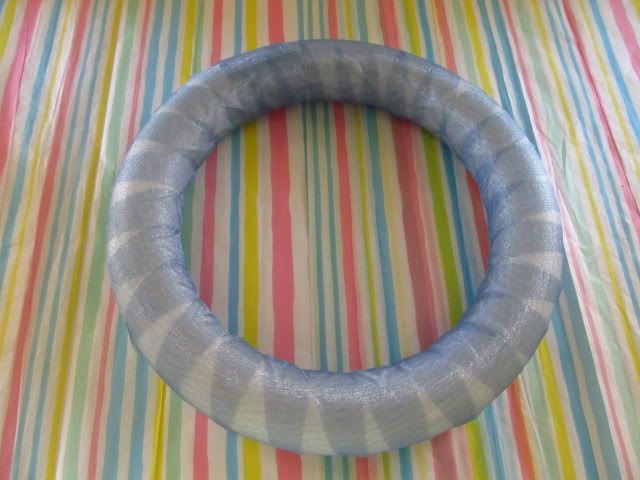
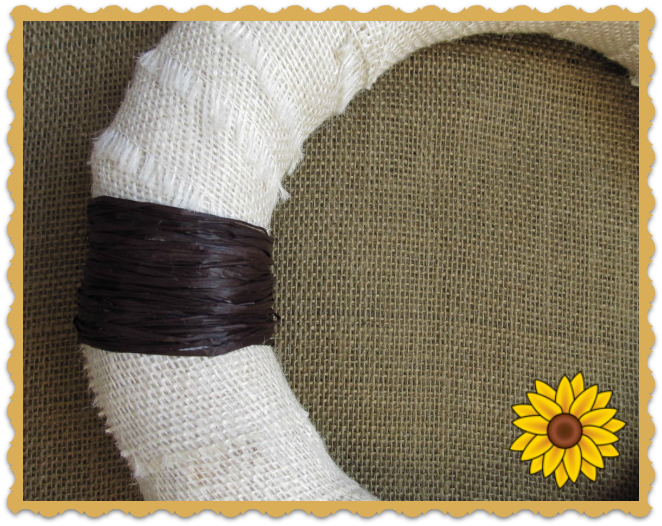
- Cut Burlap into strips measuring approximately 36" long.
- Wrap straw wreath with Burlap strips. Tack with hot glue gun as you wrap them around the wreath.
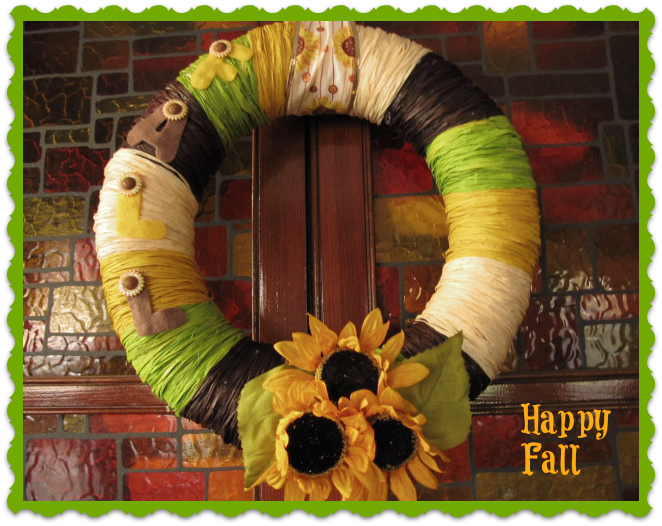
- Take several strands of each color Raffia. Glue ends together to form a cluster. Begin wrapping and gluing Raffia clusters around the wreath.
- Continue wrapping Raffia color clusters until the wreath is covered.

- Cut wire from Sunflower Stems so that they lay flat once glued to the wreath.
- Glue 3 Sunflowers to wreath's bottom section.
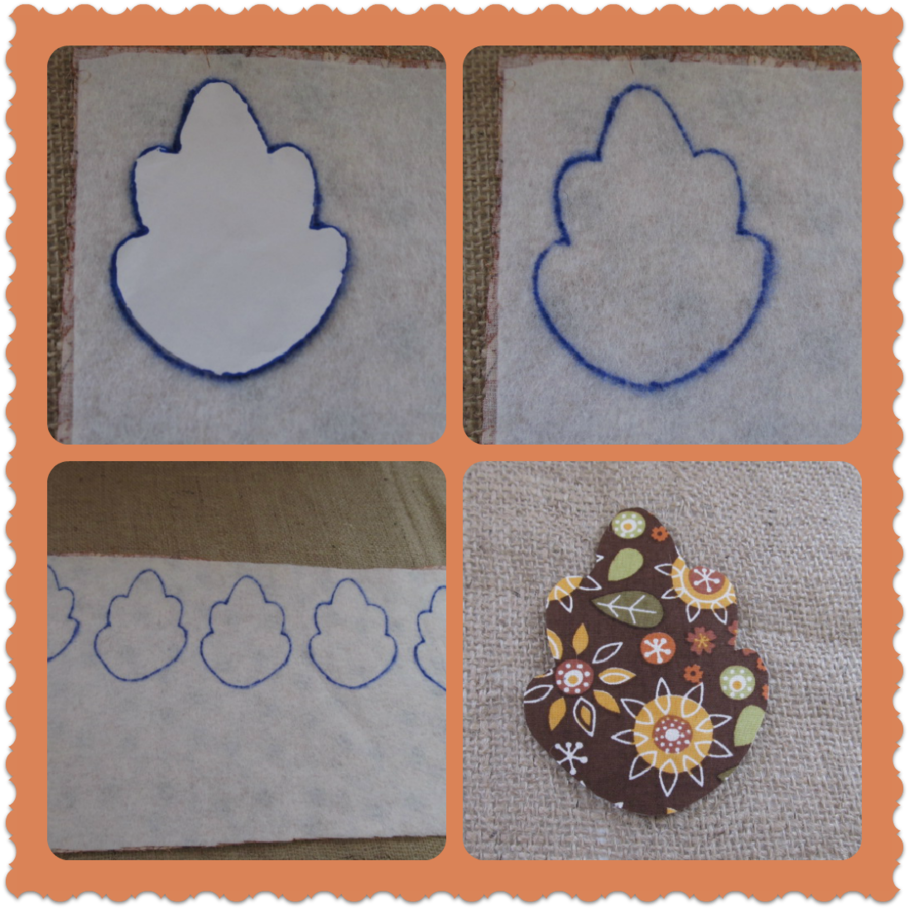
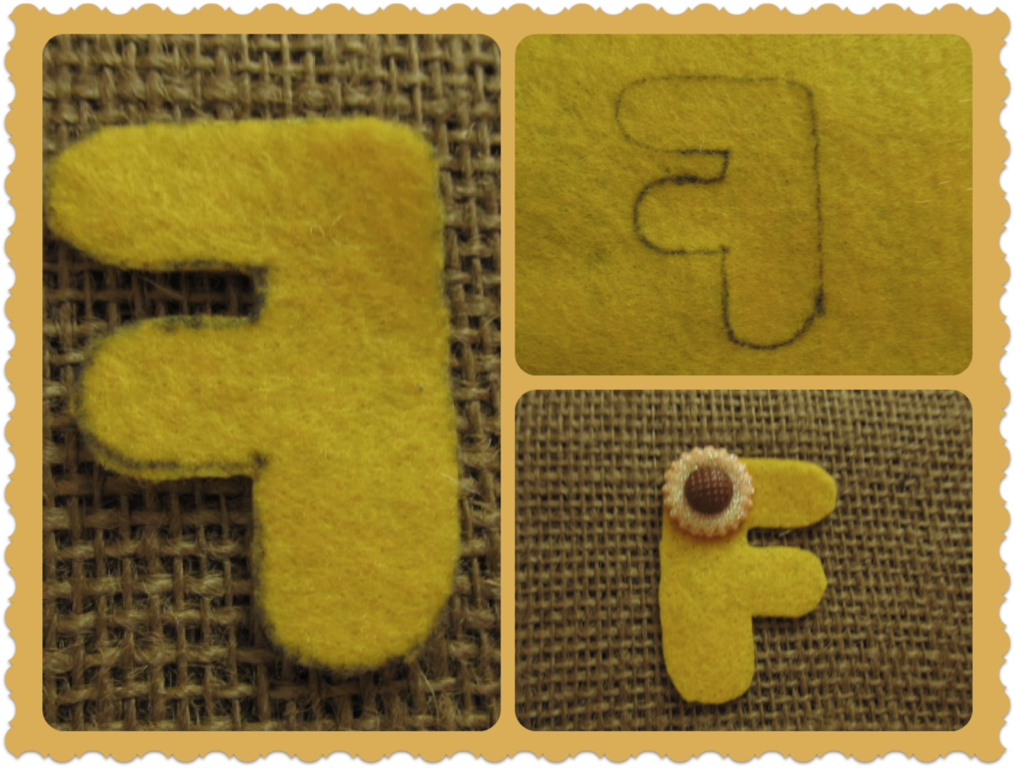
- Trace cardboard letters onto felt. I inversed my letters before tracing to avoid tracing lines from showing.
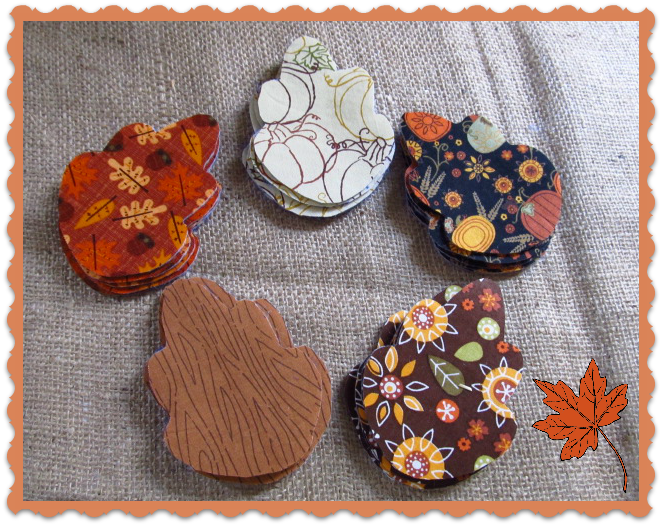
- Cut letters around tracing lines.
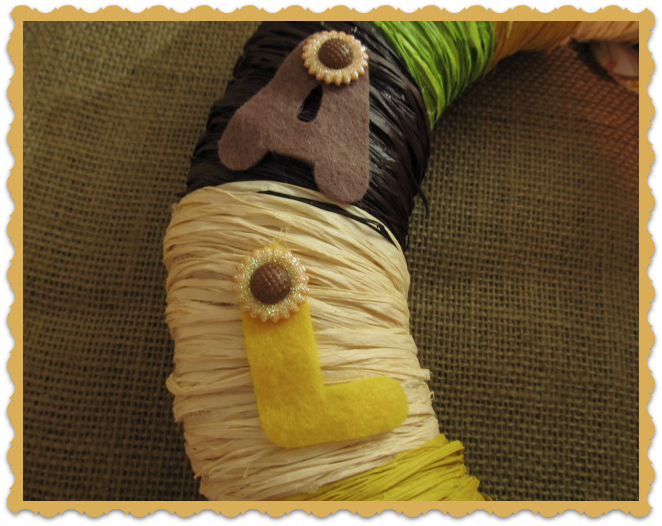
- Glue glittered shapes onto each letter's top section.
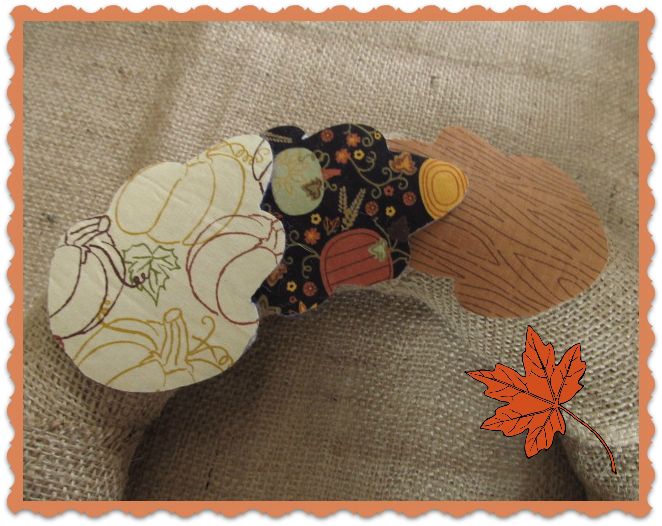
- Glue letters to either side of wreath to create your choosen word or phrase.
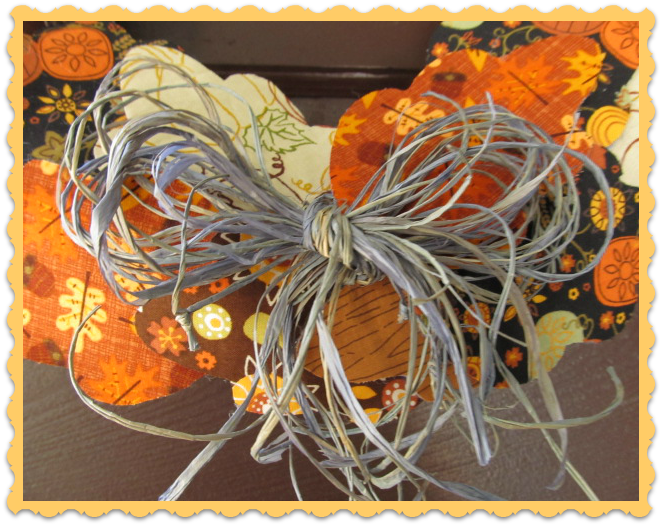
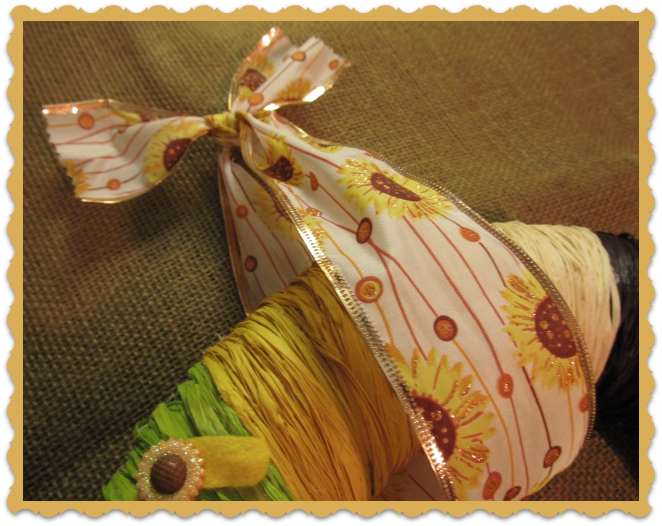
- Cut a piece of Ribbon measuring approximately 25" long. I used my Pinking shears to decorate the ribbon edges.
- Wrap ribbon around wreath's top section. Tie to make a knot.


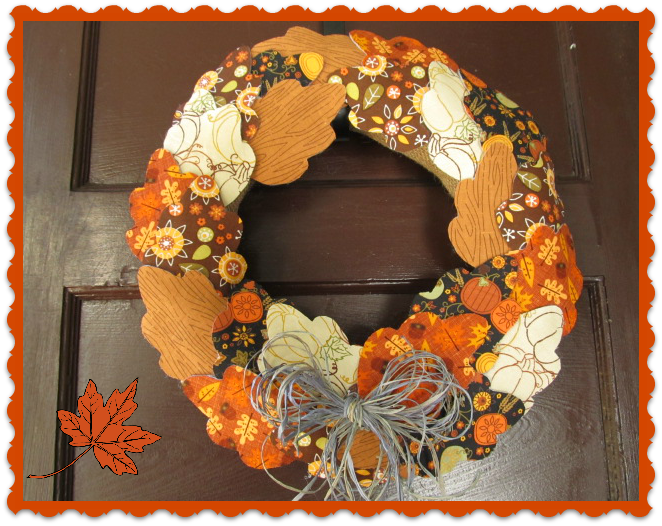
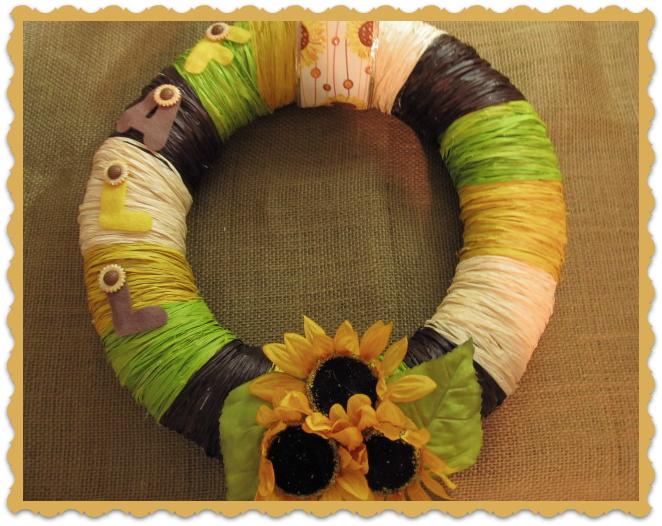
And here it is.... my colorful Raffia wreath will add a country look to my Fall Decor. I love the rustic look and texture Raffia added to my wreath.
I hope you give this tutorial a try.
I hope you give this tutorial a try.
HAPPY FALL!!!!

debbie-debbiedoos