Showing posts with label Decoupage. Show all posts

Monday, August 26, 2013

32 Ball Shore Coasters


Mason Jar crafts can be found everywhere these days. I can remember when the only use for them was "canning"... I love everything created using these versatile jars.

On a shopping trip to Marshall's, I stumbled upon a package of.... you guessed it.... Mason Jar Print napkins. As you can imagine, I took a double take. OMG... Mason Jar themed napkins !!! I left the store with only one purchase... I love this print of a Mason Jar relaxing by the Sea Shore...

This is such a beautiful print...


I thought these can make one of a kind Coasters.
I have not seen Mason Jar prints on napkins ever.
I think these napkins were just waiting for me... or just pure luck!!! Personally I think it was Destiny.... Here are materials I use to make the coasters...

Materials:
  • 4 - 4" Square Ceramic Tiles; purchased at Home Depot for 16 cents each
  • Mod Podge
  • Foam Brush
  • Decorative Napkins
  • Felt
  • Clear Acrylic Sealer
  • Pinking Shears
  • Pair of Tweezers
  • Hot Glue Gun

Instructions:

1. Using Tweezers, remove the outer layers of each Napkin.


2. Open the napkin and flatten the center folded lines as much as you can.
3. Cut one napkin into four equal sections. One napkin will make four coasters.
4. Apply a thin coat of Mod Podge all over the tile.
5. Apply Napkin to the tile. Smooth out with the brush or your fingers to remove any air bubbles and/or wrinkles.


6. Fold he napkin edges towards the back of the tile. Smooth with the foam brush dipped in Mod Podge. Let it dry 5-10 minutes.


7. Apply 2 more coats of Mod Podge all over the tile. Let dry 5-10 minutes between coats. Let dry completely.
For extra protection, spray a few coats of Acrylic Sealer all over the tiles. Let dry completely before applying the felt squares to the back of the tiles.

8. Using a tile as a guide trace and cut 4 felt squares to fit each tile. Glue the felt squares to the back of each tile.


And here they are... My Ball coasters are ready for my table. I hope the month of September is as warm and I get to enjoy them before the Fall decorations take over.... Regardless, I think I will keep them out to remind me of the warm and fun Summer I had.


Life is a Beach. Enjoy the rest of your SUMMER.


Linking to:

Visit thecsiproject.com Today's Creative Blog
Photobucket
See Vanessa Craft
Poofy Cheeks
52 Mantels
Foodie Friends Friday By Stephanie Lynn


Thursday, February 14, 2013

3 Love Story Canvas


Happy Valentine's Day!!! I wanted to create something fun for Valentine's Day. I found an opened 12" x 12" canvas at my local Thrift shop for $1.99. What a deal!!!
I thought I create a Mixed Media Collage using Paper Doilies and various types of Embellishments.

Let's begin by gathering the following materials.

Materials:
  • 12" x 12" Stretched Canvas
  • 1 - 10" White Paper Doily
  • 1 - 6" Pink Paper Doily
  • Pink and White Adhesive Glitter Shape Hearts
  • Recollections Floral Embellishments, purchased at Michael's
  • Craft Essentials 3-D Embellishments - Love Story, purchased at Jo-Ann's Fabrics
  • 5/8" Pink Buttons
  • Hot Glue Gun
  • Gesso Canvas Primer
  • Folk Extreme Glitter Acrylic Paint - Red
  • Mod Podge - Gloss Finish
  • Foam Brush
  • 2 3" x 3" canvas - optional

Directions:

Apply one coat of Gesso Canvas Primer all over the canvas, let dry completely. Apply two coats of the Extreme Glitter paint. Let dry between coats.


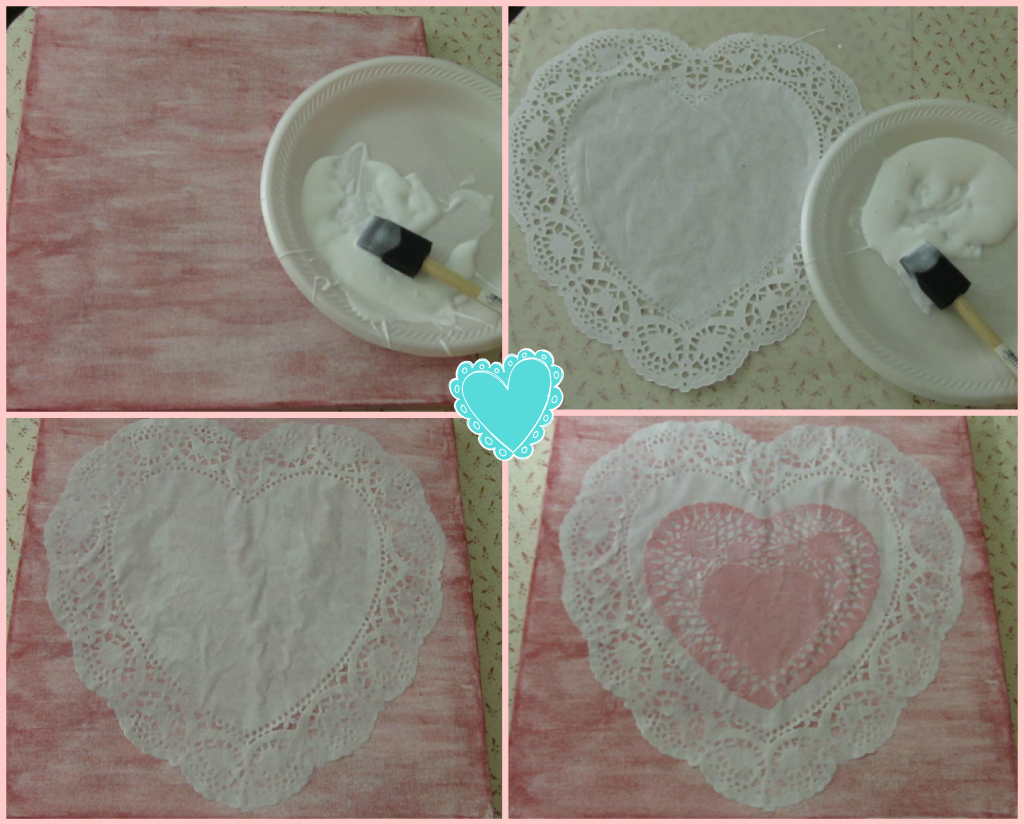
Apply a light coat of Mod Podge to the canvas center, where the large doily will be placed. Add your 10" white doily, smoothing wrinkles with your fingers. Let it dry for 15-20 minutes. Apply a second coat of Mod Podge all over the doily. Let it dry for about 1/2 hour.

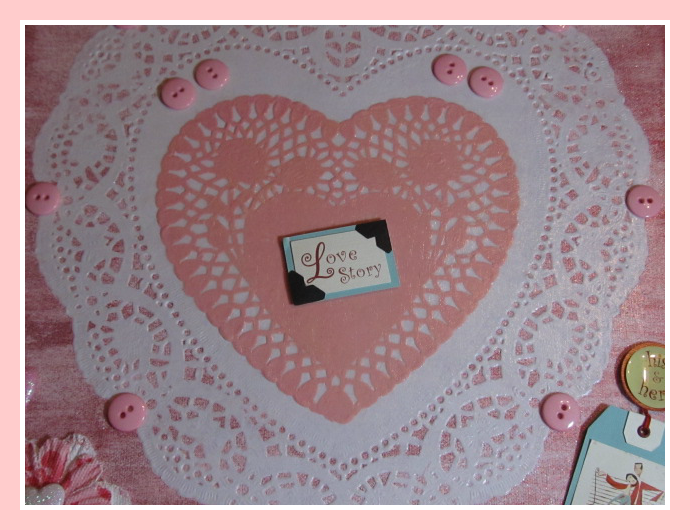
Add another light coat to the center of your 10" white doily Apply your 6" pink doily; again smoothing wrinkles as before. Let it dry for 15-20 minutes. Apply another coat of Mod Podge; let it dry for about 1/2 hour.

Apply 1-2 final coats of Mod Podge all over the entire canvas. Let dry between coats.

Note: Any wrinkles will eventually disappear as more coats of Mod Podge are applied.


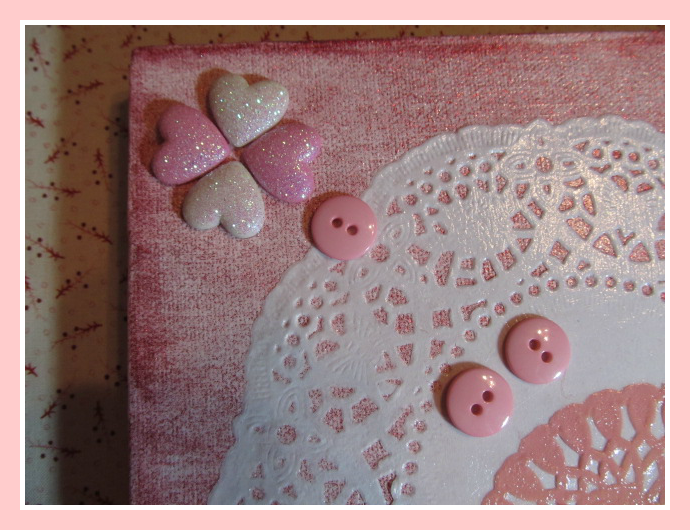
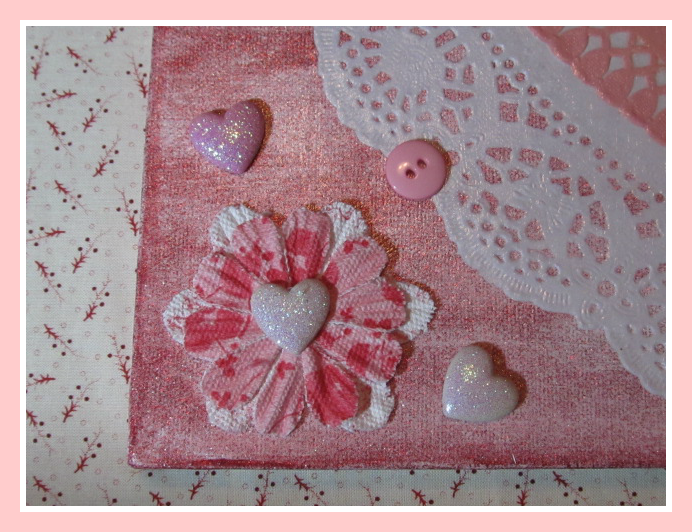
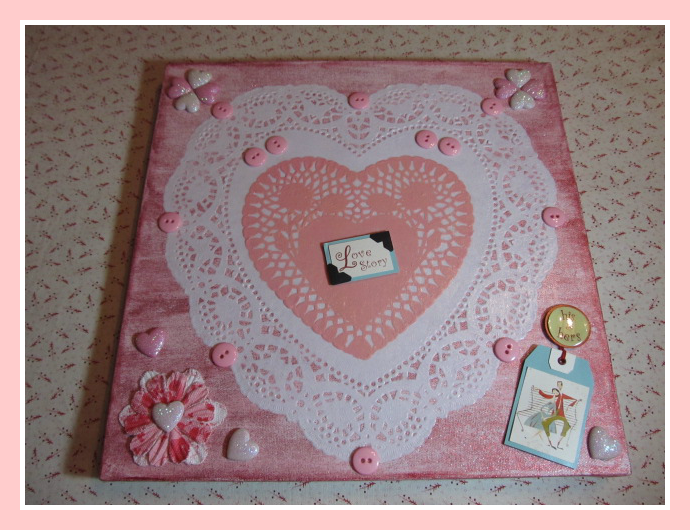
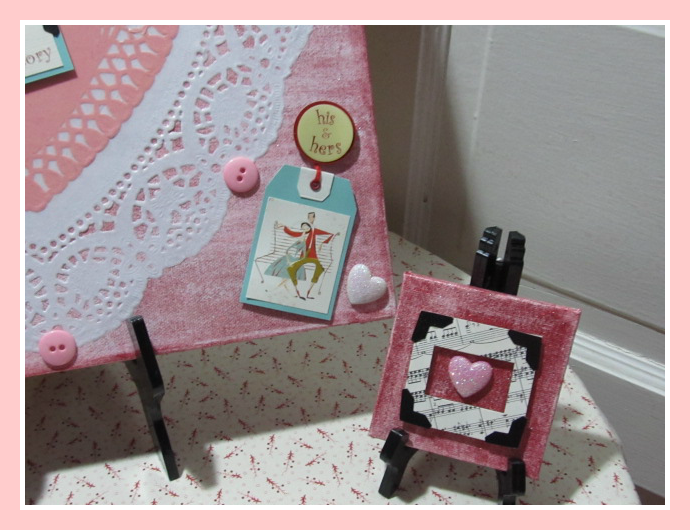
Begin adding your embellishments. Most of the embellishments I choose came with an adhesive backing. However, I added a bit of hot glue the back to obtain a permanent bond. I started by adding the pink buttons to the white doily.

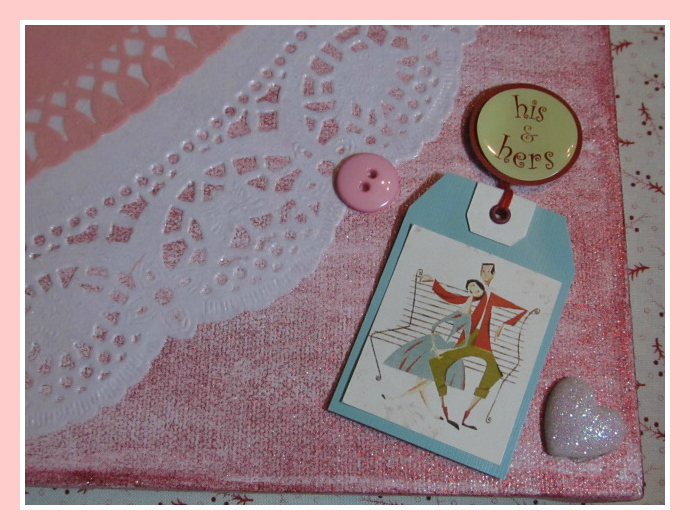
I applied one of the 3-D Love Story embellishments and a pink heart to the canvas right lower corner.


I then added 4 hearts; 2 of each color to the canvas left and right top corners.


I attached 2 flower embellishments, overlapping each other to the canvas left lower corner; placing a white heart in the middle and two more hearts on the left and right sides of the flower.


Lastly, I applied one more 3-D Love Story embellishment to the center of the pink doily.


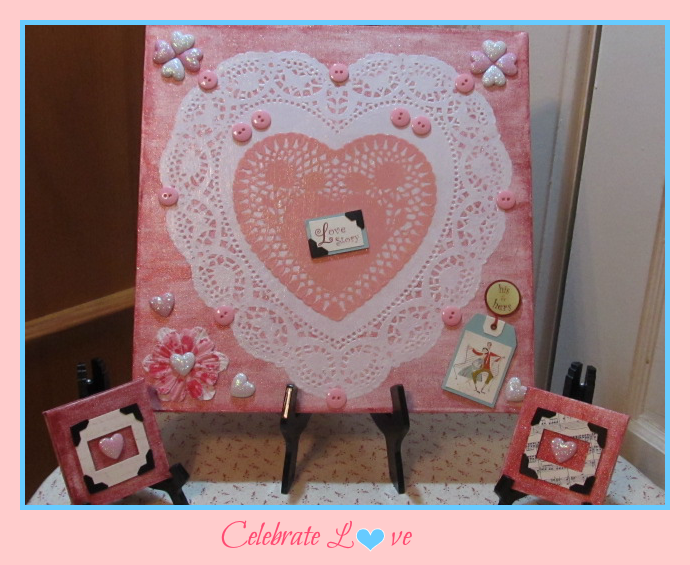
Here is the canvas after all the embellishments were added.


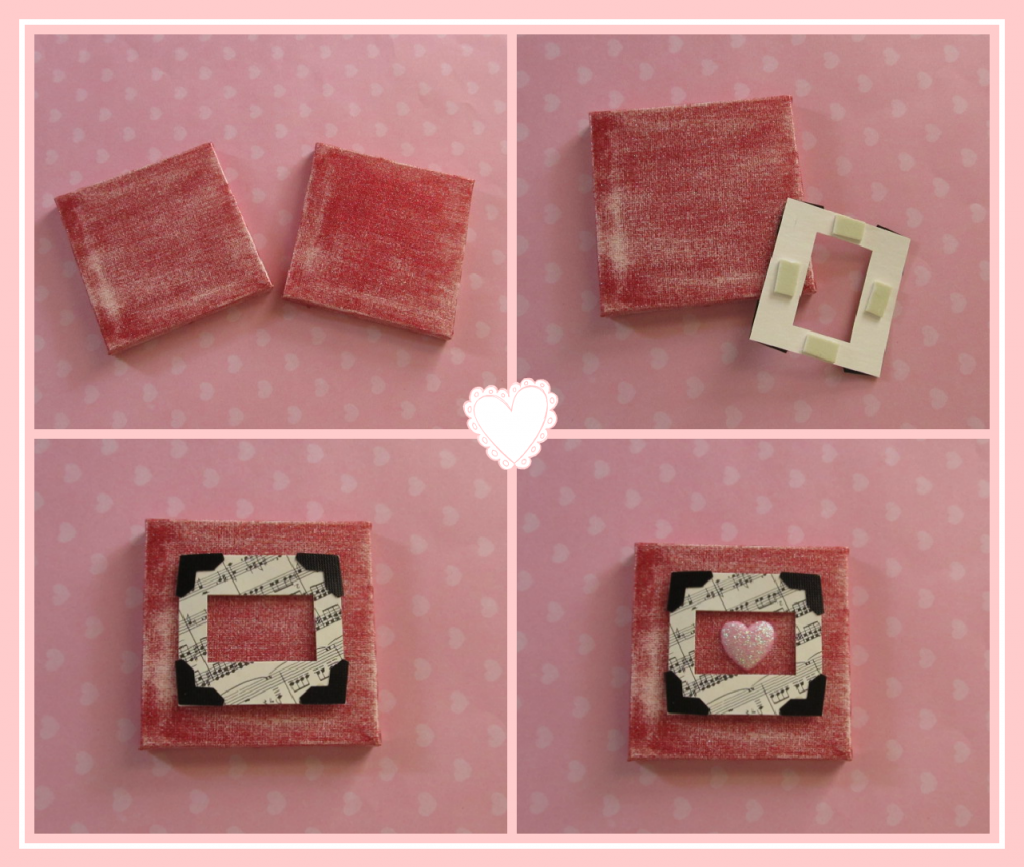
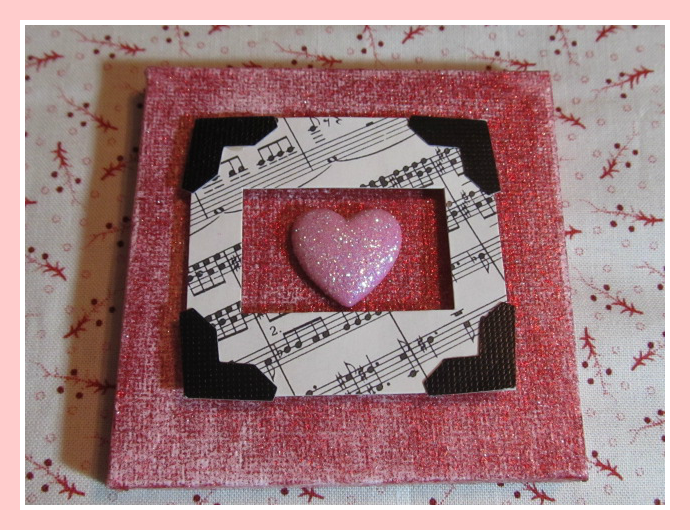
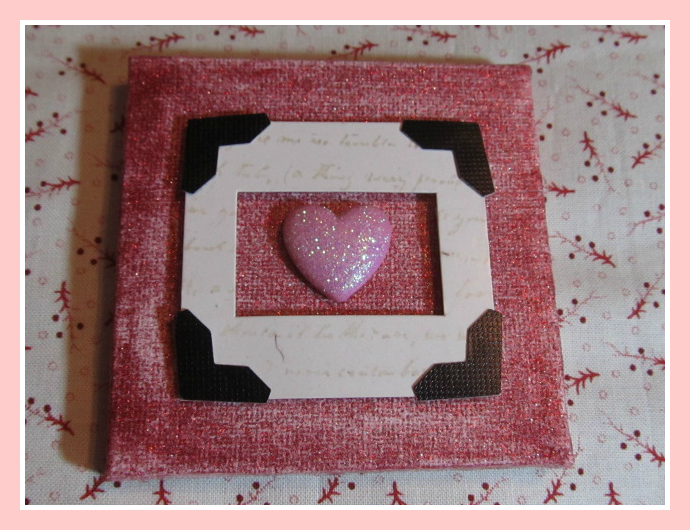
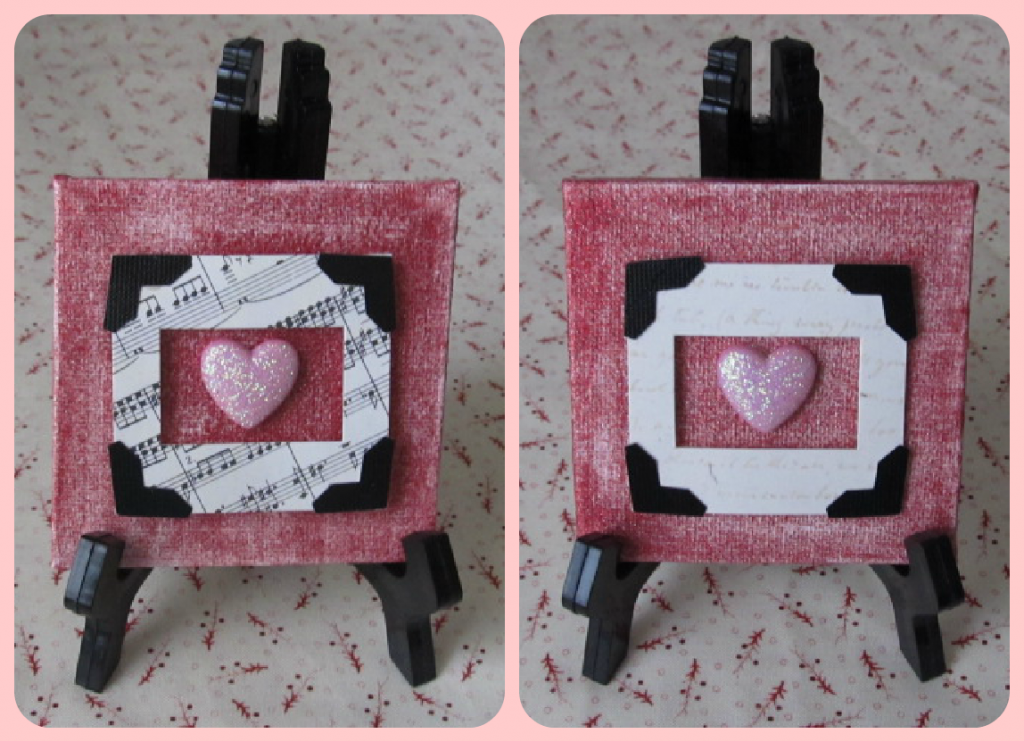
I stumbled upon these cute small canvases while shopping at ACMoore and decided they would complement the large one. I applied two coats of the Extreme Glitter paint and added 3-D and Hearts embellishments.


I enjoyed creating this project as it allowed me to choose and add different components to a plain canvas; resulting in a fun Collage.


Happy Valentine's Day!!!

Linking to:
Today's Creative Blog

debbie-debbiedoos

Visit thecsiproject.com


Tuesday, January 1, 2013

4 A Year in Review - My Favorites of 2012

Happy New Year!!
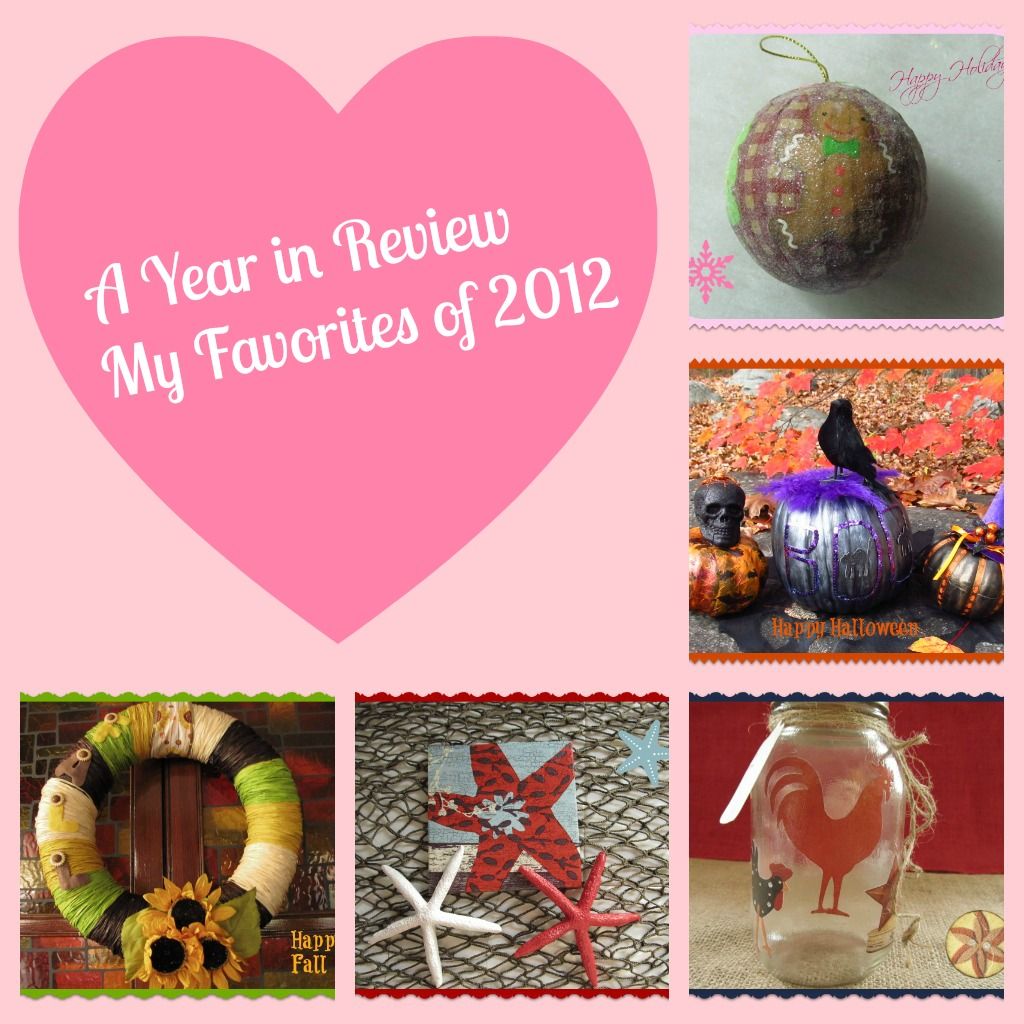
I wanted to thank all my readers for their comments and features throughout this past year. I enjoyed sharing my Projects and Tutorials with you. I picked twelve of my favorite posts and I hope you can re-visit and get inspired.


Here are my favorite 12 Posts of 2012!!

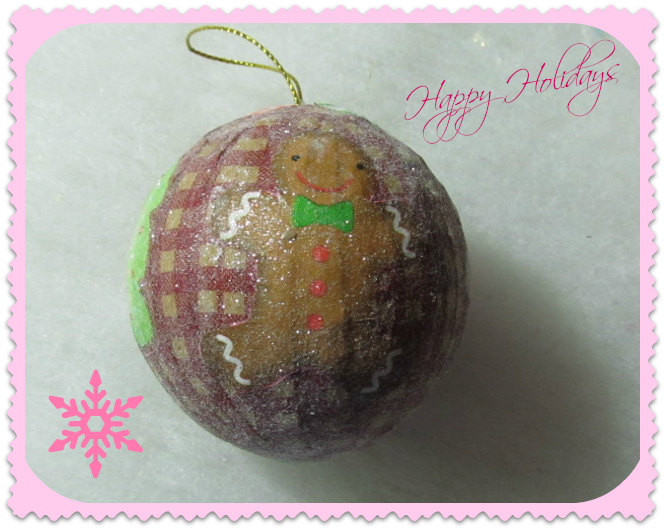
Paper Mache Ornament

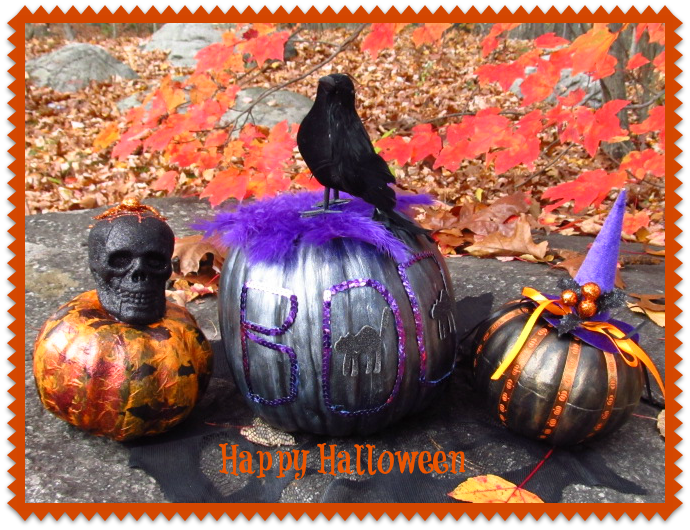
Spooky Halloween Pumpkins

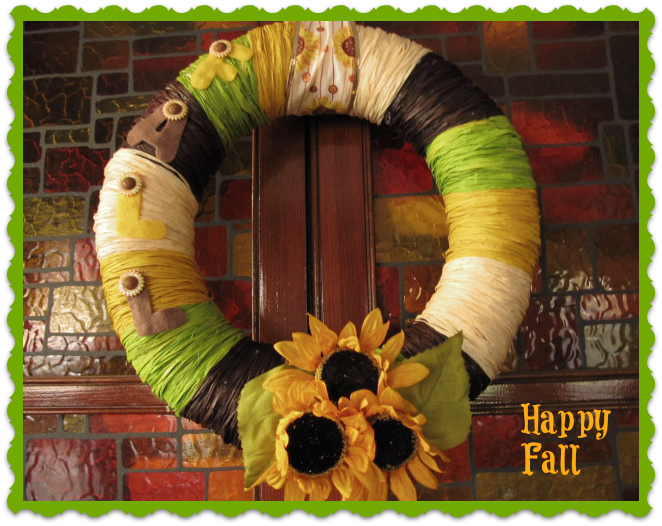
Raffia Sunflower Wreath

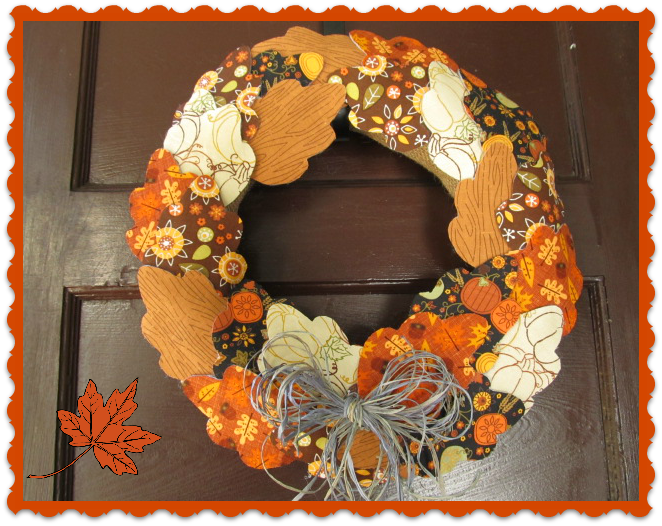
Leaf Wreath

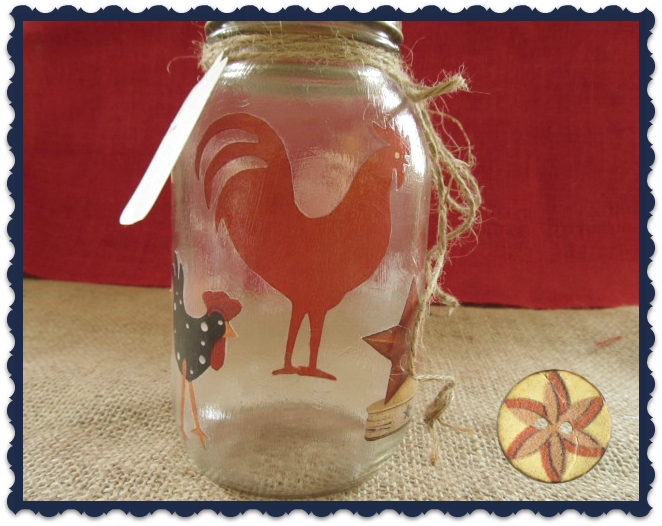
Country Red Rooster

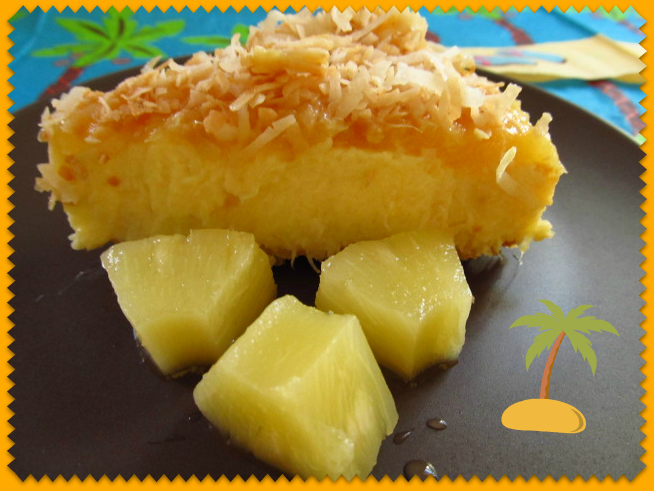
Coconut Pineapple Cheesecake

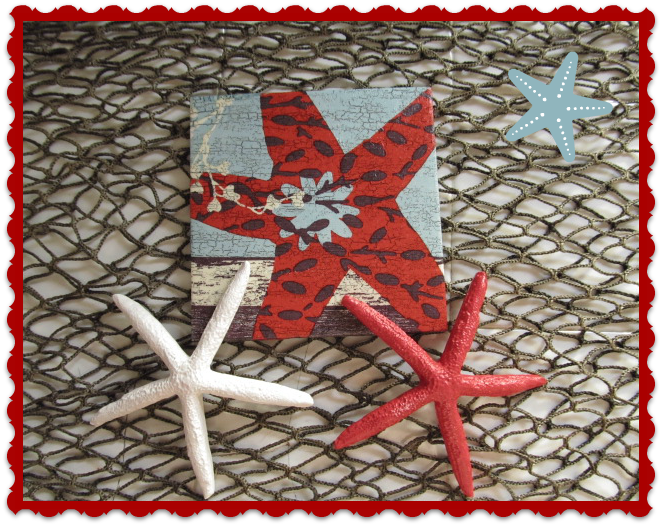
Starfish Coasters

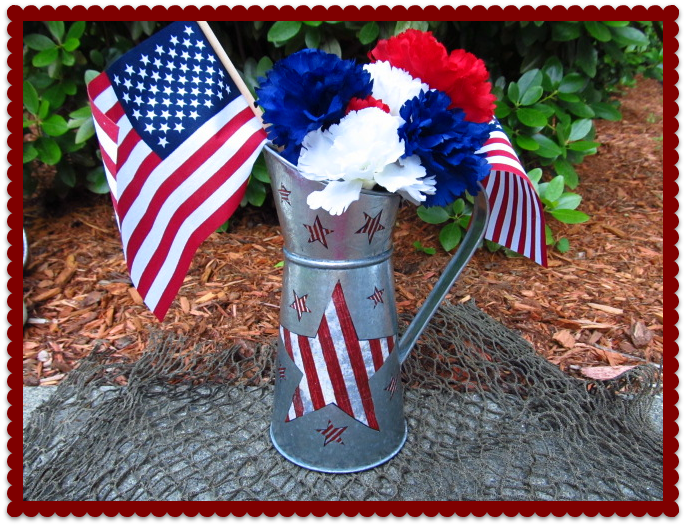
4th of July Pitcher-Buckets

Washi Tape Tile Coasters

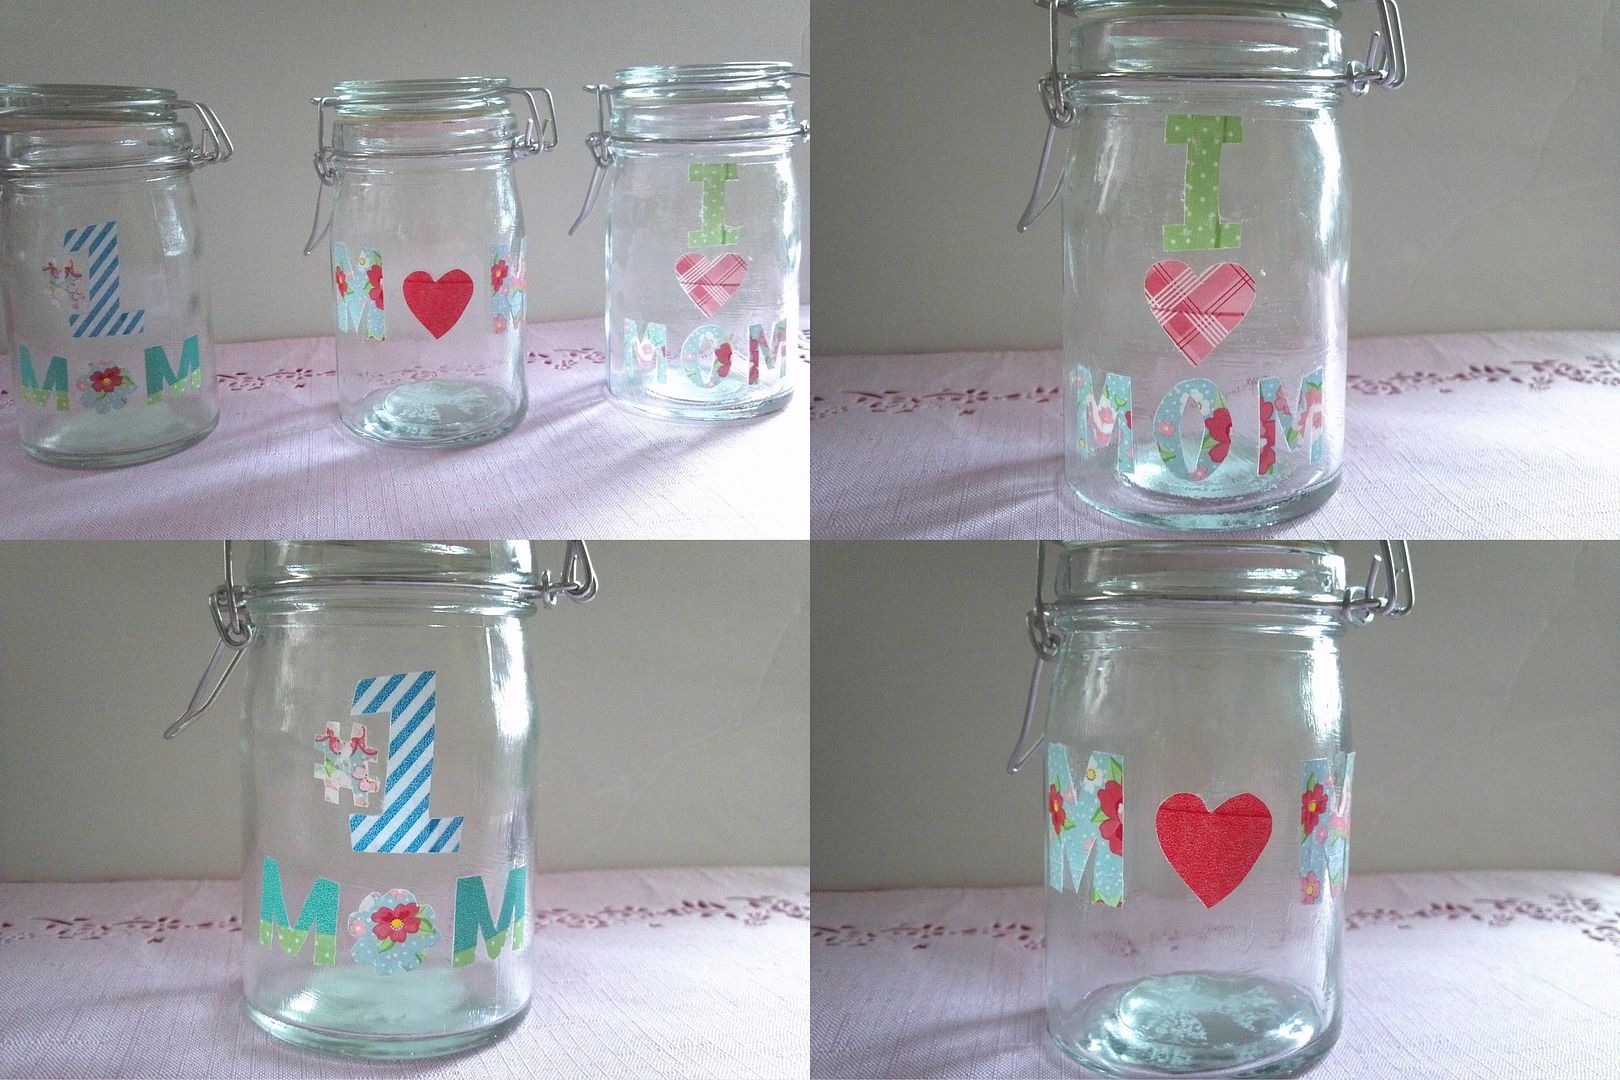
Washi Tape Mother's Day Jars

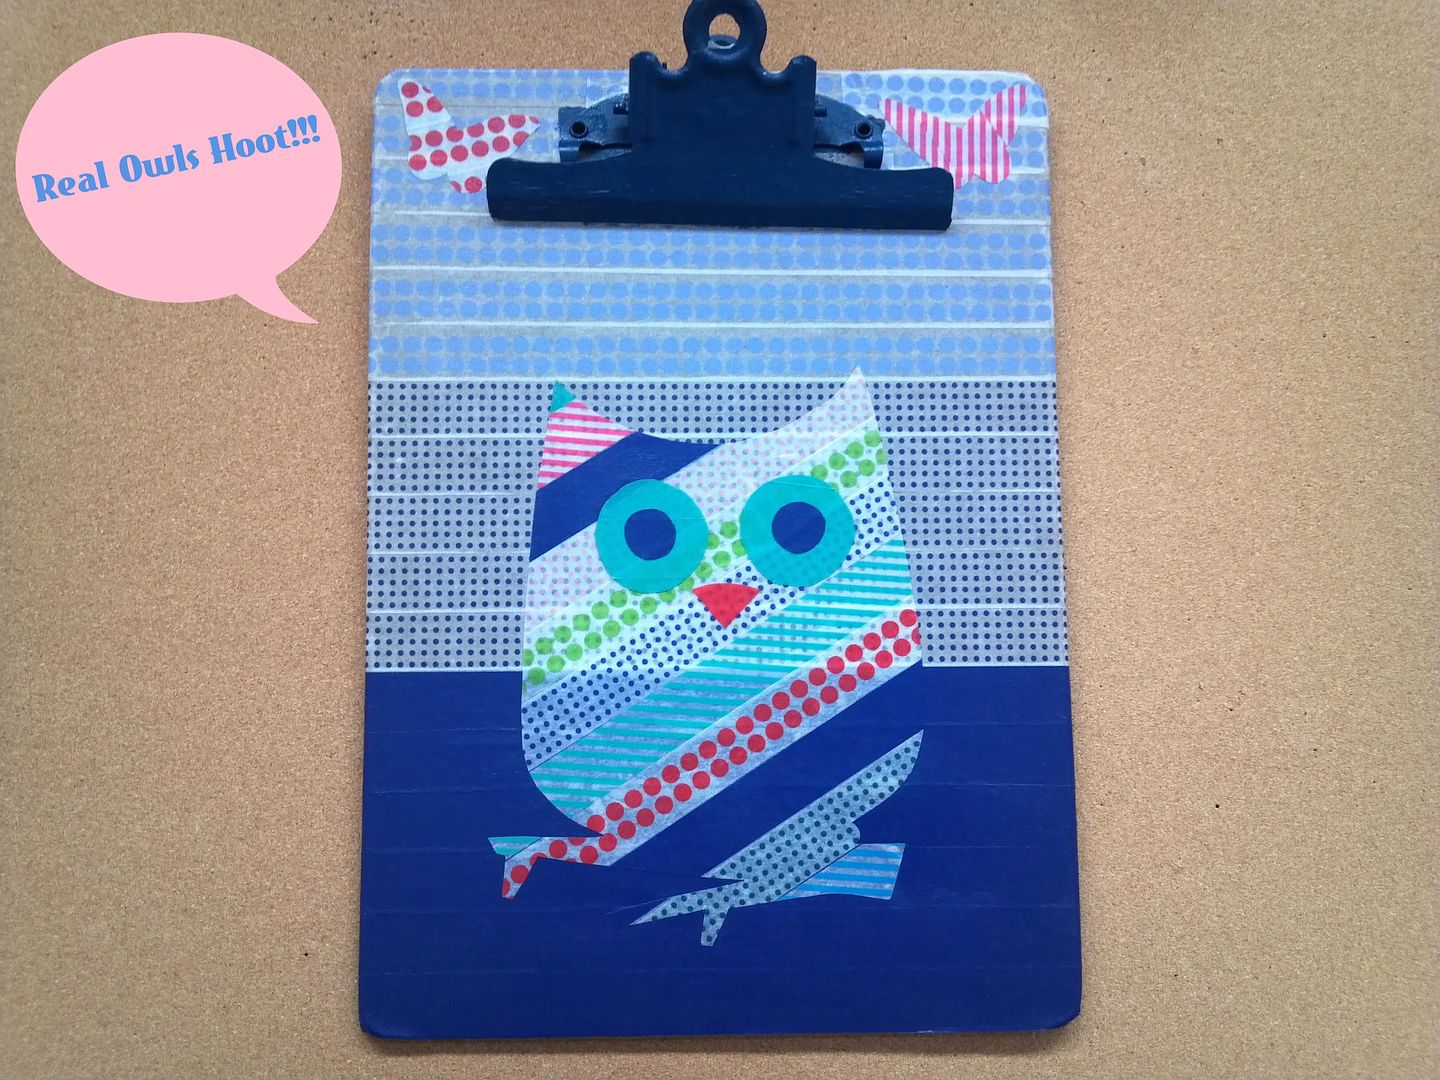
Washi Tape Clipboard

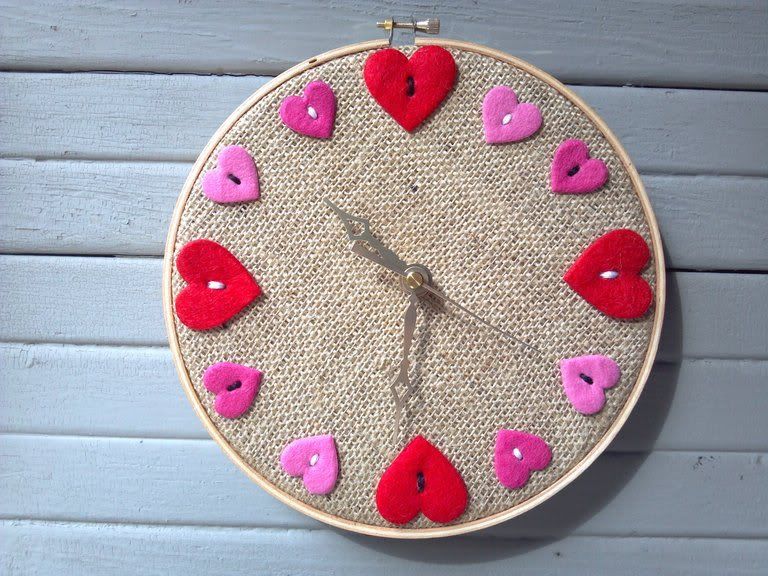
Sweetheart Clock


Pin It button on image hover