HAPPY HOLIDAYS!! I love celebrating Christmas and decorating with handmade primitive crafts. I love the rustic appearance, which adds to the charm of the craft items. This Christmas I wanted to create my very own "Charlie Brown" Tree, with a Country, Grubby look. "Grubby" is another word for primitive crafts that look aged, old or dirty.
My "Charlie Brown" tree was created using Artificial Pine Greenery, a Wooden Spoon and a "Grubby" Mason Jar Base. I embellished the tree with Berries, Metal Stars, Star Anise, and Rusty Bells. I rusted my bells following Primitive Folk Art tutorial.
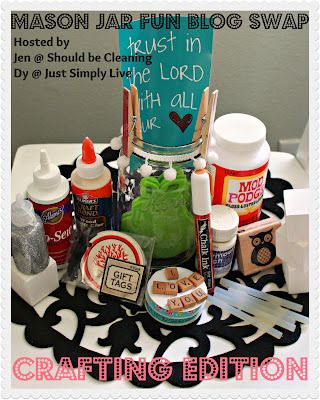
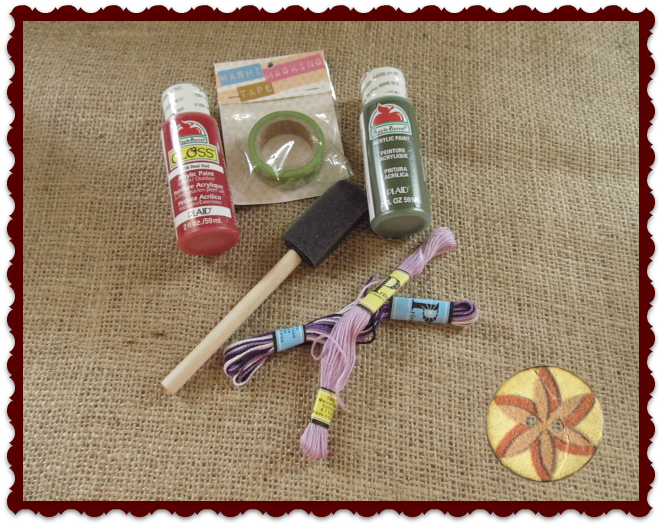
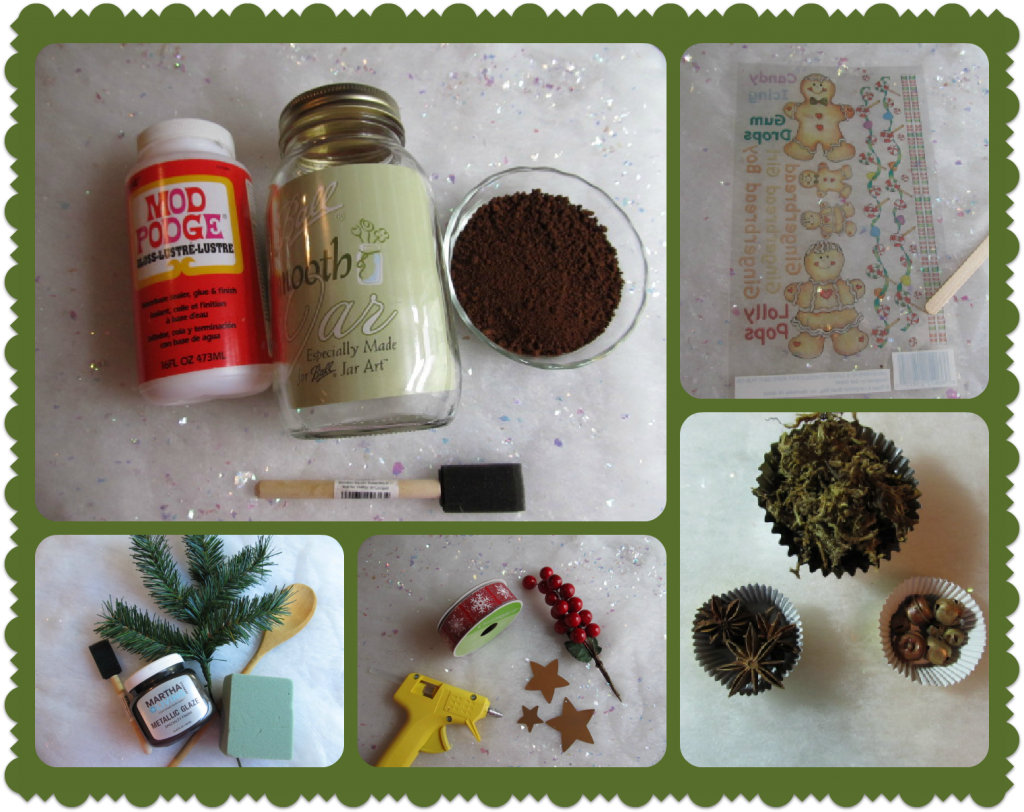
To begin, I gathered the following materials:
- Mason Jar
- Mod Podge
- Instant Coffee Granules
- Foam Brush
- Rub-On Transfers
- Artificial Pine Greenery
- Wooden Spoon
- Martha Stewart's Metallic Glaze in Black Coffee
- Floral Foam Block - $1.00 Dollar Tree
- Berry Stem
- 7/8" Christmas Ribbon
- Hot Glue/Sticks
- Golden Metal Stars
- Star Anise
- Floral Moss
- Rusty Bells
- Glitter
- Wire Cutter
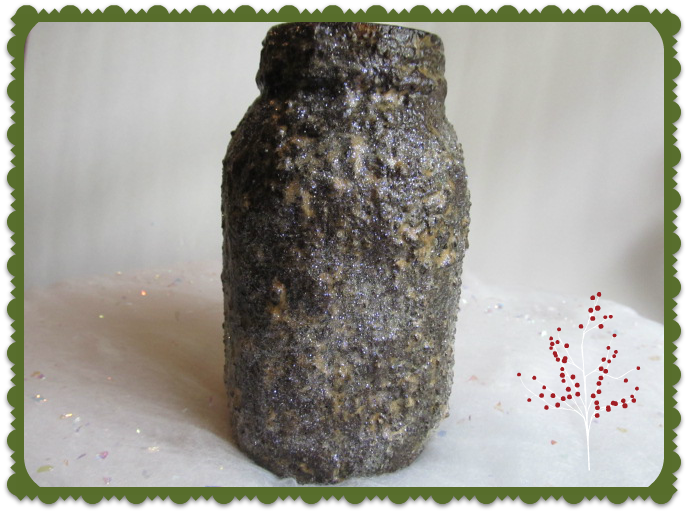
- Pour Coffee Granules into a large plate.
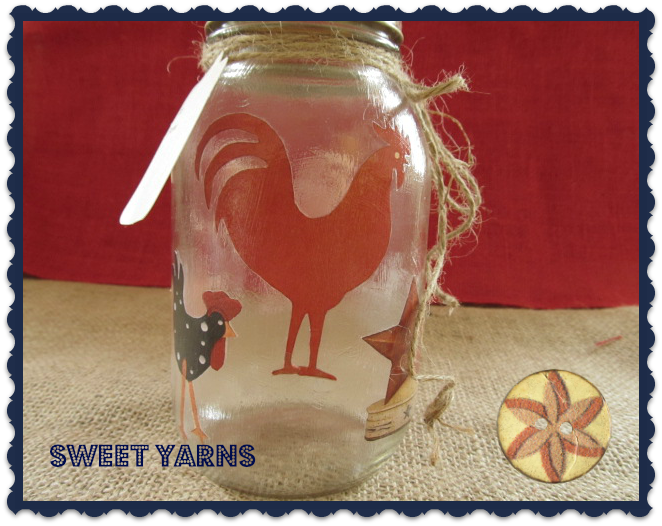
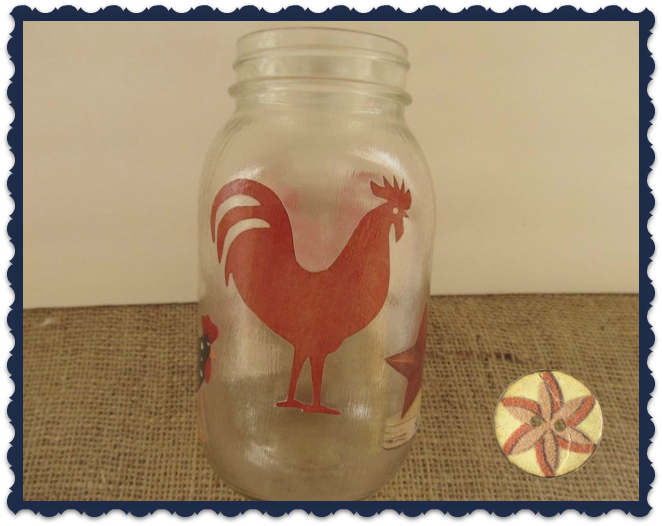
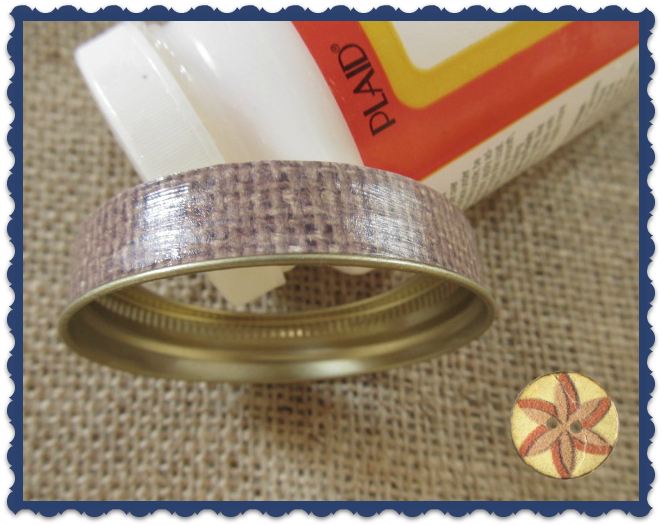
- Working in sections, apply Mod Podge to Jar
- Roll Jar into the Coffee Granules until jar is completely covered
- Let dry overnight and repeat process 4-5 times
- Please note: some of the coffee granules will fall off and/or melt.
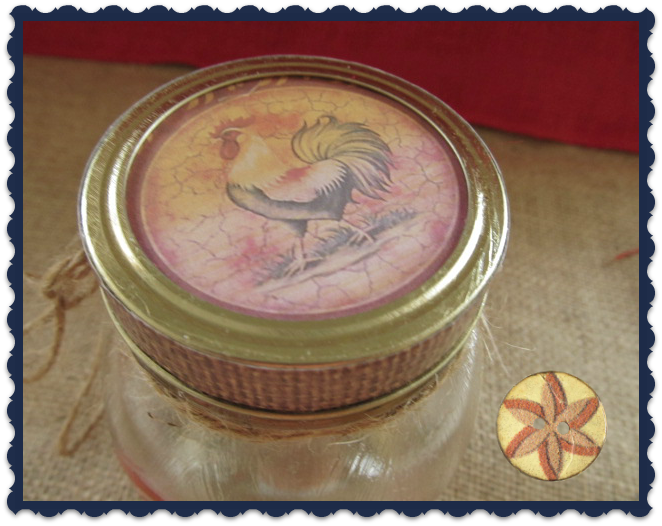
- When you are happy with the jar's look, apply a final coat of Mod Podge and sprinkle glitter all over the jar. Let dry completely
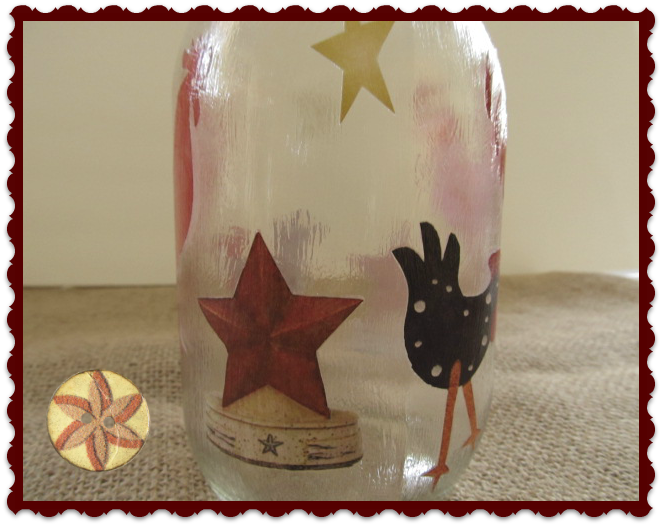
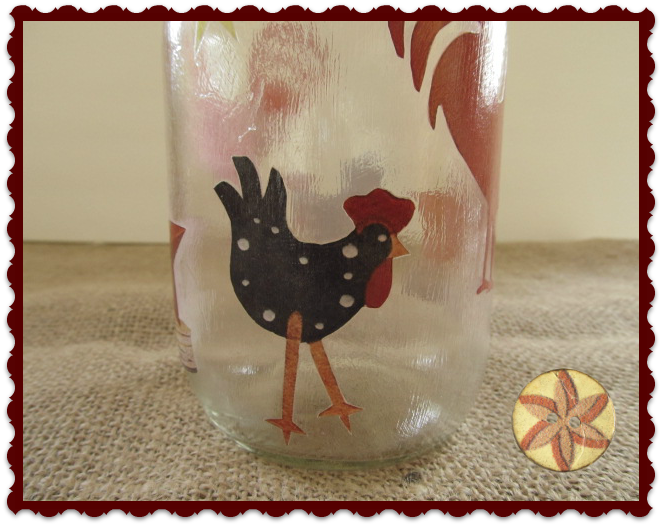
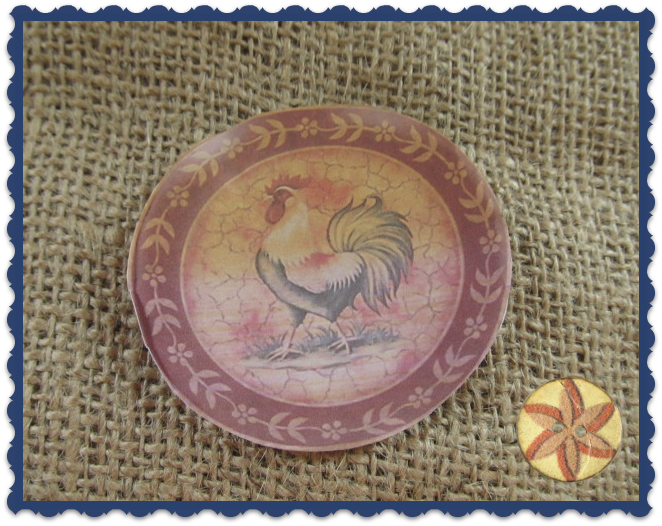
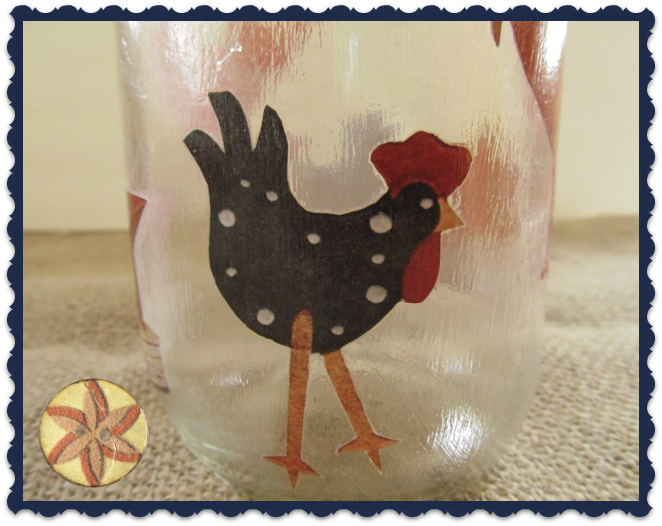
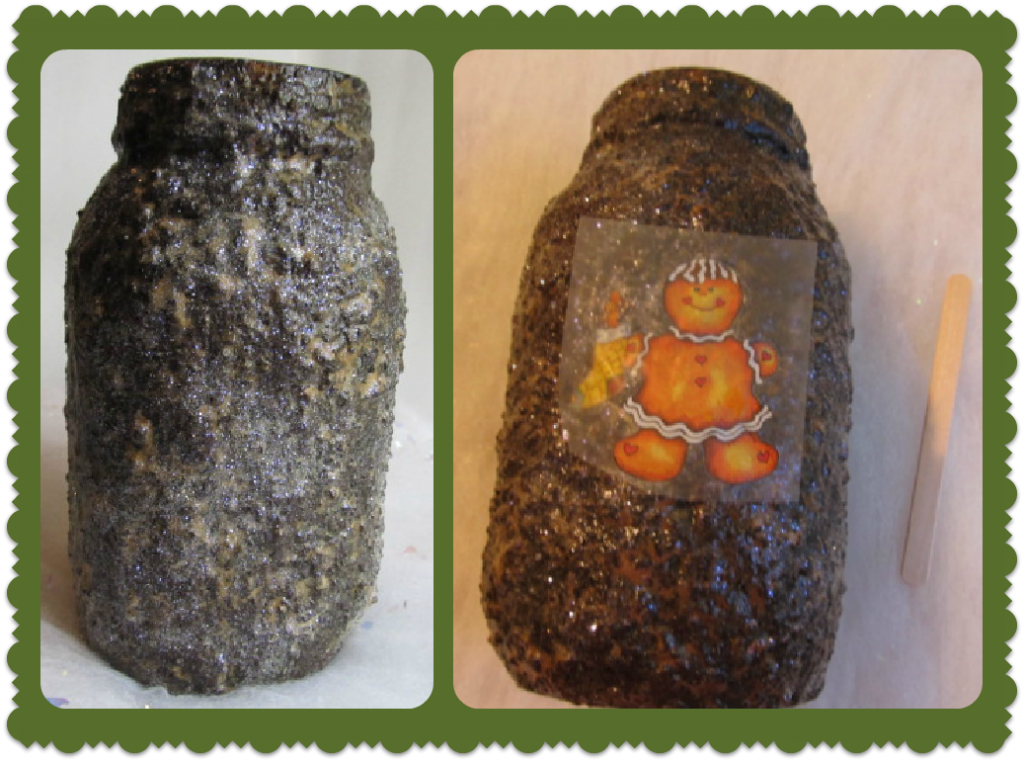
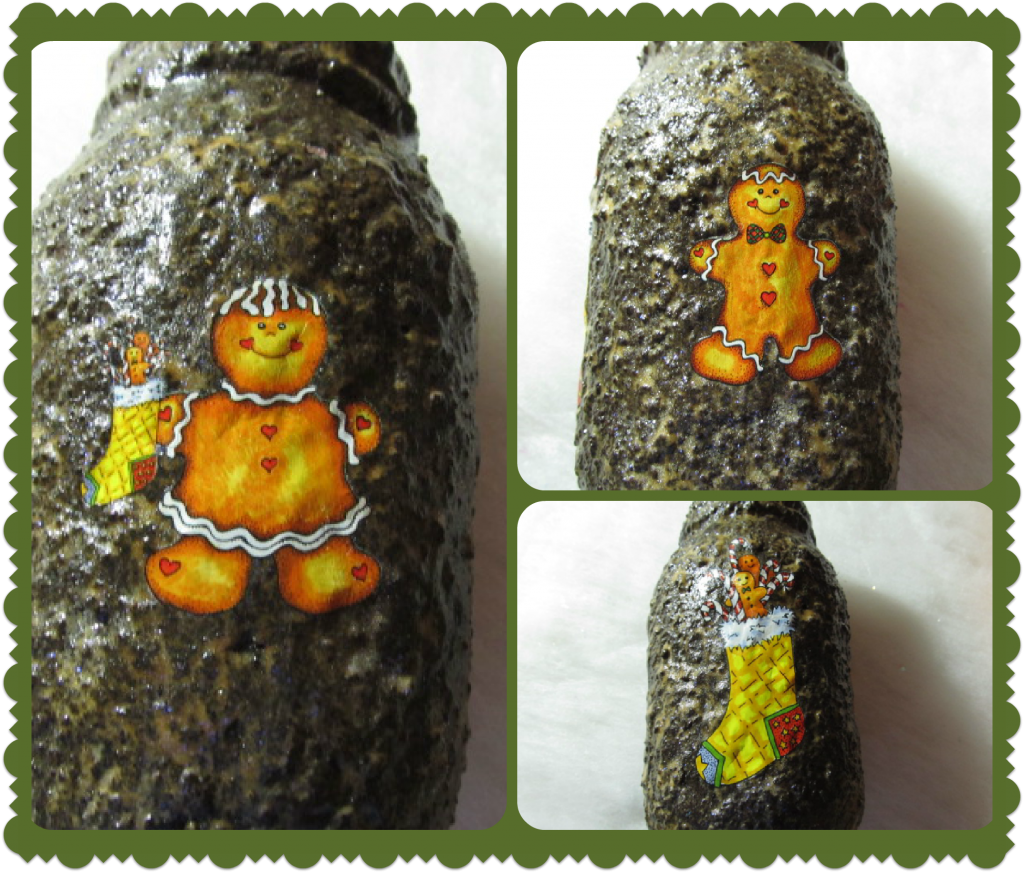
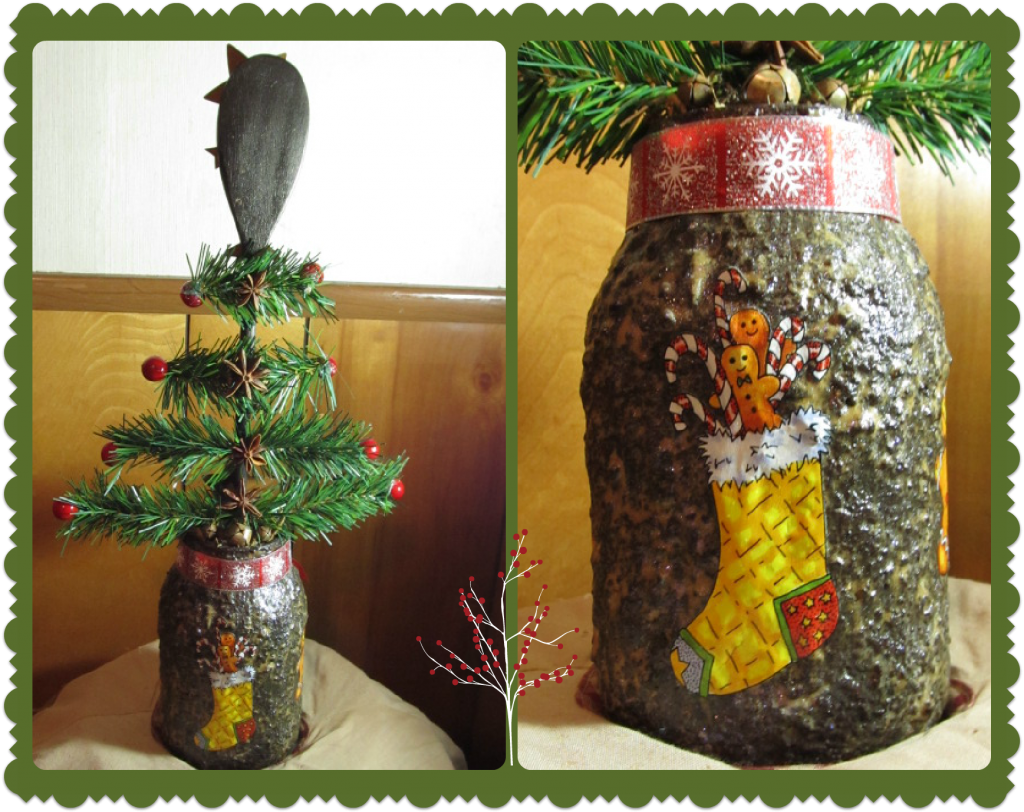
- Following Rub-On directions; apply Rub-On transfers to Jar. I decided to add Gingerbread men on each side of the jar, plus a Christmas stocking in the back.
- The Jar's surface will be rough. Therefore, take your time transferring the rub-ons.
- Apply a coat of Mod Podge all over the jar to seal the rub-on transfers.
- Paint the Wooden Spoon with the Metallic Glaze. Let dry completely.
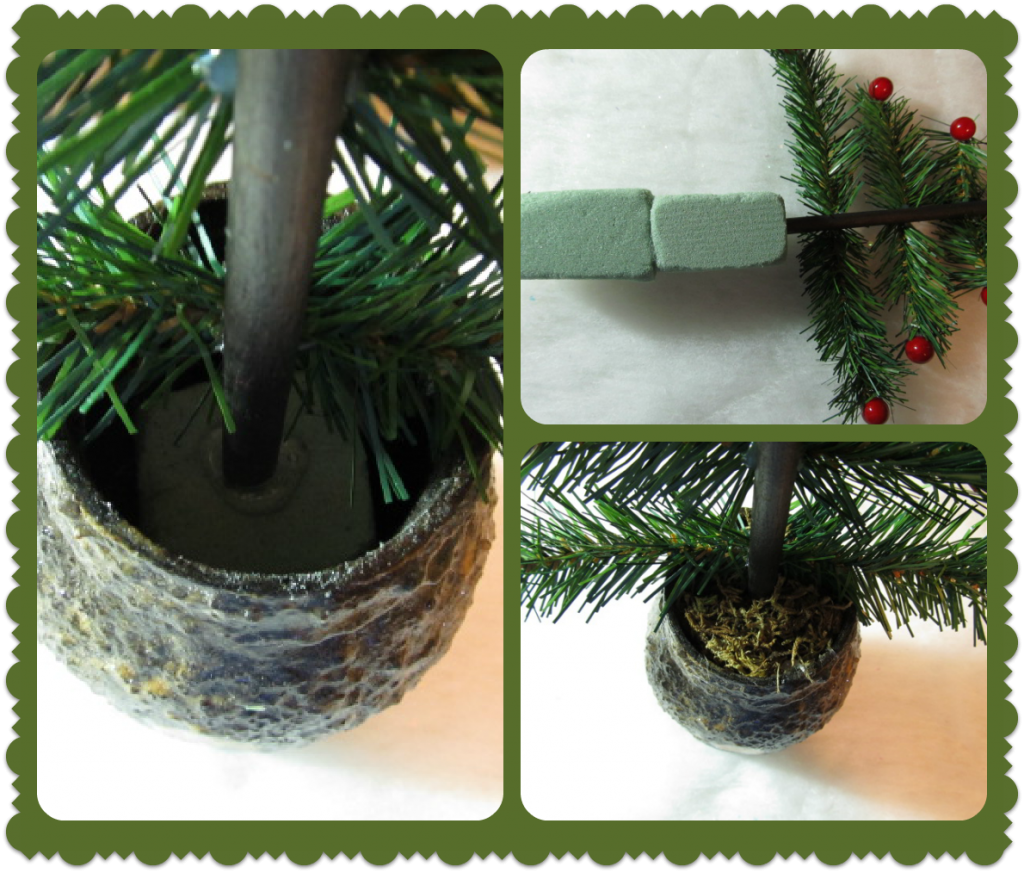
- Cut floral foam block in half. Glue the two halves together vertically.
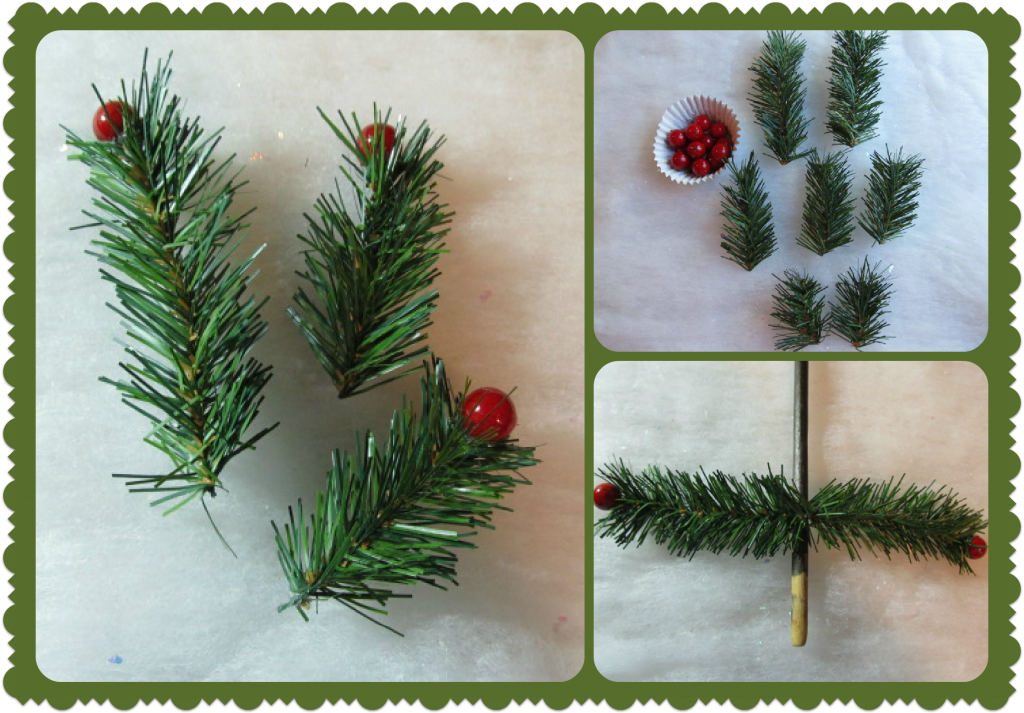
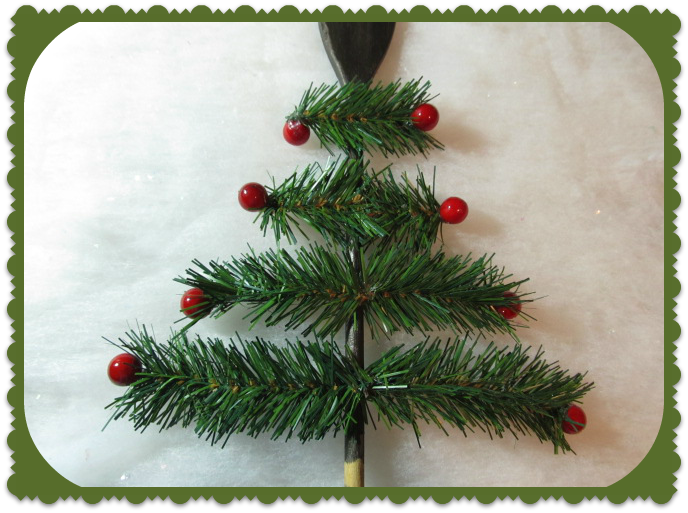
- Using the wire cutter; cut two 4", three 3" and 2" length of greenery.
- Snip the berries close to the stem.
- Glue a berry to one end of each greenery lengths, except for one of the 3" length, which will need a berry at both ends.
- Beginning 3" from the spoon's bottom, start forming your tree by gluing the 4" lengths opposite each other.
- Continue adding two - 3" lengths spacing 1 1/2" from the 4" lengths. Add two - 2" lengths spacing 1 1/2" from the 3" lengths. Add your final 3" length with the two berries.
- Insert and glue spoon bottom into foam. Add glue to foam's bottom and insert inside jar. Glue Floral Moss to Jar's top to cover foam.
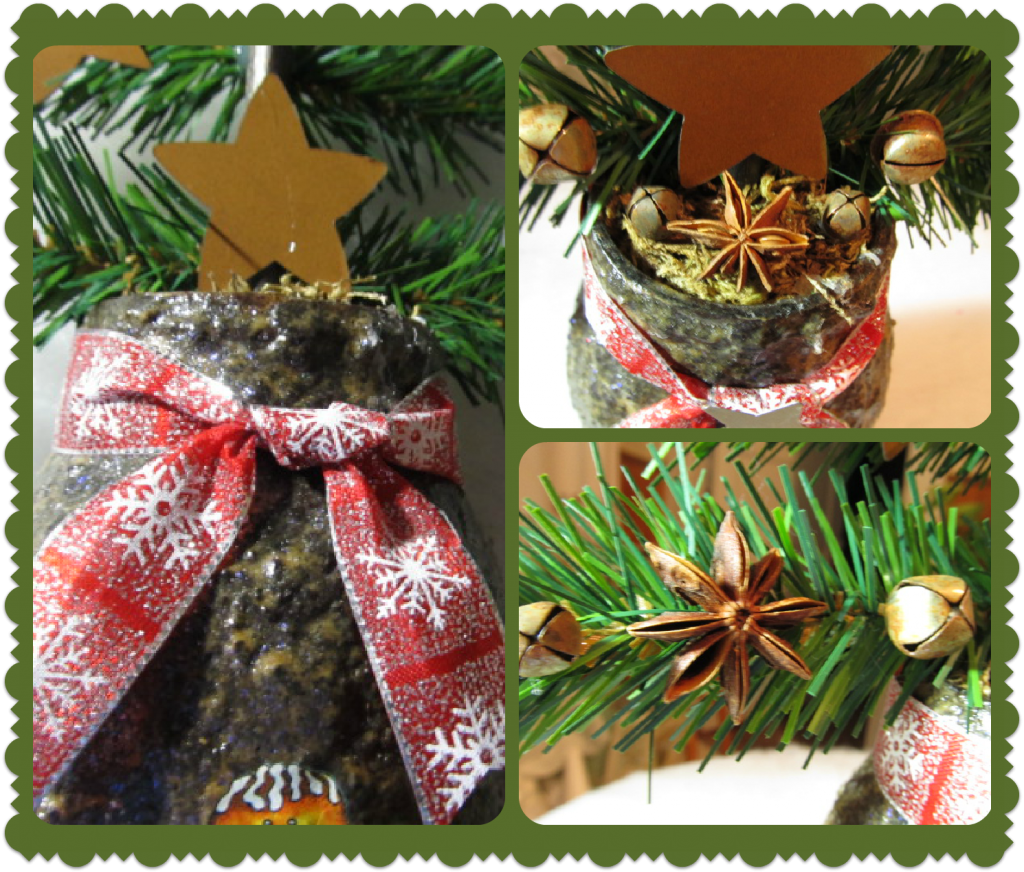
- Begin embellishing your tree. Glue stars, rusty bells and Star Anise to the tree branches and spoon's bowl. Add the ribbon to the jar's mouth and embellish as desired.


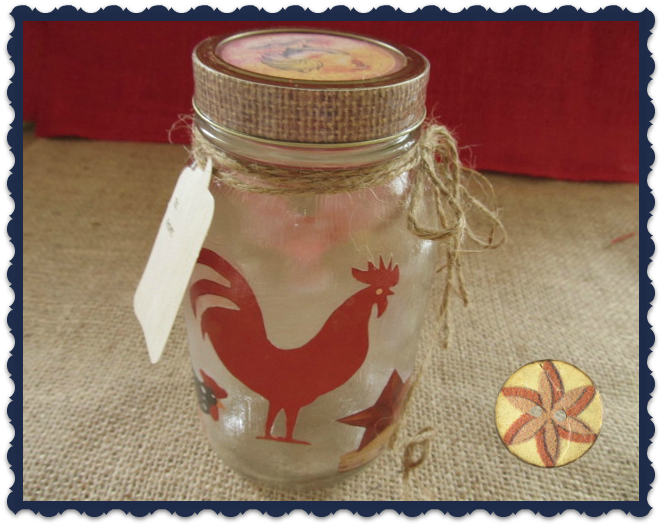
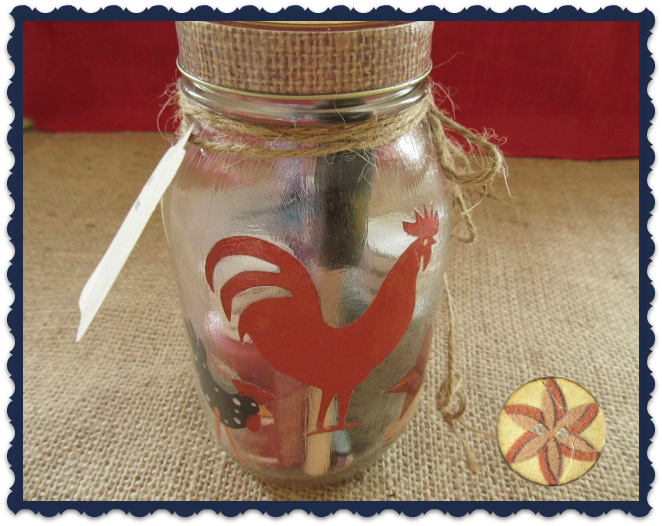
I love how my "Charlie Brown Tree" turned out. The Grubby Jar adds a rustic primitive look to the tree. This Grubby Tree will add a country charm to my kitchen Christmas Decor.
Here is the back side of the tree and the Grubby Jar.
Merry Christmas!!!!

 |  |
 |  |
 |