Showing posts with label Chalk Paint. Show all posts

Tuesday, December 16, 2014

30
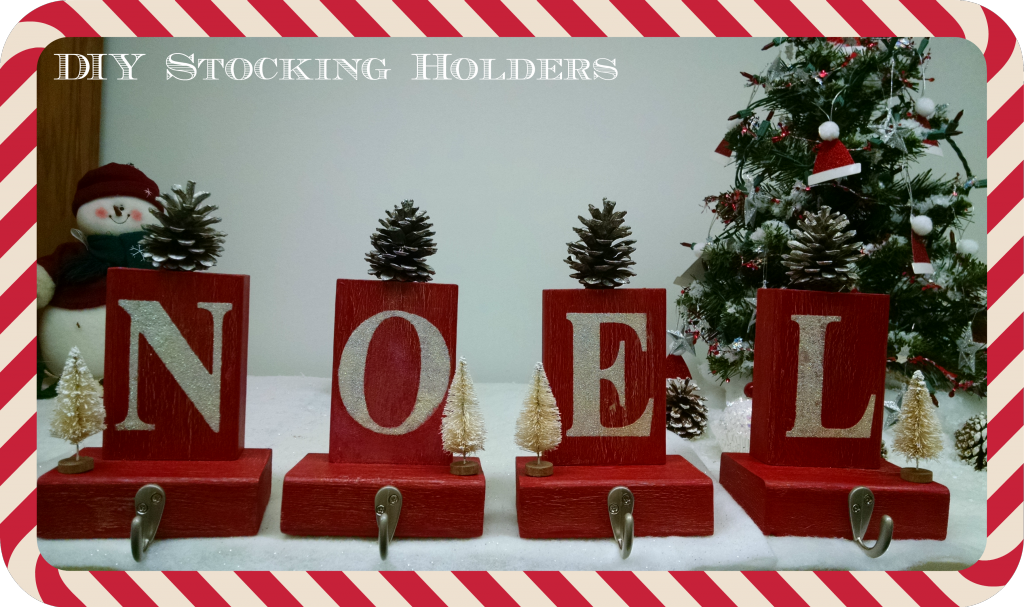
DIY Christmas Stocking Holders


Christmas stocking holders are sometimes hard to find personalized to your liking. This year I decided to make my own holders from raw wood. I created two set of stocking holders; one for home and a second one for the office. A trip to Home Depot led me to purchase a 2 x 4; which it was cut into 5" blocks; with minimal rough edges. To begin gather the following materials:

Materials:
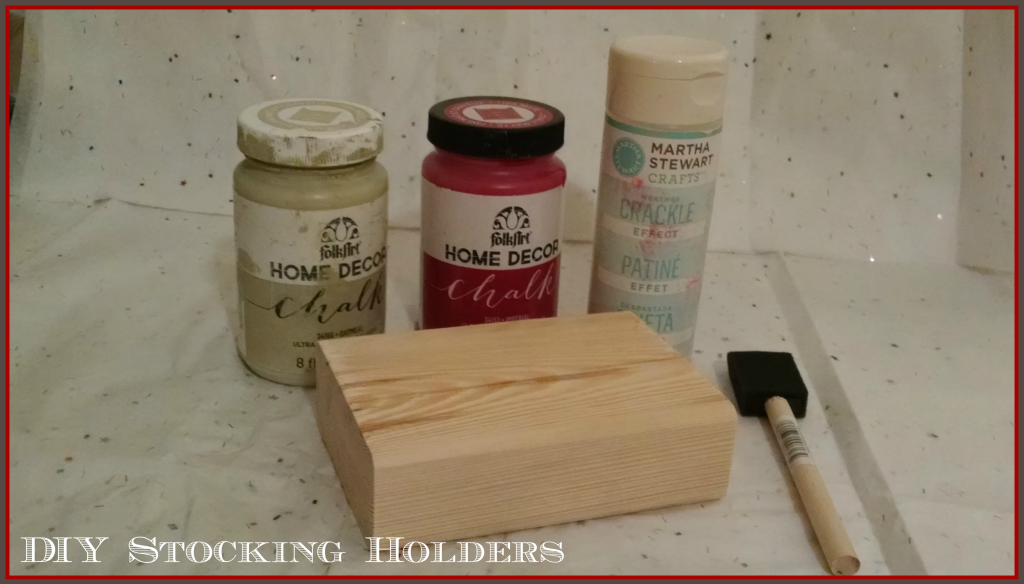
  • Folk Art Home Decor Chalk Paint - Oatmeal
  • Folk Art Home Decor Chalk Paint - Imperial
  • Crackle Medium
  • 2 x 4 (cut into 5" blocks)
  • 3 Foam Brushes
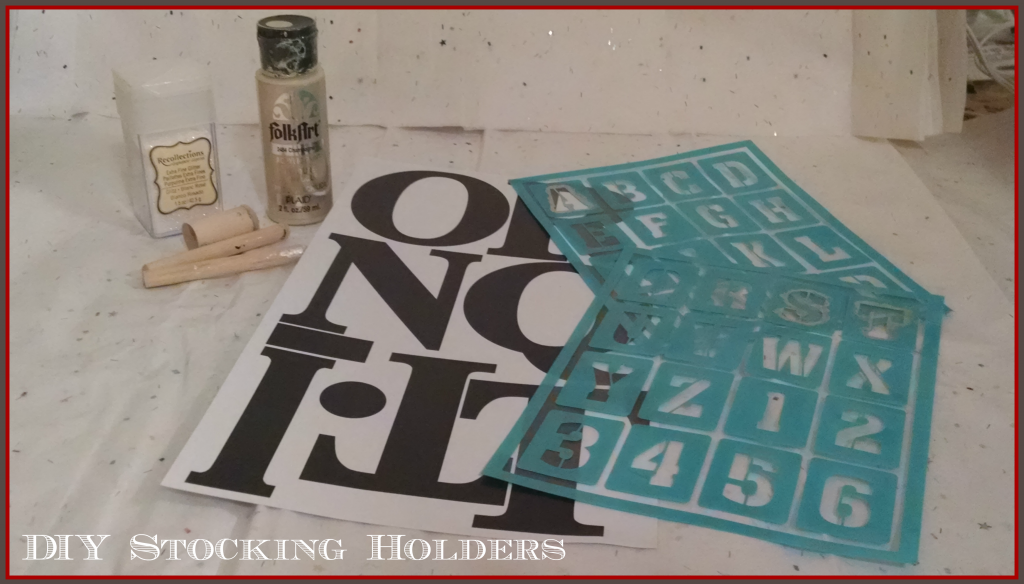
  • Folk Art Acrylic Paint - Champagne
  • Alphabet Stencils
  • Stencil Daubers
  • Fine Glitter
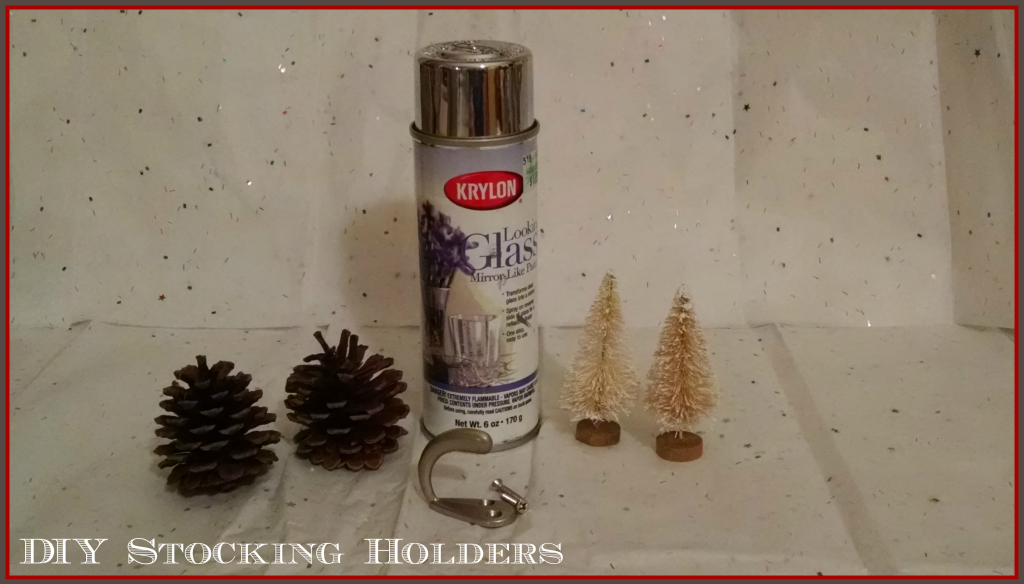
  • Pinecones (Medium Size)
  • Krylon Looking Glass Spray Paint
  • Robe Hooks
  • Miniature Sisal Trees
  • Other Supplies: Sandpaper, Drill/bits, Painter's gloves, Wood Glue, Hot Glue Gun, Clear Acrylic Sealer
Step 1:
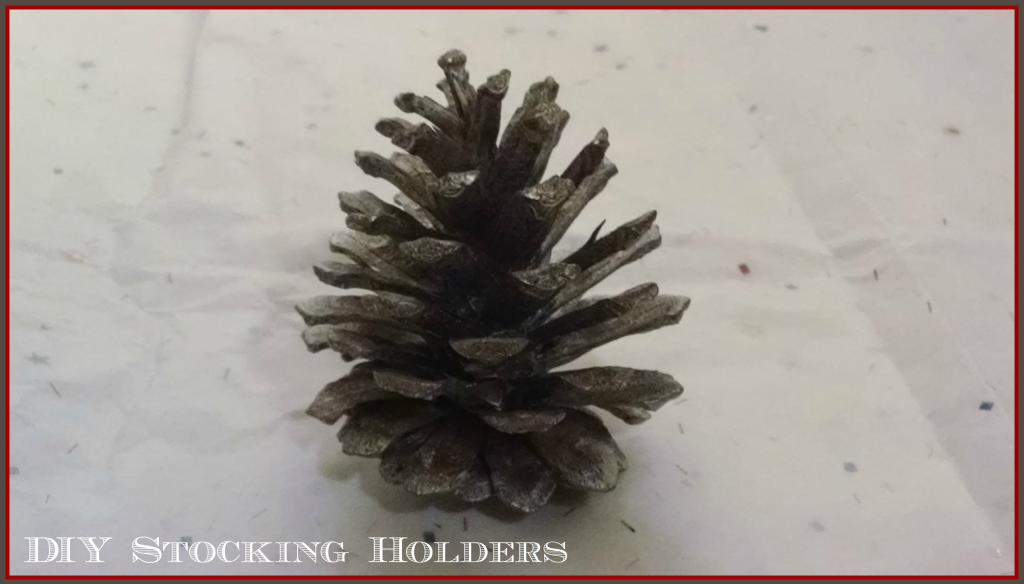
In a well ventilated area, paint the Pinecones using the Krylon Looking Glass Spray Paint. Let dry completely.

Step 2:
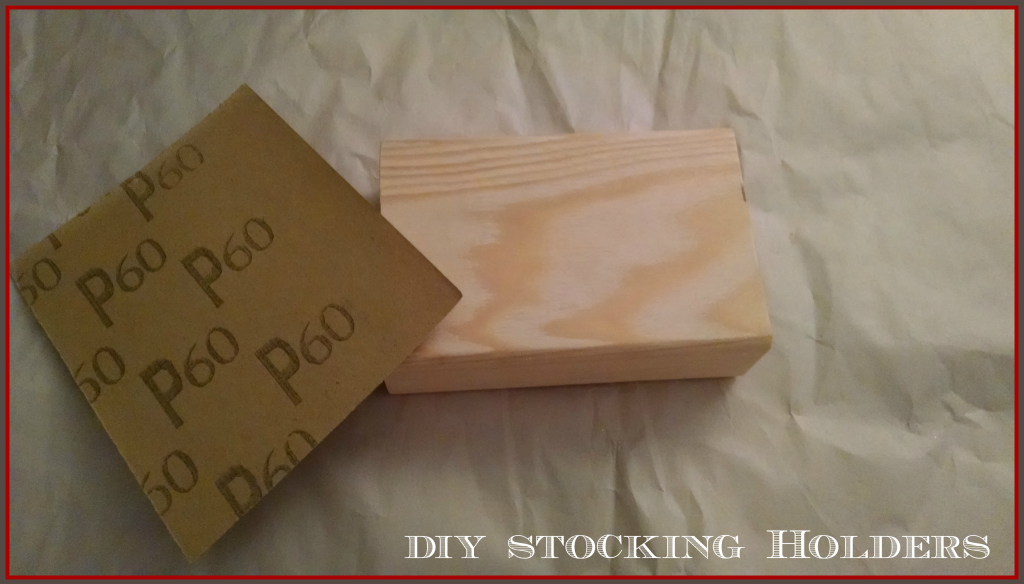
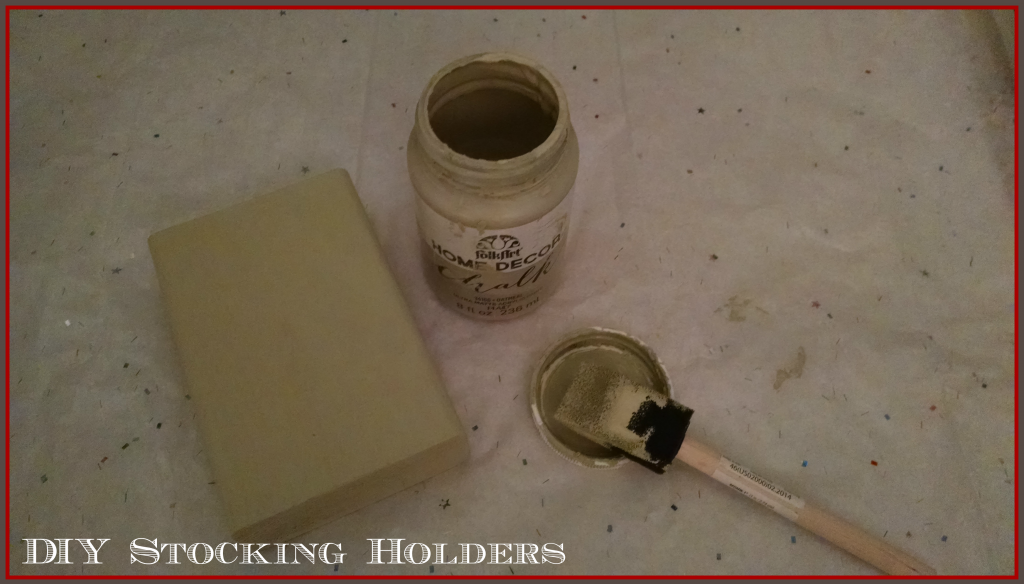
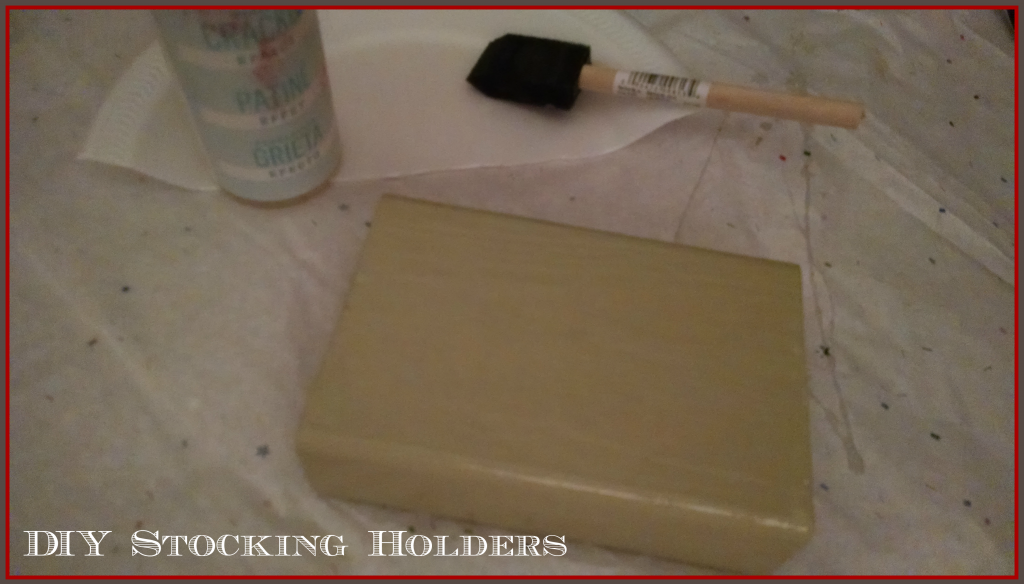
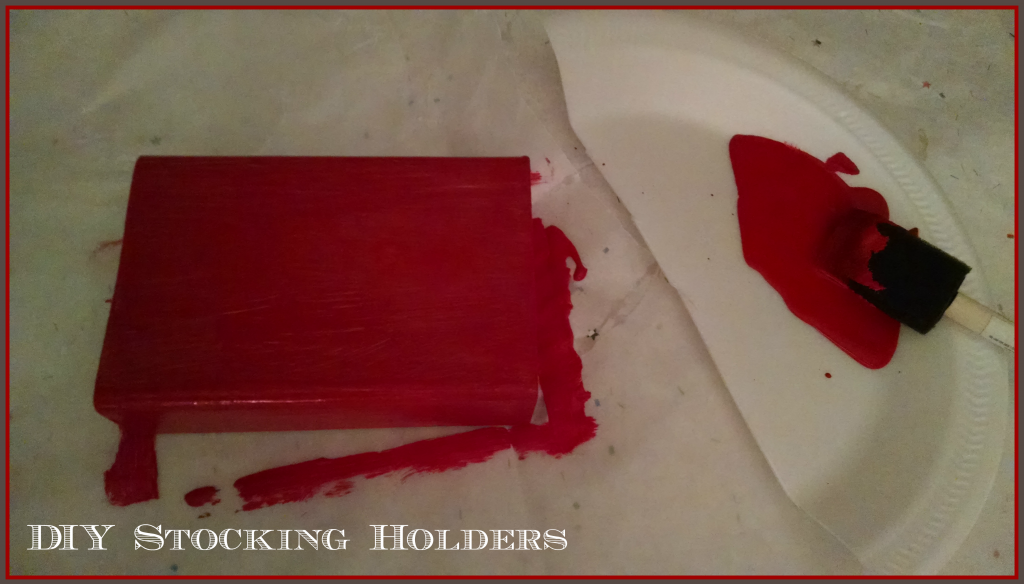
Begin by sanding the wood blocks to remove any rough edges. Use a tack cloth to remove the dust particles. For the crackle paint look, you will need to choose two different paint colors; an undercoat and a top coat color. I choose two chalk paints; Oatmeal as my undercoat and Imperial as my top coat. Paint the wood blocks with the undercoat color; let dry. Following the Crackle medium directions; apply a coat to the wood blocks. Wait until it feels sticky to the touch. Apply the top paint color using long strokes. Do not go over the same area as it will ruin the crackle effect. Let dry completely.
Step 3:
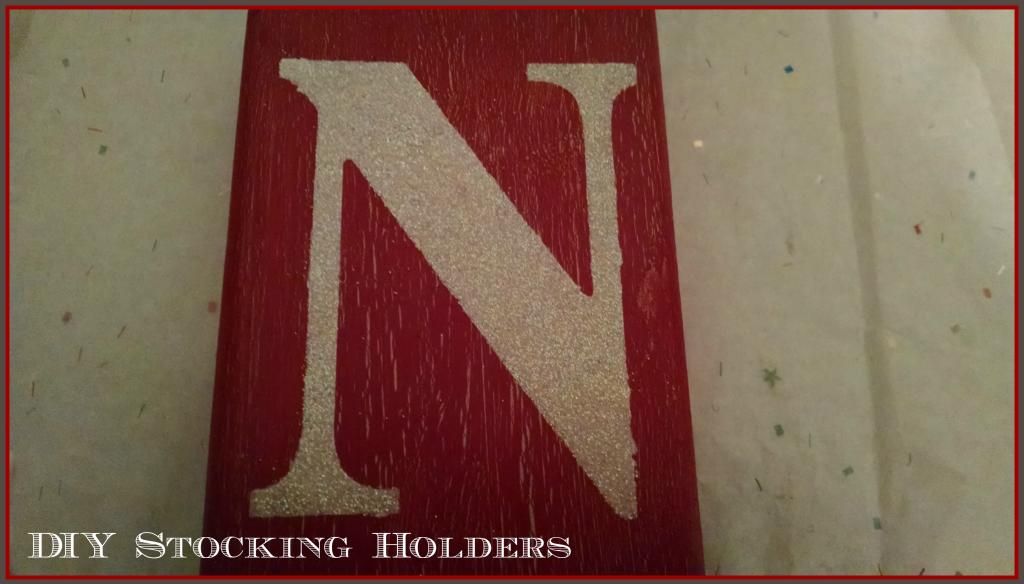
Using the larger alphabet stencils, I painted the letters using the acrylic paint. For my first stockings set, I spelled the word NOEL. Before the paint dried, I sprinkled the fine glitter over my letters and immediately removed the stencils from the wood blocks. Let dry completely.


Step 4:
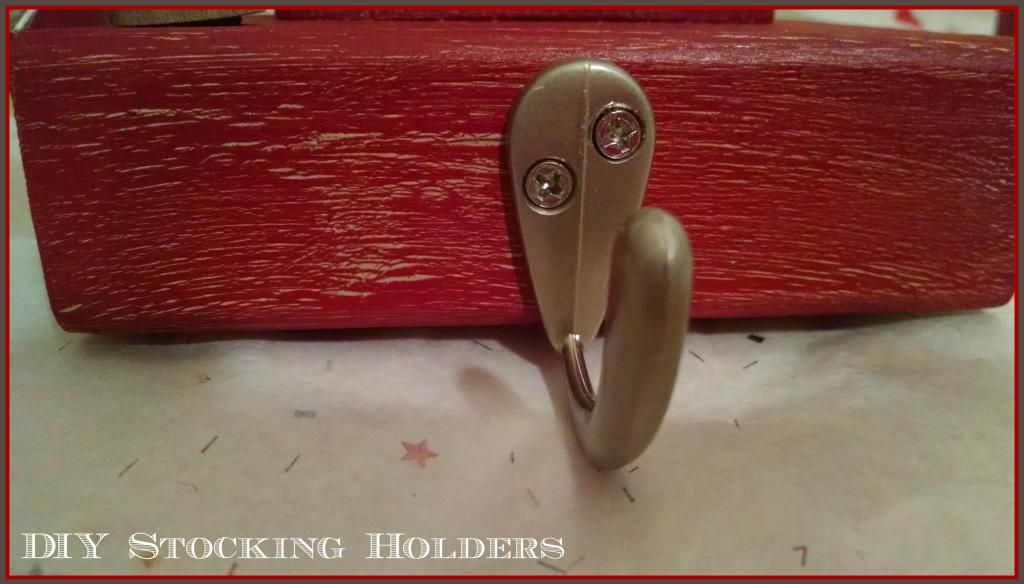
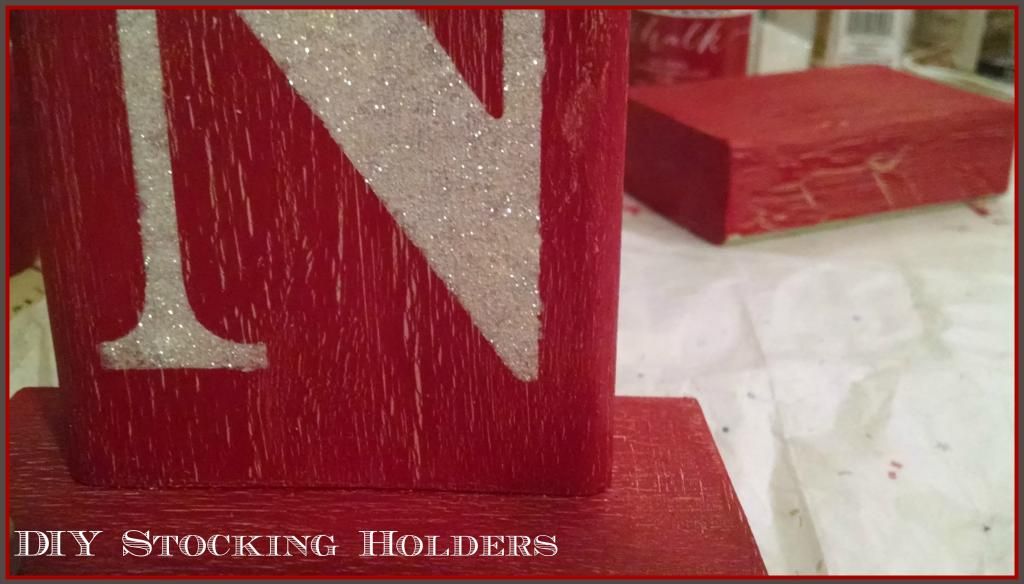
Using the robe hooks as guide, mark and pre-drill holes into four wood blocks. These will be the stocking bases. Screw the hooks in place. Attach the stenciled wood block to the stocking base using the wood glue. Let dry completely. For extra protection, apply a light coat of Acrylic Sealer to the holders.
Step 5:
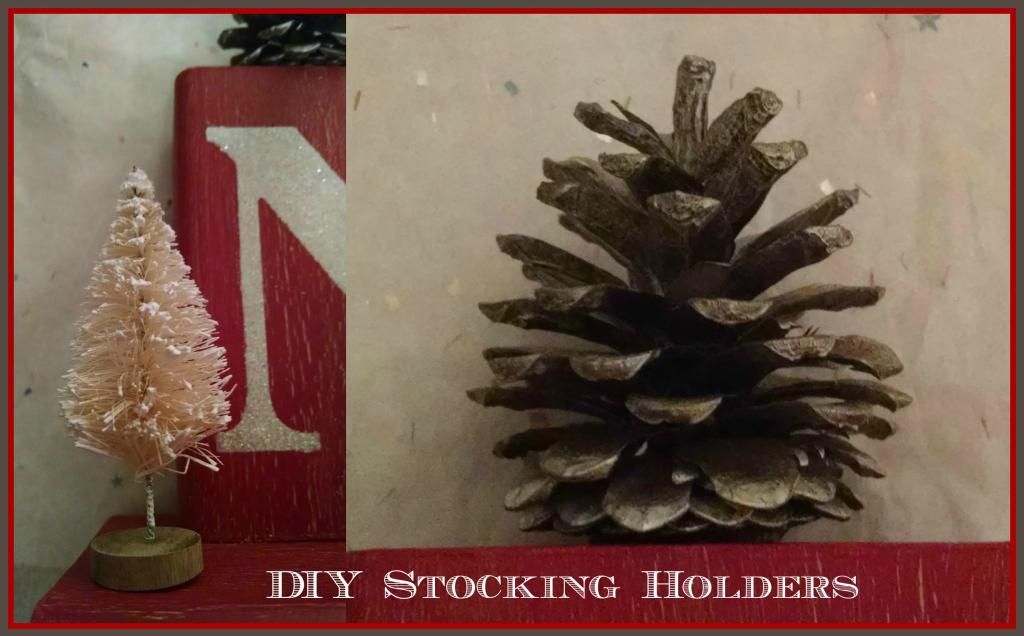
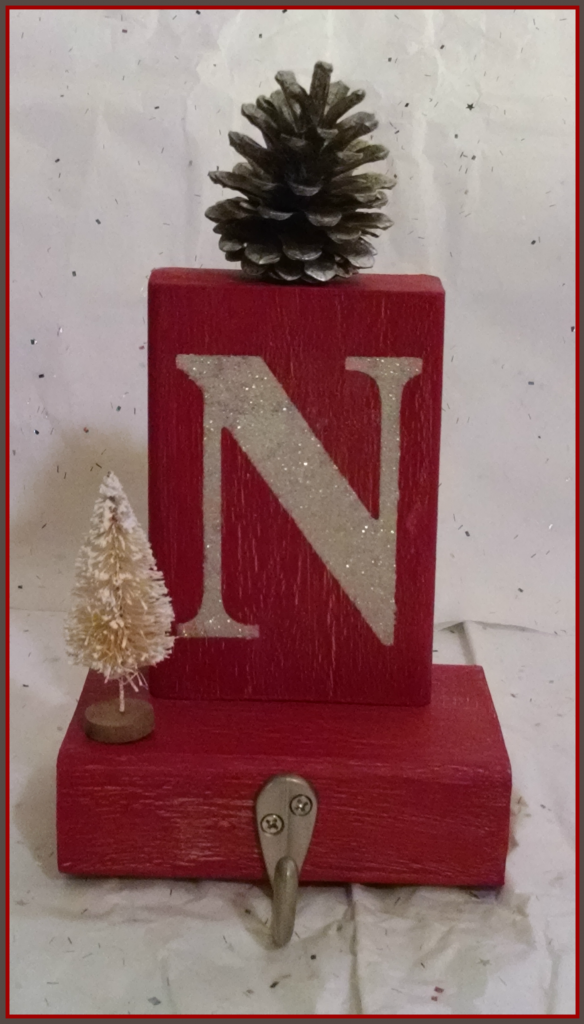
Finally, I added the embellishments to my stockings. I glued a pine cone on top of each letter and a sisal miniature tree on the stocking base.

Here is the finished holder.

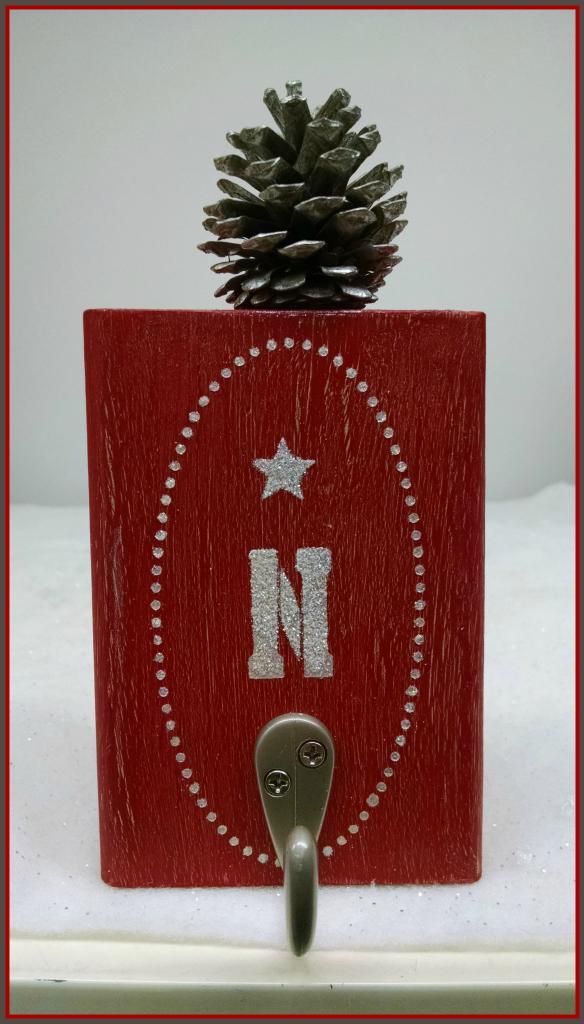
For my second set, I followed the same painting steps, but did not add a base. I used the smaller stencil letters to spell the word SANTA and added stenciled frames and stars. For the embellishment, I used pinecones.
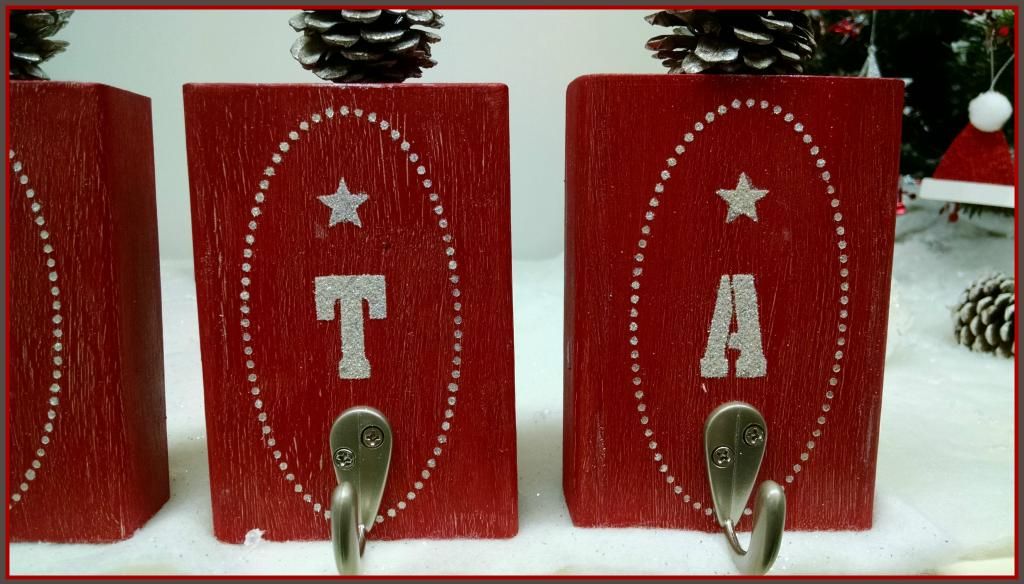
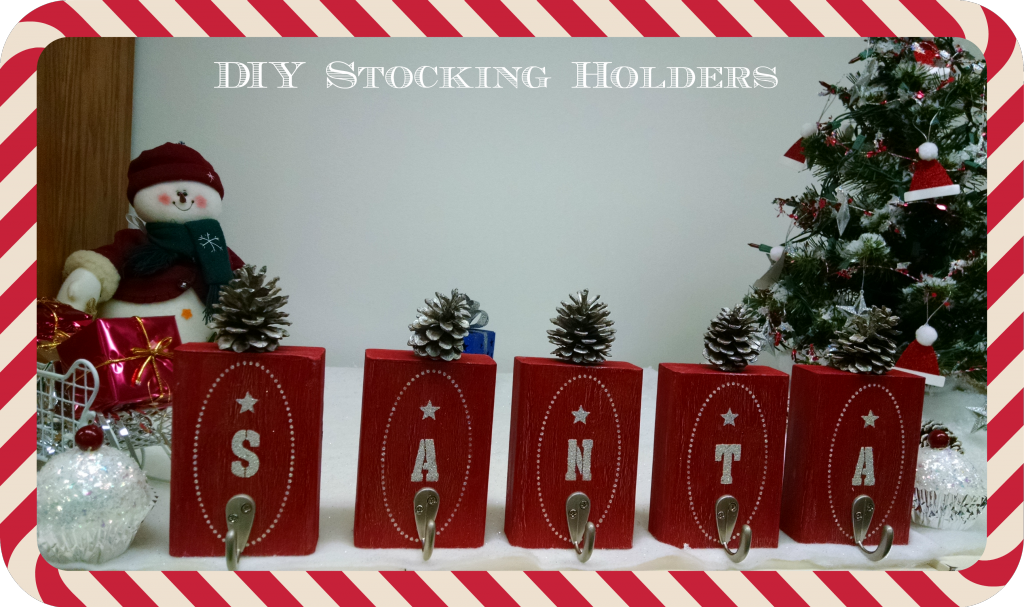

I love how these Stocking holders turned out. The top coat paint I choose is a lovely Red hue. My co-workers were so happy our stockings now have their personalized holders. I hope you give this tutorial a try... I tell my friends and co-workers I became an overnight Carpenter!!!! At first the idea of using a drill was a bit intimidated, but I found out it was easy as pie. I am glad I decided to make my own DIY Stocking Holders.

Have a wonderful Christmas...


Linking to:

Craft Frenzy Friday Feature Today's Creative Blog
Photobucket
See Vanessa Craft
Poofy Cheeks
52 Mantels By Stephanie Lynn
ItsOverflowingLife on Lakeshore Drive
The DIY'ersCornerstone Confessions
Say G'Day Saturday

Sunday, October 19, 2014

3
Halloween Image Transfer Plaques


Halloween is upon us…. The chilled night air, the Harvest moon in the night sky and the trees has begun to lose their leaves. I am ready to Spook up my home with some new handmade Halloween decorations.

I stumbled upon the wonderful and popular Graphics Fairy; where I found an array of amazing Halloween images and various Image Transfer Methods.

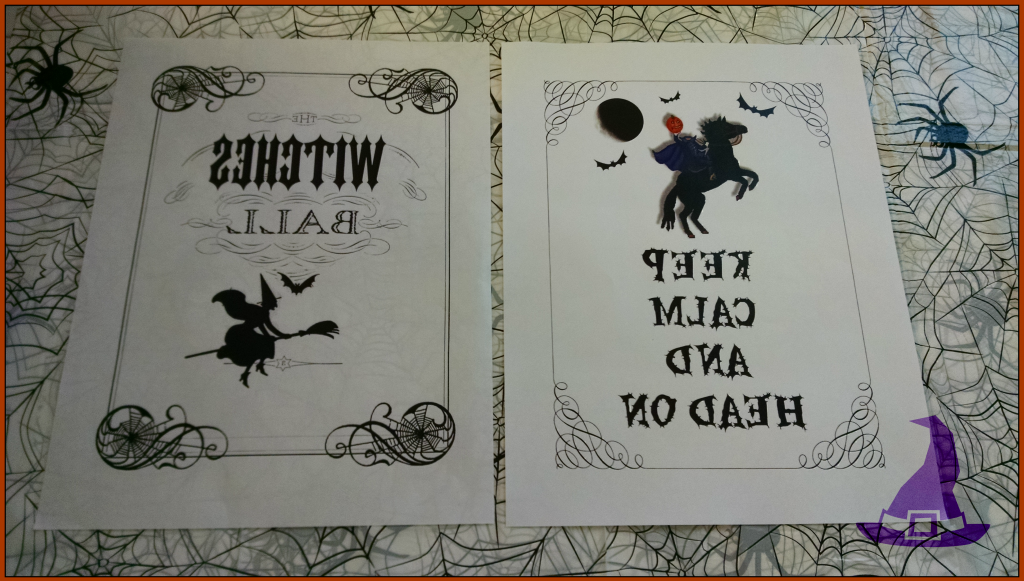
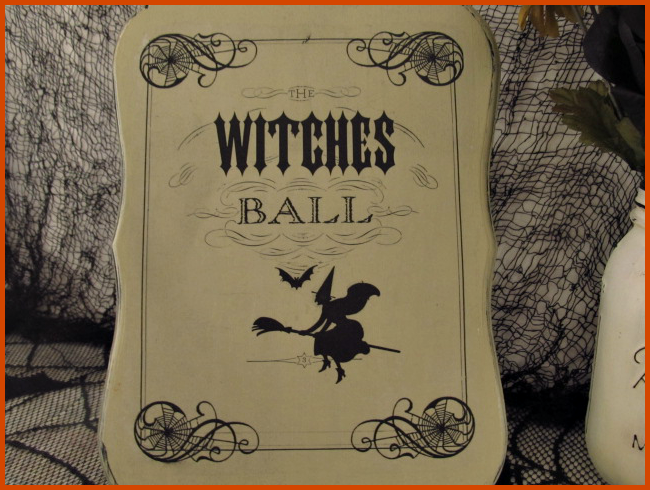
I wanted to try Image Transfer on wood plaques and Halloween was the perfect inspiration. I used the Gel Medium Transfer method and  The Witches Ball  image from the Graphics Fairy. I decided to use this Vintage Halloween Printable on two plaques.

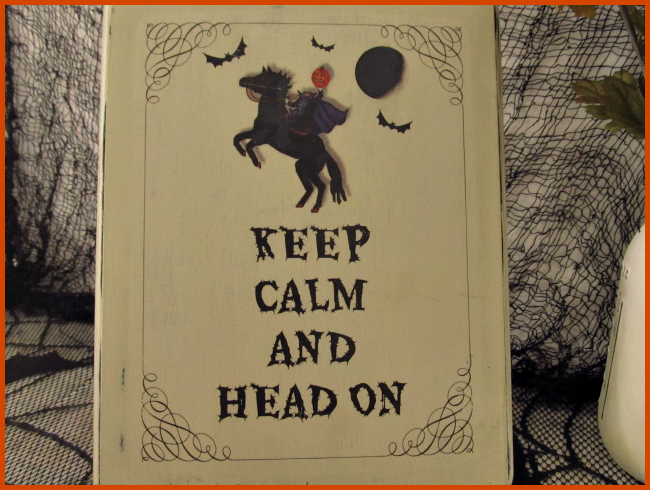
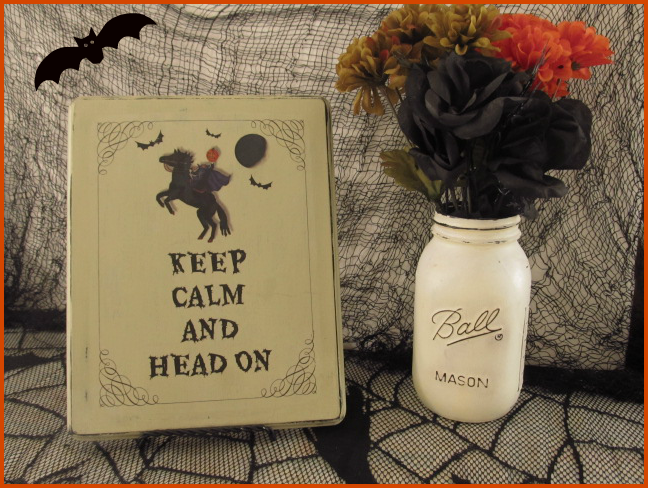
Since the new season of Sleepy Hollow just started; I said to myself why not create an Image I can also use on another Halloween Plaque. I decided to create a “Keep Calm” themed image using the popular online photo editing program Picmonkey using a Sleepy Hollow Headless Horseman graphic I found online.

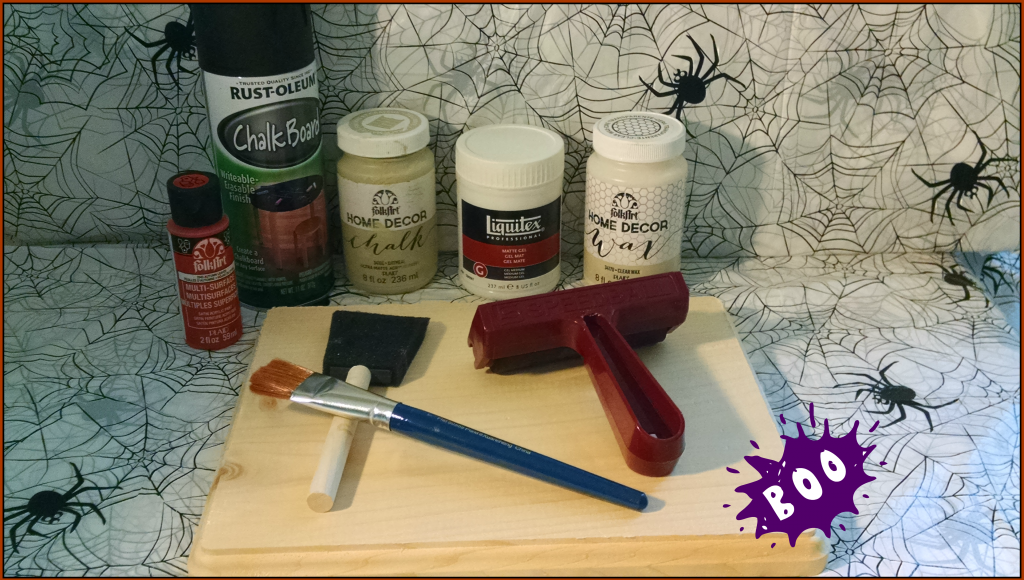
Materials:
  • Wooden Plaques
  • Black Chalkboard Spray Paint
  • Folk Art Home Décor Chalk Paint – Oatmeal
  • Folk Art Multi-Surface Acrylic Paint – Autumn Leaves
  • Liquitex Matte Gel Medium
  • Paint Brushes – Flat & Sponge
  • Brayer
  • Folk Art Home Décor Clear Wax
  • Small Towel Rag
  • Small Artist’s sponge
  • Graphics
  • Please Note: Image Transfer Graphics must be printed on a Laser Printer using regular paper. If there is Text on the Image, you need to print the image on Reverse or Mirror Image. You can take your images and have them printed at any Office Supplies Stores or at your local Library.


Step 1: Print Image

Find an image you would like to transfer or visit The Graphics Fairy; to find many wonderful images you can download. Adjust your image to desired size and reverse if there is text. Print image out on a laser printer.


Step 2: Paint the Wood Plaque

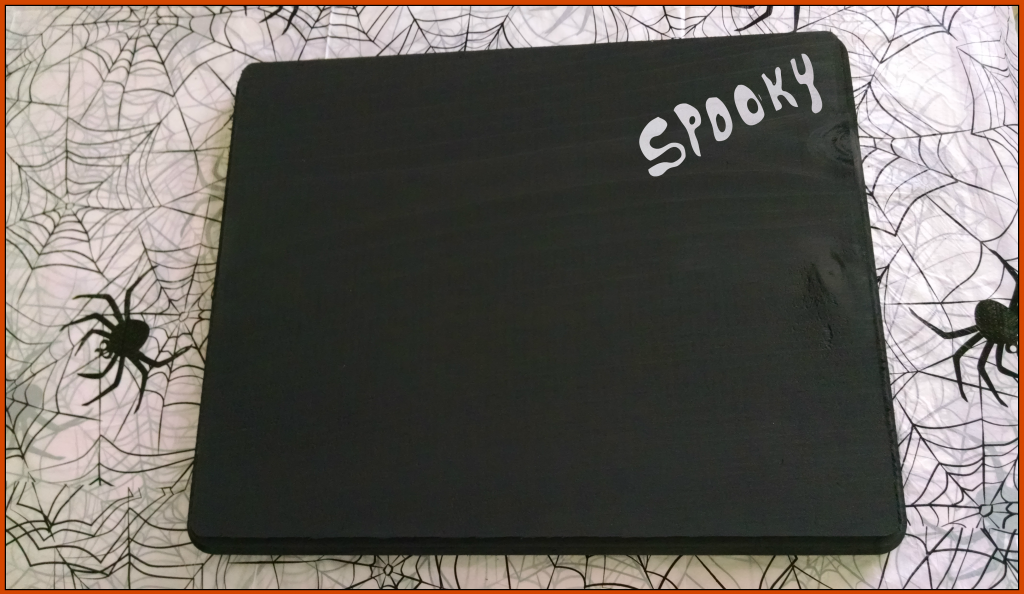
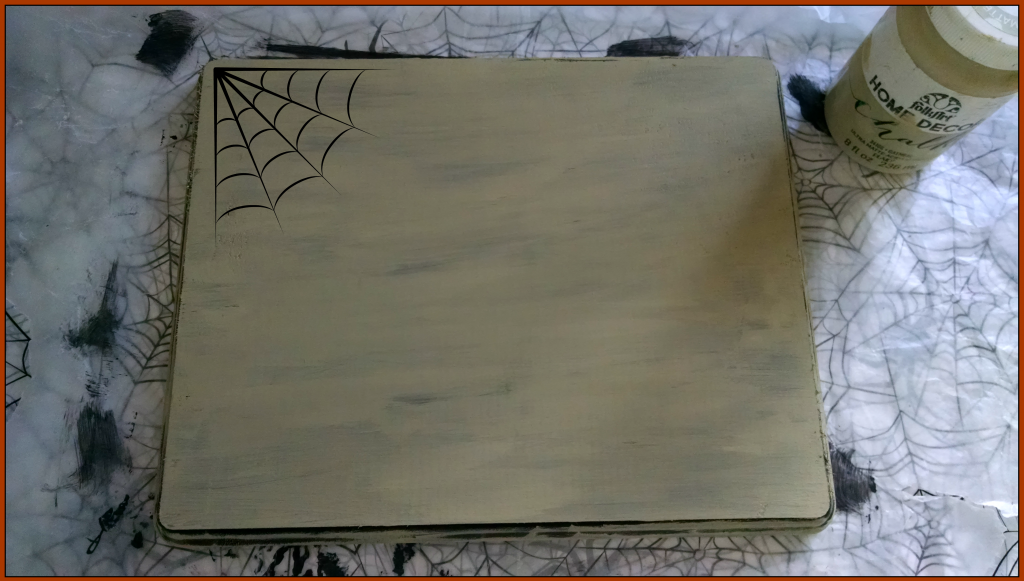
Begin by painting your plaque with the Black Chalkboard spray paint. I gave it two coats, letting it dry between coats. Next, I gave the plaque one coat of the Oatmeal Chalk paint using the foam brush. Let dry completely before continue with Step 3.


Step 3: Transfer the Image

Apply Liquitex Gel Medium to the printed side of your image. Apply medium to the wood surface. Carefully place your image face down on top of the wooden plaque. Smooth out any bubbles using the Brayer and wipe off any extra gel medium that may seeps out of the image's edges. Let your image transfer dry for at least 8 hours or overnight.


Step 4: Reveal the Image

This step is a bit messy. Therefore, protect your working area with a piece of wax paper. Take your towel rag, wet it and squeeze out the excess water. Lay it on top of your image transfer pressing down lightly and let it sit for at least 10 minutes or until you are able to see the image. Make sure the paper is completely soaked but not dripping wet.

At this point the image should begin to show a bit more. Use your sponge to rub off the white paper fibers to reveal the image. Take your time as you rub the paper. You might want to let your image dry a couple of minutes, then get the sponge wet a bit and continue rubbing off the paper fibers until you are satisfied with the transfer. Let your image transfer dry completely.


Step 5: Finishing

Using the flat brush, apply a thin coat of the Folk Art Wax to protect the finish and the graphic. If you wish to distress your plaque, sand it lightly around the edges or any other area.

Here is the finished plaque, ready to display.


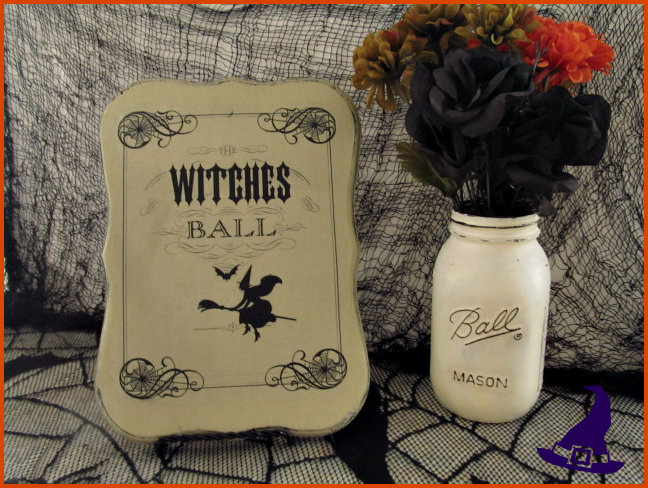
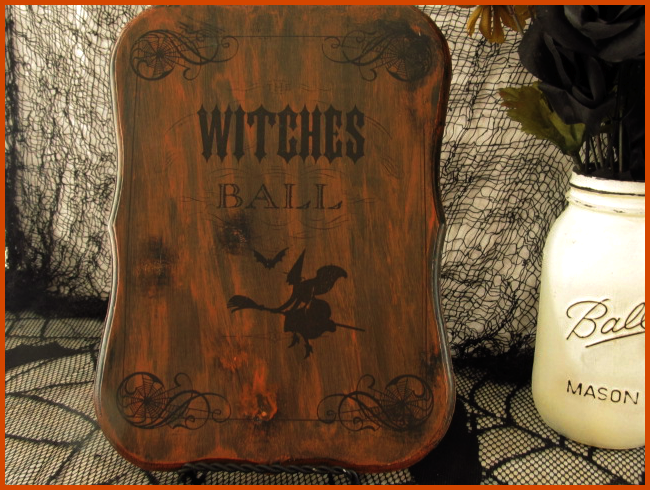
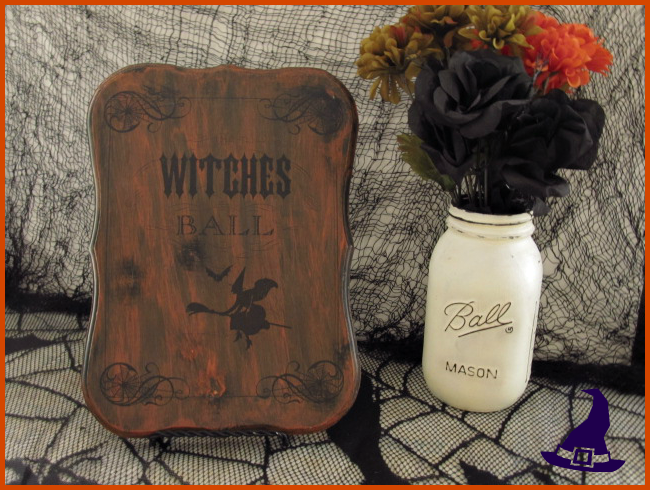
For the Witches Ball plaques I follow the same steps as for the Sleepy Hollow's plaque; except I painted one with the Oatmeal Chalk paint and the other one with the Folk Art acrylic paint. Then follow the rest of the steps to transfer and finish your Halloween plaques.


These are the finished Witches Ball plaques.


I hope you found this tutorial helpful and inspired you to create your very own handmade Halloween plaques using the Gel Medium Image Transfer method and Laser printed images. Have a wonderful Halloween....


Linking to:

Craft Frenzy Friday Feature Today's Creative Blog
Photobucket
See Vanessa Craft
Poofy Cheeks
52 Mantels By Stephanie Lynn
ItsOverflowingLife on Lakeshore Drive
The DIY'ersCornerstone Confessions
Say G'Day Saturday

Pin It button on image hover