


Halloween is fast approaching and a great time for the family to join together and have fun carving the all mighty Pumpkin. I love Halloween decorations, especially Decorative Pumpkins.
I must confess, I am not a fan of carving pumpkins; a sometimes labor intense task. Do not get me wrong; some carving inspirations found on the web are just awesome. Last Saturday, I attended the Pumpkin Festival in Keene, N.H., the carvings were just amazing. Go HERE to take a look at some of the pictures I took at the Festival.
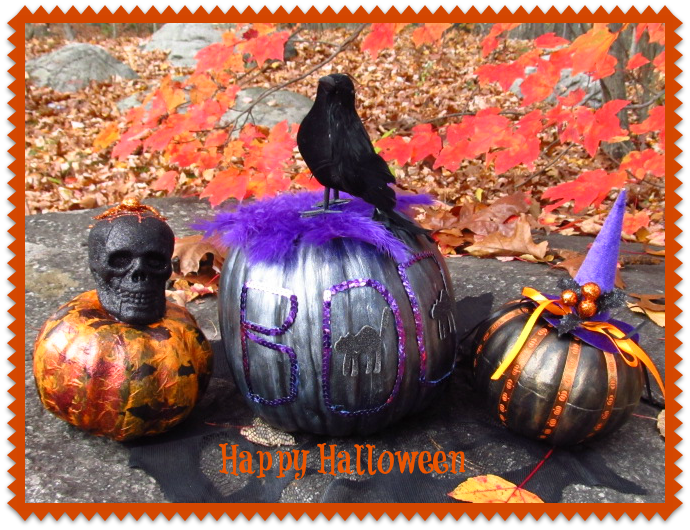
This year, I decided to decorate Craft Pumpkins and I just love how cute these pumpkins turned out.
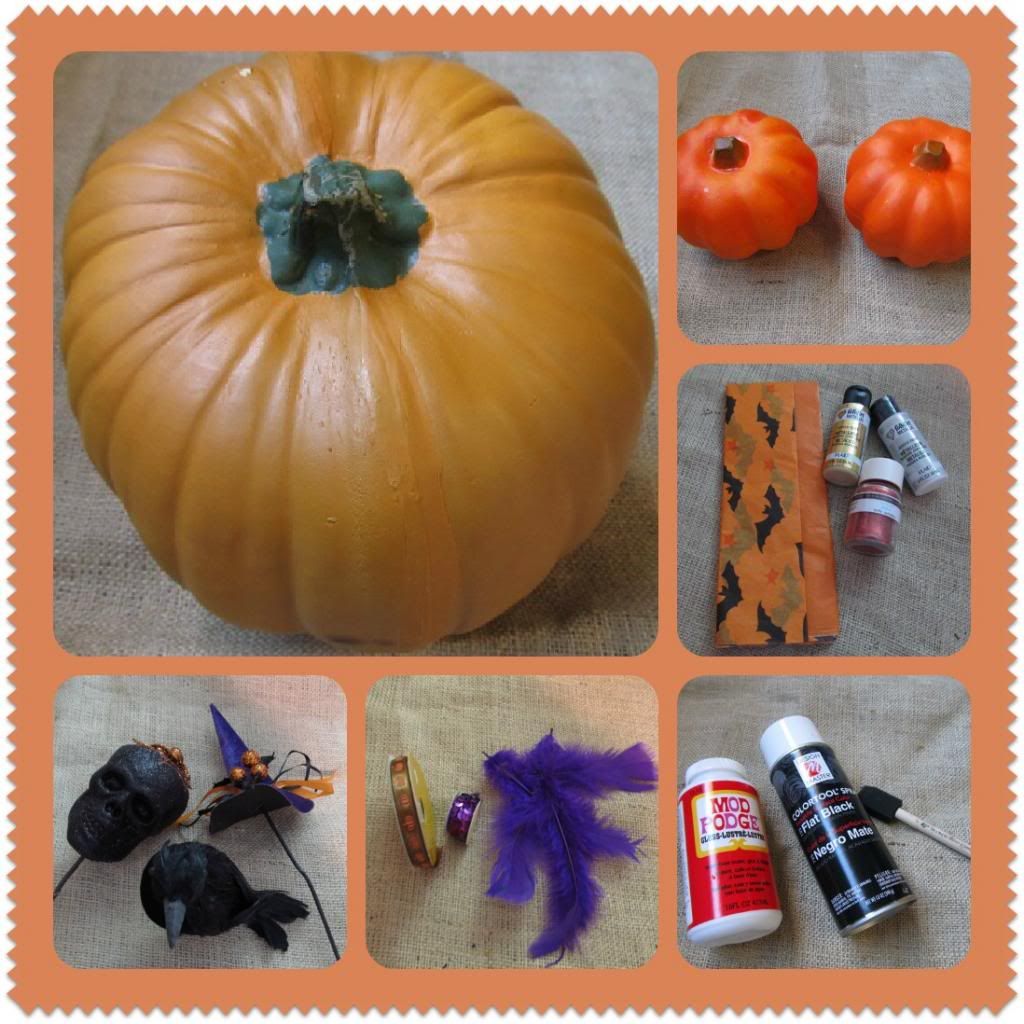
To begin, I gathered the following materials:
- 2 small and 1 large Craft Pumpkins. Purchased the small ones at the Dollar Store and the large one at my local Thrift shop
- Halloween Tissue Paper
- Plaid Folk Art Metallic Acrylic Paints. I used Pure Gold and Pearl White
- Fine Glitter - I used Martha Stewart's Carnelian/Red Orange
- Halloween Picks. I choose a Skull, Witch's Hat and a Black Crow
- 3/8" decorative ribbons. I used Pumpkin print and sequins
- Purple Feathers
- Mod Podge
- Spray Paint, I used Design Master Color Tool Spray in Flat Black; purchased at Michaels. When Spray painting foam Pumpkins make sure the Spray Paint is formulated for Styrofoam
- Foam brush
- Black felt
- Hot glue gun & sticks
- Elmer's Craft Bond glue pen
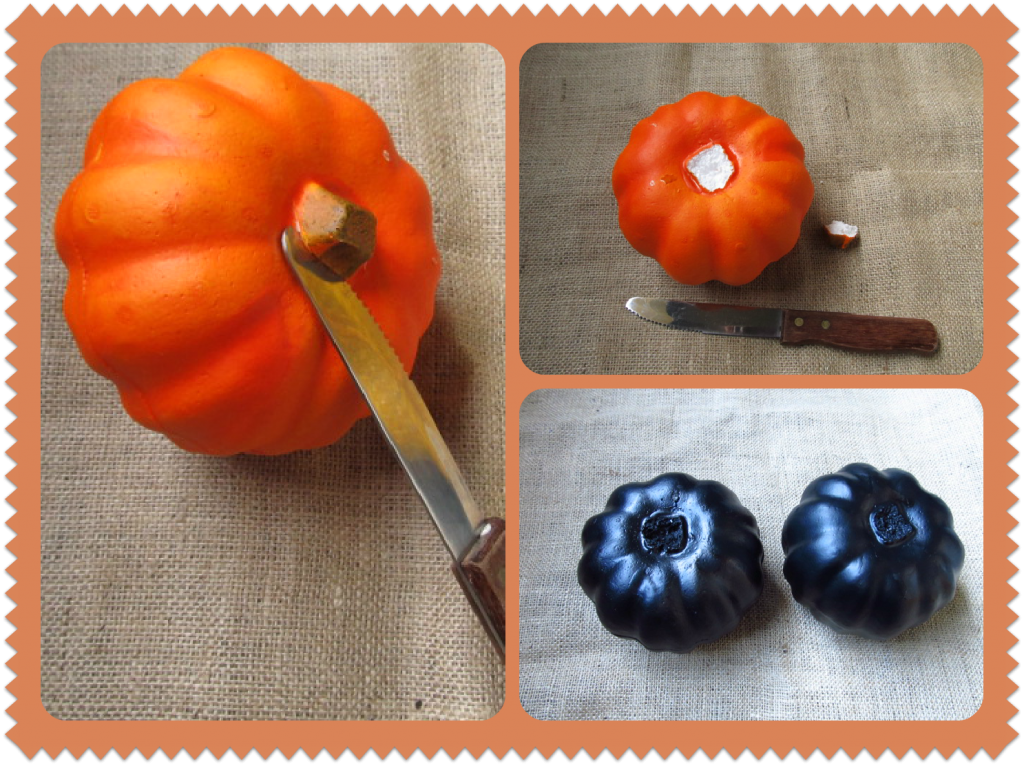
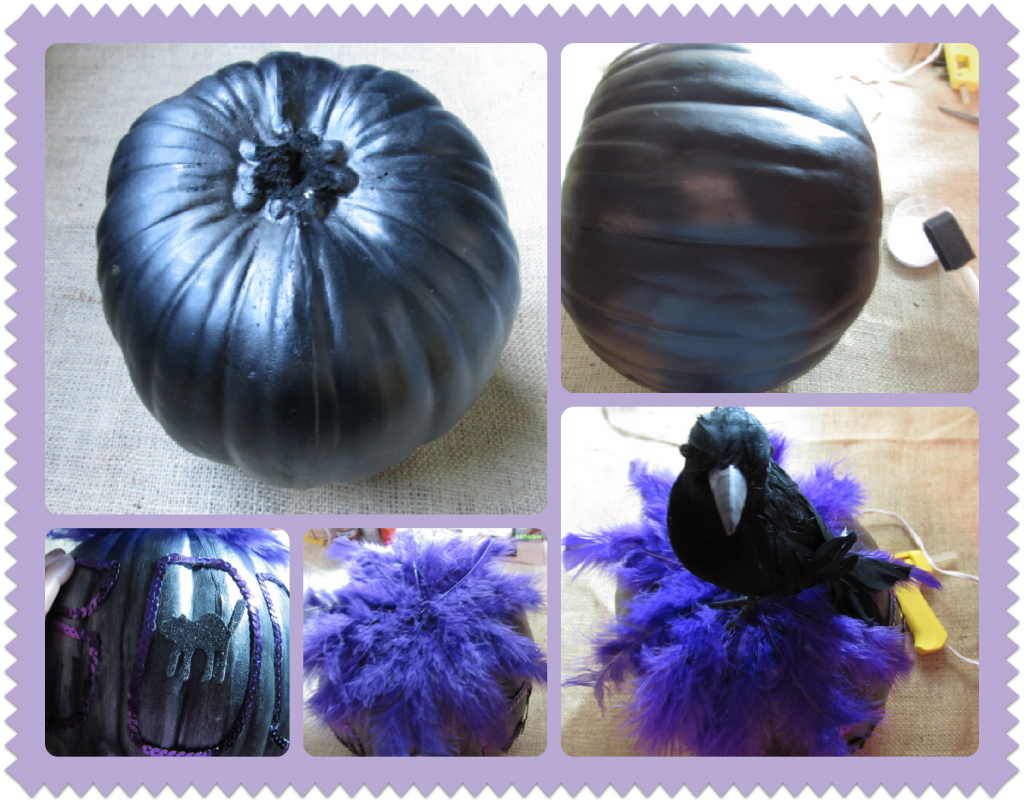
Cut pumpkin's stem with a serrated knife. Spray paint all the pumpkins. I gave mine 3 coats. Let dry completely.
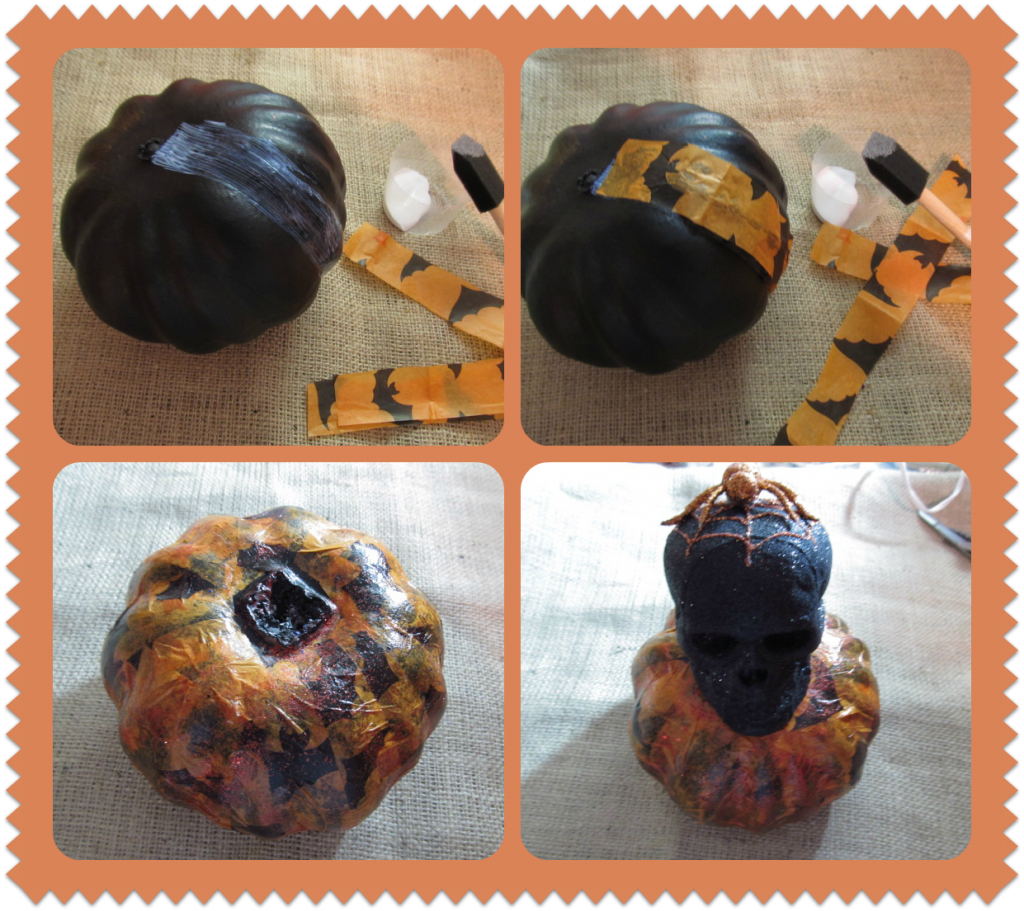
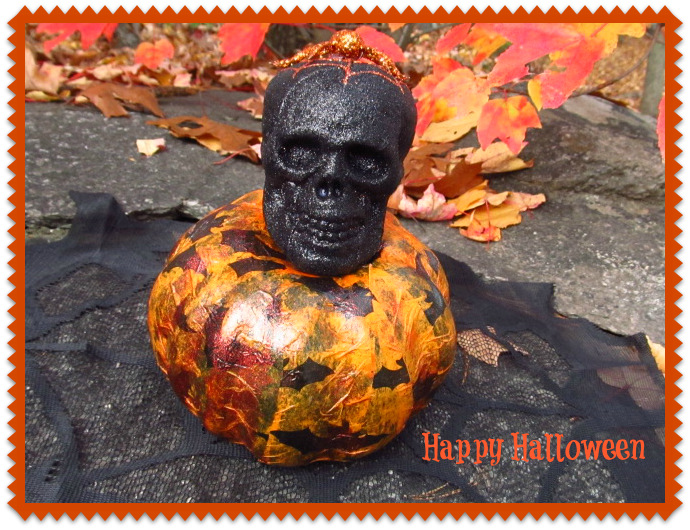
Skull Pumpkin:
- Tear Tissue paper into small strips.
- Apply one coat of Mod Podge to pumpkin.
- Begin adding the tissue paper strips; smoothing the surface as you go to remove any air bubbles.
- Continue adding Mod Podge and paper strips until pumpkin is covered.
- Let dry 10-15 minutes
- Apply a final coat of Mod Podge all over the pumpkin and sprinkle glitter all over while the pumpkin's surface is still wet.
- Let pumpkin dry completely.
- Remove the stem from the Skull pick. Using hot glue gun, attach to pumpkin's top section.

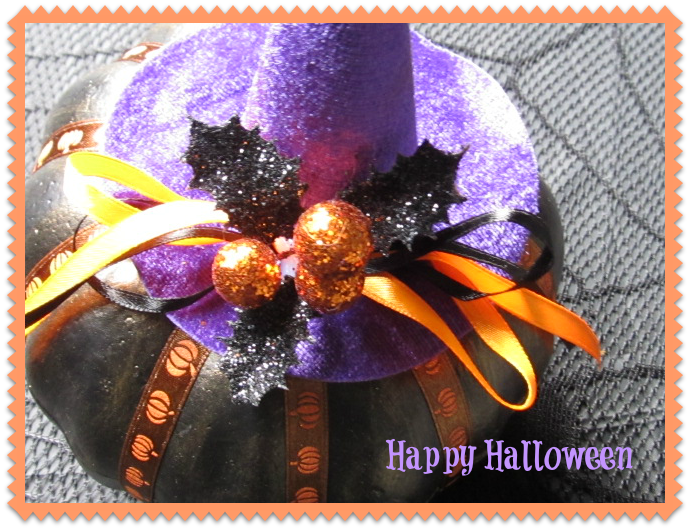
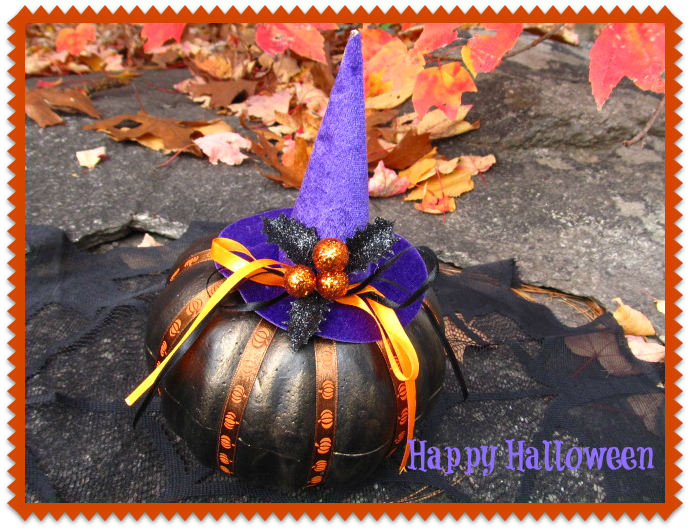
Witch's Hat Pumpkin:
- Apply a thin coat of the Pure Gold Metallic paint over the entire pumpkin. Let dry completely.
- Begin wrapping ribbon around the pumpkin in a crisscross fashion from side to side; tacking ribbon with Elmer's glue.
- Continue wrapping and gluing ribbon until your pumpkin has ten ribbon strips.
- Trace and cut 2 small circles from black felt. Using hot glue gun, apply the circles to pumpkin's top and bottom centers. The felt circles will prevent the ribbon crossings from slipping.
- Remove the stem from the witch's hat and glue to pumpkin's top section.

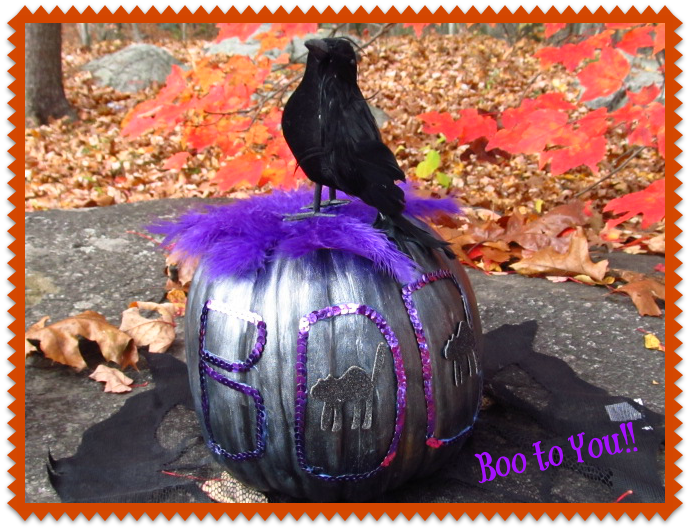
Purple Feathered Pumpkin:
- Apply a thin coat of Pearl White Metallic paint all over the pumpkin. Let dry completely.
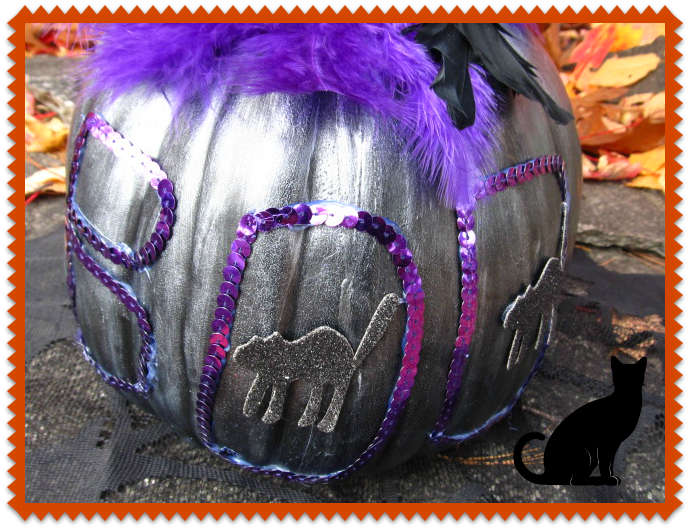
- Using the sequin ribbon, create and glue the word "BOO" onto the pumpkin's front section.
- Apply feathers to pumpkin's top using the hot glue gun. Let dry.
- Glue the black crow onto the feathers. Let dry.
- Finally apply other embellishments inside the letters "O".
I used glittered cat cutouts.
Although Pumpkin carving is a Halloween tradition for most people, there are other ways to decorate a Pumpkin without carving it.
I just love how my Pumpkins turned out. They were easy and fun to decorate, and most of all; I save time and money by using these Craft Pumpkins.
HAPPY HALLOWEEN!!!
debbie-debbiedoos
Every Day is an Occasion


LOVE LOVE LOVE your idea! I'm not a big fan of the pumpkin carving either, but I do love to roast the pumpkin seeds so I suck it up and cut them open for their seeds.
ReplyDeleteThanks for the post with the great pictures!
You can see my fall tablescape projects @
http://papercuts4u.blogspot.com/
Buffie
These are awesome!
ReplyDeleteHi Maria, I’m Anne from Life on the Funny Farm (http://annesfunnyfarm.blogspot.com), and I’m visiting from the Pinteresting Party.
ReplyDeleteThese look fantastic! I especially love the one with the skull on top. Creepy!
Anyway, thanks for posting this. I hope you can pop by my blog sometime to say hi…
Very cool! I totally love the Modge Podge! LOL... Thanks for posting and for the inspiration!
ReplyDeleteFound you on the sunday hop.. hop on by
allthoseartsygirls.blogspot.com and treasuringgrace.blogspot.com
Diane
Oh, these are fabulous!! I love all of the pumpkins. You did a fantastic job. Thank you so much for sharing again this week at A Bouquet of Talent! So happy to have you. :)
ReplyDeleteThese are fantastic! I like the pops of purple you used. Wonderful job. Thank you for sharing this at my Make it Pretty Monday party at The Dedicated House. Hope to see your prettiness again on Monday. Toodles, Kathryn @TheDedicatedHouse
ReplyDeleteThese came out great!! TFS!! Stopping by from Sugar & Spice linky party and your newest follower.
ReplyDeleteHere is what I shared: http://craftybrooklynarmywife.blogspot.ca/2012/10/happy-halloween-evil-queen-costume.html
Happy Halloween!
Love these!
ReplyDeleteSuch cool Halloween decor!
Thanks for linking up at last week's Fall Into the Holidays! These are so cute! I hope to see you at this week's!
ReplyDeleteKatie @ Horrific Knits