


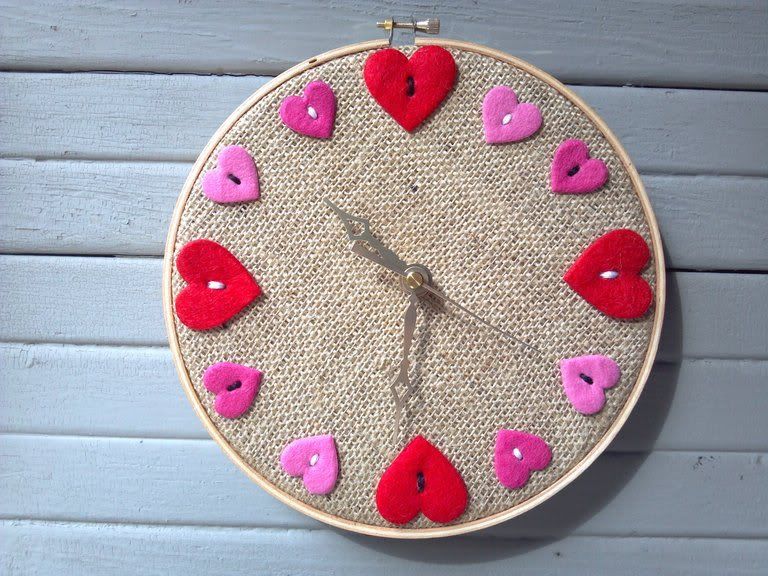
VALENTINE'S DAY is almost here. Time for LOVE, Passion and Chocolate. My inspiration for this clock came from a bag of Heart shape felt buttons I stumbled upon at Walmart. Each bag contains three different size buttons; small, medium and large with three different colors; Red and two shades of pink. As soon as I spotted these cuties, I thought I could use them in my next craft project. Days later, I had an idea on how to use these newly acquired heart buttons. I decided to make an inspired Valentine's Day DIY clock and replace the traditional numbers with these felted buttons.
- Heart Shape Felt Buttons, purchased at Walmart - $1.97. I wanted the traditional clock numbers 3, 6, 9 and 12 replaced by four Large Red Hearts. Each bag contains three Large Hearts of each color. Therefore, I purchased two bags in order to have four large "RED HEARTS".
- Walnut Hollow - 3 Piece Clock Kit for 10mm(3/8") surfaces, purchased at ACMoore - $8.49, paid half price with a 50% coupon.
- 1 12" X 14" Burlap square - purchased at Joanne's Fabrics
- Wilton's 8" Cake Circles, purchased at Walmart - 4.00
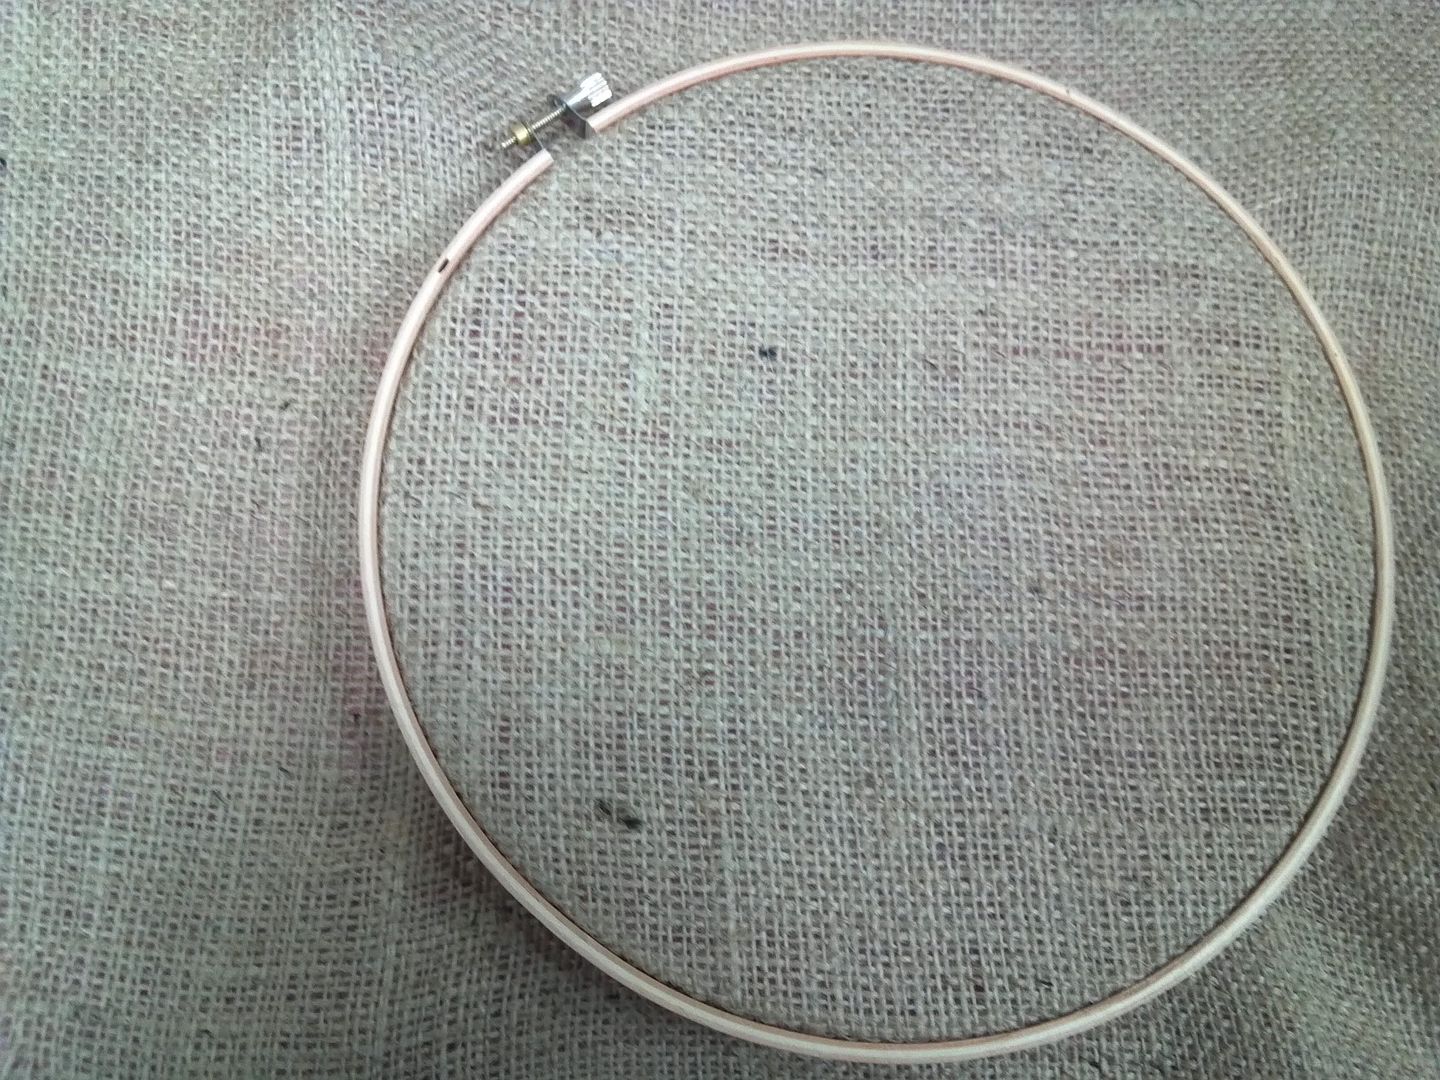
- 8" Embroidery Hoop, purchased at ACMoore - $1.69
- DMC Embroidery Floss in colors Black and White
- Embroidery Needle
- Head Pins
- 8" salad plate
- 8" X 12" sheet of paper
- Pen for tracing
- Scissors
- Low Heat Glue and Glue Sticks
- Craft Knife
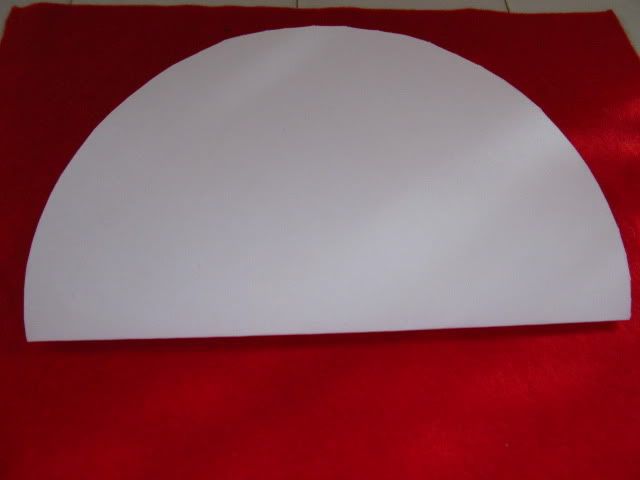
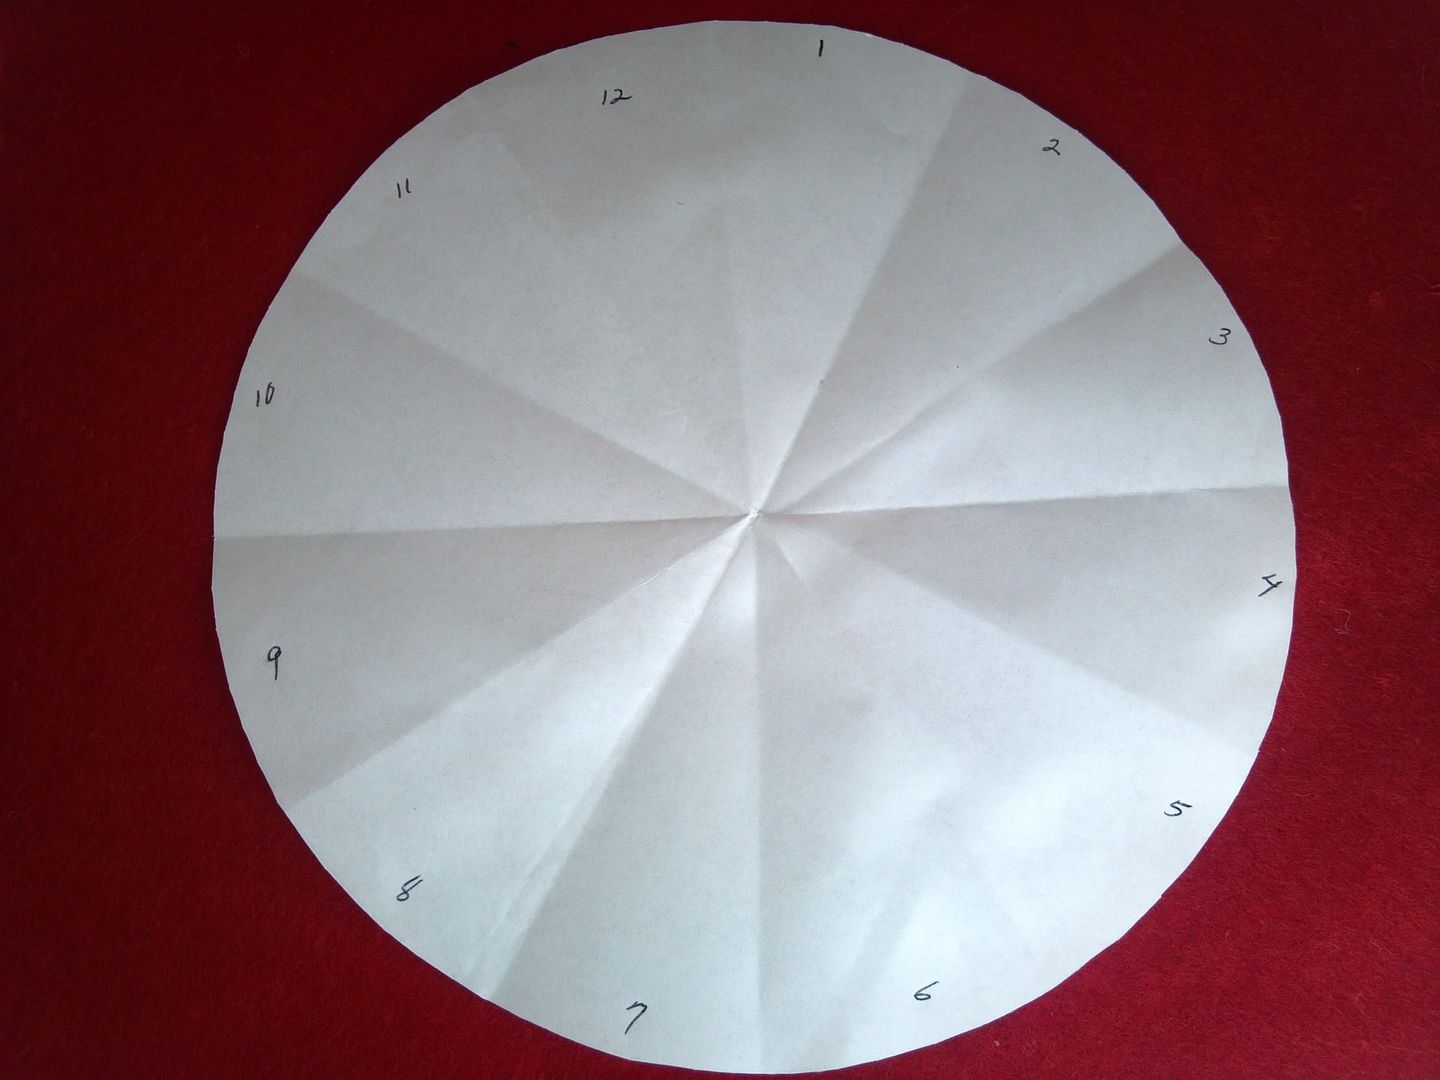
- Trace the salad plate on to the sheet of paper. Cut out circle.
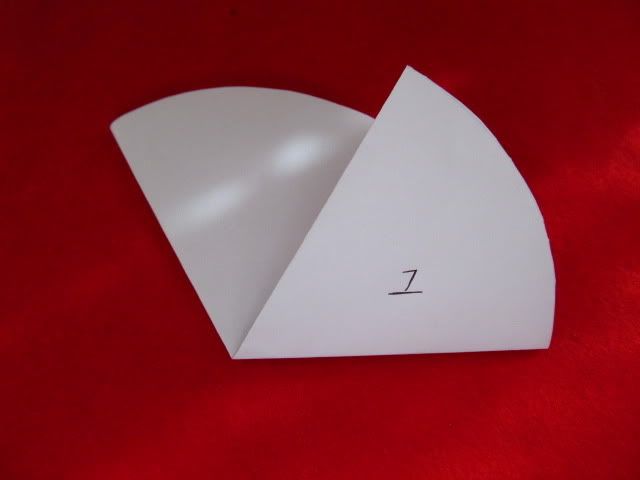
Fold circle in half- Pull apart the Embroidery Hoop
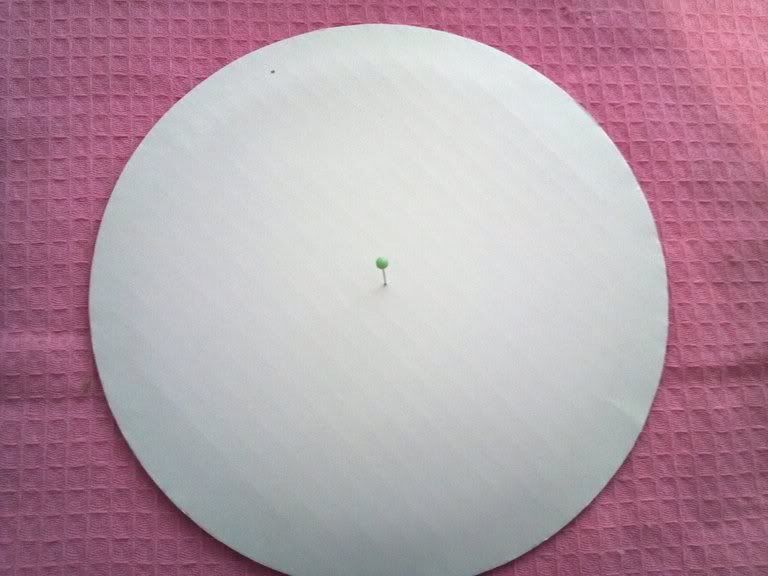
To assemble the clock, using the Folded Circle from Step 3, insert a Head Pin in the Middle of the Cardboard Cake circle. Using the Craft Knife make a hole large enough to insert the shaft of the clock movement. The circle may have to be trimmed in order to fit inside the hoop


Then fold right-half towards the middle front.
Fold second half towards the back.
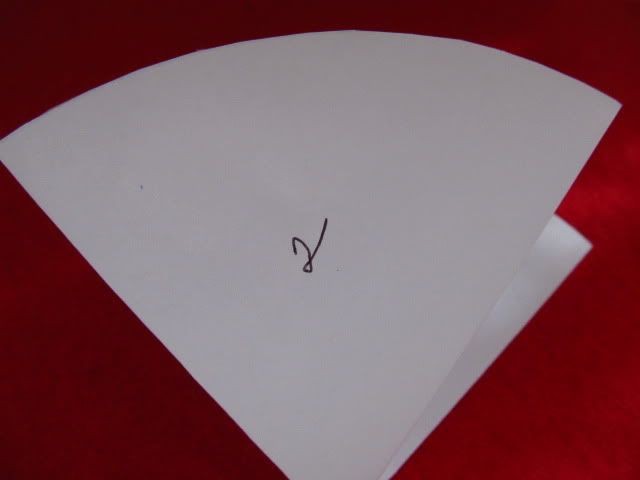
Finally, fold again in half. Open circle. There should be 12 fold sections.

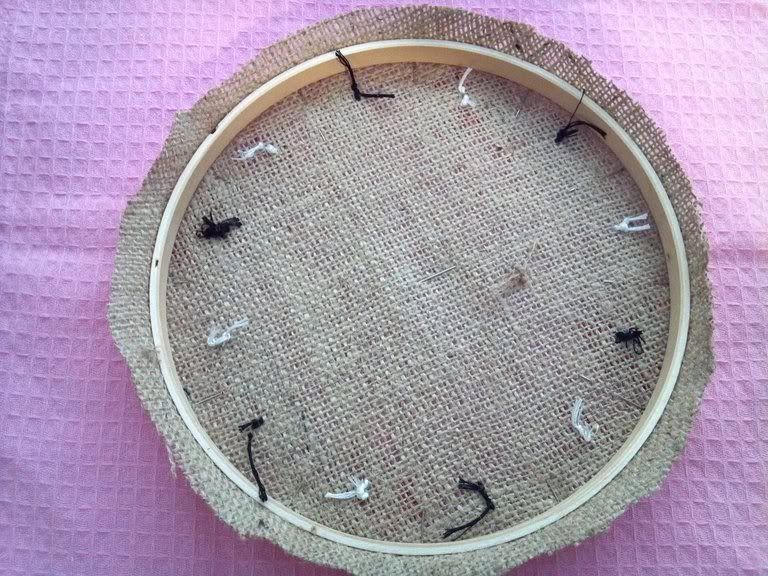
Lay inner hoop and slide it around the Burlap Square. Attach second hoop (the one with the screw) and stretch the Burlap so that it is free of any gaps. Tight hoop screw.
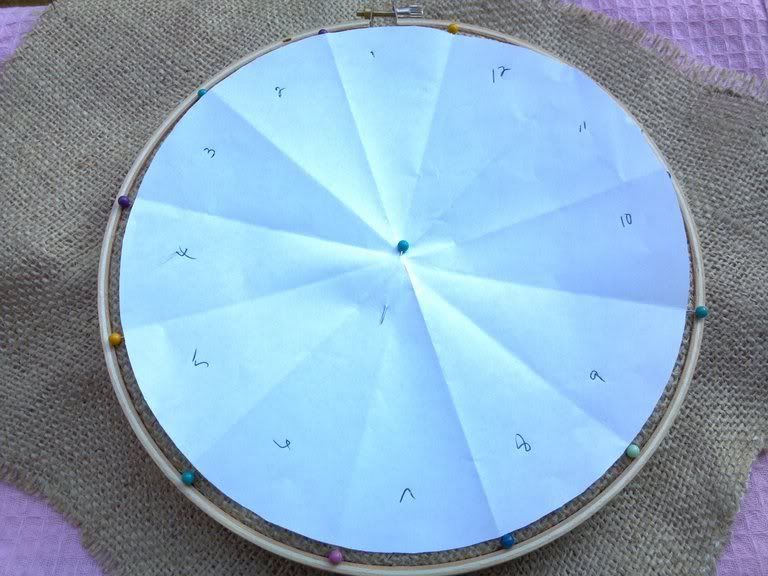
Lay paper circle on Burlap. Insert Head Pins outside the paper, directly on each of the 12 folds and one pin in the middle. This is where the Clock mechanism will be installed.
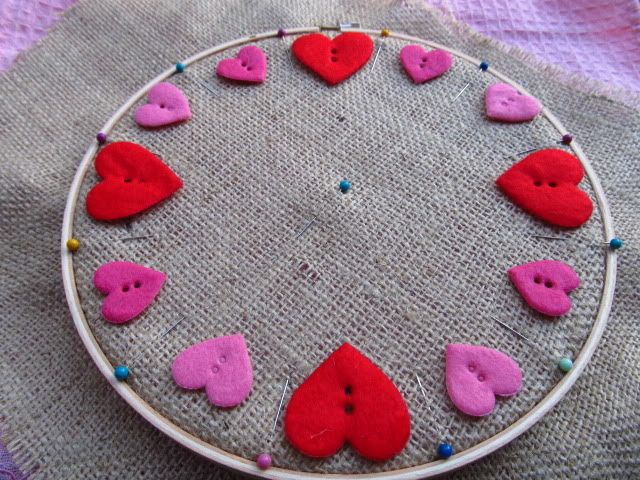
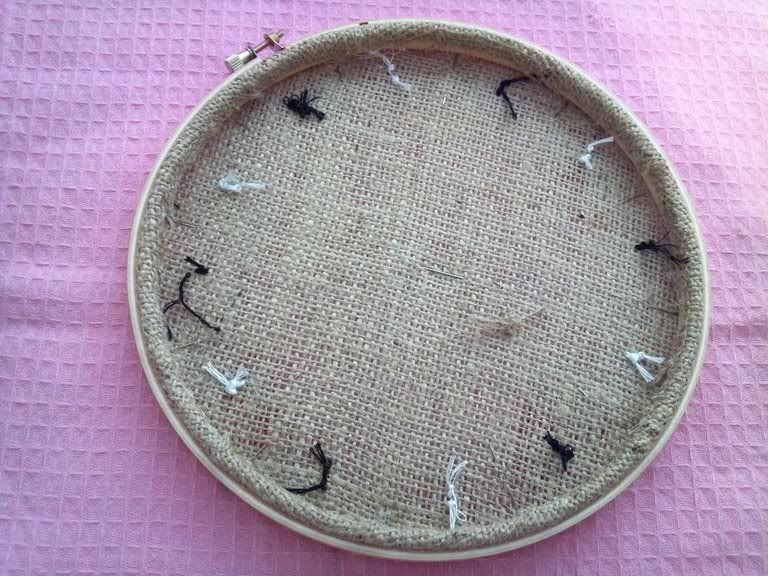
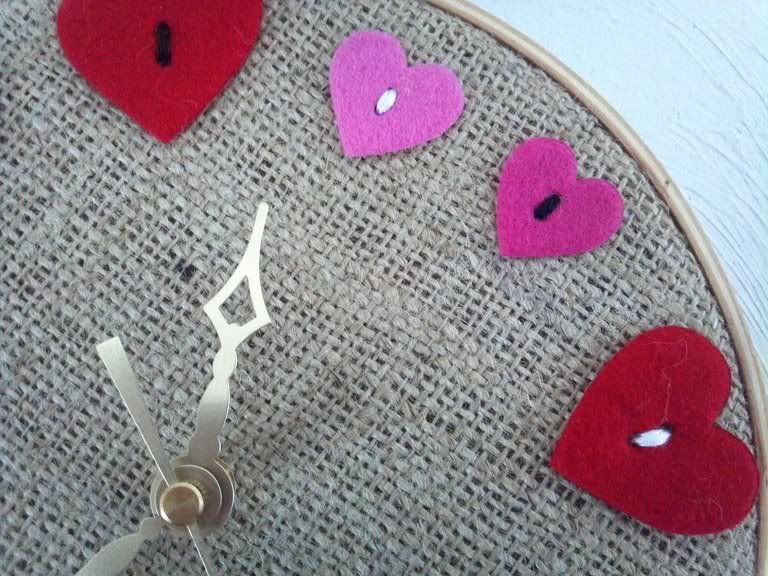
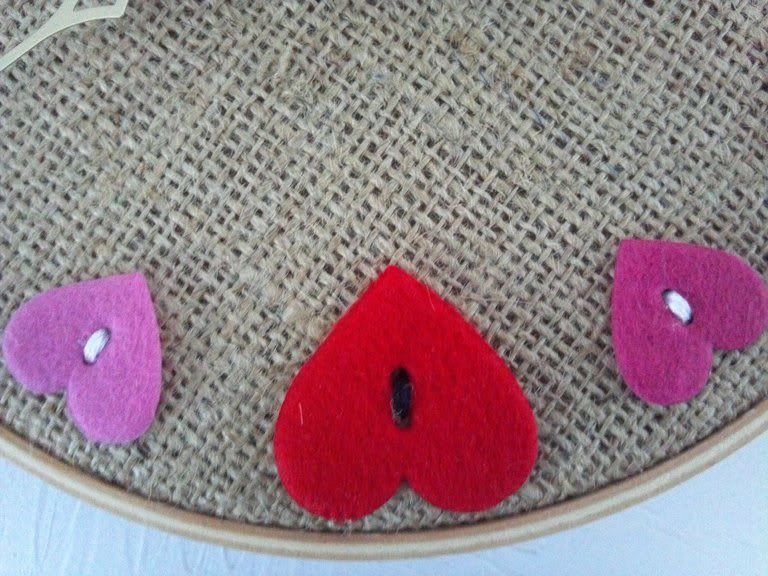
Lay buttons of your choice between two pins. When satisfied with the arrangement, sew buttons to Burlap using embroidery floss and needle. I alternated using Black and White floss.
Turn hoop over and cut excess Burlap material, leaving at least 1 1/2 inches. Turn Burlap inside the hoop and glue in place, while pressing down with finger as you go around.
Insert cardboard circle in back of hoop. Using the Craft Knife make another hole in the middle of the Burlap circle, marked by the head pin in Step 3. Insert Clock shaft through the card board and back of Burlap. Add clock hands onto movement according to the instructions that came with the kit. Add some glue to the back of the clock mechanism to keep it in place.
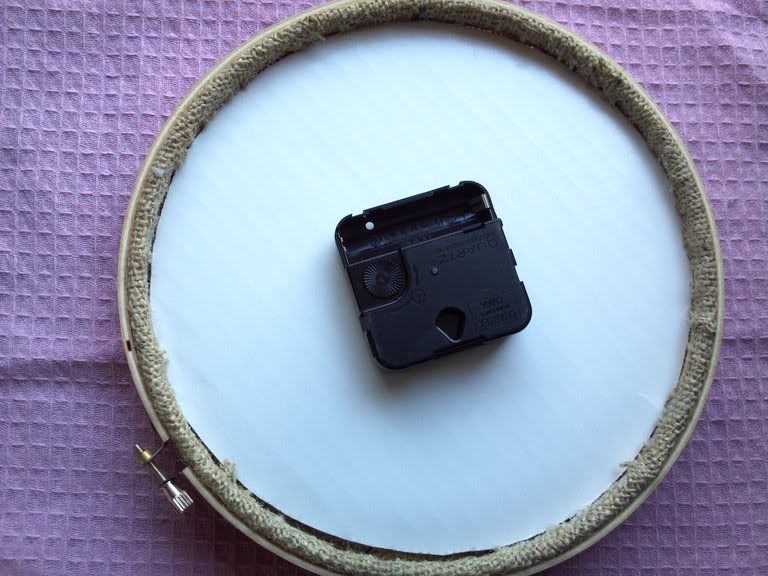

Insert one AA battery inside the clock movement and set the time. Your clock can be hang from the hook on the clock movement.
And here it is... The DIY Sweetheart Clock is ready to be displayed.
I hope you enjoy this tutorial.
Happy Valentine's Day


So totally adorable!
ReplyDeleteThanks Veronica..
DeleteOM Goodness. I just found this post via the linky party at Saved by Love! I adore it. And the possibilities are endless. Thanks for the awesome and detailed tutorial.
ReplyDeleteThanks Amy. I enjoyed making this project. So simple and functional. I agree, you can pretty much make any theme clock... I'm glad you enjoy the tutorial. Hopefully I can see your creation soon....
DeleteThanks for sharing om how to make the SweetHeart Clock
ReplyDeleteyurtdışı kargo
ReplyDeleteresimli magnet
instagram takipçi satın al
yurtdışı kargo
sms onay
dijital kartvizit
dijital kartvizit
https://nobetci-eczane.org/
WYUP
Cod Benzeri Oyunlar
ReplyDeleteTerraria Benzeri Oyunlar
Escape Benzeri Oyunlar
Ark Benzeri Oyunlar
Max Payne Benzeri Oyunlar
8F2FP
شركة تسليك مجاري في دبي RvlCguoCJZ
ReplyDelete