




Sunday, April 7, 2013

1 Favorite Things Party {Crafty Style}

I joined the First Annual Favorite Things Party {Crafty Style} - Swap; to exchange FIVE of my Favorite Things with another Crafty Person.


The party is hosted by Carrie from My Favorite Finds.
My Favorite Finds

My swap partner is Tarah Hoover who blogs at Real {Cheap} Housewives of Texas.

Real {Cheap} Housewives of Texas

Tarah enjoys paper crafts, painting, wreath making and other crafts projects.
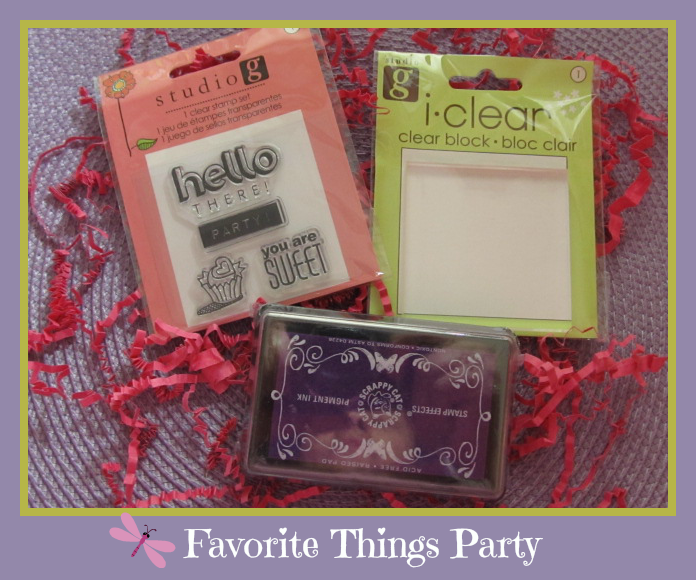
I read Tarah's about information where she indicated her favorite color is Purple. I gathered ten of my Favorite Things I thought Tarah would like to received.

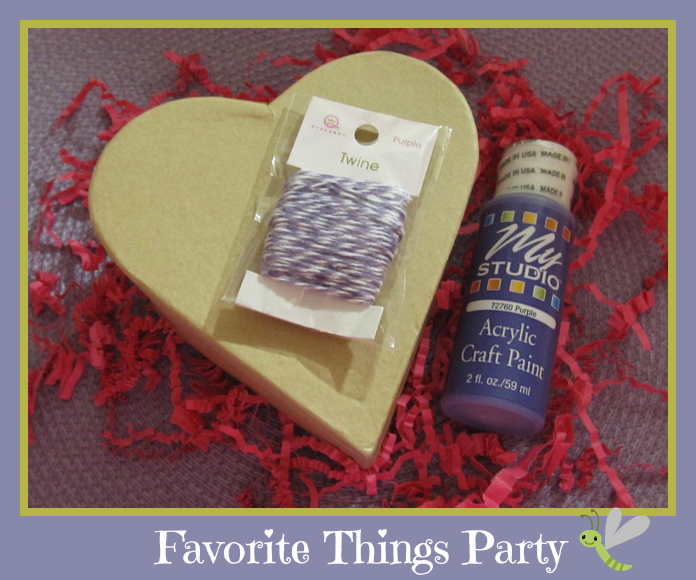
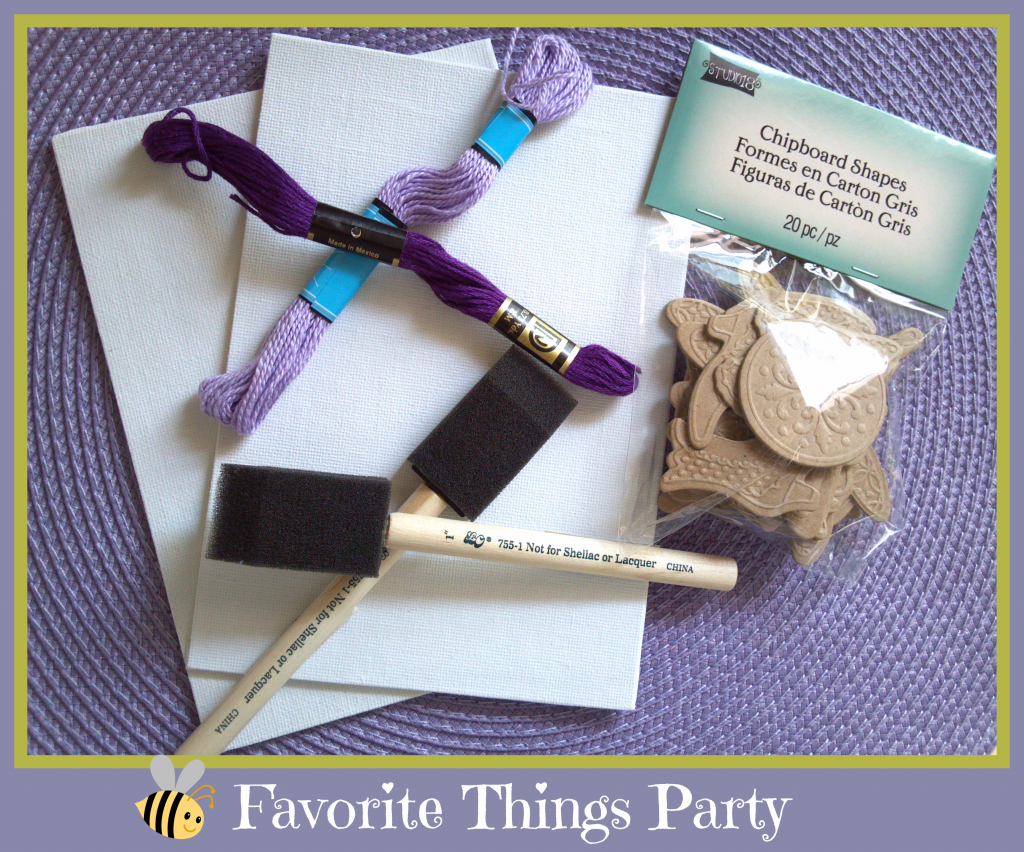
Her package included a clear stamp block, stamp set, purple stamp ink, purple acrylic paint, purple twine, a paper mache heart box, canvas panels, embroidery floss, foam brushes and a package of chipboard shapes.

I hope Tarah likes the Goodies I sent and find some creative ways to use them.


I received a wonderful package from Heather Warren who also blogs at Real {Cheap} Housewives of Texas.

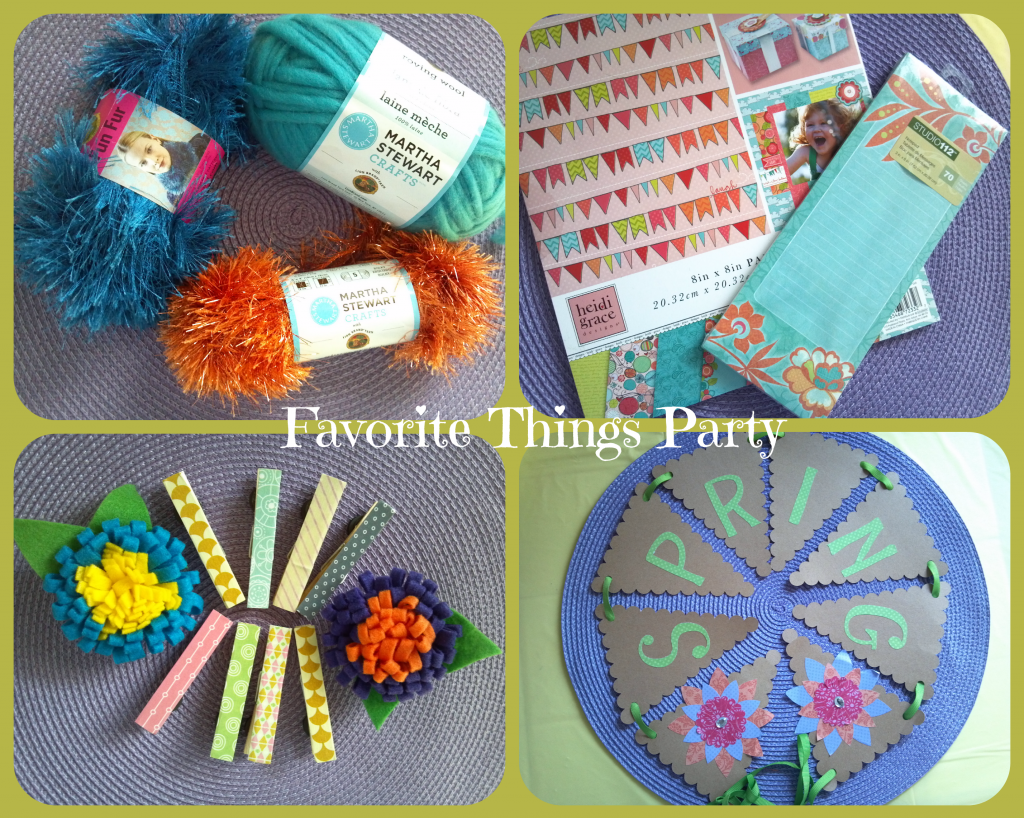
I love the Color Scheme she chose when selecting her favorite things; from the beautiful Turquoise to the bright Burnt Orange. Heather's package included lots of cool and fun goodies.

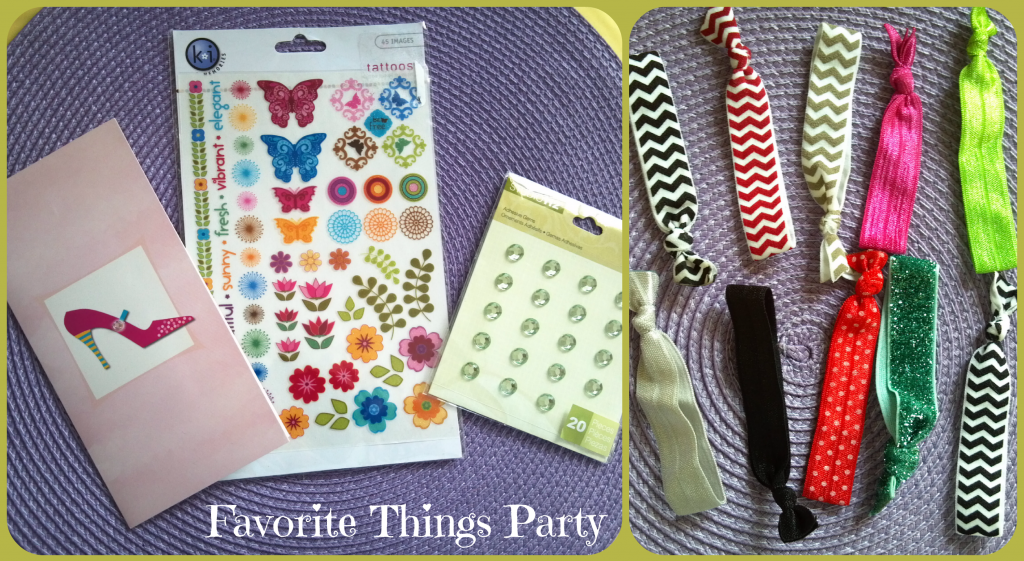
The yarn, the 8" x 8" paper and note pads color scheme complement each other so well. I would be able to create new projects using all three. Heather also created two cute felt pins which are adorable. The washi-tape covered clothespins made my day. I love anything created with Washi-Tape. The scalloped edge Spring Banner is my favorite. Last but not least; her package also include adhesive gems, tattoos rub-ons and elastic ribbon hair ties.

Thanks Heather for all the goodies you sent me. I am looking forward to creating new projects with them; display the beautiful Spring Banner and wear the wonderful felted pins.


Saturday, March 23, 2013

12 EASTER Subway Art


Happy EASTER to all my PEEPS. I love to create Subway Art for the Holidays and thought I share my Easter creation with all of you.

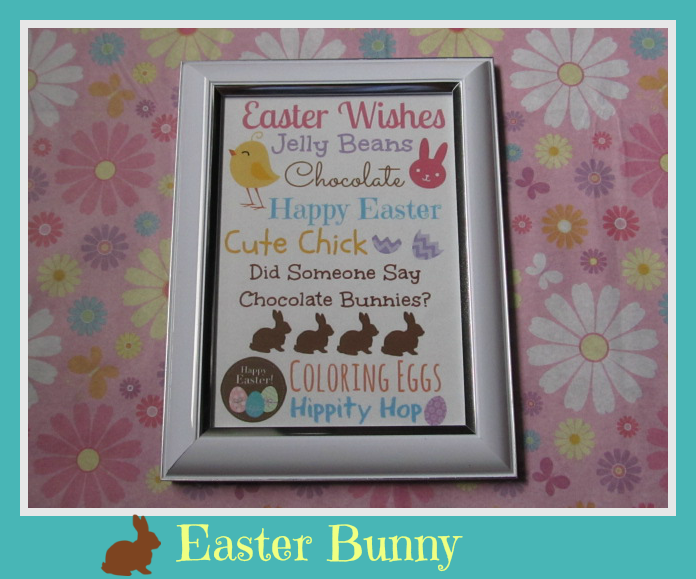
I created a 5 x 7 Easter Subway Art. My design was created using the awesome Photo Editor, PicMonkey; using a variety of fonts, phrases, graphics and colors.

If you use PicMonkey; you will need to create and upload a blank 5 x 7 white JPG. I created mine using PaintNet, a Free Software for Digital Photo Editing; or your could create it using Microsoft Paint.

Materials:
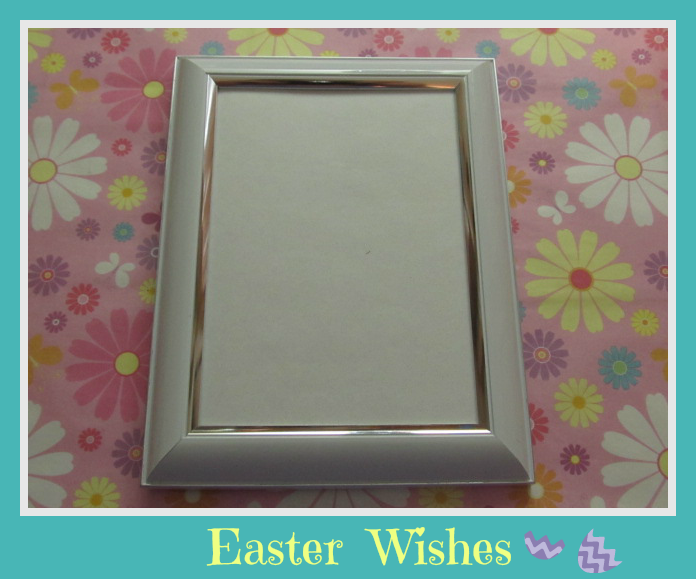
  • White 5 x 7 picture frame, purchased at A.C. Moore
  • Subway Art


Directions:

Create your 5 x 7 Subway Art. Once your design is completed, print it out and trim it to fit your frame. Instead of using plain copy paper; I printed my design on Ivory Stationary Paper. The design colors look much better against the Ivory paper.


If you wish to use my design to make your very own Subway Art Frame, scroll down to download and print the file.


PLEASE NOTE: this file is for Personal use only. Please do not claim or sell it as your own!!!

Your EASTER Themed frame is ready for display.


Wishing you a Happy Easter!!!


Linking to:

Today's Creative Blog
Coastal Charm


Manic Mother


Wednesday, February 27, 2013

10
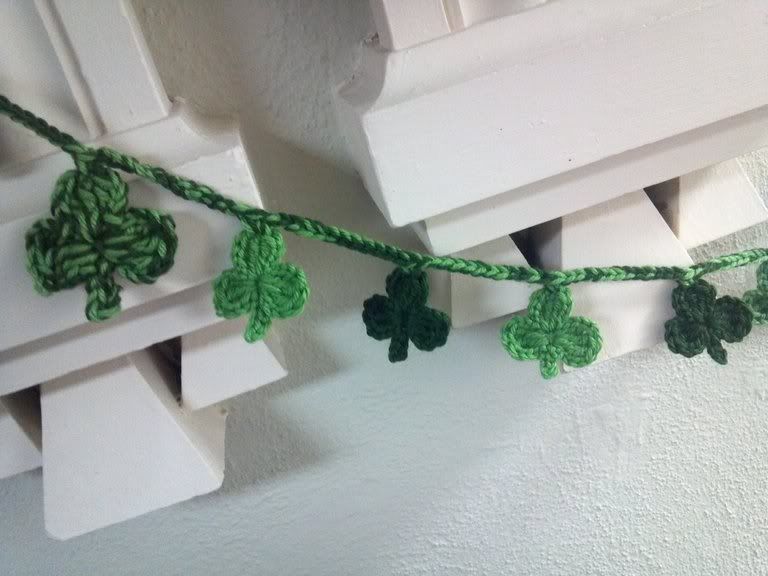
St. Patrick's Day Garland


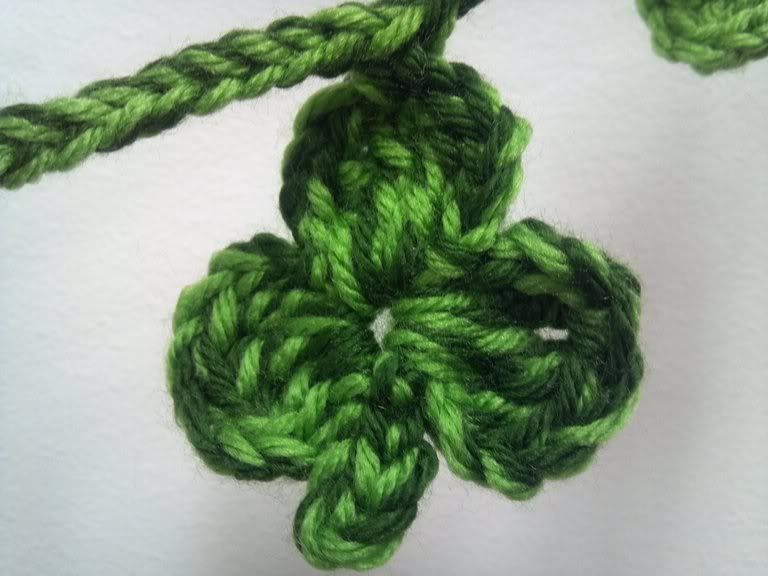
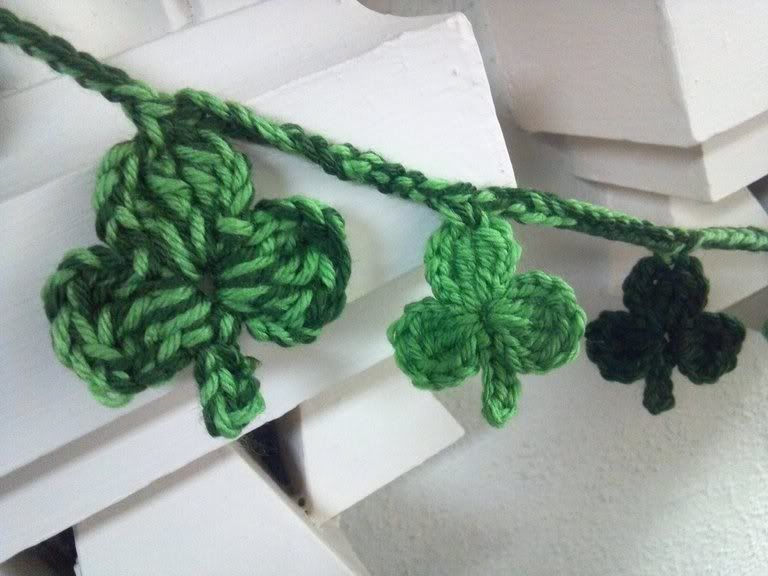
I love Crocheting Garlands. For St. Patrick's Day, I crocheted my Garland from a pattern I found on Crochet-Mania and modified it by Crocheting two Medium Shamrocks using two stands of yarn held together and crocheting the stems right on the Shamrock.

Materials:
  • Size H Crochet Hook
  • Size J Crochet Hook
  • Worsted Weight Yarn in two Shades of Green

Instructions:

Small Shamrock:
  1. Start with the small Crochet Hook and a Magic Ring or Chain 4 and join with a slip stitch to 1st chain to form a loop.
  2. * Chain 3. Make 3 Triple Crochet, Chain 3, slip stitch into Loop **.
  3. Repeat from * to ** 2 more times to make 3 leaves.
  4. For Stem; Chain 5, slip stitch in 2nd chain from hook and into next 3 chains. Slip stitch into center of ring. Fasten off. Weave in ends.
Medium Shamrock:
  1. With Larger Hook, Crochet Medium Shamrock using two strands of yarn (one of each color) held together.

Garland:
  1. With large crochet hook and 2 strands of yarns held together, Chain 8. Slip stitch in first chain to make first hanging loop.
  2. * Chain 12. Make a single crochet on top of the Middle Leaf of the Shamrock. Continue from * across to attach all the Shamrocks. For my Garland, I alternated between light and dark green with the two-tone Shamrocks in between.
  3. For the second hanging loop; Chain 20. Slip stitch into the 8th chain.
  4. Fasten Off. Weave in ends.


Happy St. Patrick's Day...

Linking to:

Visit thecsiproject.com


Monday, February 25, 2013

7 St. Patrick's DAY Subway Art


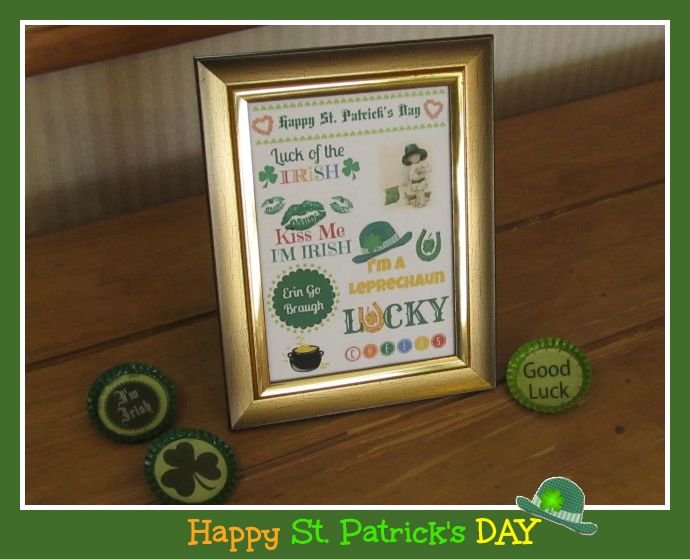
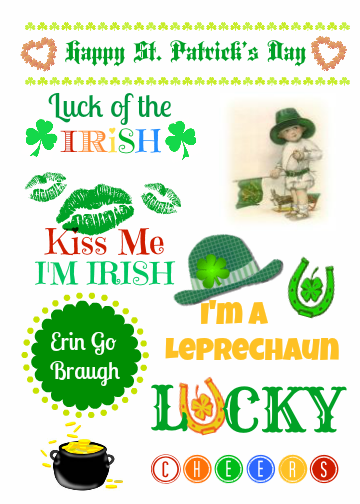
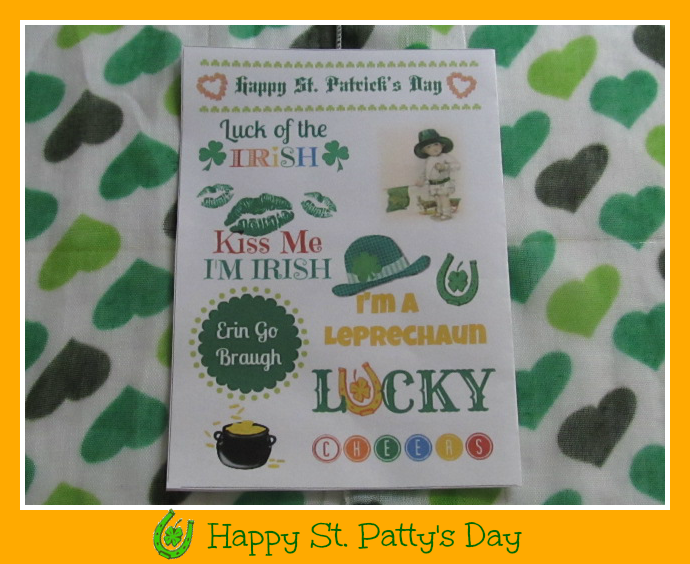
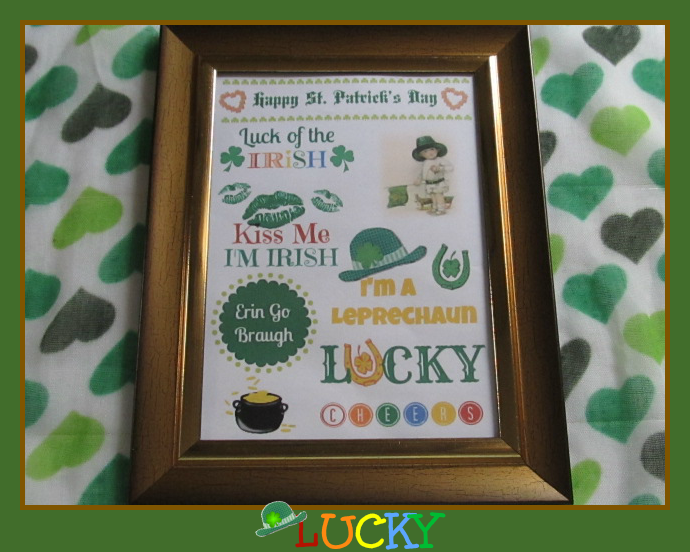
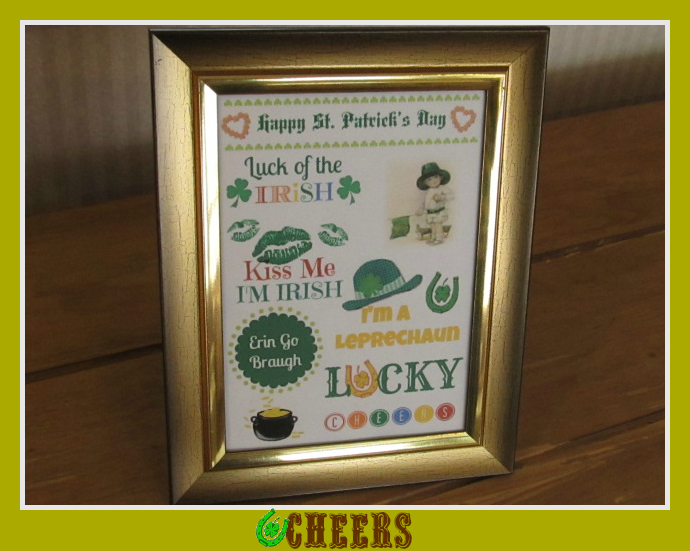
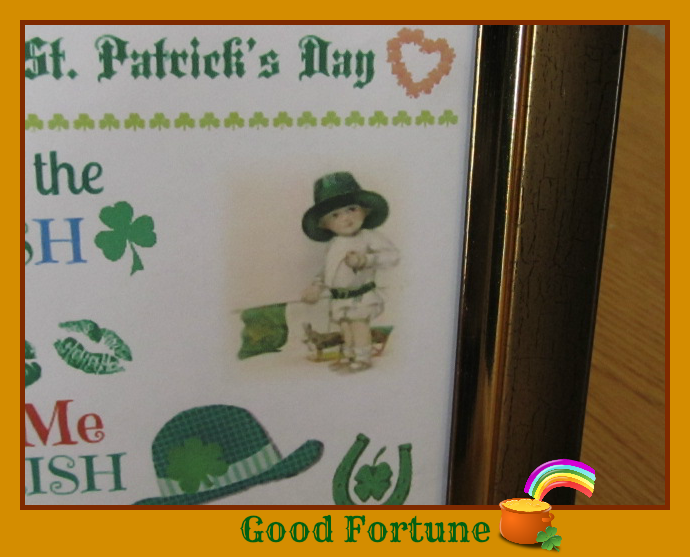
Start celebrating St. Patrick's Day early by adding a Framed Subway Art to your home decor to show your LOVE for the Emerald Isle.

I created a 5 x 7 St. Patrick's Day Subway Art and thought I'd share the free download. My design was created using the awesome Photo Editor, PicMonkey; using a variety of fonts, phrases, graphics and colors.

If you use PicMonkey; you will need to create and upload a blank 5 x 7 white JPG. I created mine using PaintNet, a Free Software for Digital Photo Editing; or your could create it using Microsoft Paint.

Materials:
  • Gold 5 x 7 picture frame, purchased at Dollar Tree
  • Subway Art


Directions:

Create your 5 x 7 Subway Art. Once your design is completed, print it out and trim it to fit your frame. Instead of using plain copy paper; I printed my design on Ivory Stationary Paper. The design colors look much better against the Ivory paper.


If you wish to use my design to make your very own Subway Art Frame, scroll down to download and print the file.


PLEASE NOTE: this file is for Personal use only. Please do not claim or sell it as your own!!!


Your St. Patrick's Day Themed frame is ready for display.


Love the Vintage clip art of a cute Irish Boy holding the flag.


Happy St. Patrick's Day!!!


Linking to:

Today's Creative Blog
debbie-debbiedoos
Coastal Charm

Visit thecsiproject.com


Thursday, February 14, 2013

3 Love Story Canvas


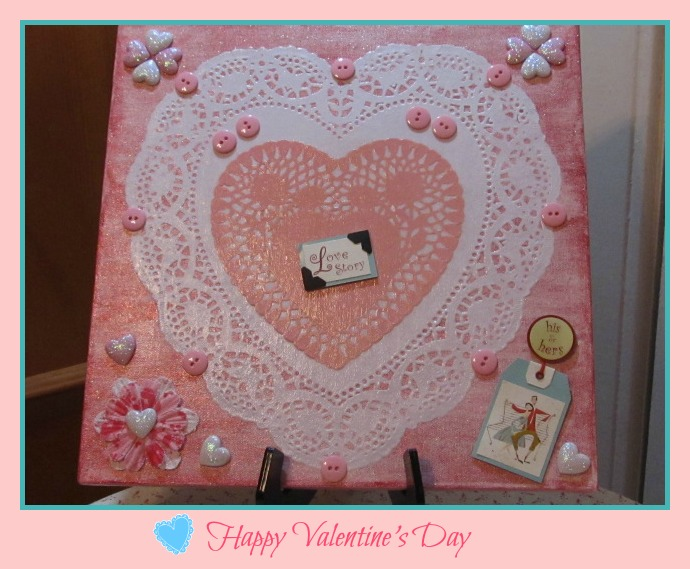
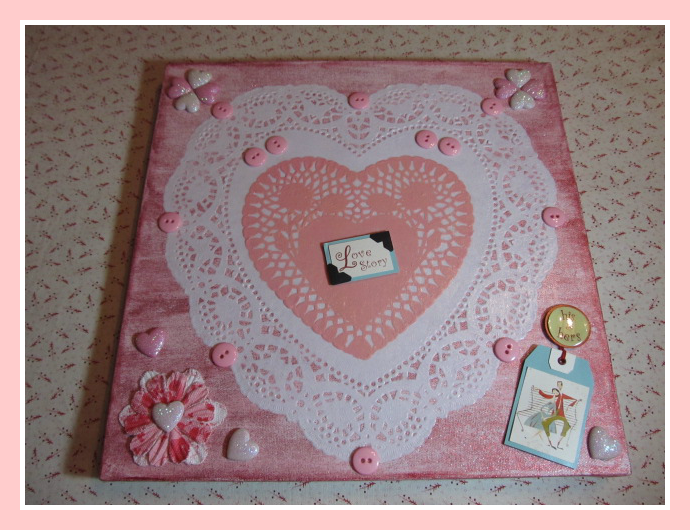
Happy Valentine's Day!!! I wanted to create something fun for Valentine's Day. I found an opened 12" x 12" canvas at my local Thrift shop for $1.99. What a deal!!!
I thought I create a Mixed Media Collage using Paper Doilies and various types of Embellishments.

Let's begin by gathering the following materials.

Materials:
  • 12" x 12" Stretched Canvas
  • 1 - 10" White Paper Doily
  • 1 - 6" Pink Paper Doily
  • Pink and White Adhesive Glitter Shape Hearts
  • Recollections Floral Embellishments, purchased at Michael's
  • Craft Essentials 3-D Embellishments - Love Story, purchased at Jo-Ann's Fabrics
  • 5/8" Pink Buttons
  • Hot Glue Gun
  • Gesso Canvas Primer
  • Folk Extreme Glitter Acrylic Paint - Red
  • Mod Podge - Gloss Finish
  • Foam Brush
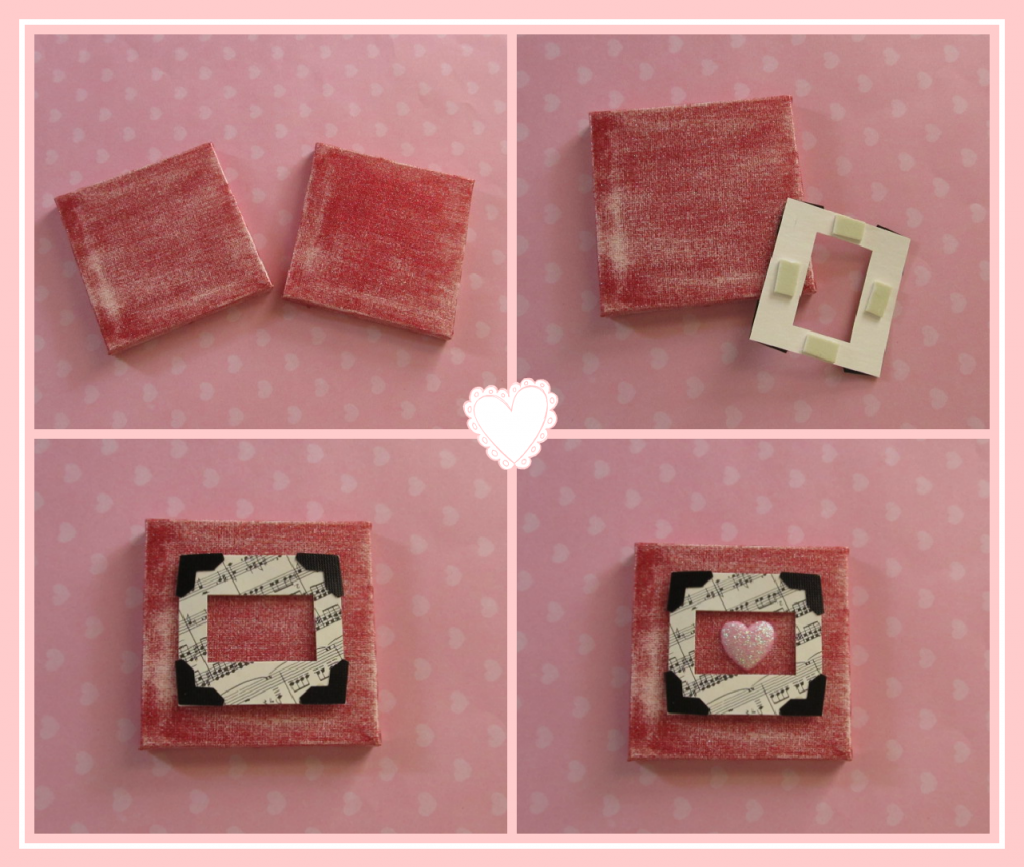
  • 2 3" x 3" canvas - optional

Directions:

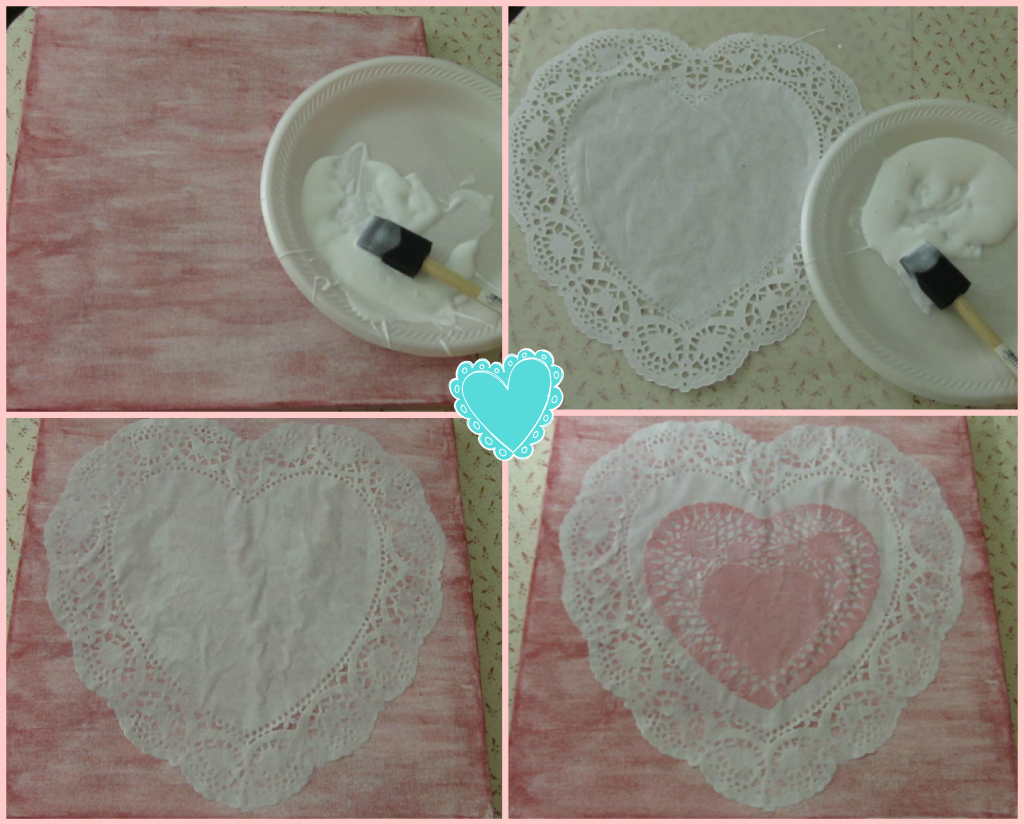
Apply one coat of Gesso Canvas Primer all over the canvas, let dry completely. Apply two coats of the Extreme Glitter paint. Let dry between coats.


Apply a light coat of Mod Podge to the canvas center, where the large doily will be placed. Add your 10" white doily, smoothing wrinkles with your fingers. Let it dry for 15-20 minutes. Apply a second coat of Mod Podge all over the doily. Let it dry for about 1/2 hour.

Add another light coat to the center of your 10" white doily Apply your 6" pink doily; again smoothing wrinkles as before. Let it dry for 15-20 minutes. Apply another coat of Mod Podge; let it dry for about 1/2 hour.

Apply 1-2 final coats of Mod Podge all over the entire canvas. Let dry between coats.

Note: Any wrinkles will eventually disappear as more coats of Mod Podge are applied.


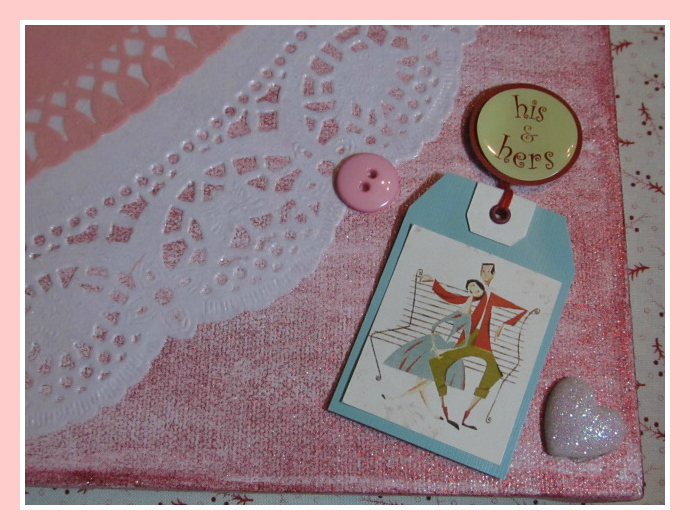
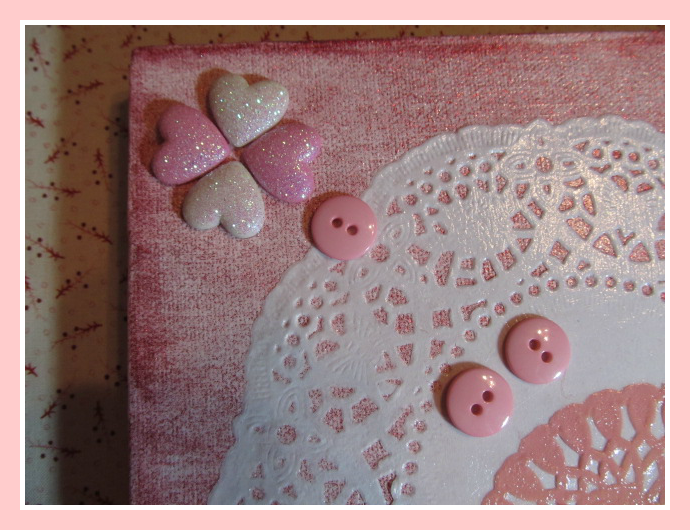
Begin adding your embellishments. Most of the embellishments I choose came with an adhesive backing. However, I added a bit of hot glue the back to obtain a permanent bond. I started by adding the pink buttons to the white doily.

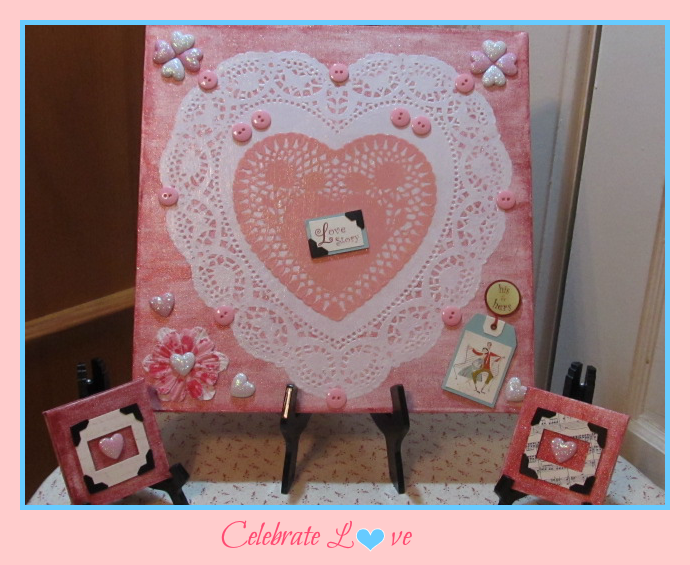
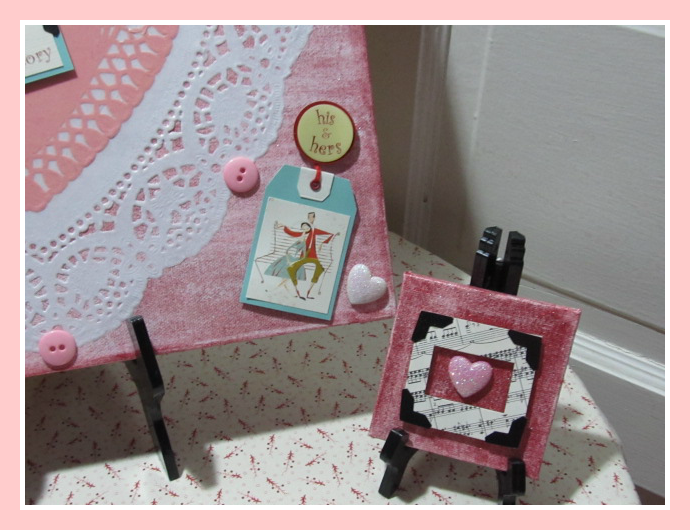
I applied one of the 3-D Love Story embellishments and a pink heart to the canvas right lower corner.


I then added 4 hearts; 2 of each color to the canvas left and right top corners.


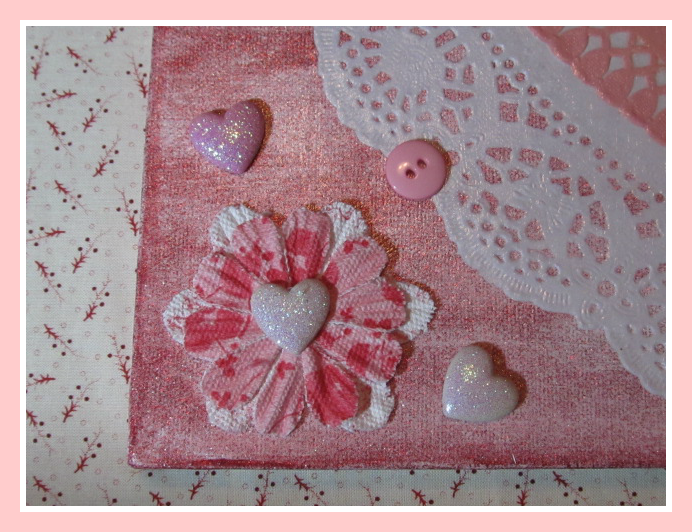
I attached 2 flower embellishments, overlapping each other to the canvas left lower corner; placing a white heart in the middle and two more hearts on the left and right sides of the flower.


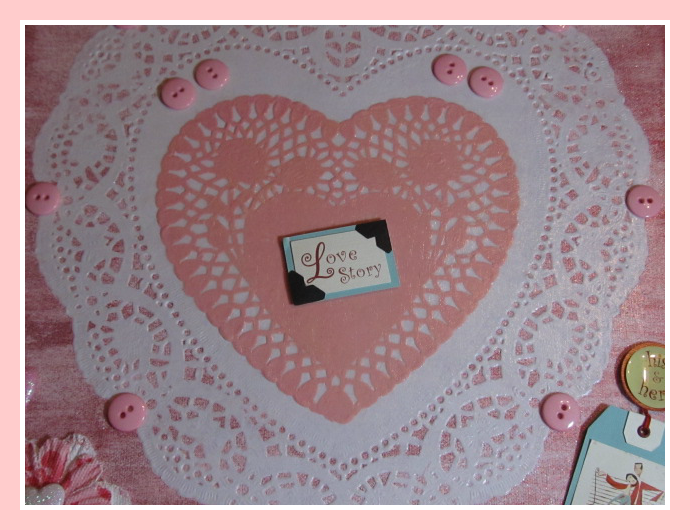
Lastly, I applied one more 3-D Love Story embellishment to the center of the pink doily.


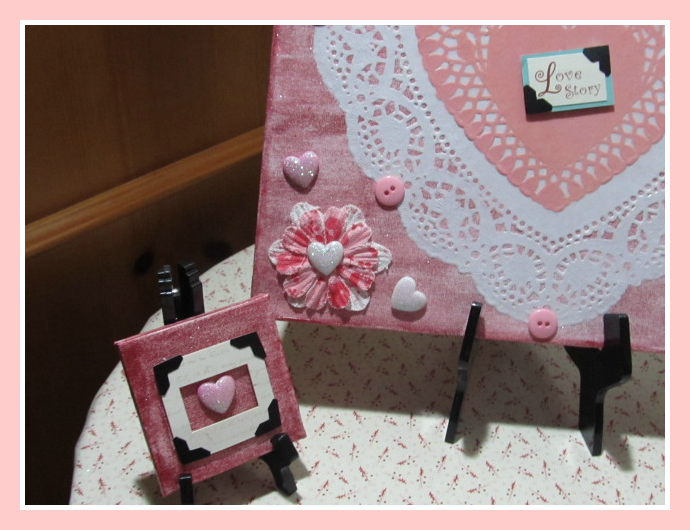
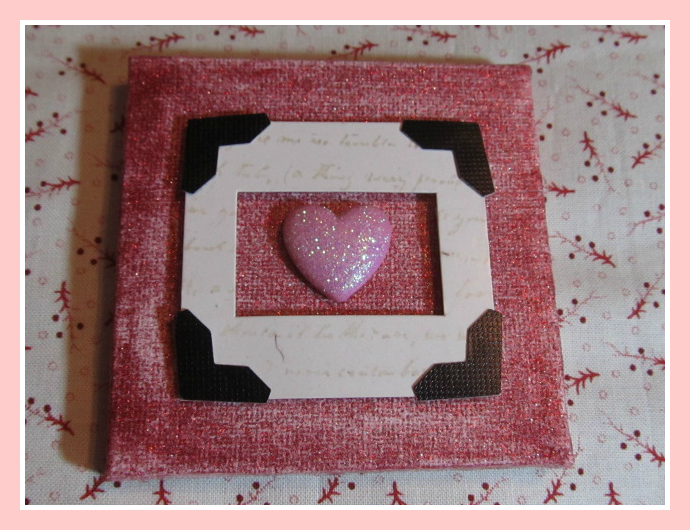
Here is the canvas after all the embellishments were added.


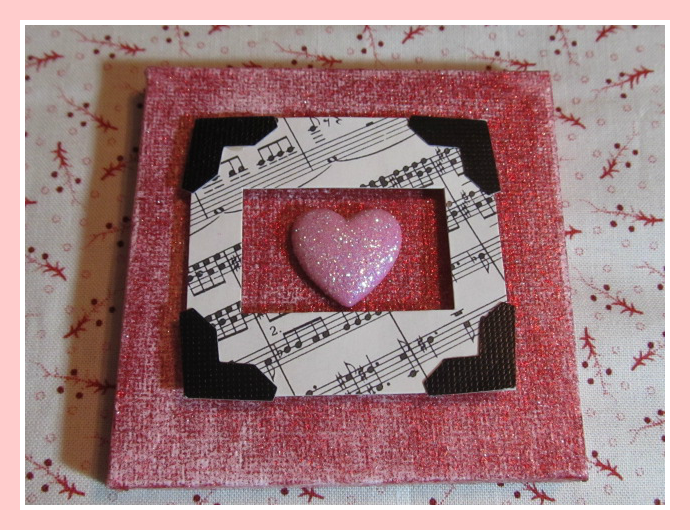
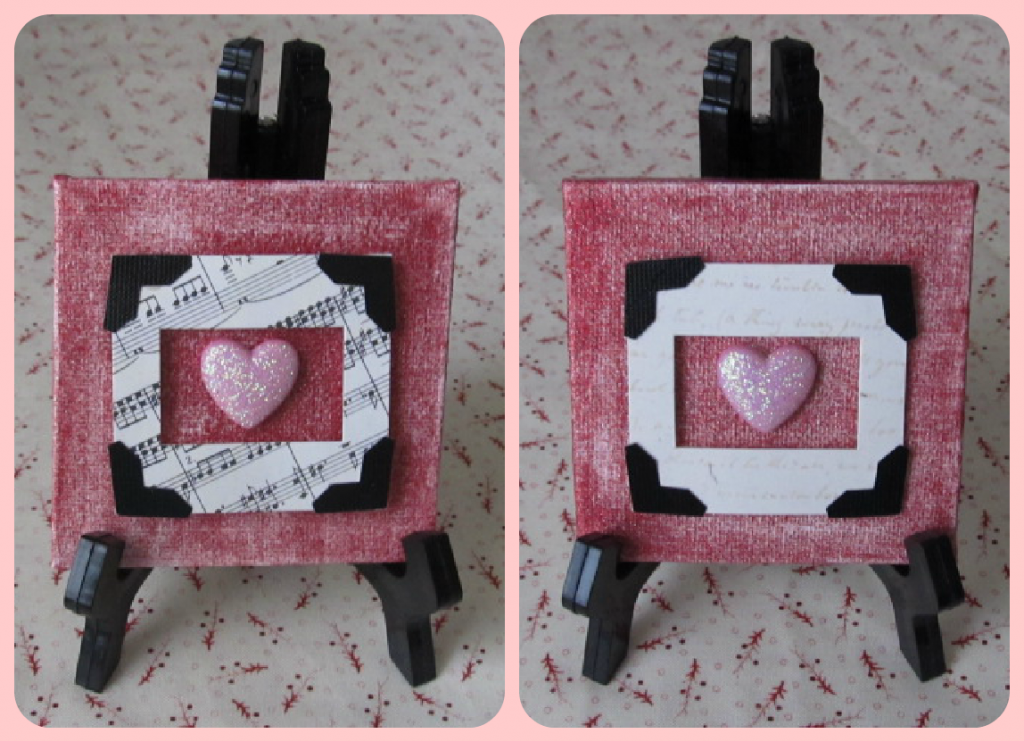
I stumbled upon these cute small canvases while shopping at ACMoore and decided they would complement the large one. I applied two coats of the Extreme Glitter paint and added 3-D and Hearts embellishments.


I enjoyed creating this project as it allowed me to choose and add different components to a plain canvas; resulting in a fun Collage.


Happy Valentine's Day!!!

Linking to:
Today's Creative Blog

debbie-debbiedoos

Visit thecsiproject.com


Pin It button on image hover