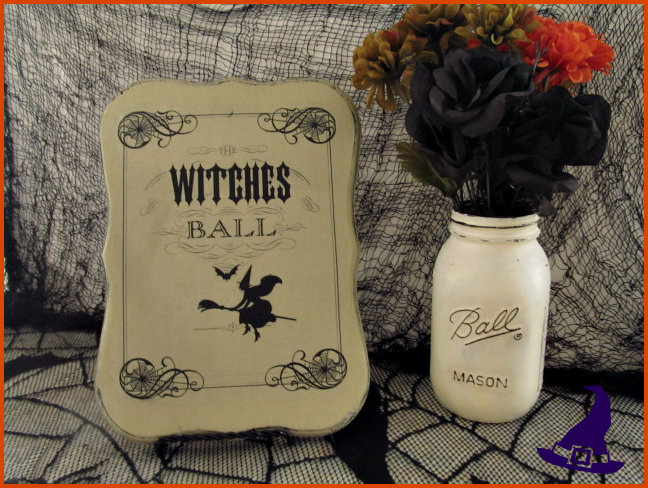
Halloween is upon us…. The chilled night air, the Harvest moon in the night sky and the trees has begun to lose their leaves. I am ready to Spook up my home with some new handmade Halloween decorations.
I stumbled upon the wonderful and popular Graphics Fairy; where I found an array of amazing Halloween images and various Image Transfer Methods.
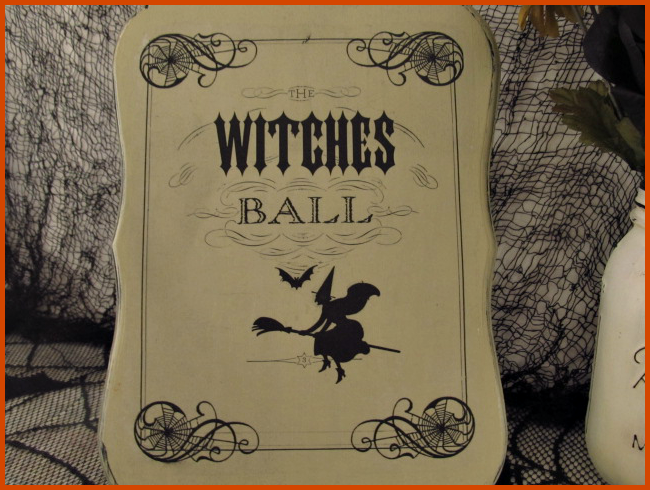
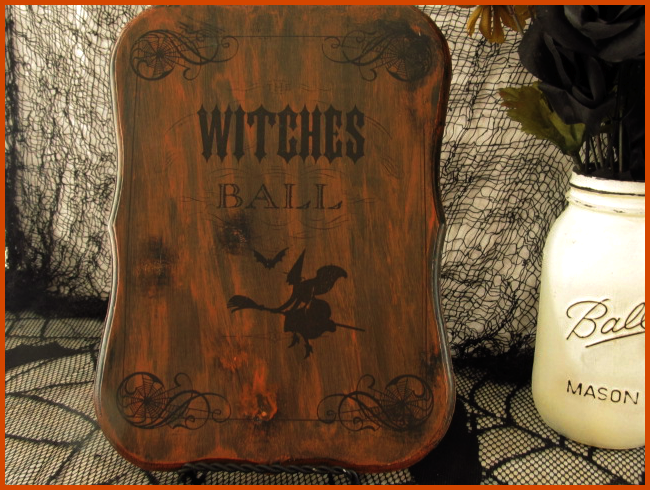
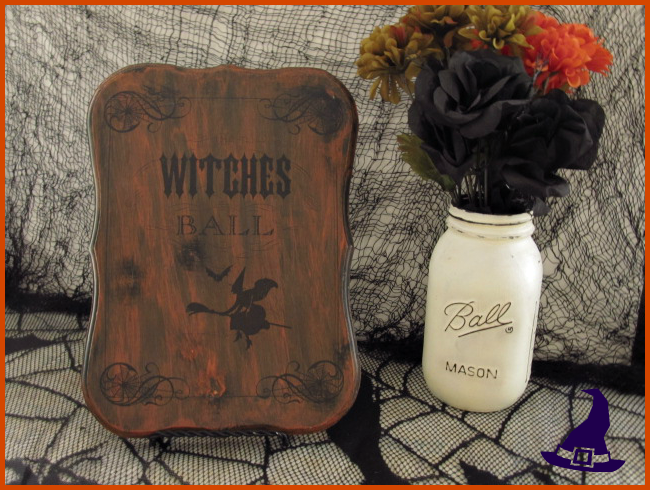
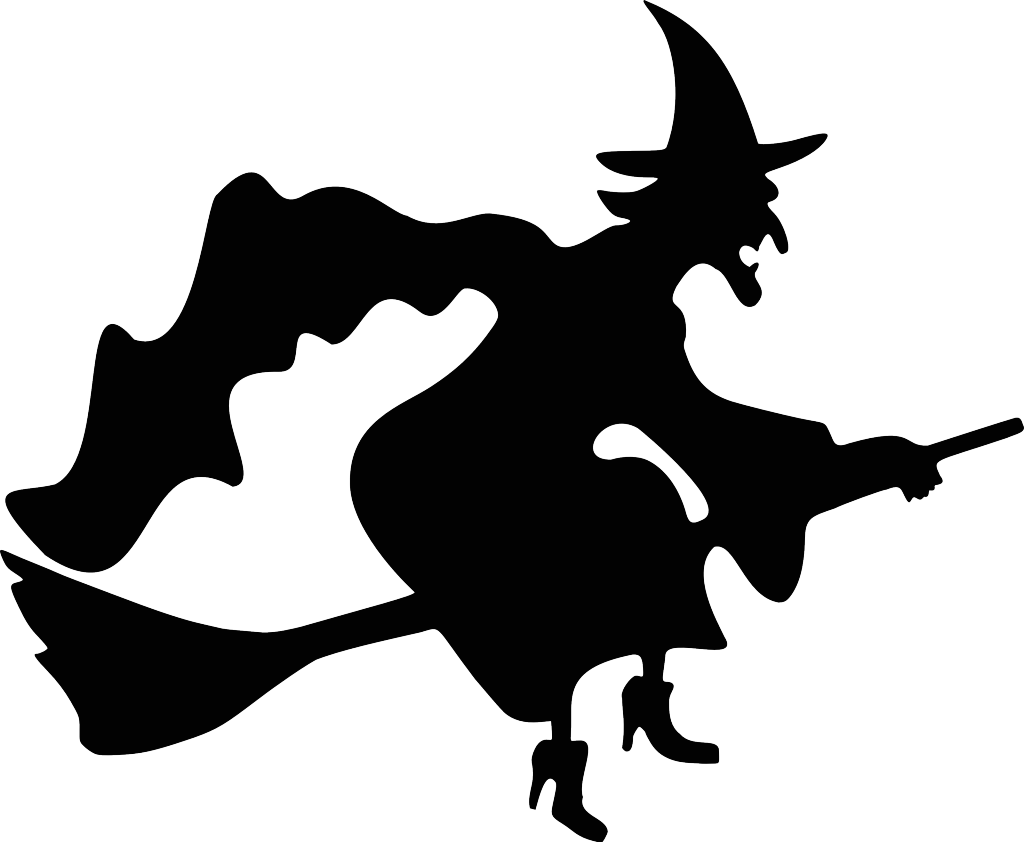
I wanted to try Image Transfer on wood plaques and Halloween was the perfect inspiration. I used the Gel Medium Transfer method and The Witches Ball image from the Graphics Fairy. I decided to use this Vintage Halloween Printable on two plaques.
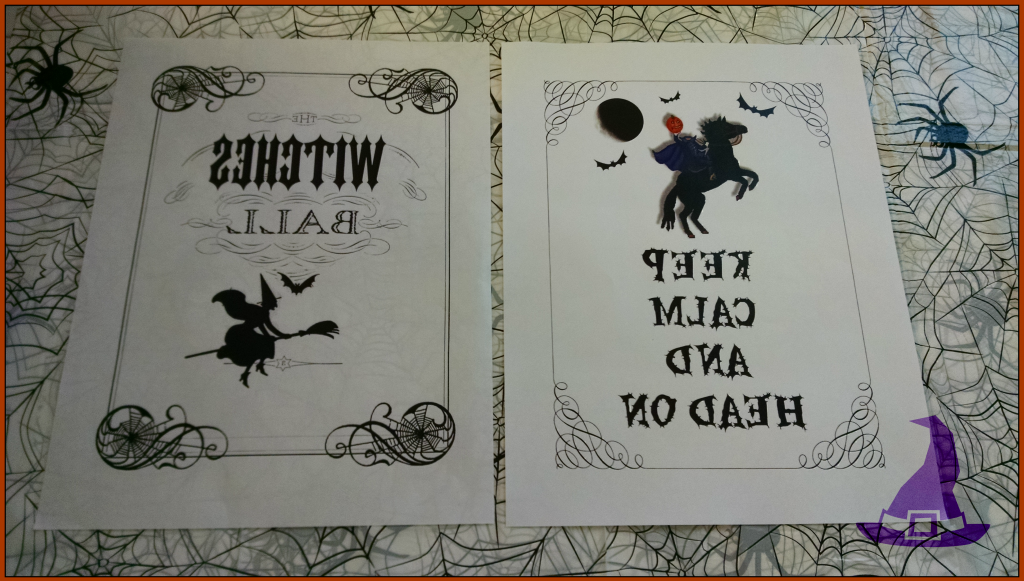
Since the new season of Sleepy Hollow just started; I said to myself why not create an Image I can also use on another Halloween Plaque. I decided to create a “Keep Calm” themed image using the popular online photo editing program Picmonkey using a Sleepy Hollow Headless Horseman graphic I found online.
Materials:
- Wooden Plaques
- Black Chalkboard Spray Paint
- Folk Art Home Décor Chalk Paint – Oatmeal
- Folk Art Multi-Surface Acrylic Paint – Autumn Leaves
- Liquitex Matte Gel Medium
- Paint Brushes – Flat & Sponge
- Brayer
- Folk Art Home Décor Clear Wax
- Small Towel Rag
- Small Artist’s sponge
- Graphics Please Note: Image Transfer Graphics must be printed on a Laser Printer using regular paper. If there is Text on the Image, you need to print the image on Reverse or Mirror Image. You can take your images and have them printed at any Office Supplies Stores or at your local Library.
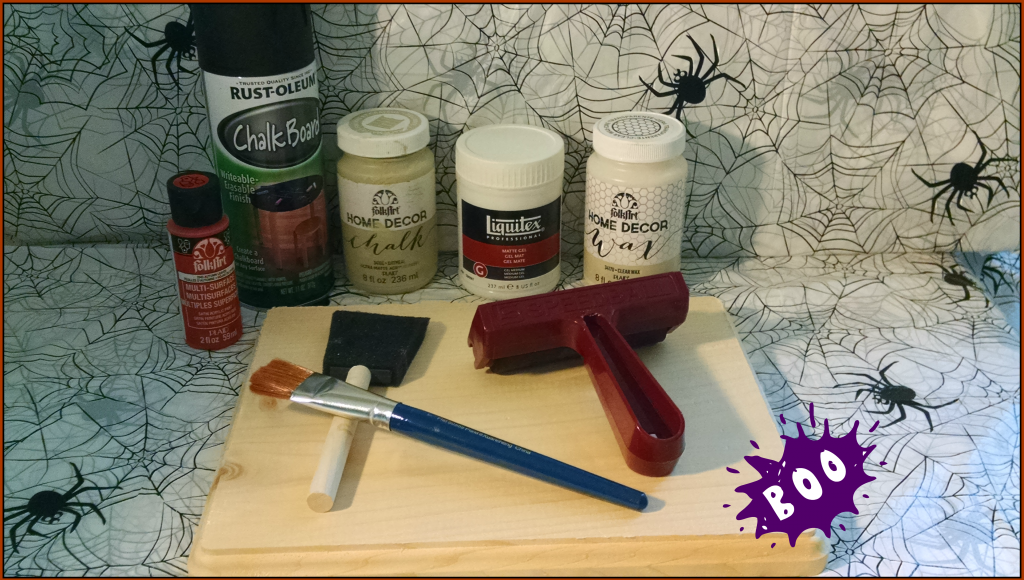
Step 1: Print Image
Find an image you would like to transfer or visit The Graphics Fairy; to find many wonderful images you can download. Adjust your image to desired size and reverse if there is text. Print image out on a laser printer.
Step 2: Paint the Wood Plaque
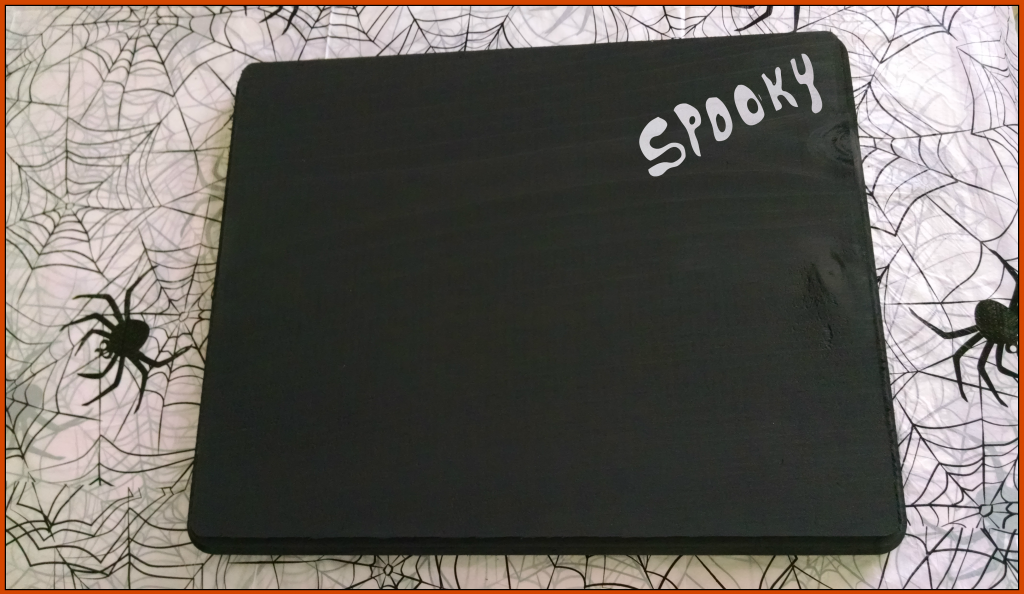
Begin by painting your plaque with the Black Chalkboard spray paint. I gave it two coats, letting it dry between coats. Next, I gave the plaque one coat of the Oatmeal Chalk paint using the foam brush. Let dry completely before continue with Step 3.
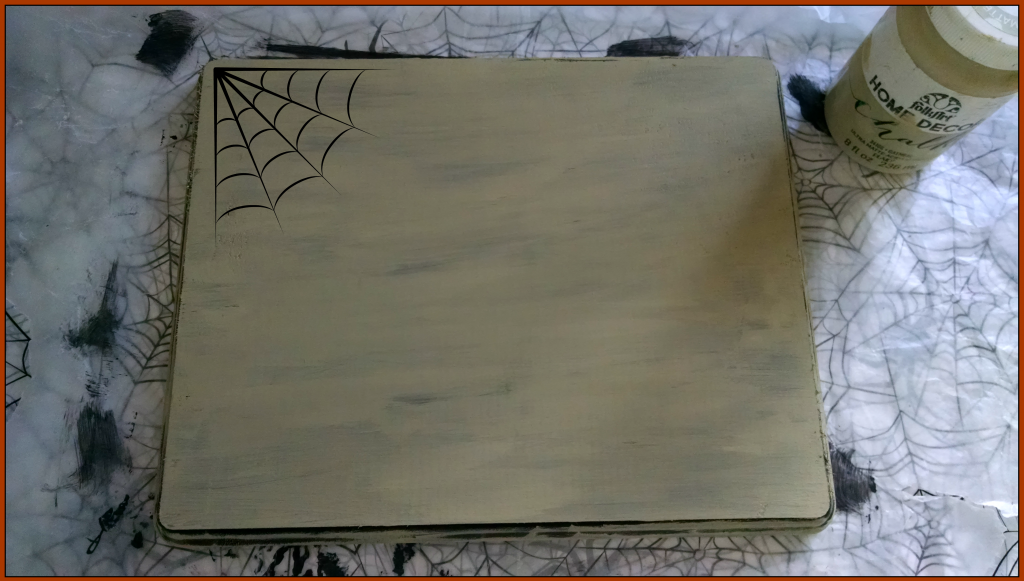
Step 3: Transfer the Image
Apply Liquitex Gel Medium to the printed side of your image. Apply medium to the wood surface. Carefully place your image face down on top of the wooden plaque. Smooth out any bubbles using the Brayer and wipe off any extra gel medium that may seeps out of the image's edges. Let your image transfer dry for at least 8 hours or overnight.


Step 4: Reveal the Image
This step is a bit messy. Therefore, protect your working area with a piece of wax paper. Take your towel rag, wet it and squeeze out the excess water. Lay it on top of your image transfer pressing down lightly and let it sit for at least 10 minutes or until you are able to see the image. Make sure the paper is completely soaked but not dripping wet.
At this point the image should begin to show a bit more. Use your sponge to rub off the white paper fibers to reveal the image. Take your time as you rub the paper. You might want to let your image dry a couple of minutes, then get the sponge wet a bit and continue rubbing off the paper fibers until you are satisfied with the transfer. Let your image transfer dry completely.

Step 5: Finishing
Using the flat brush, apply a thin coat of the Folk Art Wax to protect the finish and the graphic. If you wish to distress your plaque, sand it lightly around the edges or any other area.
Here is the finished plaque, ready to display.
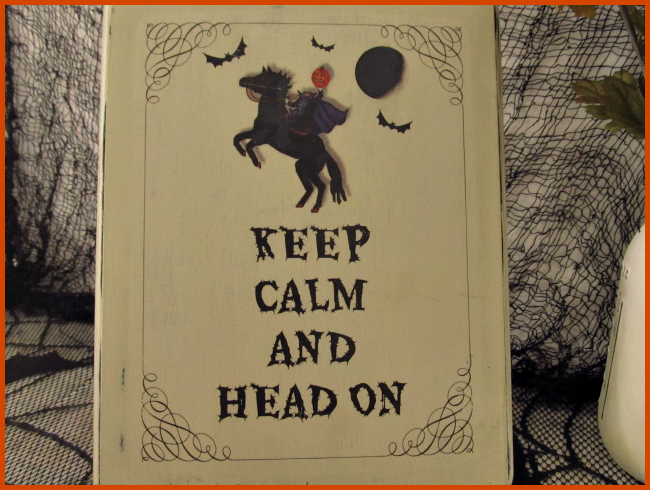
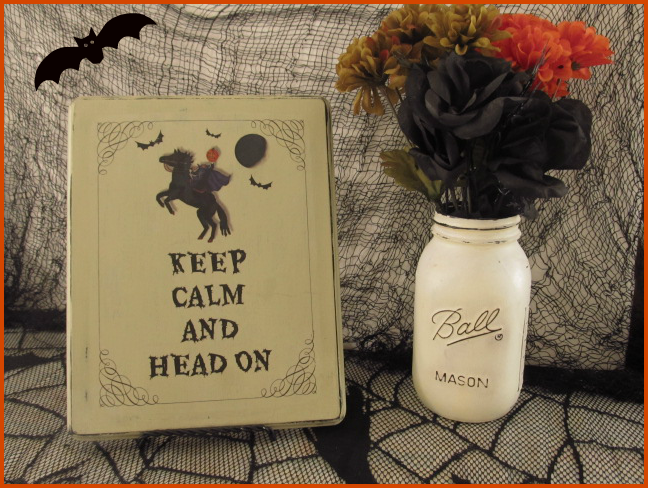
For the Witches Ball plaques I follow the same steps as for the Sleepy Hollow's plaque; except I painted one with the Oatmeal Chalk paint and the other one with the Folk Art acrylic paint. Then follow the rest of the steps to transfer and finish your Halloween plaques.


These are the finished Witches Ball plaques.
I hope you found this tutorial helpful and inspired you to create your very own handmade Halloween plaques using the Gel Medium Image Transfer method and Laser printed images. Have a wonderful Halloween....
 |  |
 |  |
 |  |
 |  |
 |  |
 |  |
 |  |
 |  |
 |  |
 |






This looks great. I see you were able to remove all the paper--I have used Mod Podge in the past, but I have trouble getting all the paper off and can't do it on anything but white paint. I guess the gel medium works a lot better.
ReplyDeleteA very different DIY! I love it!! Stopping by from Coastal Charm.
ReplyDeleteGreat project and clear tutorial!
ReplyDeletethanks for sharing!
Team Craftwell