Sunday, August 26, 2012

9
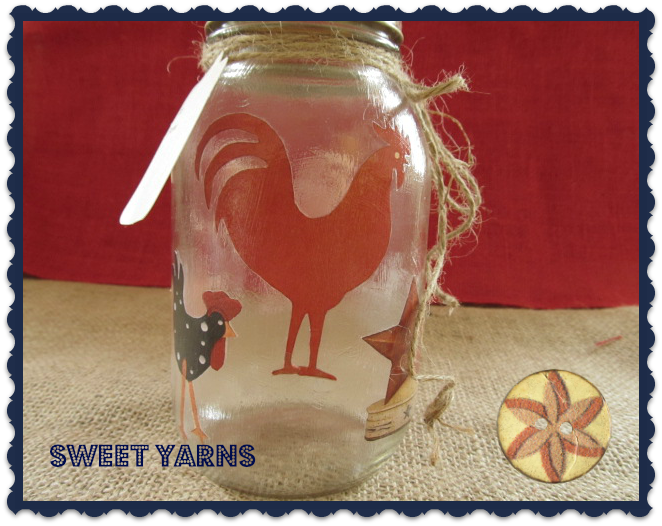
Country Red Rooster


For this fun swap, a Mason Jar must be decorated and filled with five of my favorite craft supplies and/or leftovers.

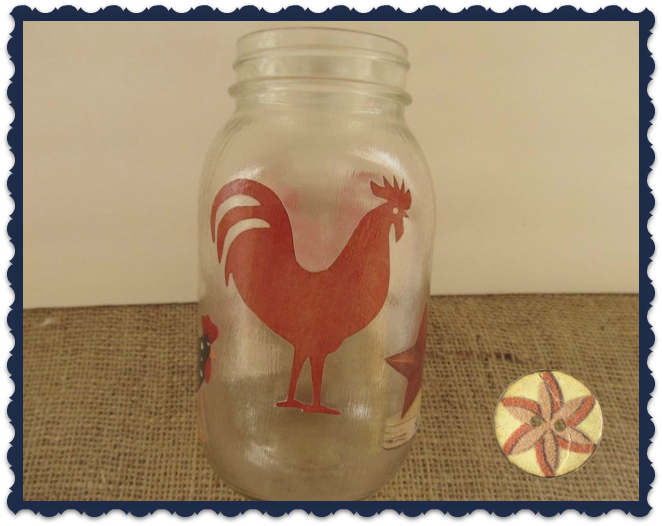
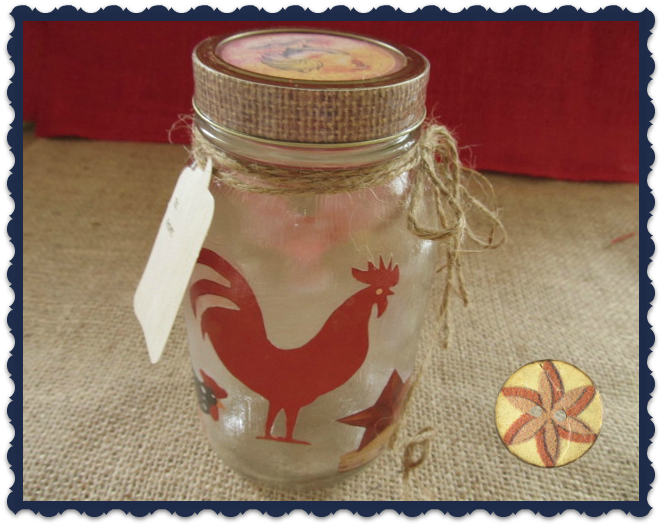
My swap partner is Kim Sminkey from Tiaras & Bowties. I decided on a Country Theme to decorate my Mason Jar. The jar could add a country farm feel to Kim's kitchen.


The Hosts are:

Jen @ Should be Cleaning
Dyanna @ Just Simply Live


Materials:
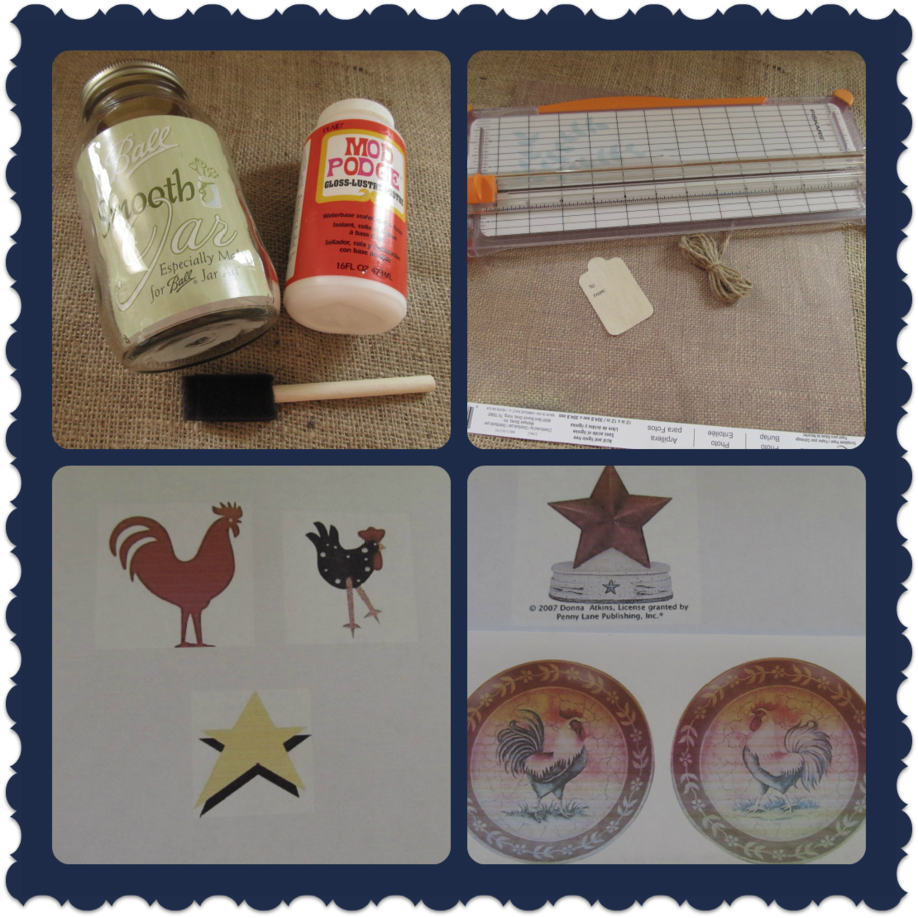
  • Glass Mason Jar. I purchased a "Ball" Smooth Jar at ACMoore.
  • Mod Podge
  • Foam Brush
  • Scrapbooking Paper
  • Paper Trimmer or Scissors
  • Twine
  • Tag
  • Country Clip Art (Roosters, Stars, etc.)
Directions:
  1. Remove the jar's lid, set aside.
  2. Print and trim your images.
  3. Apply a thin layer of Modge Podge to one side of the Mason Jar.
  4. Carefully, apply your images. Smooth any wrinkles with your fingers.
  5. Repeat on other side. Let dry 10-20 minutes.
  6. Apply 1-2 more coats of Mod Podge all over the jar to seal the design surface. Let dry completely.
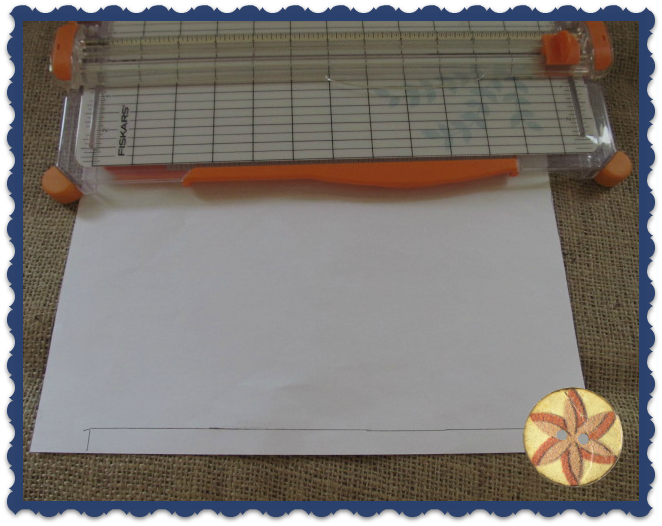
  7. Measure around the jar's band; about 11" long x 1/2" wide.
  8. Using these measurements, cut the band strip from the scrapbooking paper.
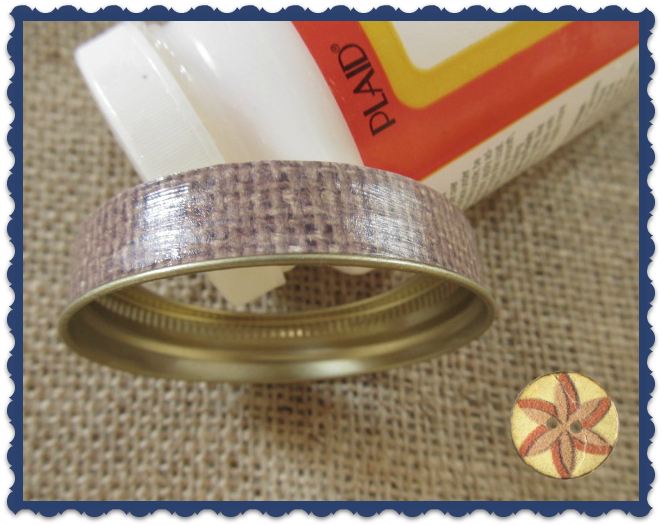
  9. Glue scrapbooking strip around the jar's band.
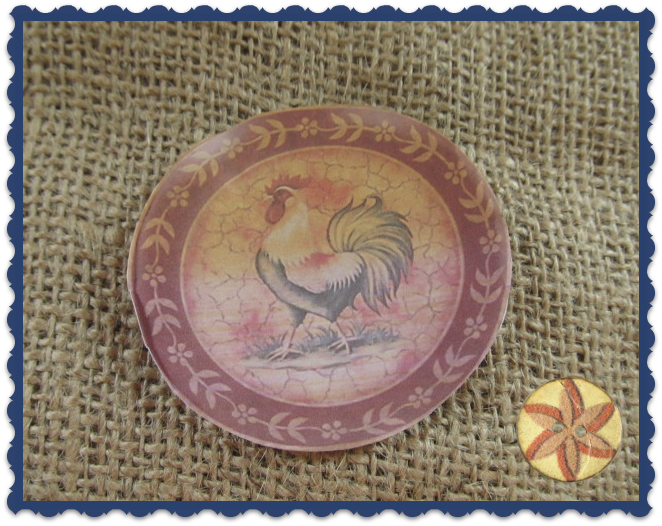
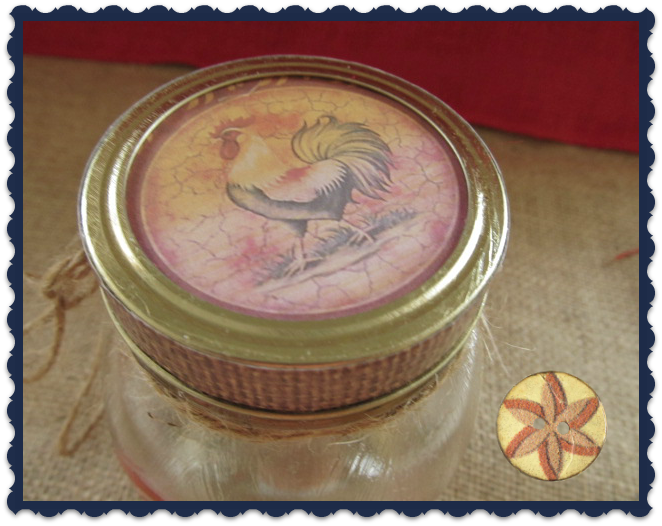
  10. Place the jar lid on back side of scrapbooking paper or choosen clip art and trace around lid. Cut out paper circle on traced line.
  11. Place jar lid on jar. Twist on jar band.
  12. Attach the gift tag to the jar using a piece of Twine.
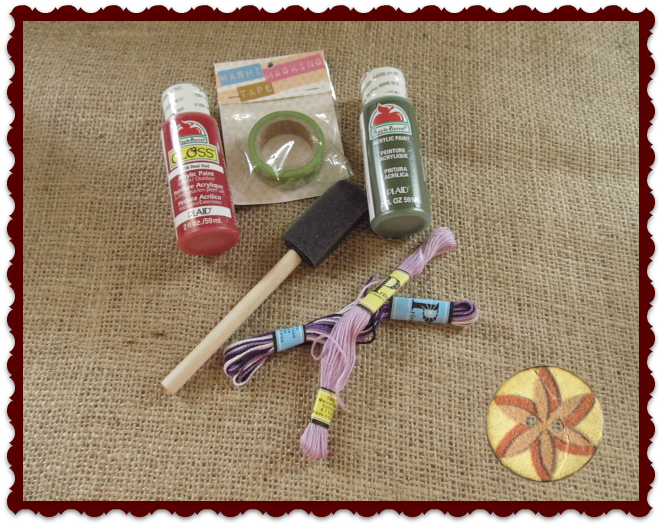
  13. My crafing items included Acrylic Paints, Foam Brush, Washi-Tape, Embroidery Floss.
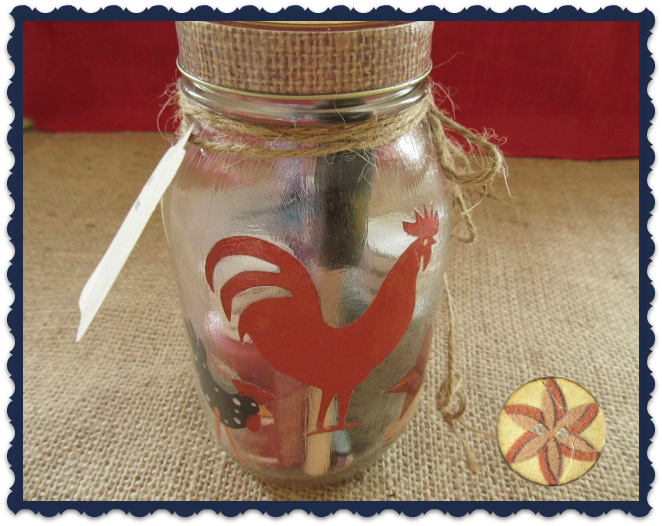
  14. The Mason Jar is now filled with all the crafting goodies.
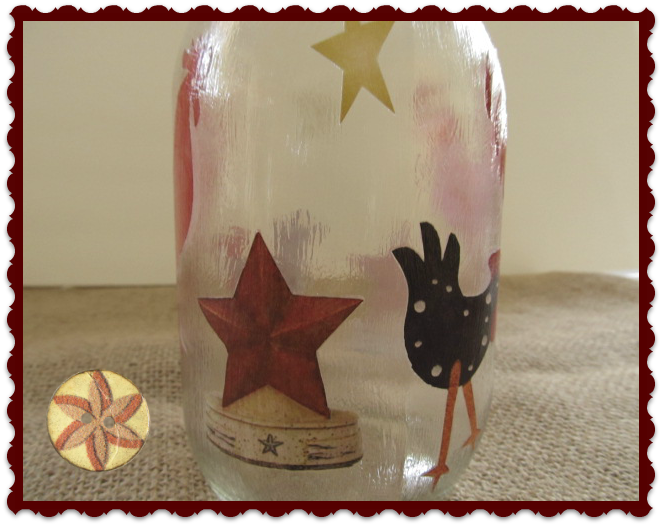
I love this Blue rooster.
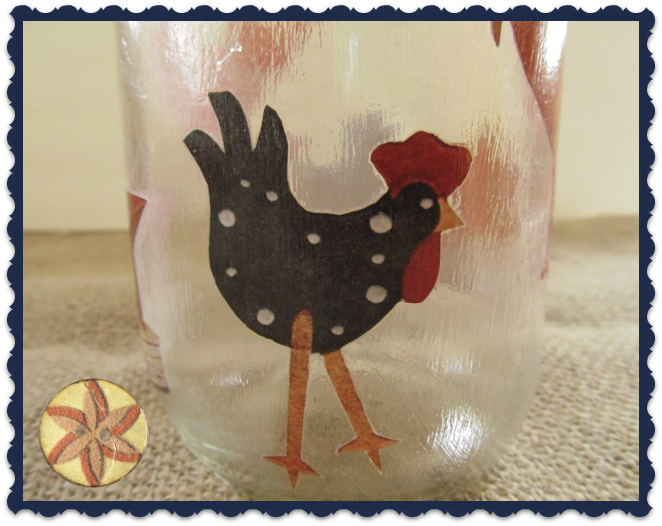
I hope Kim likes my country theme Mason Jar. I enjoyed this swap and looking forward to others in the near future.
Live Well, Love Much, Laugh Often


Linking to:

Today's Creative Blog
debbie-debbiedoos


Wednesday, August 1, 2012

10
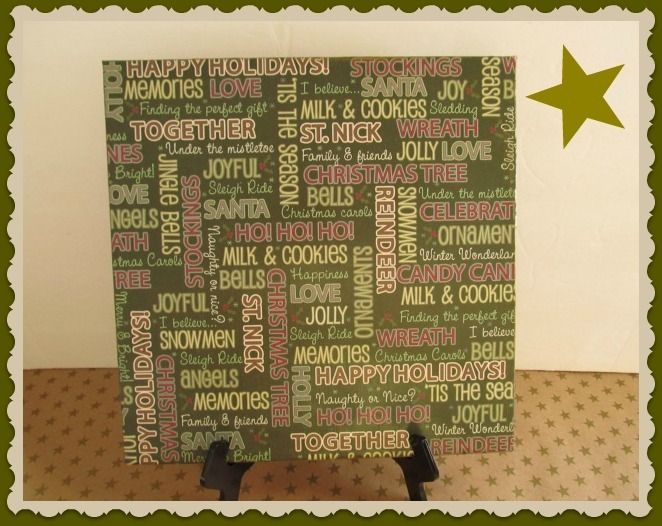
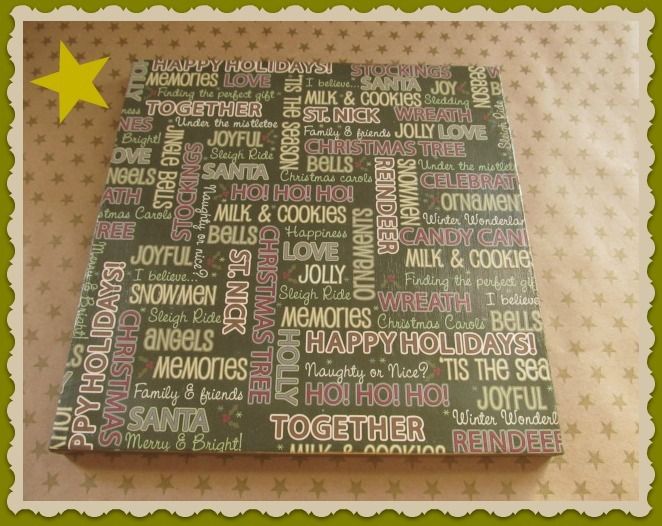
Christmas Subway Canvas Art


I recently joined The Creative Exchange - Handmade Gift Swap; where a swap partner is assigned and
hand-made gifts are exchanged.


My swap partner is Brooke Arceneaux from Covered in Grace. Brooke and I exchanged our Blog and other Social Media information. To find what Brooke would like to receive, I visited her Pinterest boards.

I found my project's inspiration from Brooke's "Quotey Thingies" board. This board is filled with inspirational quotes and Subway Art. After browsing this board, I decided to create a Christmas Subway Art Canvas, to carry on the Christmas in July theme.

The Hosts are:

The Grant Life
Covered in Mod Podge
Covered in Grace


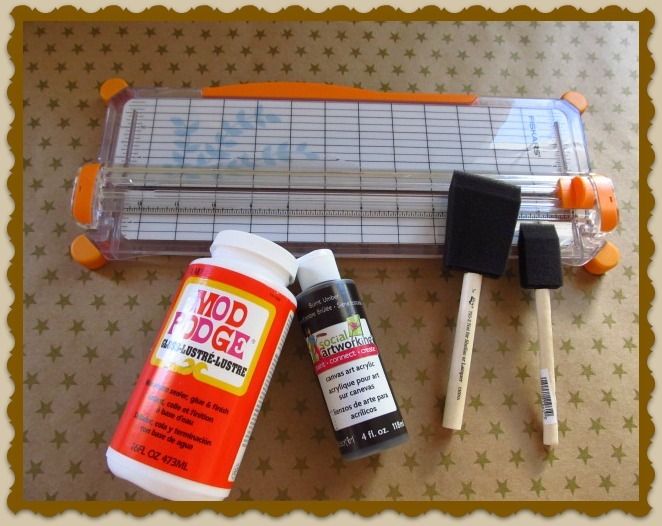
Materials:
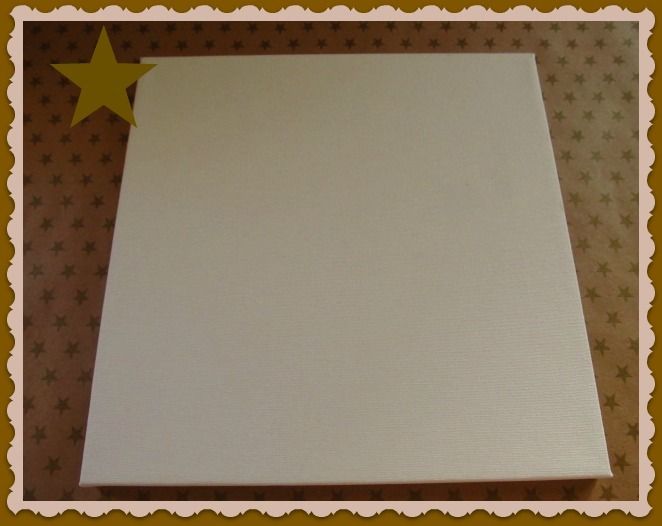
  • 12" x 12" canvas
  • Acrylic Paint. I used Social Art Working in Burnt Umber; a specially formulated acrylic paint for Canvas Art, purchased at Joann's Fabrics
  • 2 Foam Brushes
  • Mod Podge
  • 12" x 12" Scrapbook Paper
  • Paper trimmers or scissors

Directions:
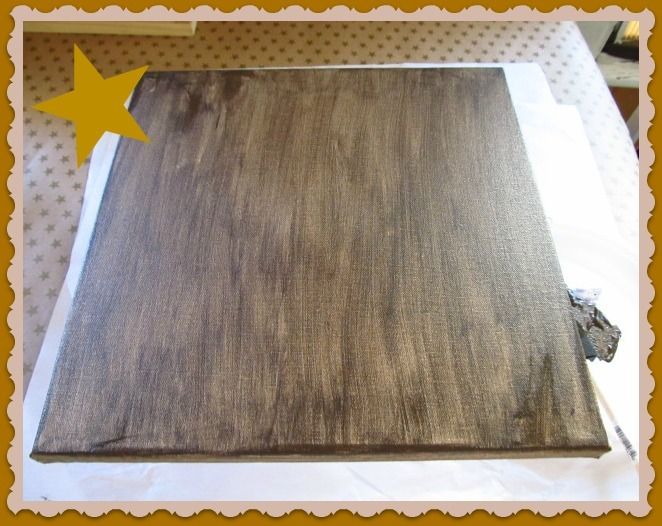
  1. Paint the Canvas including the sides and all around the edges. Let dry 20-30 minutes.
  2. Trim the scrapbook paper a bit smaller than the canvas; about 1/8" on all sides.
  3. Apply a thin coat of Mod Podge to the back side of the scrapbook paper and onto the canvas.
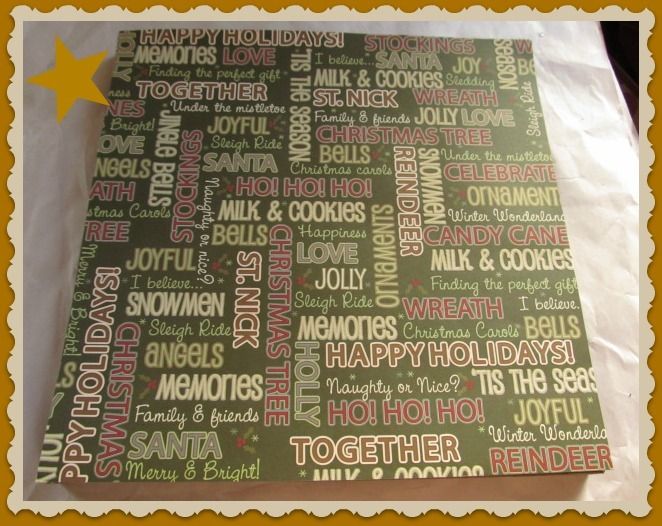
  4. Apply scrapbook paper to the canvas. Smooth any bubbles with the brush or a credit card.
  5. Apply a thin layer of Mod Podge over the top and edges of the canvas. Let it dry 5-10 minutes.
  6. On a flat surface, place canvas facing down on a piece of wax paper and smooth any bubbles from the back side.
  7. Wait at least 25 minutes to dry before displaying your masterpiece.
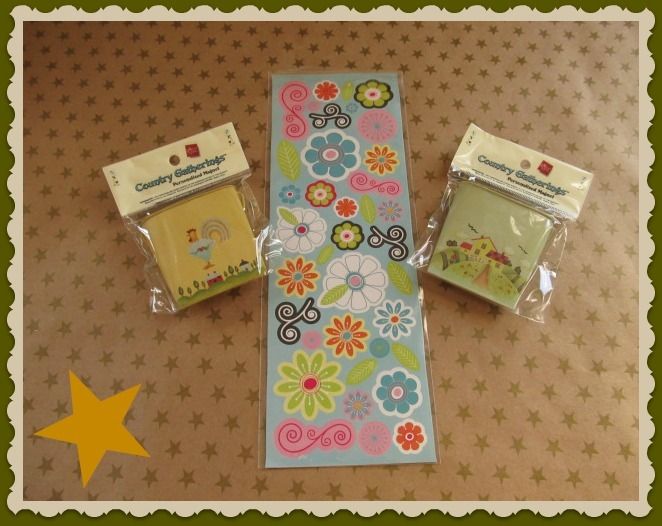
My canvas is ready for mailing. I thought I send Brooke a sheet of Stickers and 2 magnets she can personalized to her liking.

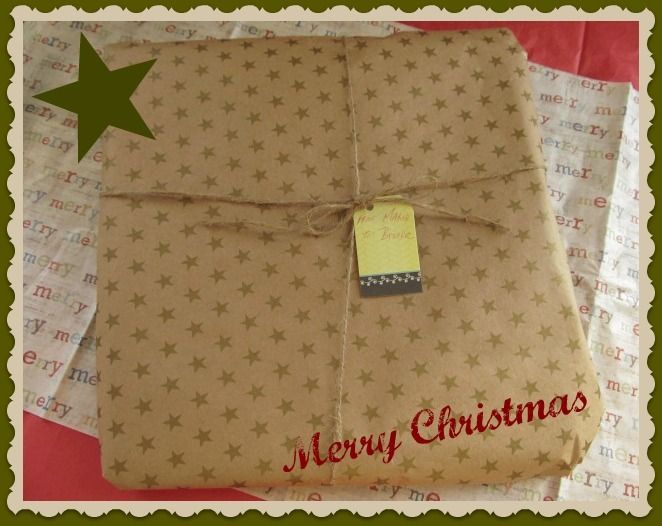
And here is my wrapped handmade gift. I can't wait to find out how Brooke liked her gift. I enjoyed participating in this Swap and looking forward to others in the future.

Merry Christmas in July!!!

Linking to:

Today's Creative Blog

Visit thecsiproject.com


Friday, July 27, 2012

3
Perspectives - A Photo Challenge

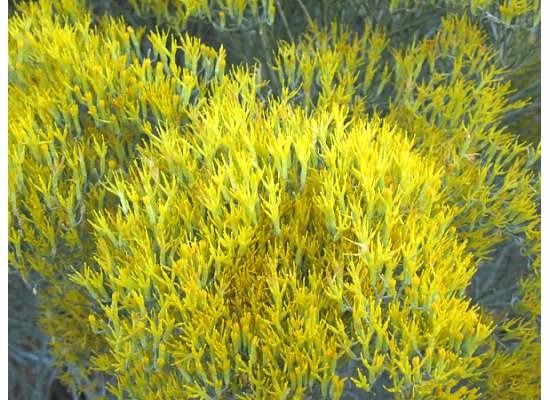
It's Round 2 of "Perspectives - A Photo Challenge" series. This week's photo challenge is "YELLOW".

These are my "YELLOW" color scheme photos:


Wild Flowers, Alburquerque, New Mexico

Balloon Fiesta, Alburquerque, New Mexico


The Hosts are:

Lena b Photography,
Agape Love Designs
When Shutters Click

I love this week's theme. Yellow is such a "Happy" color, which always uplifts my spirits. Let the Sunshine In!!!!


Saturday, July 21, 2012

8
Perspectives Photo Challenge

I stumbled upon Lena b Photography's Perspectives Photo Challenge. This is the first Photo Challenge of the series. The first linky party goes life Friday, July 20th.

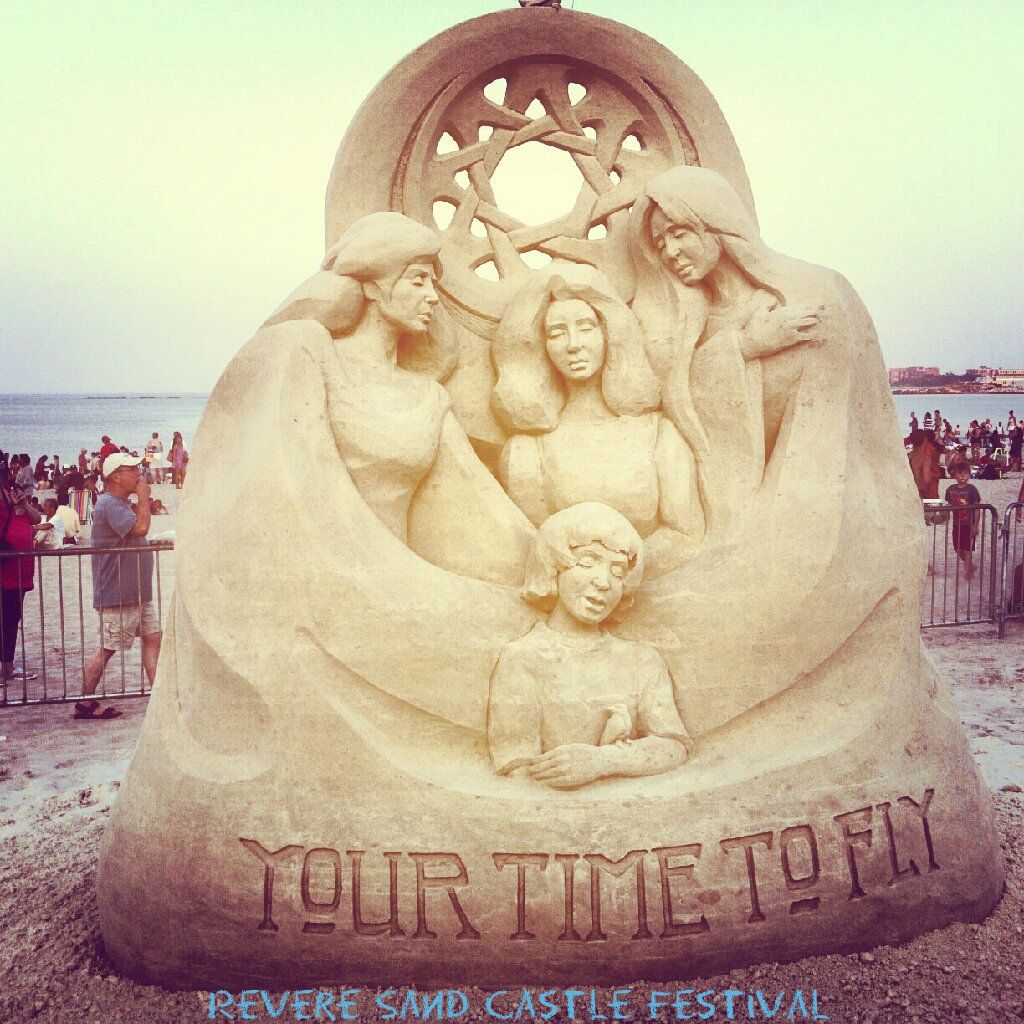
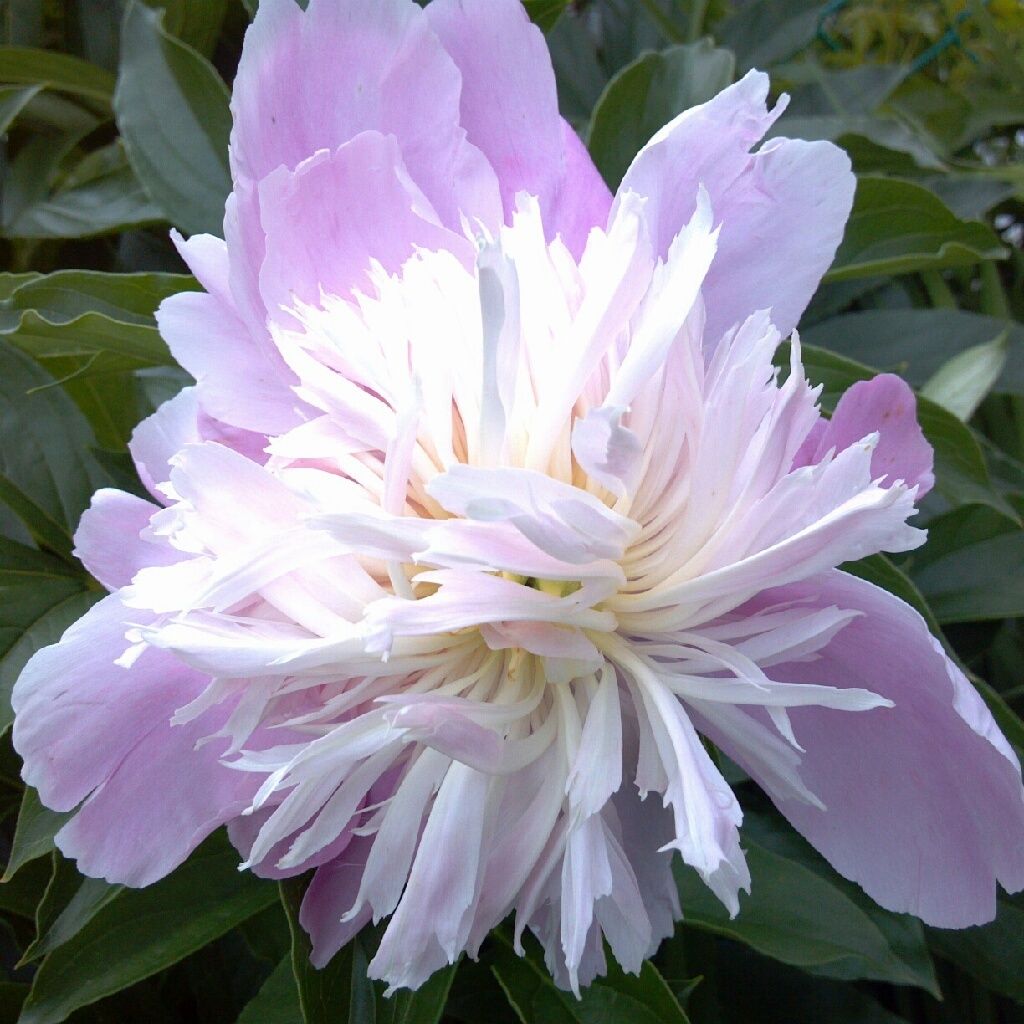
Each week a "theme" will be choosen and 3 different photos representing that theme will be linked. This week's theme is "SUMMER". This is my first photo challenge and looking forward to linking my Summer Pictures.

Here are my interpretations of SUMMER:

Sand Castle Festival, Revere, Massachusetts

Bridge of Flowers, Shelburne Falls, Massachusetts

Balloon Fiesta, Alburquerque, New Mexico


The Hosts are:

Lena b Photography,
Agape Love Designs
When Shutters Click

I am looking forward to future Perspectives Photo Challenges.
Have a wonderful Summer!!!

Wednesday, July 18, 2012

34
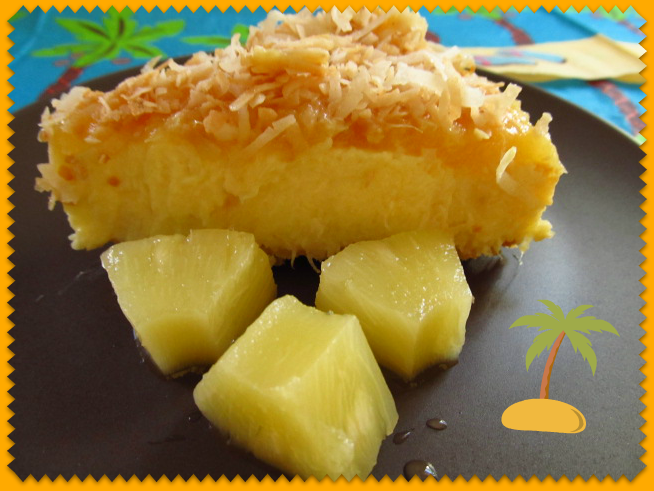
Coconut Pineapple Cheesecake
Printable Recipe


I am super excited to participate in this Month's Get Your Chef On Blog Series. This month's secret ingredient is one of my favorite fruits; COCONUT.

For this Round 2 of the series a recipe must feature the main ingredient; Coconut for a chance to win ad space on each co-host's blog for two months. The Linky Party will go live on July 17th and Winner Announcement on July 24th.

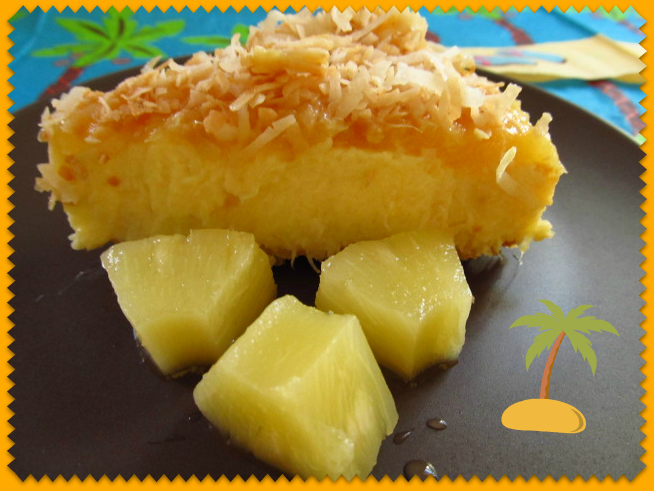
I decided on a Desert Recipe with Coconut and Pineapple joining forces for a delicious creamy tropical cheesecake with a Coconut crust plus a Peach & Pineapple topping.

White Lights on Wednesdays

The Hosts are:

White Lights on Wednesday, Four Marrs & One Venus
</>
White Lights on Wednesdays


Ingredients:

    Coconut Crust:
  • 1 cup sweetened flaked coconut
  • 1/4 cup ground almonds
  • 2 Tbsp. sugar
  • 1/8 tsp. salt
  • 3 Tbsp. unsalted butter, melted
    Filling:
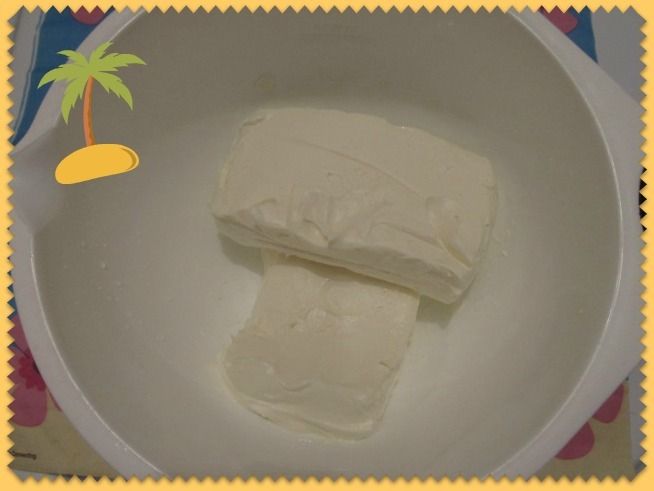
  • 2 (8oz.) packages cream cheese, softened
  • 3/4 cup crushed pineapple, drained
  • 1 1/4 cup sugar
  • 1/4 tsp. salt
  • 2 eggs
  • 1 tsp. lemon juice
  • 2 Tbsp. cornstarch
  • 1 tsp. vanilla
    Topping:
  • 1 cup crushed pineapple, drained
  • 1/4 cup peach preserves
  • 1/2 cup water
  • 1 Tbsp. lemon juice
  • 1 Tbsp. corn starch
  • 1 cup sweetened flaked coconut

Directions:
    Crust:
  1. Preheat oven to 325°F.
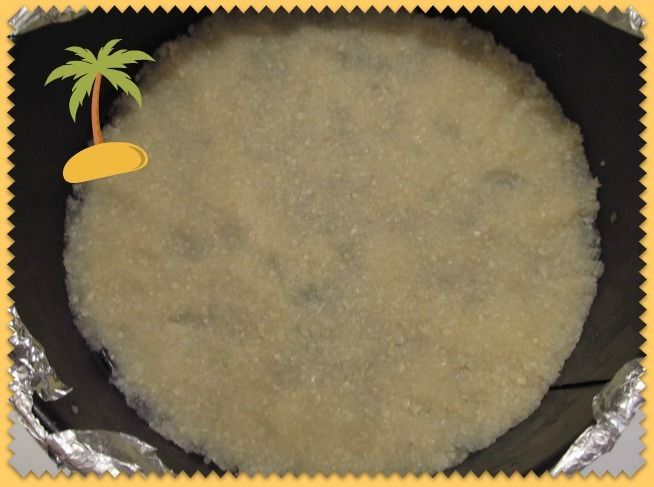
  2. In a food processor, process first four ingredients until mixture looks like a coarse meal.
  3. Add melted butter and process until smooth.
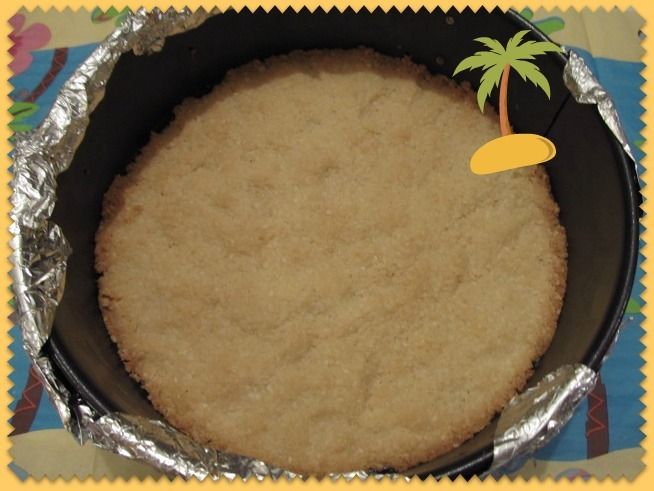
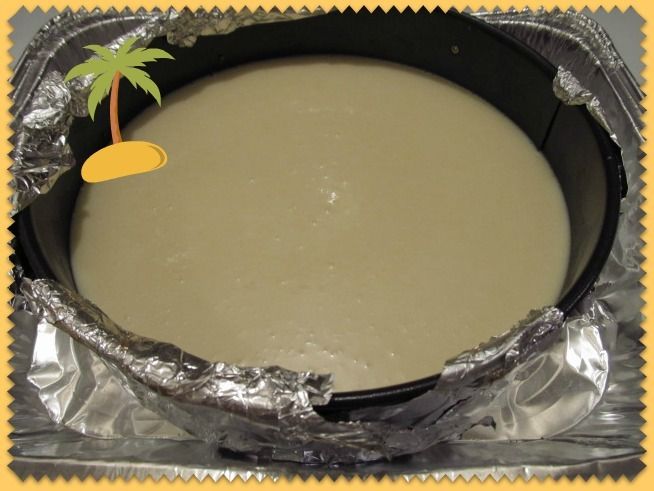
  4. Press firmly into bottom of a 9" springform pan. Wrap the pan with aluminum foil to prevent spills.
  5. Bake 10-12 minutes or until edges are lightly browned; remove from oven, let cool.
    Filling:
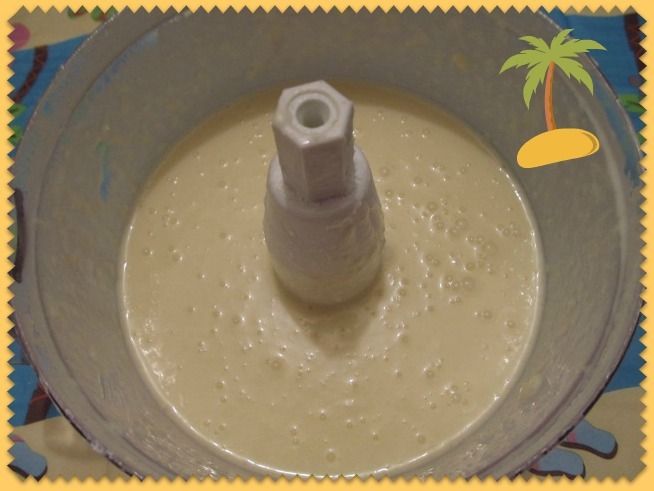
  1. In a food processor, process cream cheese until smooth. Add pineapple and process until smooth.
  2. Add sugar, salt, eggs, lemon juice, cornstarch and vanilla. Process until creamy and smooth.
  3. Pour into prepared pan. Place pan on a baking sheet and bake at 325°F for about 1 1/2 hours until center is set.
  4. Cool for about 1 1/2 hours.
    Topping:
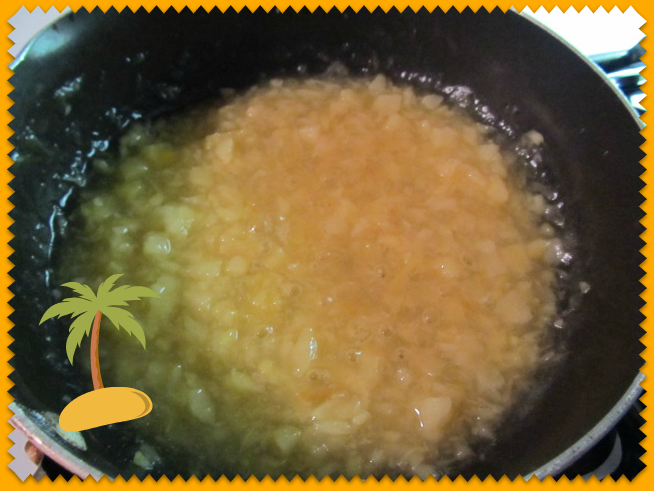
  1. In a medium saucepan, combine pineapple, peach preserves, water, lemon juice and cornstarch. Mix together and cook over medium heat until mixture thickens and pineapple is soft. If mixture gets too thick, add more water, a Tbsp. at a time.
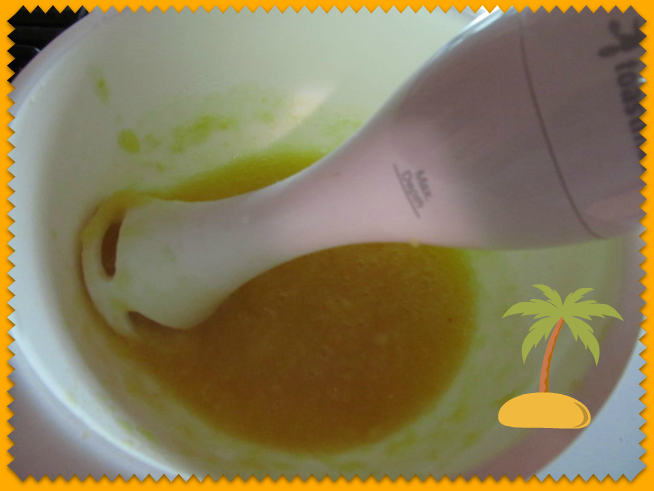
  2. Remove from heat and puree with a blender or food processor until smooth. I used an immersion blender for this step.


  3. Spoon pineapple mixture on top of cooled cheesecake and smooth evenly.


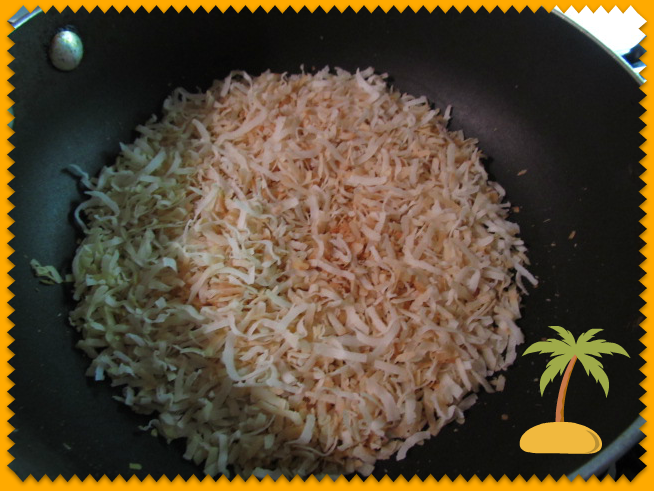
  4. Toast coconut in a small skillet over medium heat until it begins to brown, about 3-5 minutes.


  5. Remove from heat and sprinkle over the pineapple topping.


  6. Cover cheesecake and refrigerate until chilled, at least 6 hours or overnight.


  7. To serve, cut into wedges and garnish with pineapple chunks.


This was my first attempt at making a Cheesecake with fruit. It turned out beautifully, without a crack. The Coconut and Pineapple combination was wonderful. The topping was sweet and complemented the cheesecake nicely.

It may be hard to eat just one piece of this creamy cheesecake, but fight the temptation by sharing this recipe at your next gathering. I hope you give this recipe a try. You will not be dissapointed!!!


Have a great Summer!!!

Linking to: Today's Creative Blog


Pin It button on image hover