Thursday, March 29, 2012

8
Easter Egg Garland

Easter is upon us. The Spring decorations and goodies are simply delightful.


From decorating Eggs, to the delicious Marshmallow Peeps. Visit Peeps where you can find Fun Facts, Recipes and other Fun Activities.


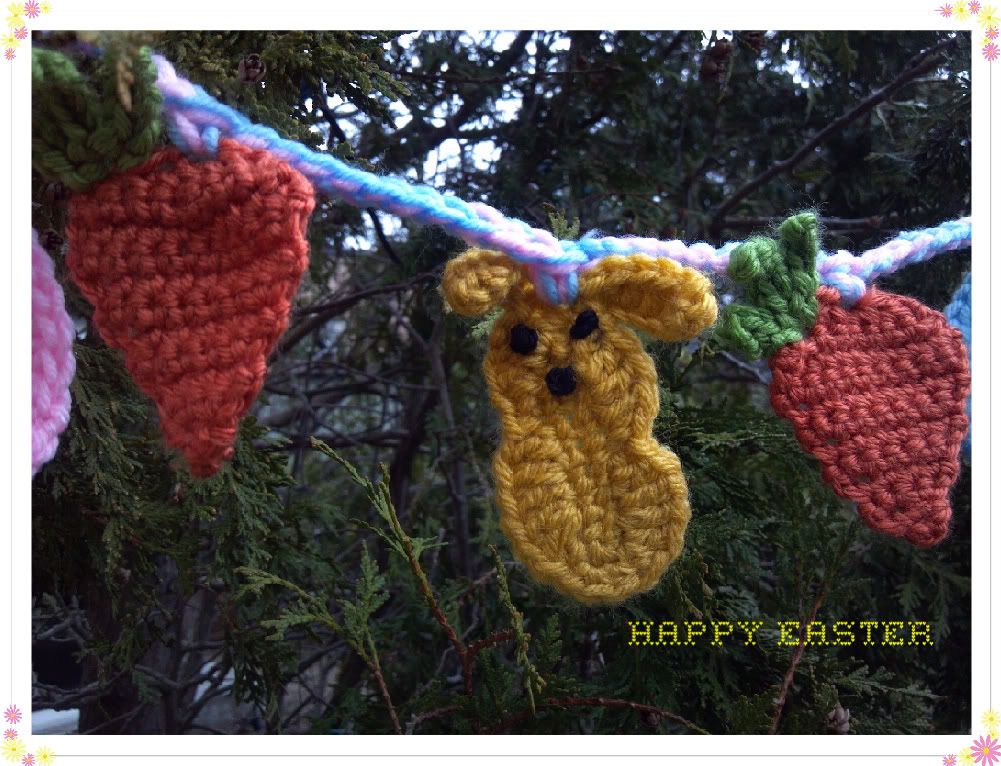
My Easter Egg Garland is made up of Easter Eggs with Marshmallow Peeps and Carrots in between.

Supplies:
  • Worsted Weight Yarn in 3-4 colors for the Eggs, Yellow/Black for the Peeps and Orange/Green for the Carrots
  • Size H Crochet Hook
  • Size J Crochet Hook
  • Yarn Needle

Abbreviations:
ch - chain
sc - Single Crochet
dc - double crochet
hdc - half double crochet
tr - triple crochet
sl st - slip stitch
st - stitch tog - together

Easter Eggs:
  1. With small hook make a Magic Circle or ch 4 and join with a sl st to 1st ch to form a ring.
  2. Make 10 sc in ring, sl st to first sc to join.
  3. Ch 2, Make 1 dc in join. Make 2 dc in next 2 sc, 3 tr in next sc, 2 dc in next 3 sc, (1 dc, 1 hdc) in next 2 sc, sl st to first dc to join.
  4. Ch 2, hdc in next 4 sc, 2 hdc in next 2 sc, 3 dc in next st, 2 hdc in next 2 st, hdc in next 4 st, 2 hdc in next sc, 1 hdc and 1 dc in next sc, dc in next 6 sts, sl st to first dc.
  5. Fasten off and weave ends.

Carrots:
    With small hook, Chain 2.
  1. Row 1: make 1 sc in 2nd ch from hook. Ch 1, turn
  2. Row 2: make 2 sc in first sc. Ch 1, turn
  3. Row 3: make 2 sc in each of next 2 sc. Ch 1, turn
  4. Row 4: sc in each sc across. Ch 1, turn.
  5. Row 5: make 2 sc in first sc, sc in next 2 sc, 2 sc in last sc. Ch 1, turn.
  6. Row 6: sc in each sc across. Ch 1, turn.
  7. Row 7: make 2 sc in next sc, sc in next 4 sc, 2 sc in next sc. Ch 1, turn.
  8. Row 8: sc in each sc across.Ch 1, turn.
  9. Row 9: make 2 sc in next sc, sc in next 6 sc, 2 sc in next sc. Ch 1, turn.
  10. Row 10: sc in next 10 sc. Ch 1, turn.
  11. Row 11: sc next 2 sc tog, sc in next 6 sc, sc next 2 sc tog. Ch 1, turn.
  12. Row 12: sc next 2 sc tog*, repeat * across.
  13. Fasten off and weave ends.
Carrot Leaves (3):
  1. Join the Green yarn on left corner of carrot top with a sl st.
  2. Ch 5, sl st in 2nd ch from hook. Sc in next 2 ch, sl st in last ch, sl st in previous join.
  3. Ch 6, sl st in 2nd ch from hook. Sc in next 3 chs, sl st in last ch, sl st in same join as before.
  4. Ch 4, sl st to 2nd ch from hook and in next 2 ch, sl st in same join as before.
  5. Fasten off and weave ends.

Peeps:
For the Marshmallow Peeps I used a pattern I found on Whiskers & Wool, "Easter Marshmallow Bunnies". I replaced the black beads with black yarn and Embroidery French Knots. Check out this French Knot how-to-video, if you decide to try to make the Embroidery French Knots.


Garland:
  1. With large hook and 2 strands of yarn held together, Chain 8, sl st to first ch to create the first hanging loop.
  2. Ch 10 and sc into the middle-top of first Egg.
  3. Continue adding the Easter Eggs, Peeps and Carrots in this manner, with ch 10 in between. My Garland's arrangement consisted of 3 Easter Eggs, 1 Carrot, 1 Peep, 1 Carrot... ending with 3 Easter Eggs.
  4. To finish the Garland, ch 18, sl st in 8th ch from hook to create the second hanging loop.


Your Easter Garland is ready to be showcase. My Carrots did not turn out thin and long, but we can always benefit from a Healthy looking Carrot.....

Happy Easter

Wednesday, March 21, 2012

15
Pinspired Rewired Wreath Challenge

I recently joined the new Blog Series;  Pinspired Rewired Pinterest Challenge.


The Hosts of this awesome challenge are:

Southern Lovely, Family Ever After Ginger Snap Crafts The Gunny Sack

This month's Theme is Wreaths. My inspiration came from a Wreath I Pinned from the wonderful Tutorial of Debbie Does Creations and modified it by adding more Tulle Colors and Wrapping the Wreath Form. For the embellishments, I Decoupage Polyfoam Eggs with Mod Podge, Tissue Paper and Glitter, along with a Glittered Butterfly Wood Shape.

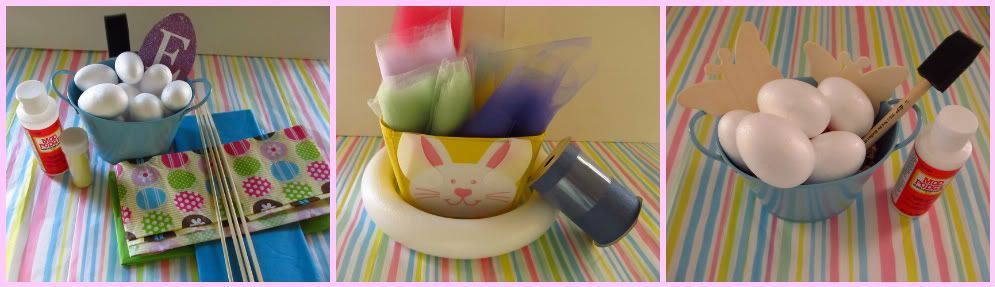
Supplies:
  • 12" Wreath Form
  • Tulle - 4 or 5 colors
  • Decorative Scarfing Ribbon, I used 4.5" - to wrapp Wreath Form
  • Polyfoam Eggs
  • Wood Shapes
  • Mod Podge
  • Foam Brush
  • Small Headpins
  • Wooden Skewers
  • Tissue Paper in solid and print colors of your choice
  • Fine Glitter
  • Hot Glue Gun

Instructions:
Wreath:
  1. Cut Tulle into 12" strips. I choose six Tulle colors and cut 11 strips of each.
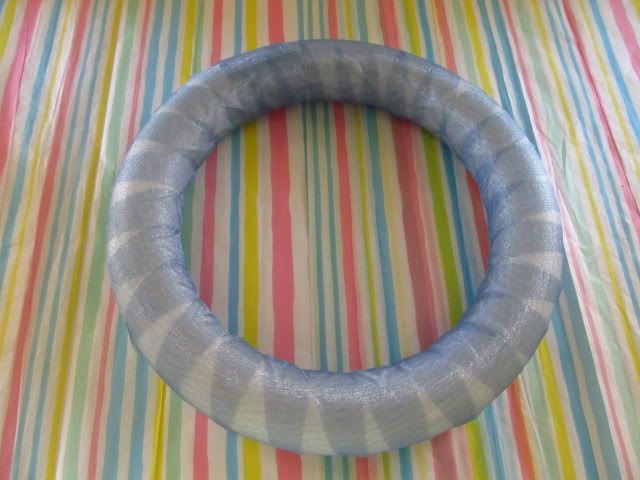
  2. Wrap Wreath form with Decorative Scarfing Ribbon, secure with small headpins.

  3. Tie Tulle strips around Wreath form.
  4. Decoupage Eggs:
  5. Cut or tear small pieces of Tissue Paper. I made my Decoupage eggs using solid colors and cutting motifs from the print tissue paper. I found the Easter print paper at Walmart.
  6. Insert a Skewer inside the egg. The Skewer will form a handle to hold the egg while you add the Mod Podge and Tissue Paper.
  7. Using the Foam Brush, apply Mod Podge around the egg. Add pieces of Tissue Paper overlapping each piece. Add more Mod Podge and smooth wrinkles. Keep adding tissue pieces to get the color intensity you desire.
  8. Give the entire egg another coat of Mod Podge.
  9. Sprinkle Glitter all over the eggs and place inside a jar to dry overnight.
  10. If using Wood Shapes; apply Mod Podge and Sprinkle Glitter; let dry.
  11. Finishing:
  12. Add Decoupage Eggs and any other Embellishments to Wreath using Hot Glue.
Your Wreath is Finished and ready to enjoy.

Happy Easter!!!


Linking to:

Visit thecsiproject.com


Thursday, February 16, 2012

22
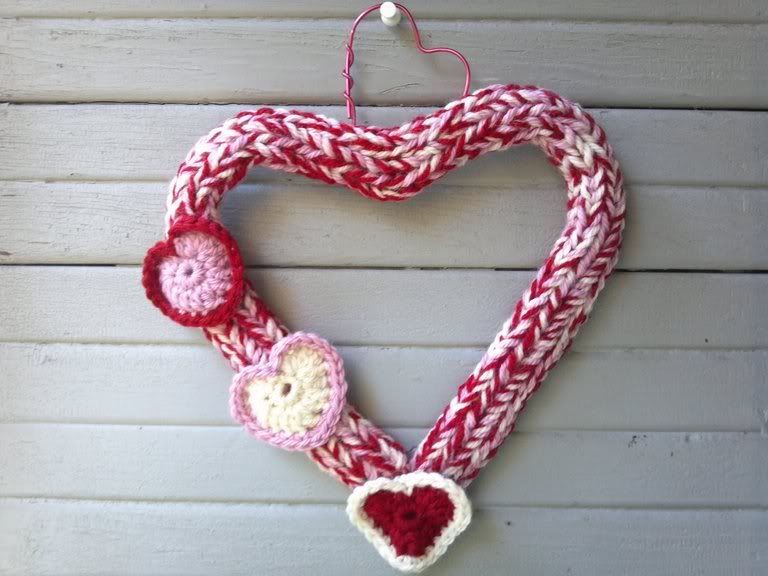
I-Cord Valentine's Day Wreath

I enjoy Knitting I-Cords. Making an I-Cord could be a bit intimidating as it requires knitting using two Double-Pointed Needles. An I-Cord is quick and very easy to make. To learn how to Knit an I-Cord, visit The Purl Bee, one of my favorite Blogs. Here you can find a wonderful Tutorial on how to Knit an I-Cord.

I love knitting with Clover Takumi Bamboo Knitting Needles, available at most Craft stores like Michaels and ACMoore. An I-Cord is a Knitted Tube and can be as long as you like. It can be made using any yarn, just make sure you choose the correct Knitting Needle size for the specific choosen yarn. I-Cords are fun to make and can be use in all sorts of things; from a Bag Strap to Making Spiral Flowers.

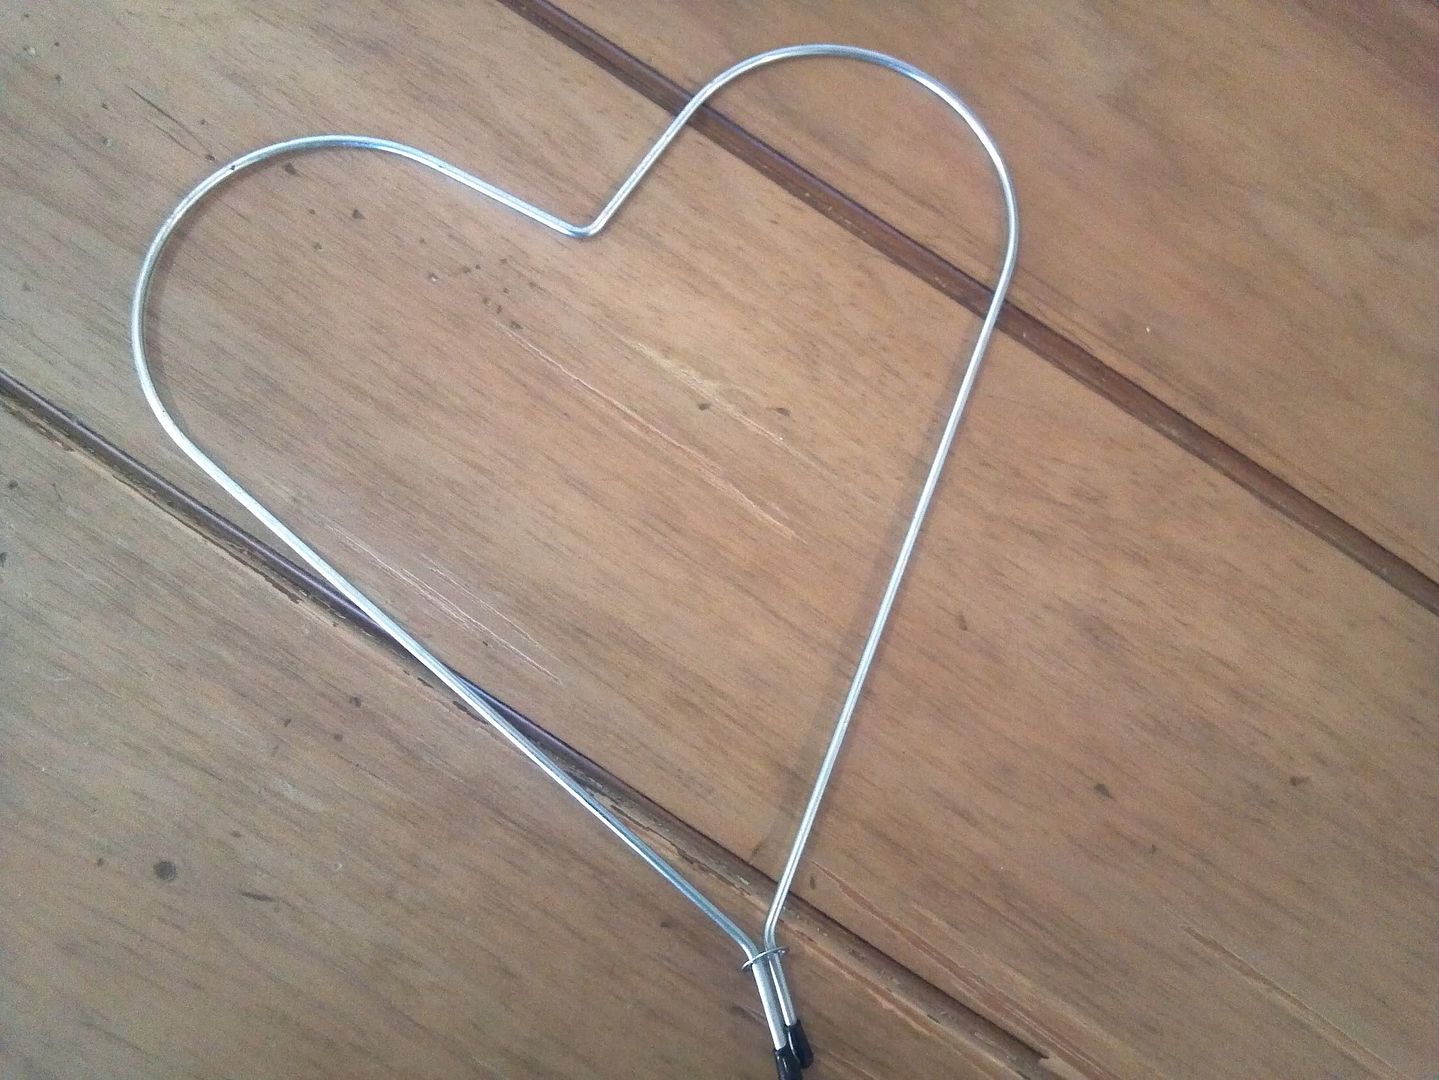
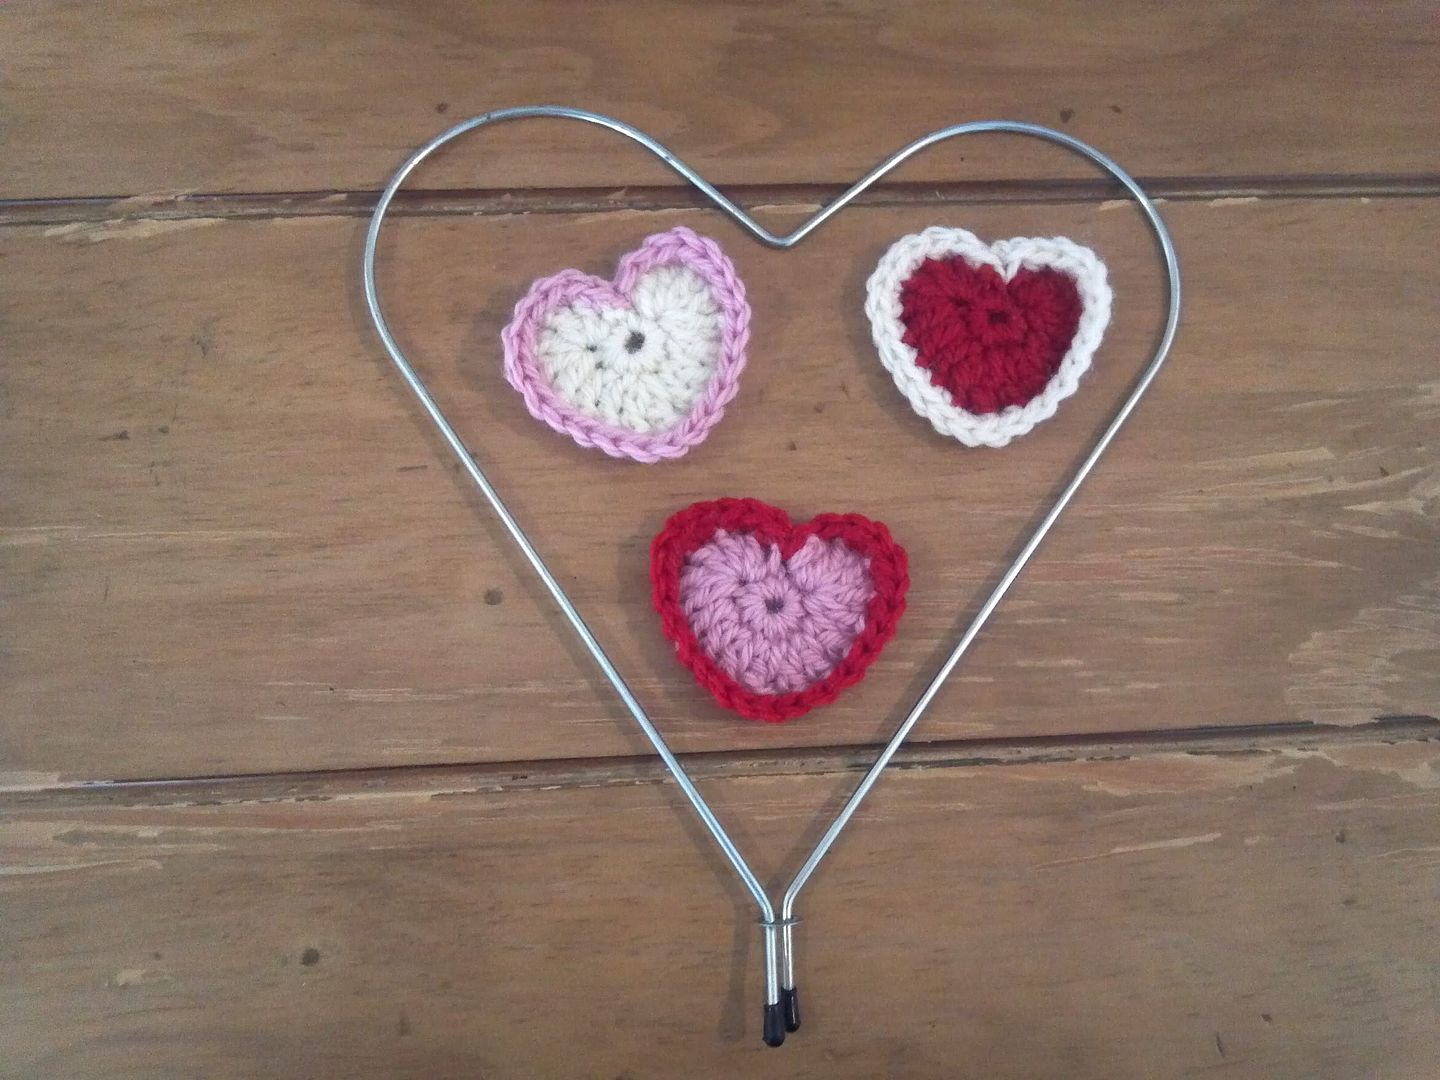
I found a Heart Shape Wire Form in my stash which I purchased years ago. I figure why not use it to make a Valentine's Day Wreath. I also decorated the wreath with tiny Crochet Hearts using the wonderful tutorial from Julia Crossland's Teeny Tiny Heart Bunting.

My I-Cord was made using Three strands of yarn held together, which resulted in a more dense tube. If you can't find this type of Wire Form, you can make your own Heart Shape using a piece of Garden Wire. Go HERE to find the tutorial.
Let's get going!!!
Supplies:
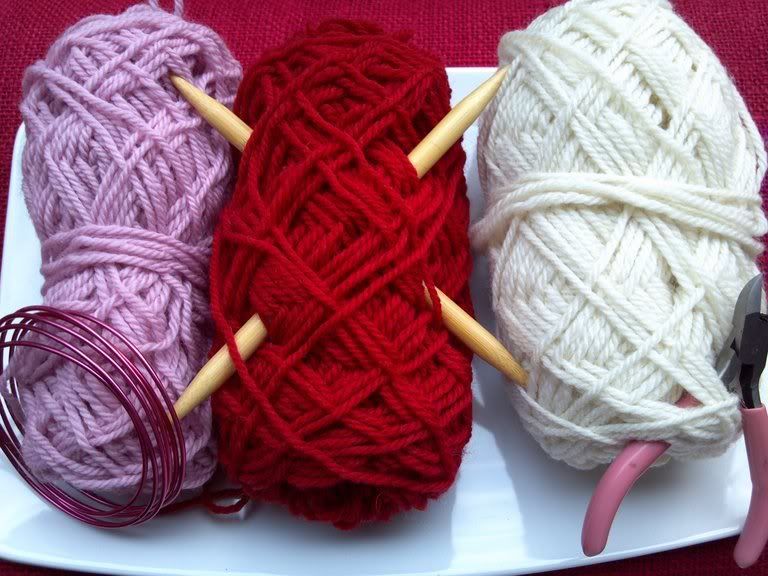
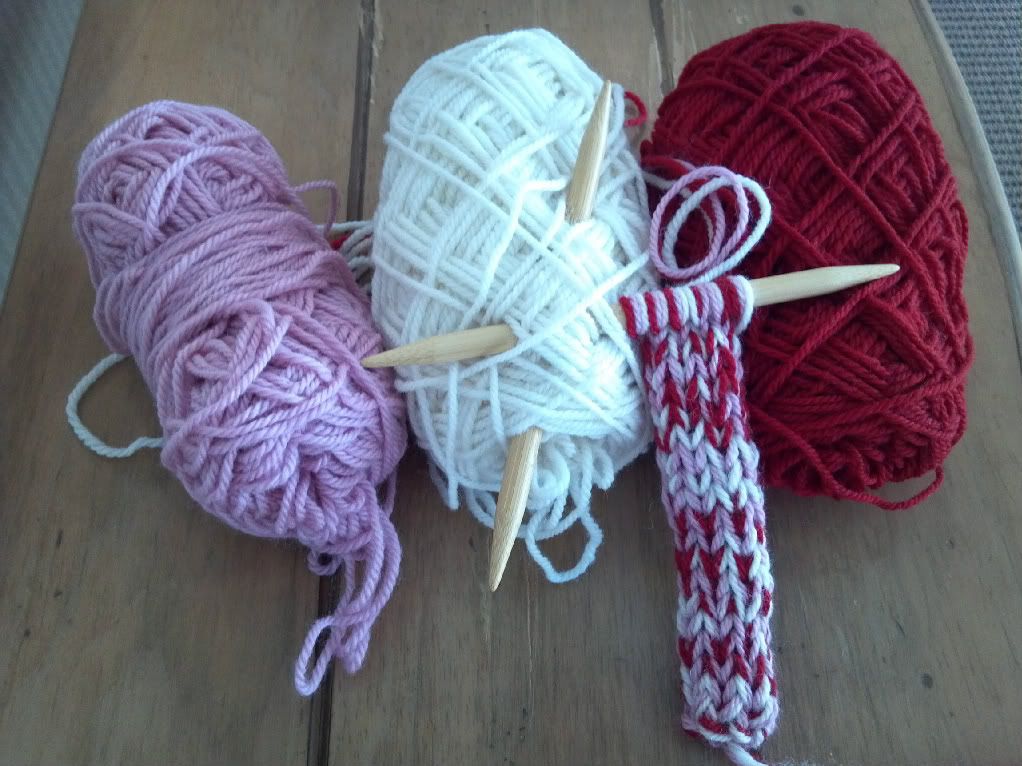
  • Worsted Weight Yarn in 3 colors of your choice. For this project I used Patons-Classic Wool in Aran, Petal Pink and Bright Red.
  • Double-Pointed Knitting Needles - Size 13(9.0mm)
  • Heart Shape Wire form
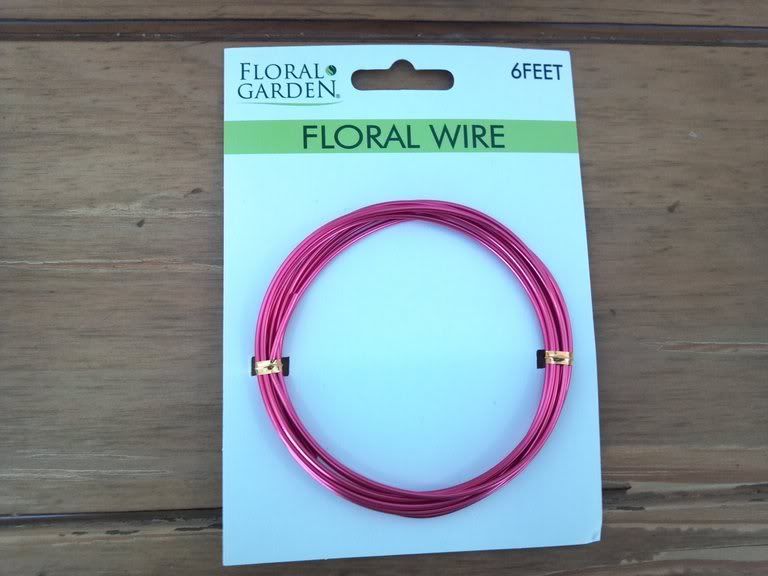
  • Flexible Floral Wire, available at the Dollar Store - $1.00
  • Crochet Hook - Size H/8 (5.0mm)
  • Small/Medium Heart form
  • Pair of Pliers
  • Yarn Needle

Instructions:
  1. Holding 3 strands together, Cast on 6 stitches.
  2. Knit across all stitches
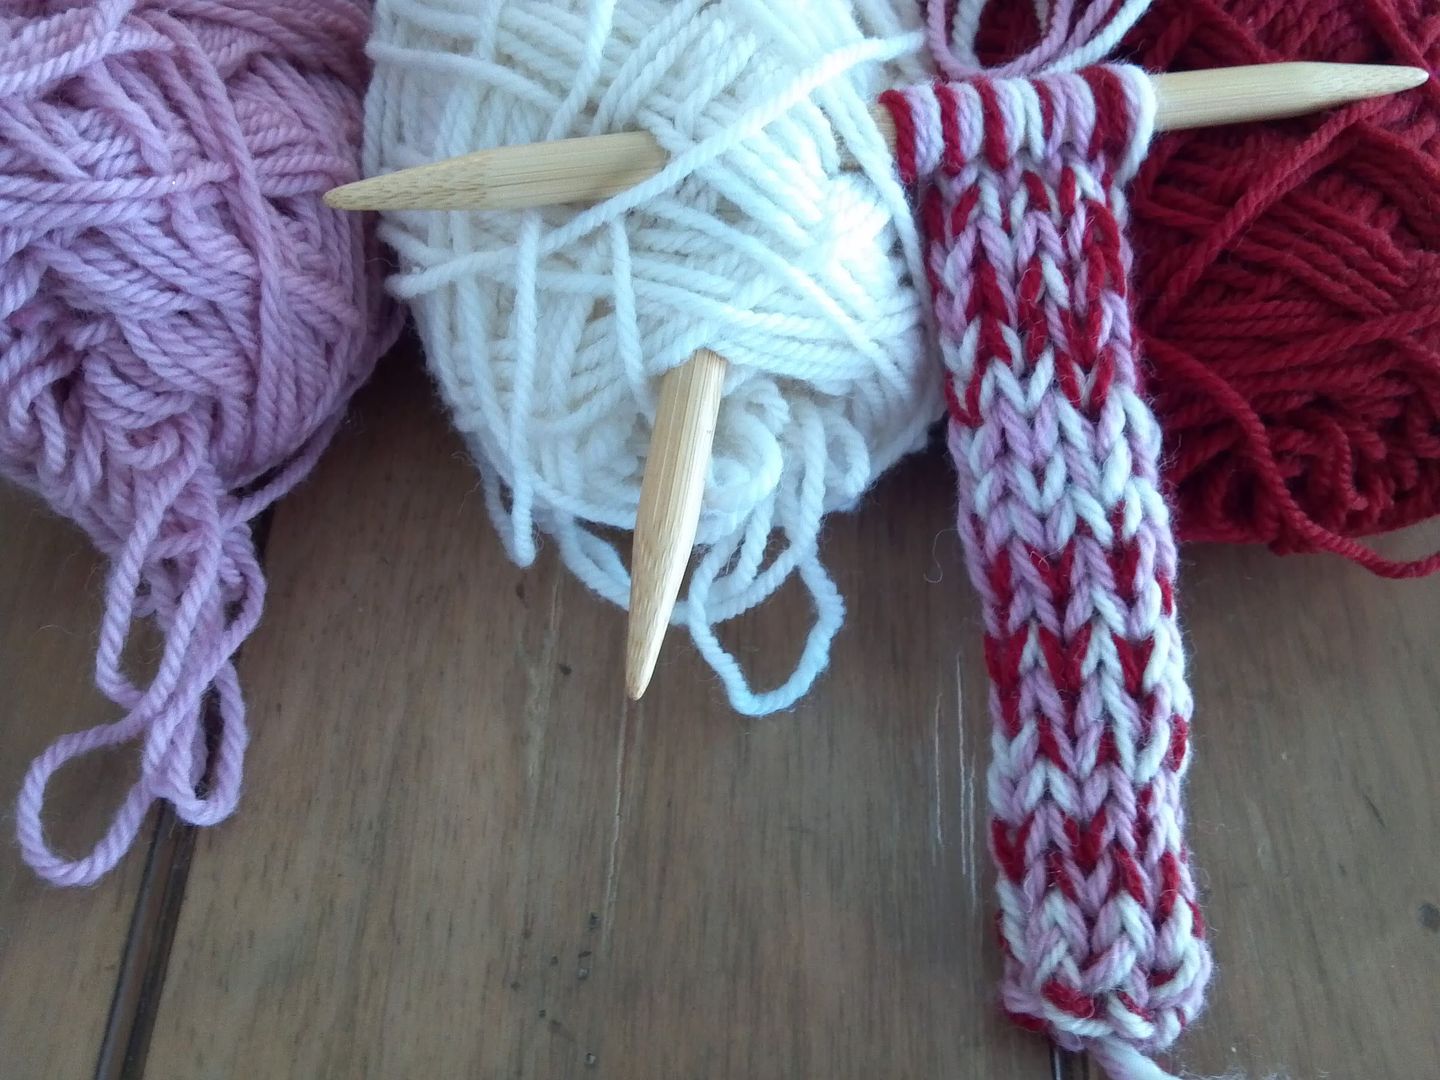
  3. Following the I-Cord Tutorial, continue knitting rounds, until you reach the length needed to go around the Heart Wire Form. Your I-Cord will be similar to the ones shown below.


  4. Once you reach the required length, bind-off your stitches. Set the I-Cord aside for now to assemble later.

  5. To decorate the I-Cord, I crocheted three tiny hearts. I used the wonderful tutorial from Julia Crossland, alternating the yarn colors to crochet the middle and sides of the Tiny Hearts.

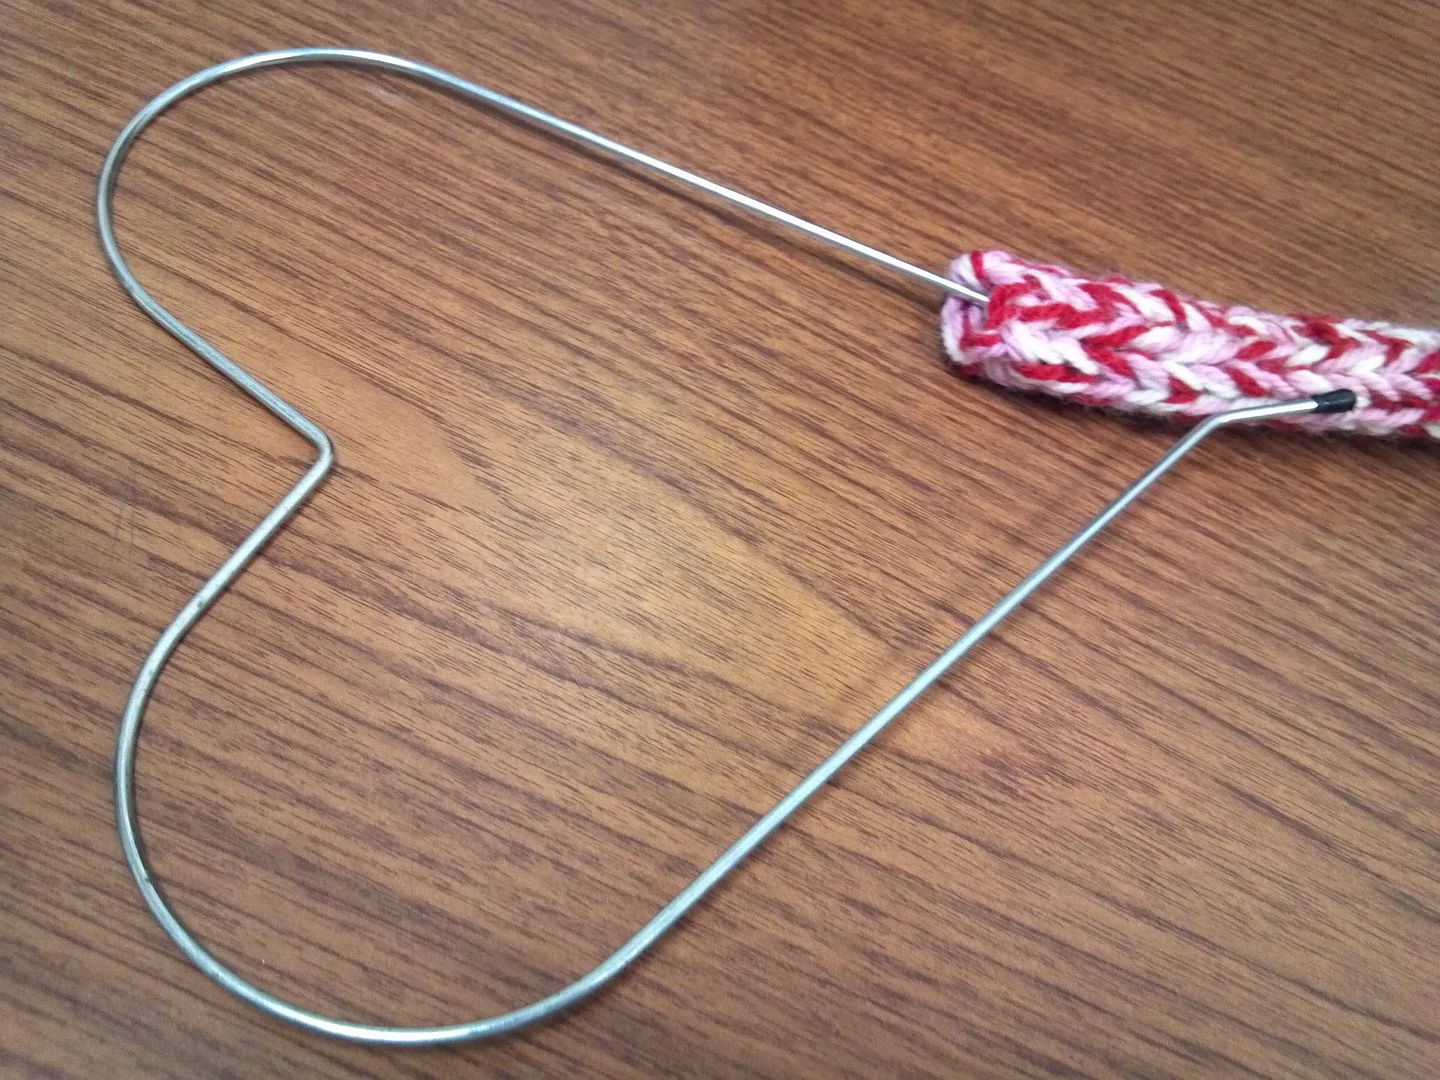
  6. To assemble the wreath, the Heart Wire Form was inserted inside the I-Cord tube as shown below. Sew the hearts ends together, covering any exposed wire.

  7. Sew the Tiny Hearts around the wreath as you like.
  8. I was debating what to use to hang the wreath. Another trip to the Dollar Store lead me to purchase a package of flexible Floral Wire, the perfect item to make my own Hanger.
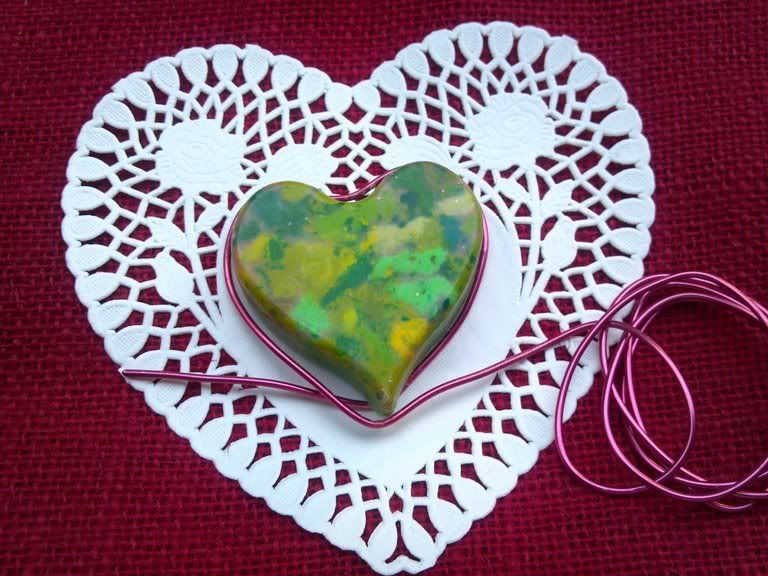
  9. Begin with your small Heart form. It could be a cardboard heart shape, a cookie cutter. I used a Crayon Heart shape I had from my project Pinterest Challenge.
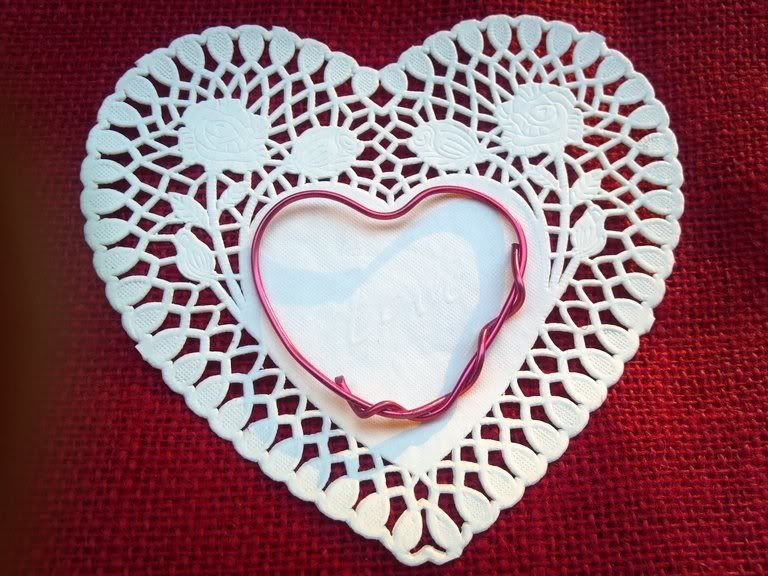
  10. Take a piece of wire and wrap it around your small heart form. Cut ends with pliers and wrap around to hold in place


  11. Sew hanger onto the Wreath.
  12. You are done!!!


I hope you enjoy give this tutorial and perhaps give it a try!!!

Happy Valentine's Day!!!

Monday, February 13, 2012

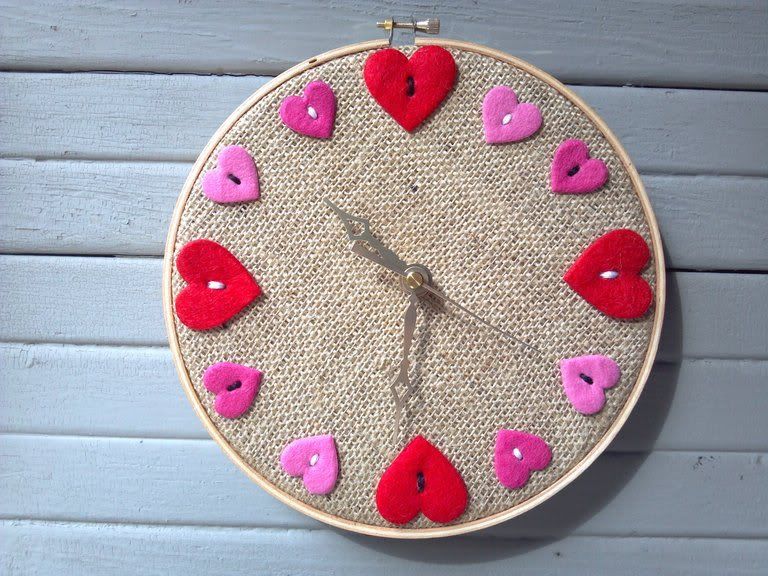
8 SweetHeart Clock


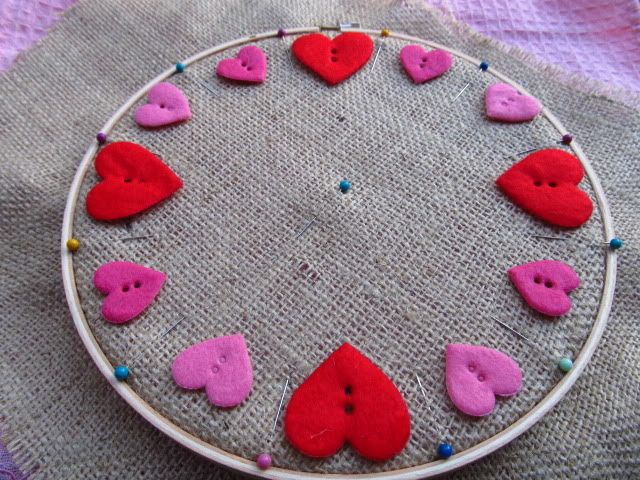
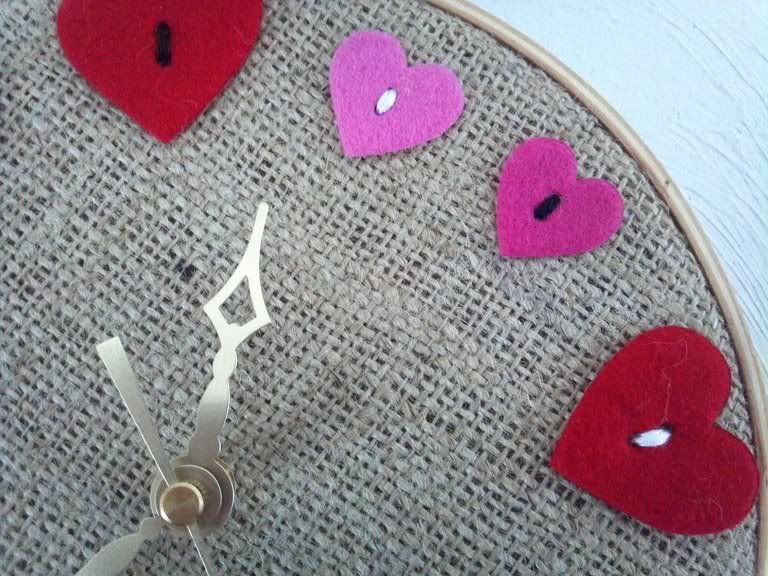
VALENTINE'S DAY is almost here. Time for LOVE, Passion and Chocolate. My inspiration for this clock came from a bag of Heart shape felt buttons I stumbled upon at Walmart. Each bag contains three different size buttons; small, medium and large with three different colors; Red and two shades of pink. As soon as I spotted these cuties, I thought I could use them in my next craft project. Days later, I had an idea on how to use these newly acquired heart buttons. I decided to make an inspired Valentine's Day DIY clock and replace the traditional numbers with these felted buttons.

    Supplies:

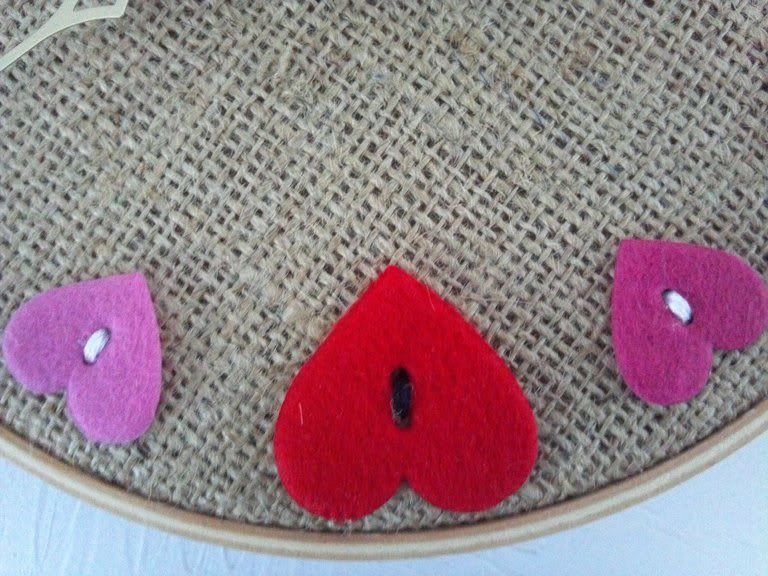
  • Heart Shape Felt Buttons, purchased at Walmart - $1.97. I wanted the traditional clock numbers 3, 6, 9 and 12 replaced by four Large Red Hearts. Each bag contains three Large Hearts of each color. Therefore, I purchased two bags in order to have four large "RED HEARTS".
  • Walnut Hollow - 3 Piece Clock Kit for 10mm(3/8") surfaces, purchased at ACMoore - $8.49, paid half price with a 50% coupon.
  • 1 12" X 14" Burlap square - purchased at Joanne's Fabrics
  • Wilton's 8" Cake Circles, purchased at Walmart - 4.00
  • 8" Embroidery Hoop, purchased at ACMoore - $1.69
  • DMC Embroidery Floss in colors Black and White
  • Embroidery Needle
  • Head Pins
  • 8" salad plate
  • 8" X 12" sheet of paper
  • Pen for tracing
  • Scissors
  • Low Heat Glue and Glue Sticks
  • Craft Knife
    Instructions:

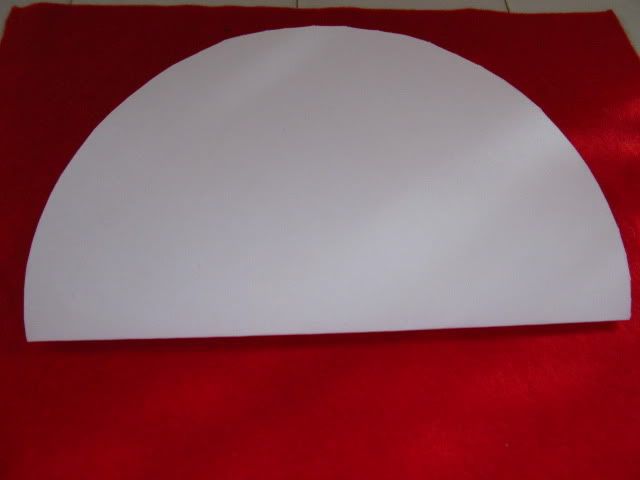
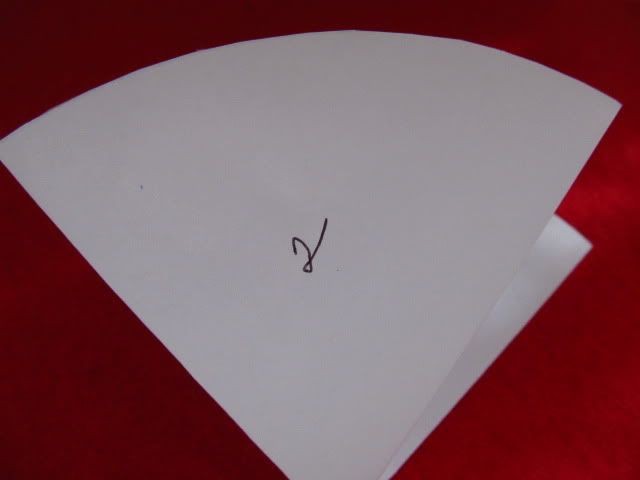
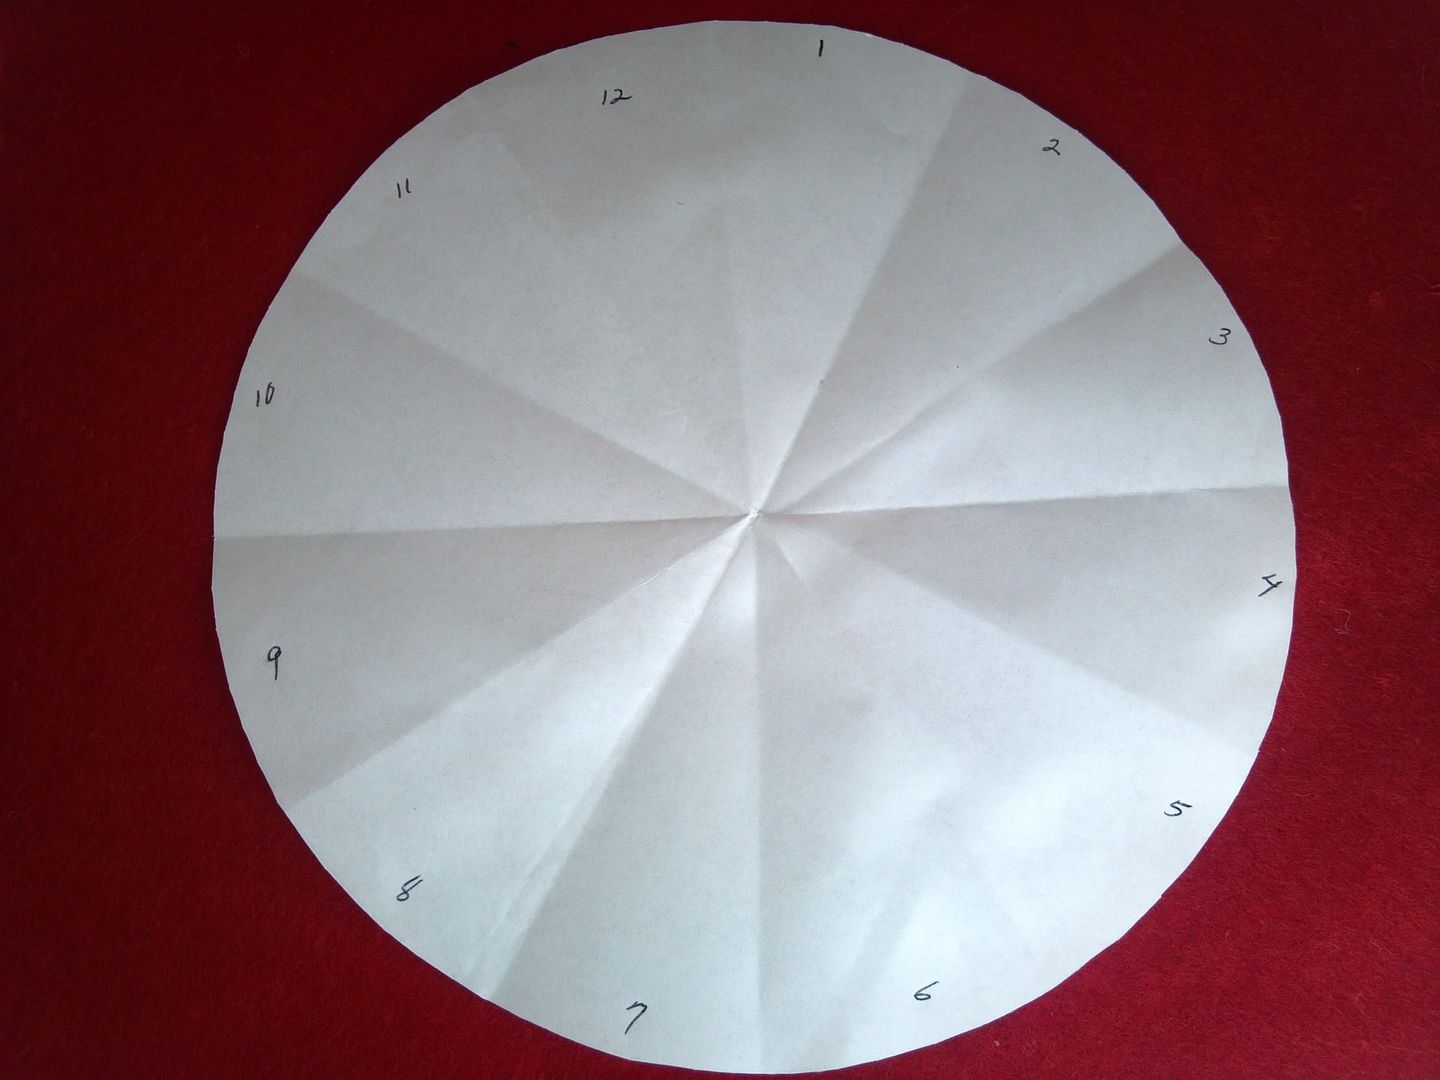
  1. Trace the salad plate on to the sheet of paper. Cut out circle.

  2. Fold circle in half

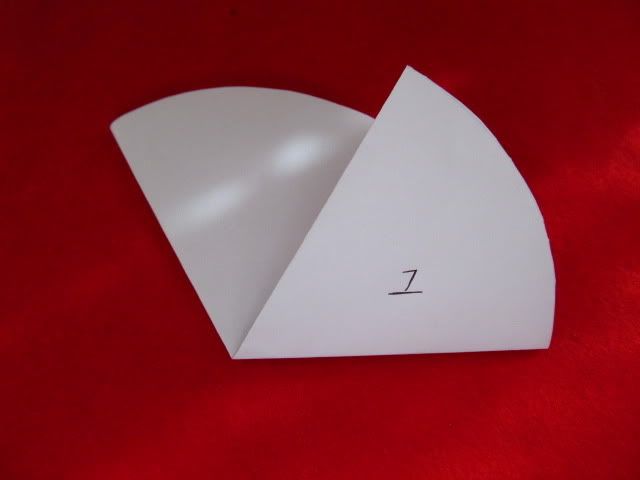
  3. Then fold right-half towards the middle front.

    Fold second half towards the back.

    Finally, fold again in half. Open circle. There should be 12 fold sections.

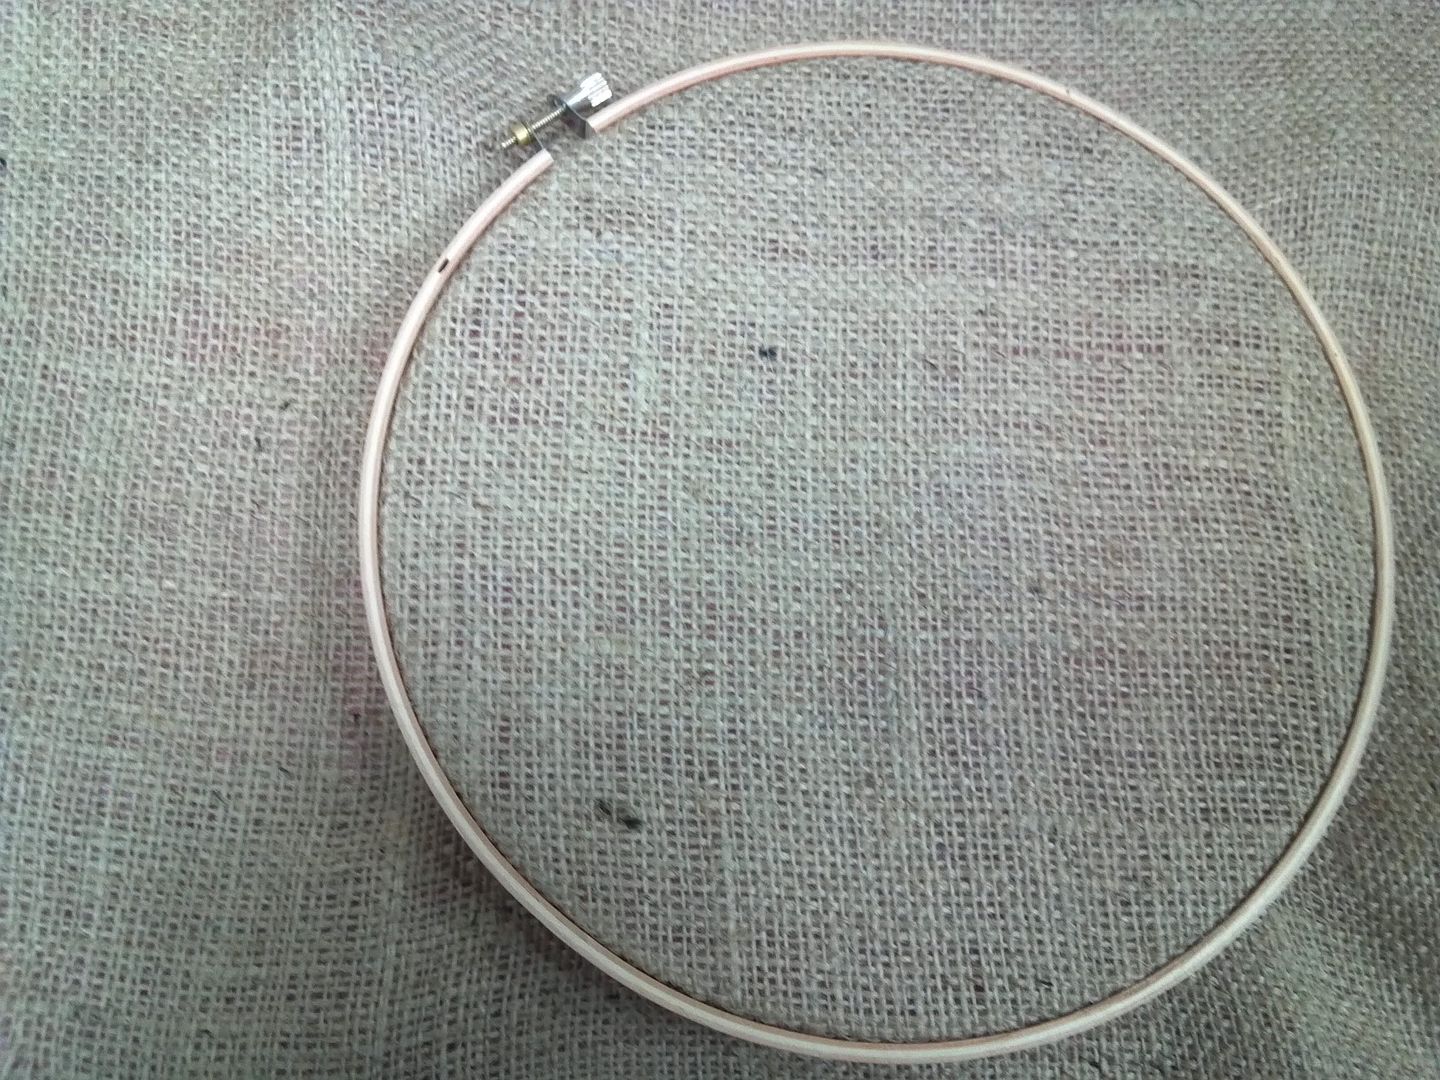
  4. Pull apart the Embroidery Hoop
  5. Lay inner hoop and slide it around the Burlap Square. Attach second hoop (the one with the screw) and stretch the Burlap so that it is free of any gaps. Tight hoop screw.

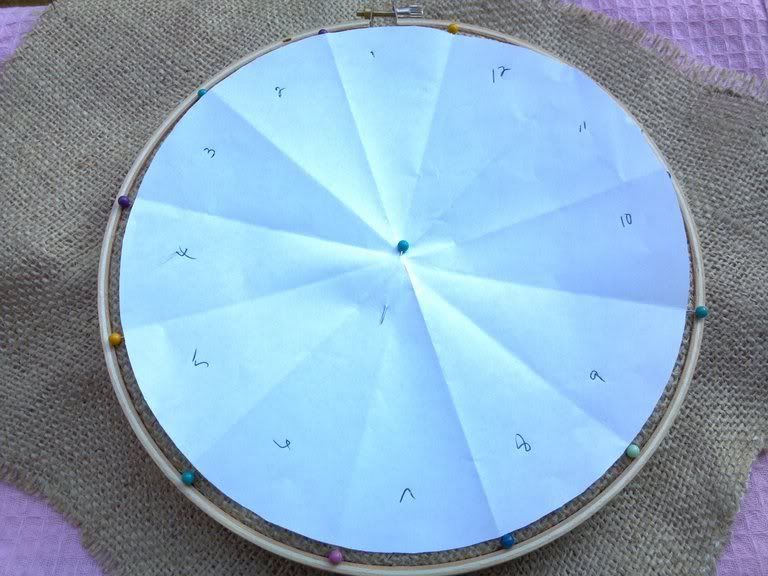
    Lay paper circle on Burlap. Insert Head Pins outside the paper, directly on each of the 12 folds and one pin in the middle. This is where the Clock mechanism will be installed.

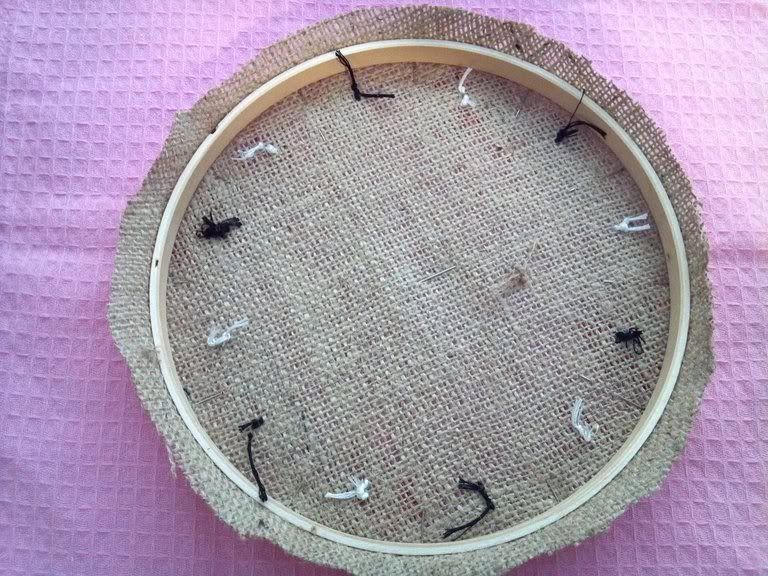
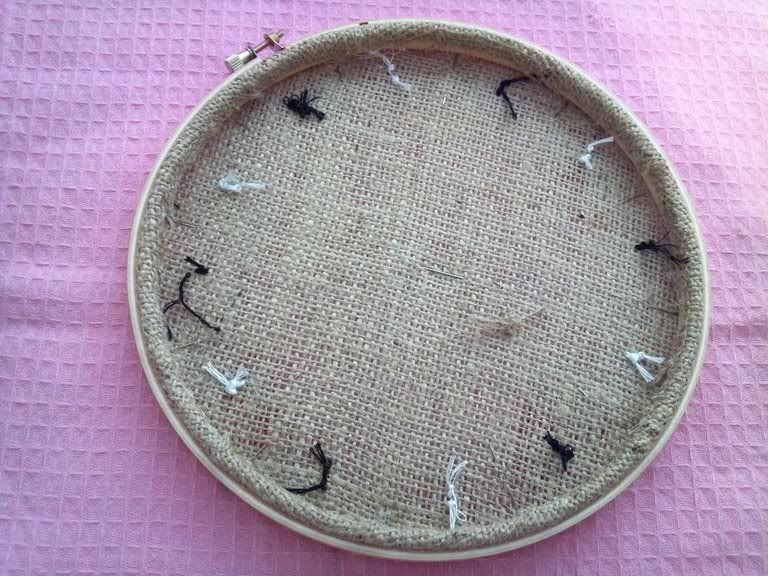
    Lay buttons of your choice between two pins. When satisfied with the arrangement, sew buttons to Burlap using embroidery floss and needle. I alternated using Black and White floss.

    Turn hoop over and cut excess Burlap material, leaving at least 1 1/2 inches. Turn Burlap inside the hoop and glue in place, while pressing down with finger as you go around.


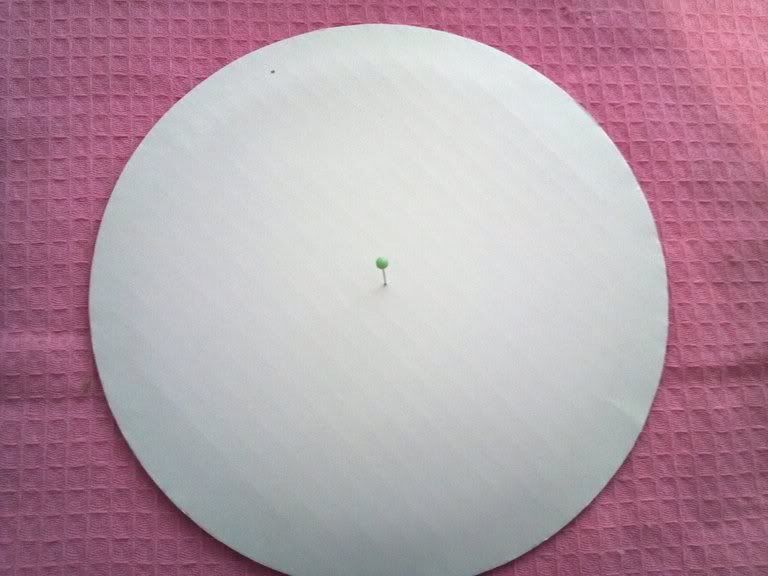
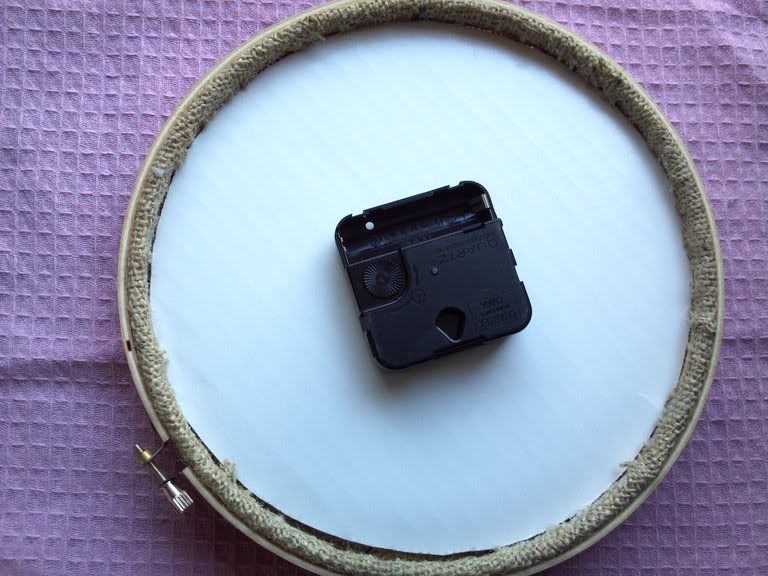
  6. To assemble the clock, using the Folded Circle from Step 3, insert a Head Pin in the Middle of the Cardboard Cake circle. Using the Craft Knife make a hole large enough to insert the shaft of the clock movement. The circle may have to be trimmed in order to fit inside the hoop

  7. Insert cardboard circle in back of hoop. Using the Craft Knife make another hole in the middle of the Burlap circle, marked by the head pin in Step 3. Insert Clock shaft through the card board and back of Burlap. Add clock hands onto movement according to the instructions that came with the kit. Add some glue to the back of the clock mechanism to keep it in place.

    Insert one AA battery inside the clock movement and set the time. Your clock can be hang from the hook on the clock movement.

And here it is... The DIY Sweetheart Clock is ready to be displayed.


I hope you enjoy this tutorial.

Happy Valentine's Day

Visit thecsiproject.com

Monday, February 6, 2012

4 Valentine's Day Pinterest Challenge

Ohhh Pinterest!!!! What an addictive site. Pinterest is a great source for Ideas and Inspiration. On January 9th, 2012, the EtsyMom team posted the Valentine's Day DIY Pinterest Challenge. Each participant needed to search and pick a DIY Valentine's Day project in Pinterest, make it and write a blog post. The project would be uploaded to the EtsyMom Pinterest Board, from which people would vote on the project they like best. The project with the most "likes" wins.... I started my search for the special Valentine's Pin and decided on this great Project, "Crayon Heart Valentines" from Whipperberry.com This project was fun to make and it brought me back to my childhood and the fun I had coloring with Crayons. I gathered the following supplies and I was on my way to start my project.
    Supplies:
  • Crayons - purchased at a Dollar Store. I used approximately 150.
  • Silicon Heart Shape Mold - purchased at Walmart
  • Ready made Heart Shape stock cards - purchased at Michaels
  • Glitter
  • Varigated Crochet Thread
  • Hot Glue Gun and glue sticks
  • Valentine's Day themed stamps, purchased at Michaels

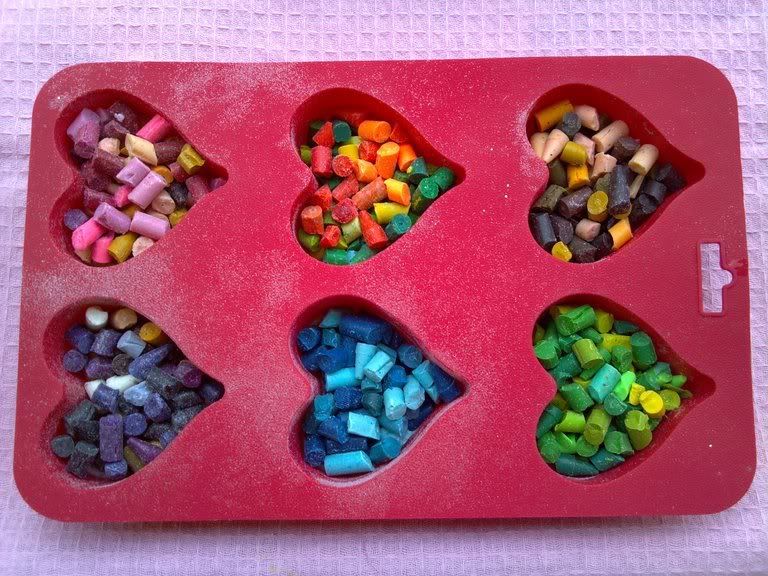
  • After an hour and half of removing the Crayons wrappers and breaking them in small pieces, I came up with these color combinations.


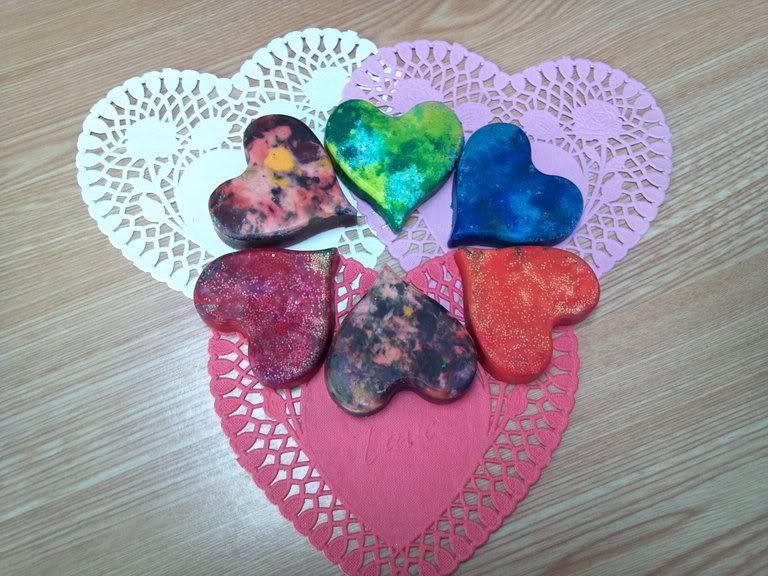
    Now it was time to bake the Crayons!!!! The Hearts baked to a perfect shape!!!!


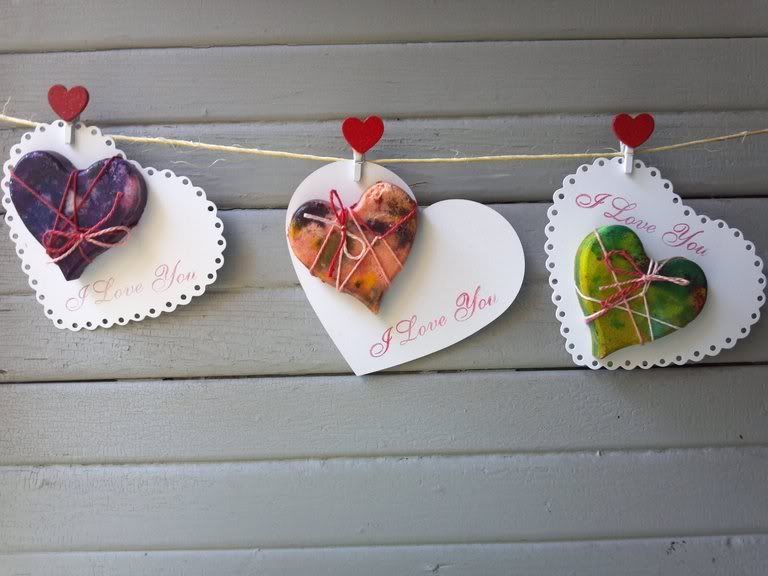
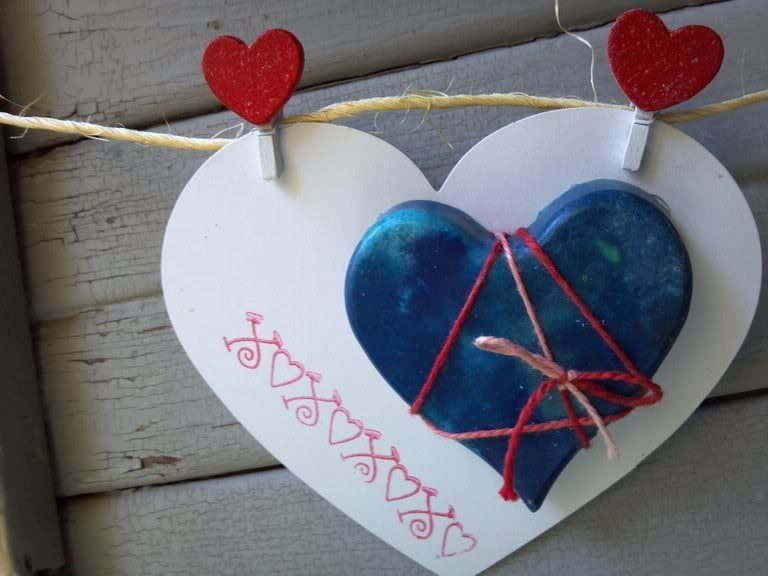
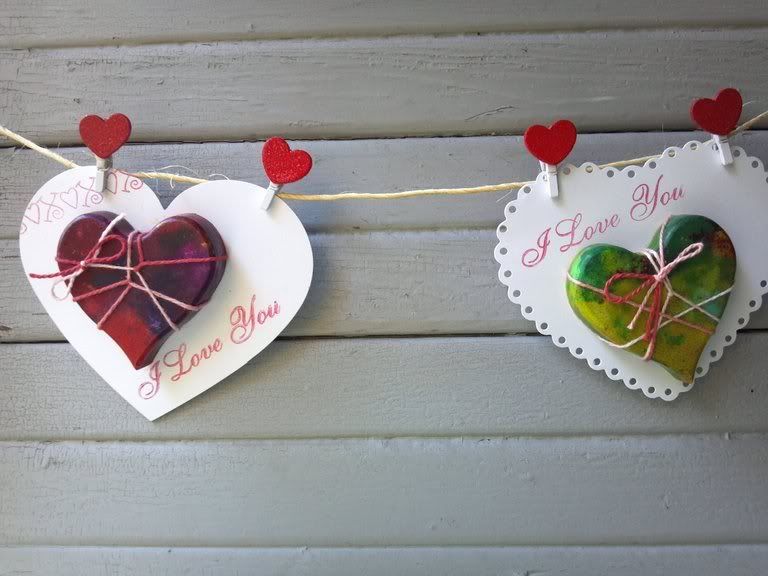
    To decorate the Hearts, I used Red Ink and stamped the Cards with two different stamp designs. For the final touch, I used Varigated Crochet Thread. I wrapped the Hearts in an asymmetrical fashion and hot glued the back to the Card Stock.

    And here they are, the finished Valentine's Cards....

    I found these cute Miniature Heart clothes pins at Michaels, which were perfect to Hang my Cards in Twine and showcase them as a Garland.

    I hope you love my Valentine's Day cards. Come on over to vote for your favorite project.


    Happy Valentine's Day!!!!

    Saturday, January 21, 2012

    0 Mussels in Garlic, Cilantro Sauce

    Do you have a favorite SeaFood dish? I love all Seafood, but my favorite is Salmon and Mussels. After many recipe testings, I came up with my own Mussels Recipe.
    INGREDIENTS

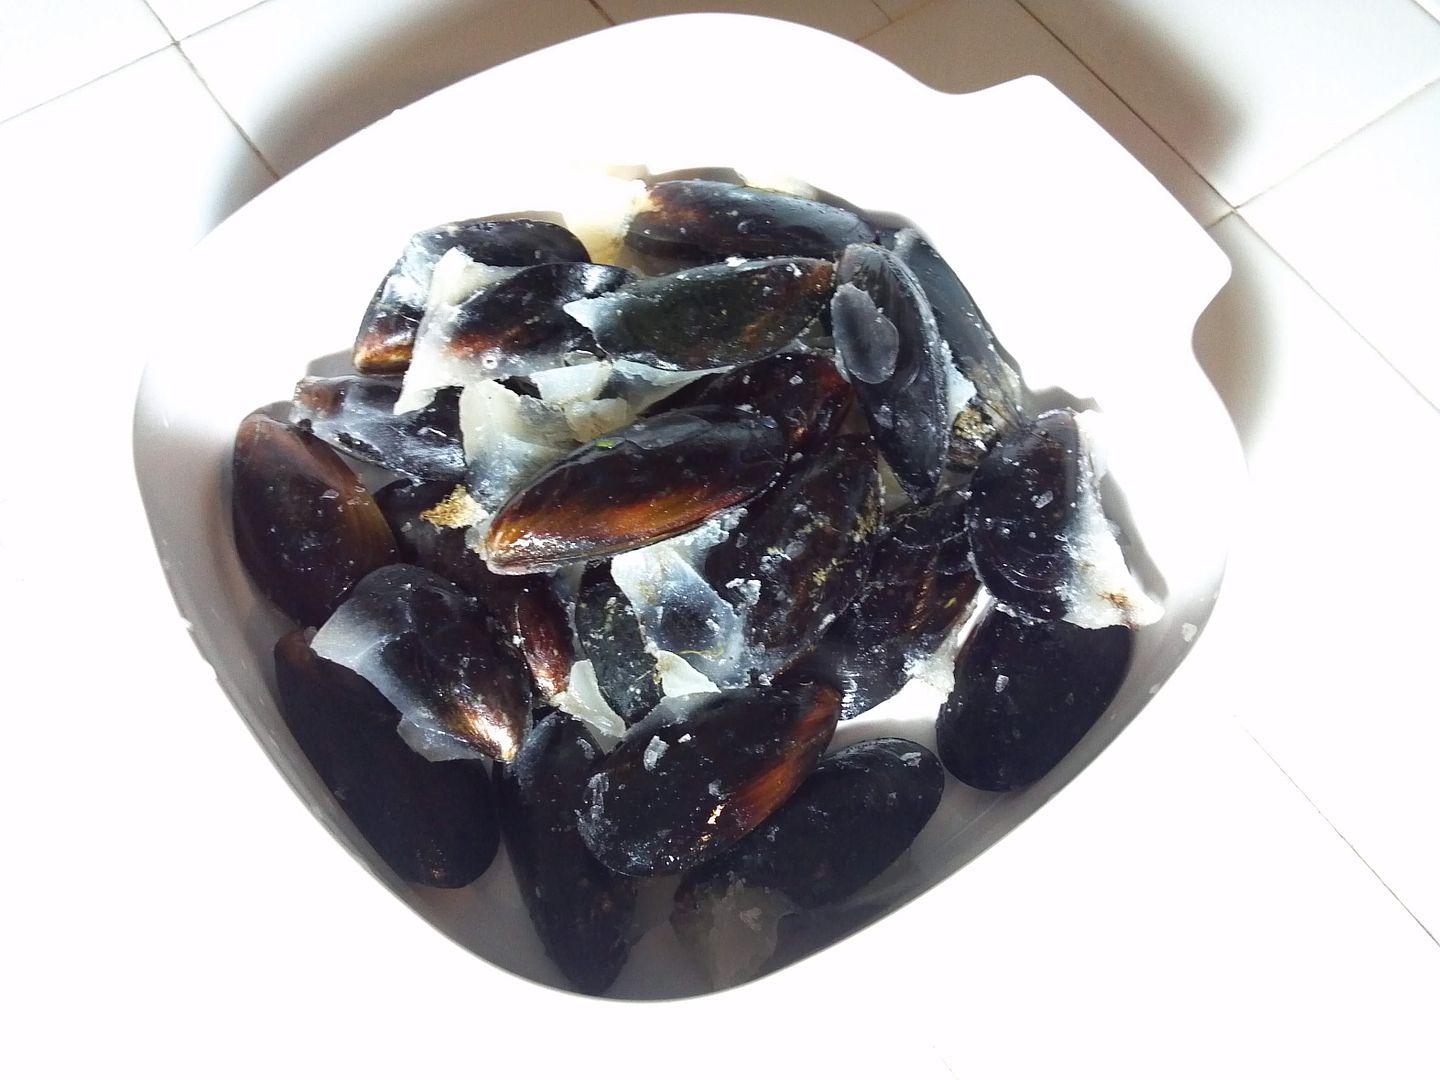
    • Fresh or Frozen Mussels. I made this recipe with Frozen Mussels purchased at Walmart, $3.99 (bag)
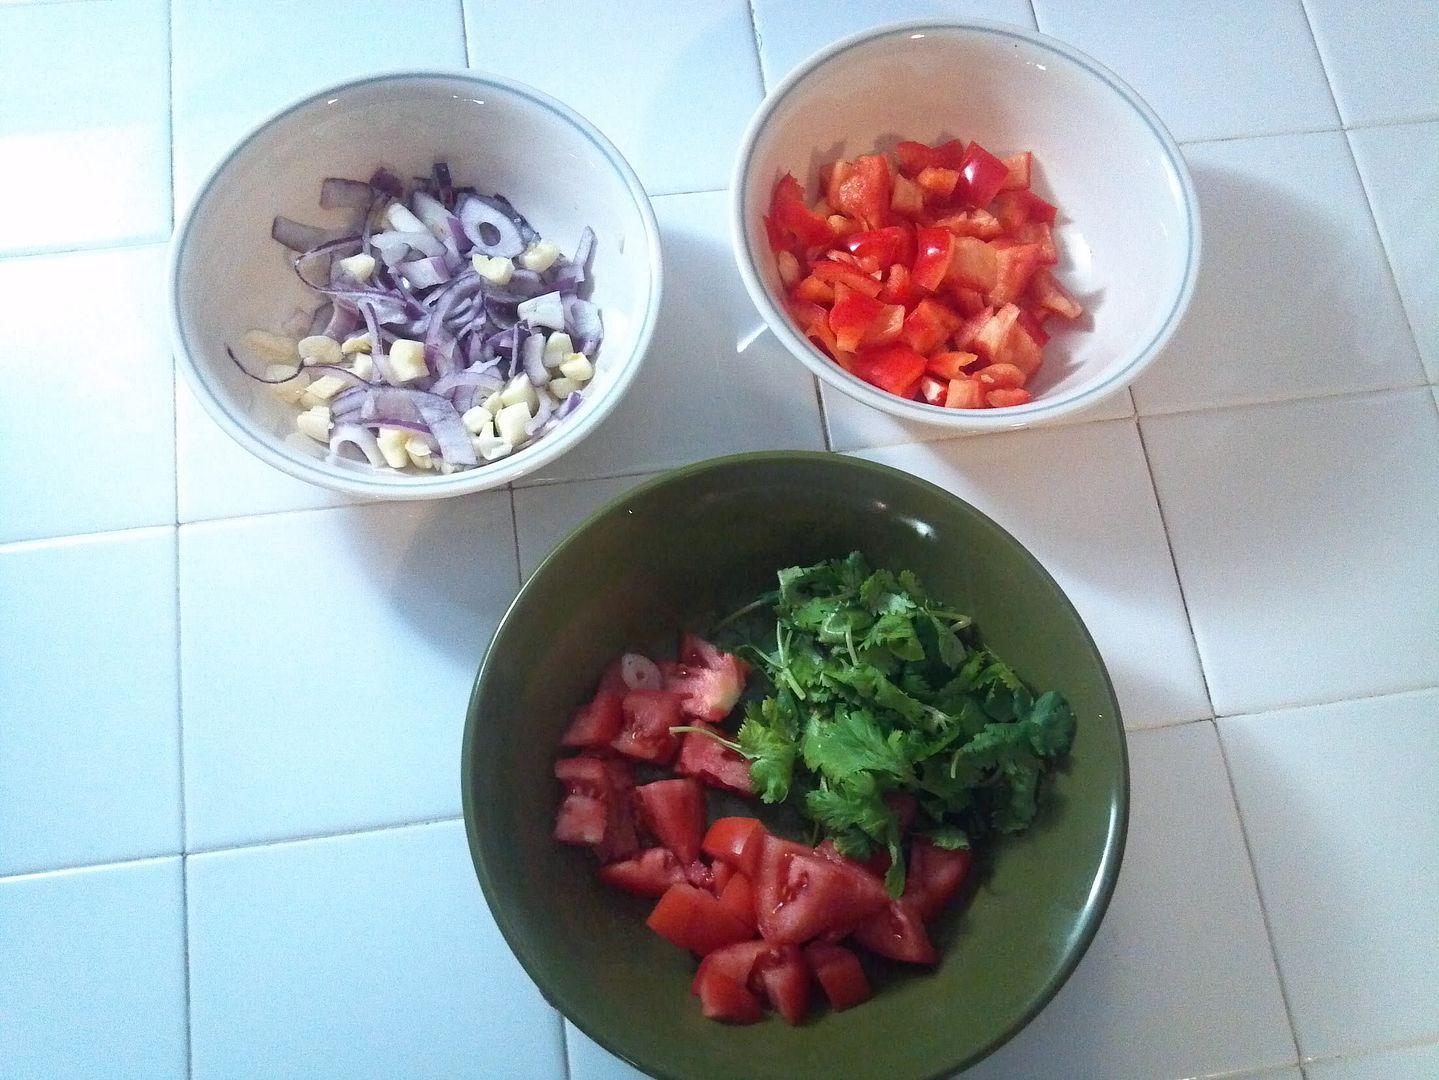
    • 1-2 Tomatoes - chopped
    • 2-3 Garlic Cloves - chopped
    • 1 small Red Onion - chopped
    • 1/2 Red Pepper- chopped
    • A small bunch of Cilantro - chopped
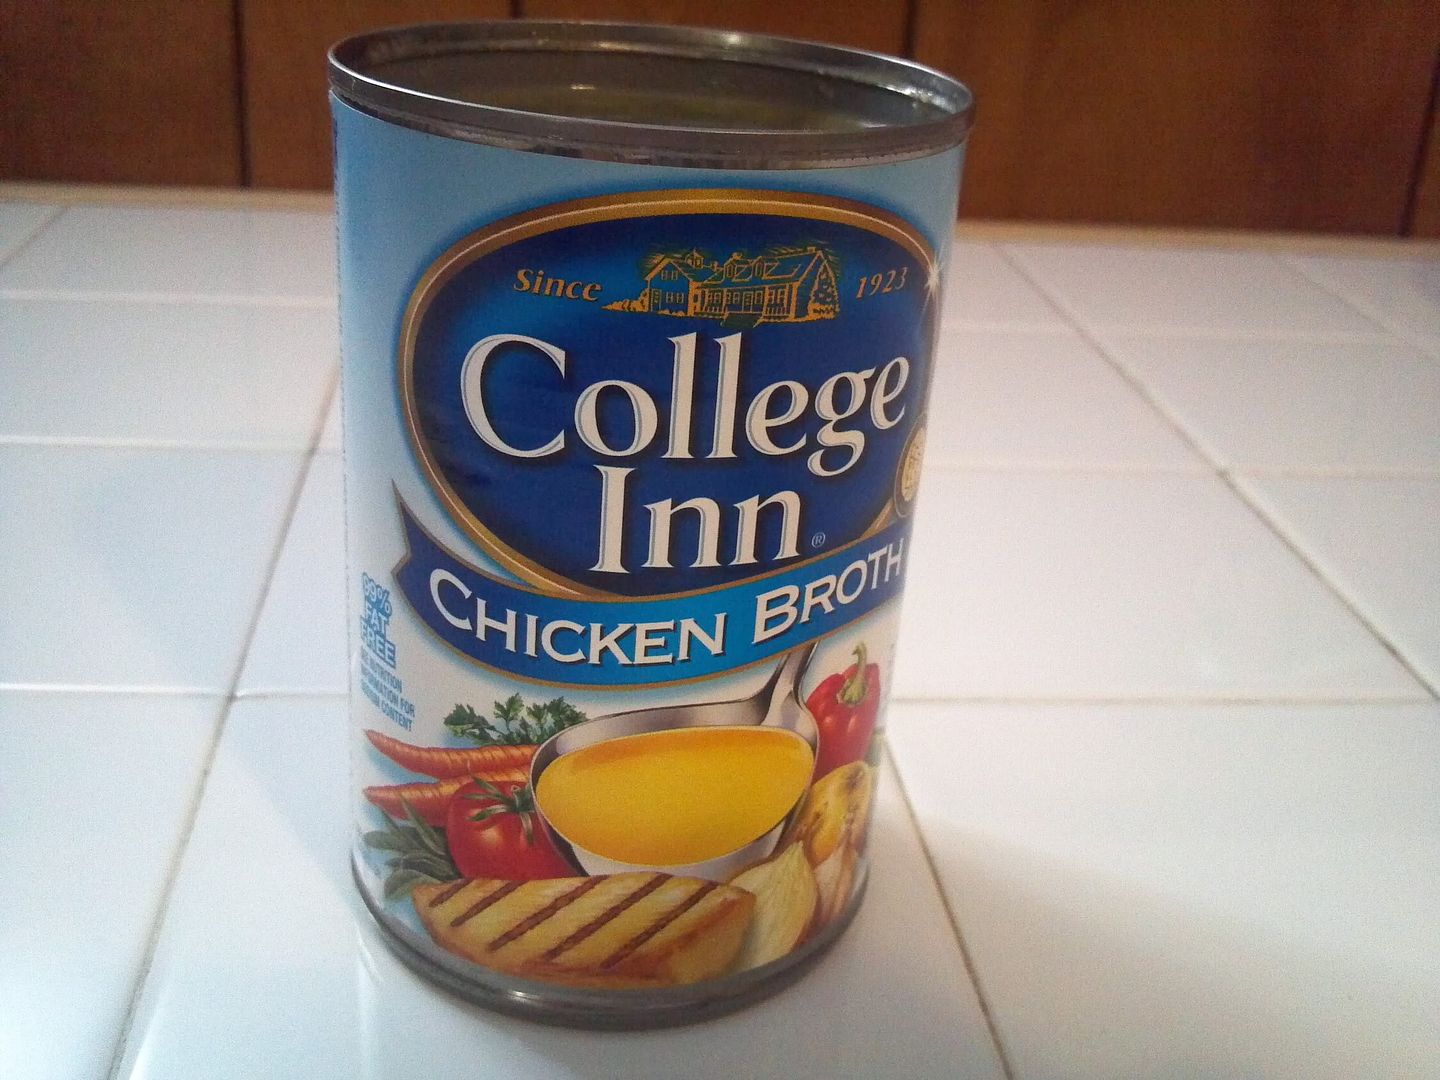
    • Chicken Broth
    • 2 tbps Olive Oil
    • Salt to taste
    • Wine of your choice

    DIRECTIONS

    • If using Fresh Mussels, rinse them under cold running water while scrubbing with a vegetable brush. Remove the mussel beards as you wash them.
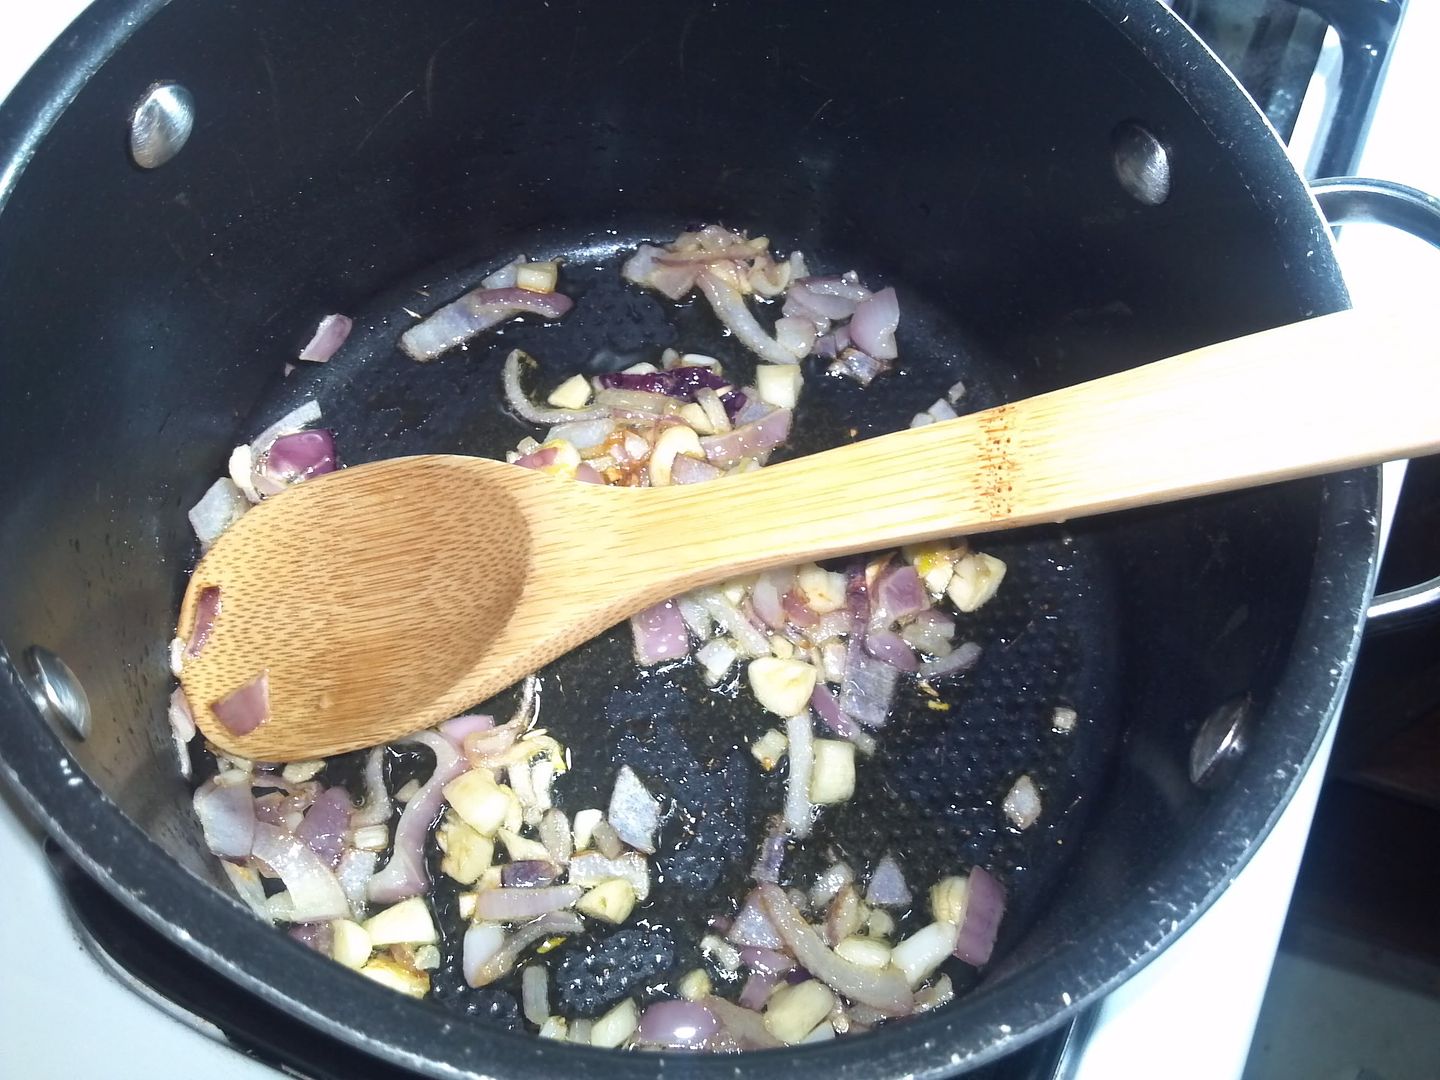
    • In a medium pot, heat olive oil.
    • Add chopped Garlic and Onion. Sautee until soft.
    • The aroma is amazing.
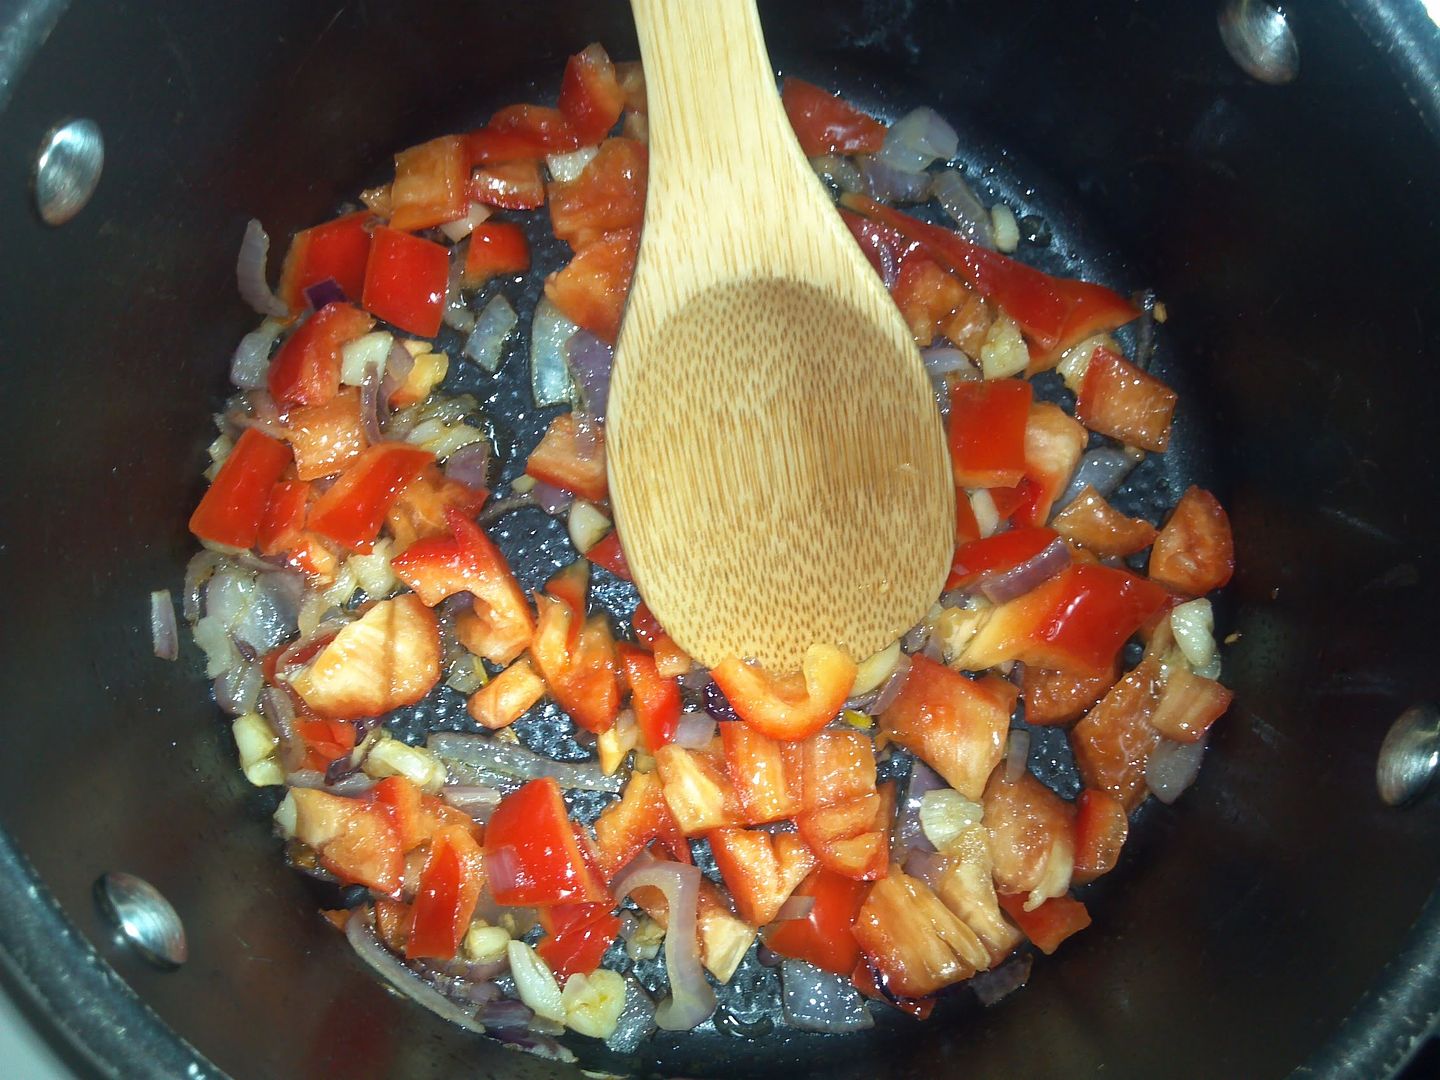
    • Add chopped Red Pepper and sautee for about one minute.
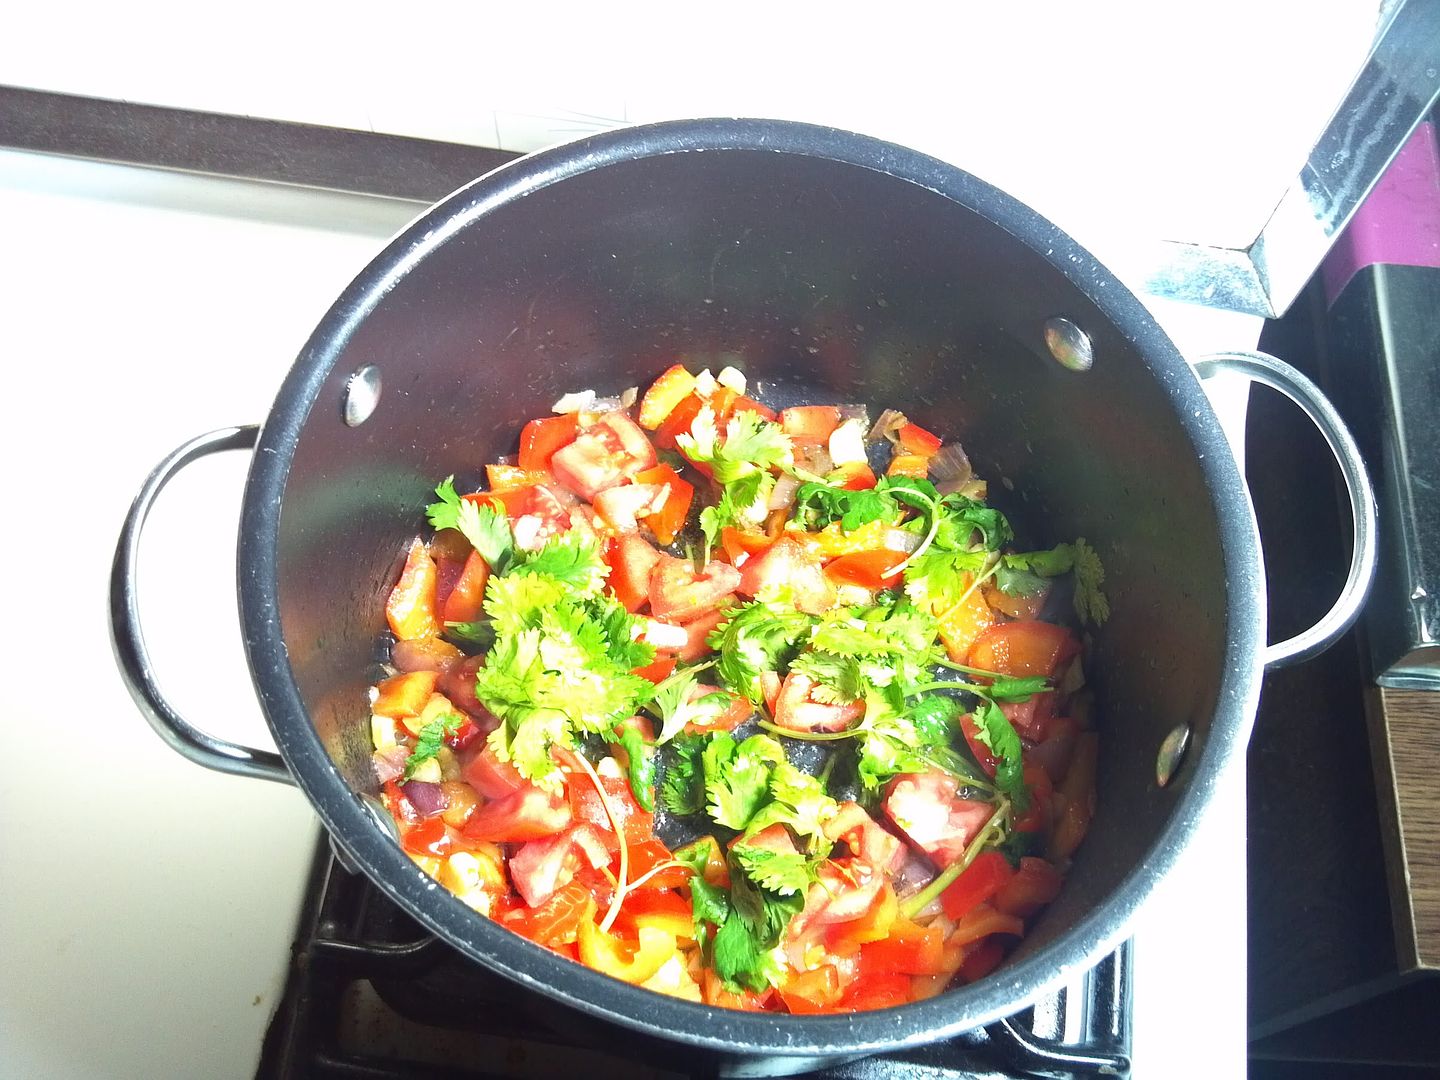
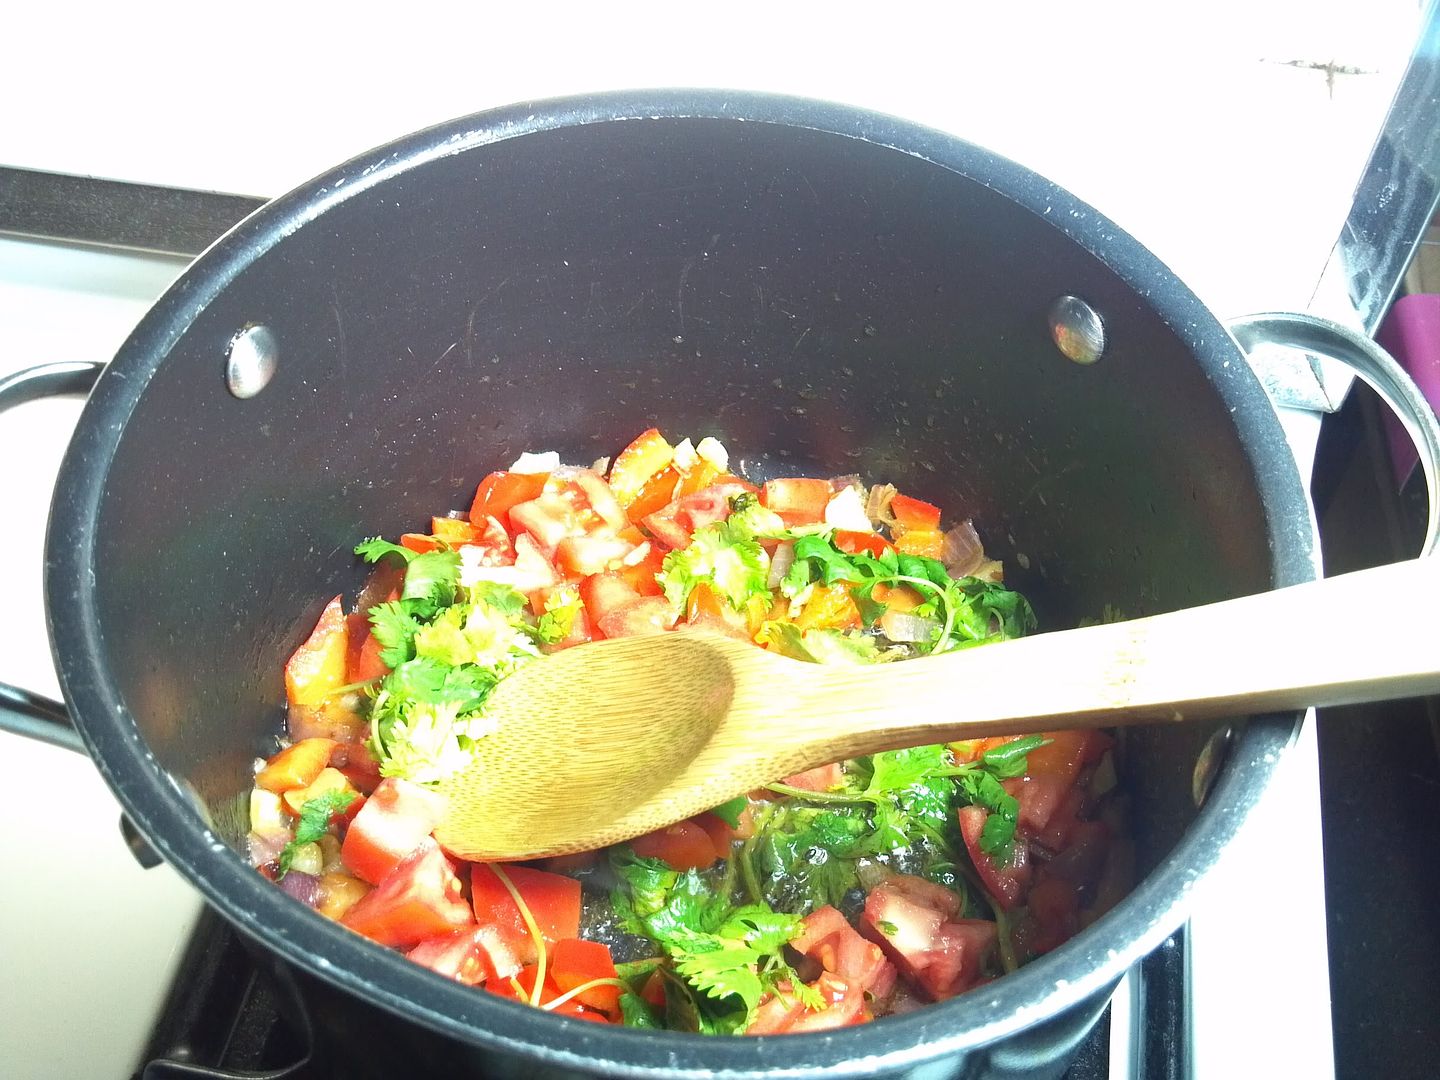
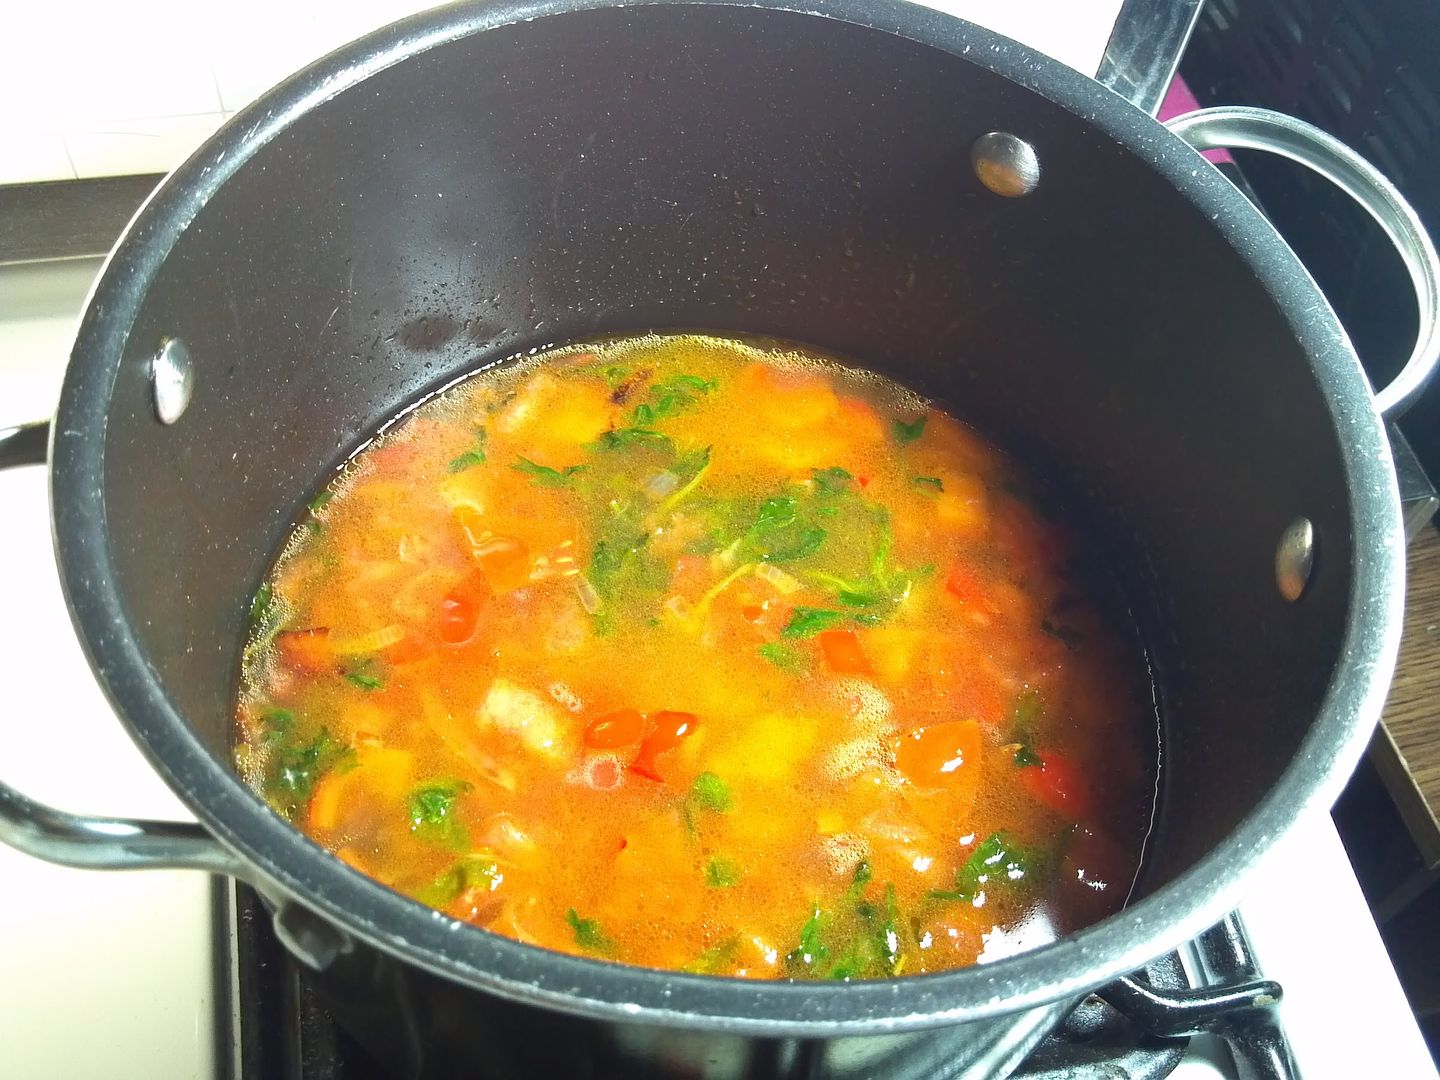
    • Add chopped Tomatoes and Cilantro. Sautee for one minute.
    • Add Chicken Broth, bring to a boil. Cover and simmer for 5 minutes.
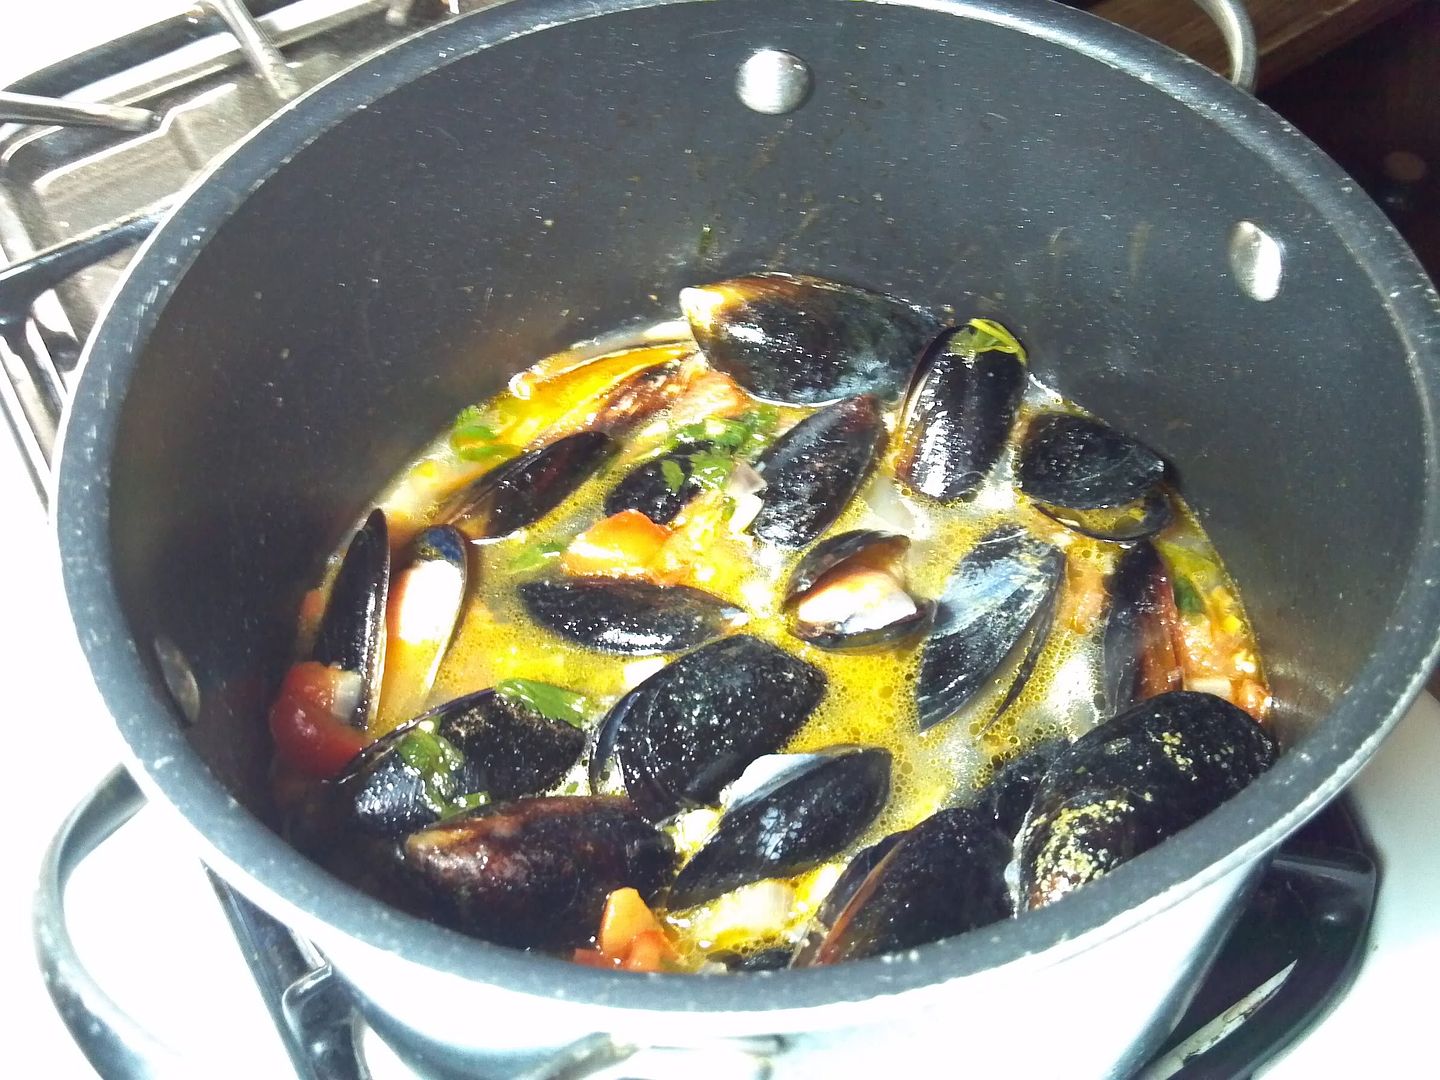
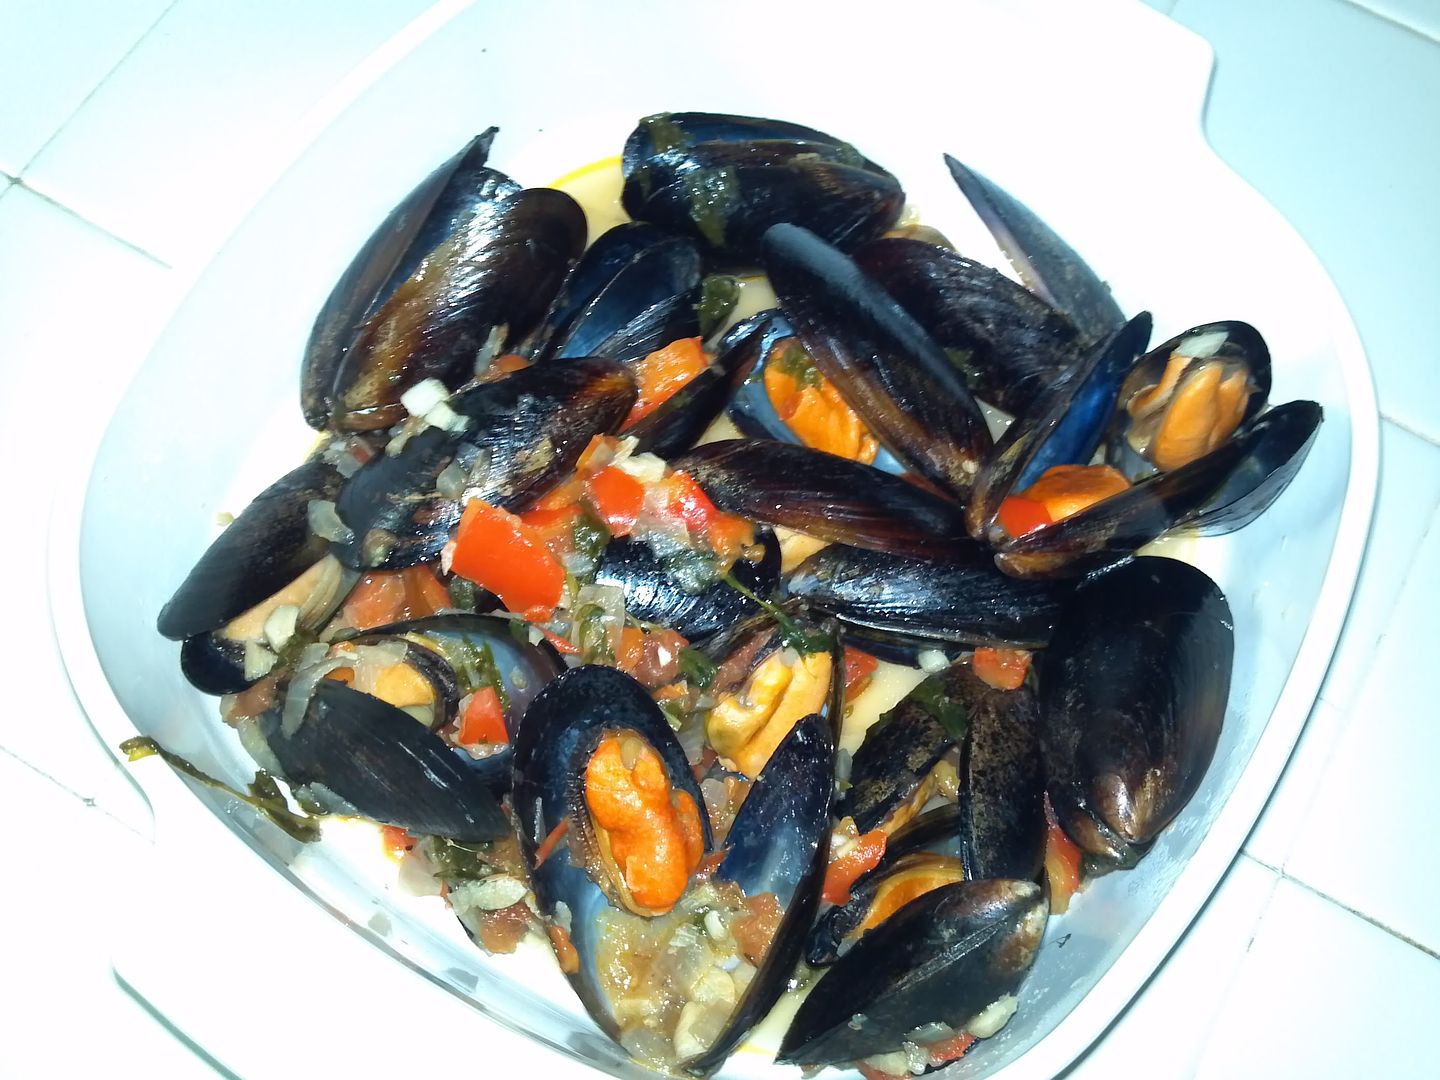
    • Add Mussels. Cover and steam over medium-high heat for 10 minutes, until the mussels open. Remove the mussels that don't open after cooking.
    • Enjoy your Mussels dish with a Glass of Wine.
    • After removing the Mussels, what remains on the pot is a delicious seafood flavored broth you can enjoy as well. I hope you try this recipe. Bon Appetit!!!!
    Pin It button on image hover